It’s almost the end of summer. Kids are picking out new lunch boxes and backpacks, families are taking one last weekend at the beach, and the dusky sunsets are getting earlier each evening. Nature is whispering that it’s almost time for my favorite season– fall!
When I think of fall, I think of sweaters, jeans, and scarves. I think of gorgeous sunsets, warming bonfires, and hayrides. I think of classy tree ladies bedecked in their autumn finery, on days with skies so clear and blue they would make Sinatra’s eyes jealous. And, of course . . . I think of pumpkins.
I think we should make some pumpkin cookies!
What are we waiting for? Let’s do this.
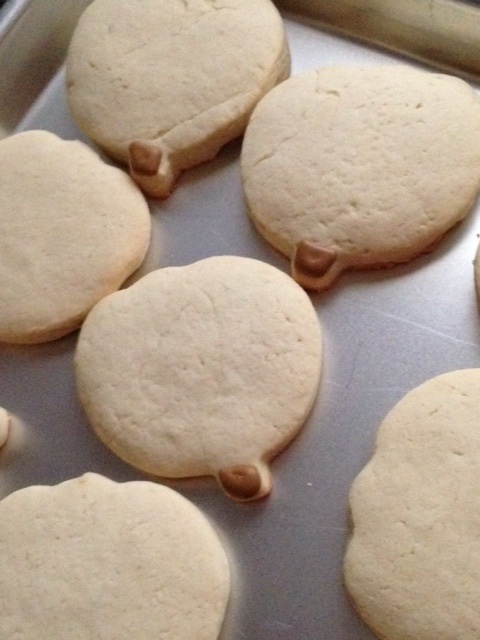
Start out by baking some pumpkin shaped sugar cookies. For some tips on how to bake cookies that keep their shape, check out my tutorial
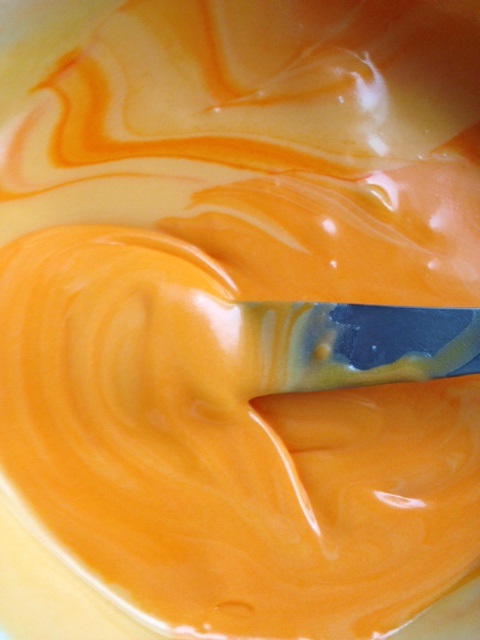
here. You will need 3 colors of icing (more, if you decide you want a variety of pumpkin colors)– 17 second royal icing in green, orange, and brown. If you need a little help with making royal icing and knowing when your consistency is right, check out my little lesson
here. 17 second icing is what I prefer for the “do all” techniques of decorating– it works well as both an outline and flooding icing. It takes roughly 17 seconds for a drip of icing splashed in the center of the icing to disappear completely. This is what you want. Go ahead and use the brown icing to make some cute little stems for those pumpkins.

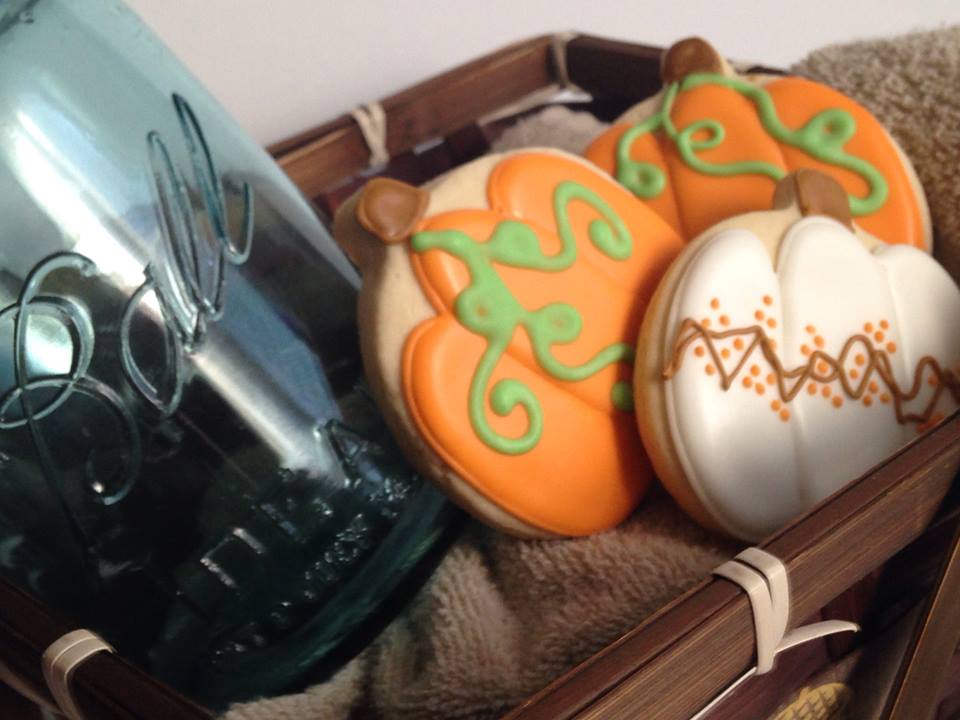
Next, make your pumpkin icing. I say pumpkin, because you don’t technically have to do orange pumpkins– you could do any color you like! I’m going with orange, but I made some white ones, too, and they turned out to be a really nice contrast with the orange ones. I used a little leftover brown from the stems, and a small #1 tip to do some random vines across the pumpkin after it dried, and then added some orange bittersweet “berries” with the orange icing, also with a #1 tip.
Now it’s time to outline the pumpkins. My cutter has 3 “lumps,” or lobes, or whatever– some cutters have 4 or more. You just basically want to make an oval around each pumpkin lobe so that they will be separate when you flood each section.
This is a cool trick– if you flood the outer layers first and let them dry, then the center will be distinct. Go ahead and flood the edges, and then let them dry for about 20 minutes. I find that, if I flood the outside edges of all my pumpkins, then, by the time I’m finished, the first ones are usually dry enough for me to start the centers.
Look at all those pretty little punkies! 🙂
When the outer thirds have dried pretty nicely (I’d give them about 20 minutes to half an hour), go ahead and fill in your centers. Oooh . . . doesn’t this just make you feel October coming on? 🙂
Now, you want to let the pumpkins dry very well– about 3-4 hours. At this point, the icing should be beyond color bleeding, like it tends to do if the icing layers aren’t dry, yet (trust me– just like when makeup runs . . . that ain’t pretty). If you have time, let the cookies sit overnight before adding the green, just to be safe. But you ought to be OK with a few hours, if you’re short on time. Go ahead and pipe some leaves and vines– the pattern isn’t important– it will look cute any way you choose to do it 🙂
Go ahead and make a batch of these for a friend or neighbor– maybe even dress them up in a nice fall basket with some pumpkin coffee or creamer, as a “thank you” gift for someone special.
Or just enjoy one, yourself . . . with a nice, steaming cup of coffee, while you look out on the sunset. Sip. Ah . . . bliss.
You did it. And I’m just so proud of you.

Disclosure: This post may contain affiliate links, which just means that we get a few pennies if you purchase through our link. I never recommend products that I don't personally use and love. Thanks!