Yum
When I was a kid, my occasional guilty pleasure was eating sugar cubes. I’m not sure what it was about them that made them so irresistible, but on the rare occasion that I spotted those adorable little squares on the table at church or someone’s house, I always had to sneak one (or five). There is something so cool about sugar in cool little shapes.
But did you know . . . (*dum dum DUMMMMM . . .) you can make your very own sugar cubes, in whatever shape you want? You could even *gasp* COLOR those sugar cubes ANY COLOR YOU WANT. You could make sugar cubes to match your wedding colors. You could make sugar cubes to complement a Mother’s day brunch! You could make sugar cubes to TAKE OVER THE WORLD!!!! Oh my goodness so much fun. And it’s so easy, you’ll kick yourself for not making them sooner.
What are we waiting for? Let’s do this!
Homemade Sugar Cubes
Ingredients:
1/2 cup white sugar
1 tsp. water
Gel Food Coloring, optional
Directions:
Mix together sugar and water with a spoon. Add a few drops of gel food coloring if desired and mix thoroughly. Press sugar mixture into a small mold and smooth top with butter knife. Allow sugar cubes to rest overnight until completely dry before gently removing from molds. Store in an airtight container for up to 2 years.
Now, in pictures! 🙂

This recipe is so hard that you almost need a job at NASA to figure it out. Soooooo difficult. Ready?
STIR THE INGREDIENTS.
That’s it. Done. bwahaha. Seriously. This couldn’t be easier. And before you know it, you’ll be making sugar cubes in all sorts of cute shapes, sizes, and colors.

You can just use regular white sugar as the base, and for color you want to use gel colors. They are more concentrated than the regular teardrop shaped food colors that you get at the store, and they won’t water down the cubes as much. You only need a few drops of gel coloring since it is more concentrated. I found the easiest way to mix everything was to put on disposable gloves
and stir the mixture in a way similar to the method we used for the homemade bath bombs— like rubbing your hands together to warm them.

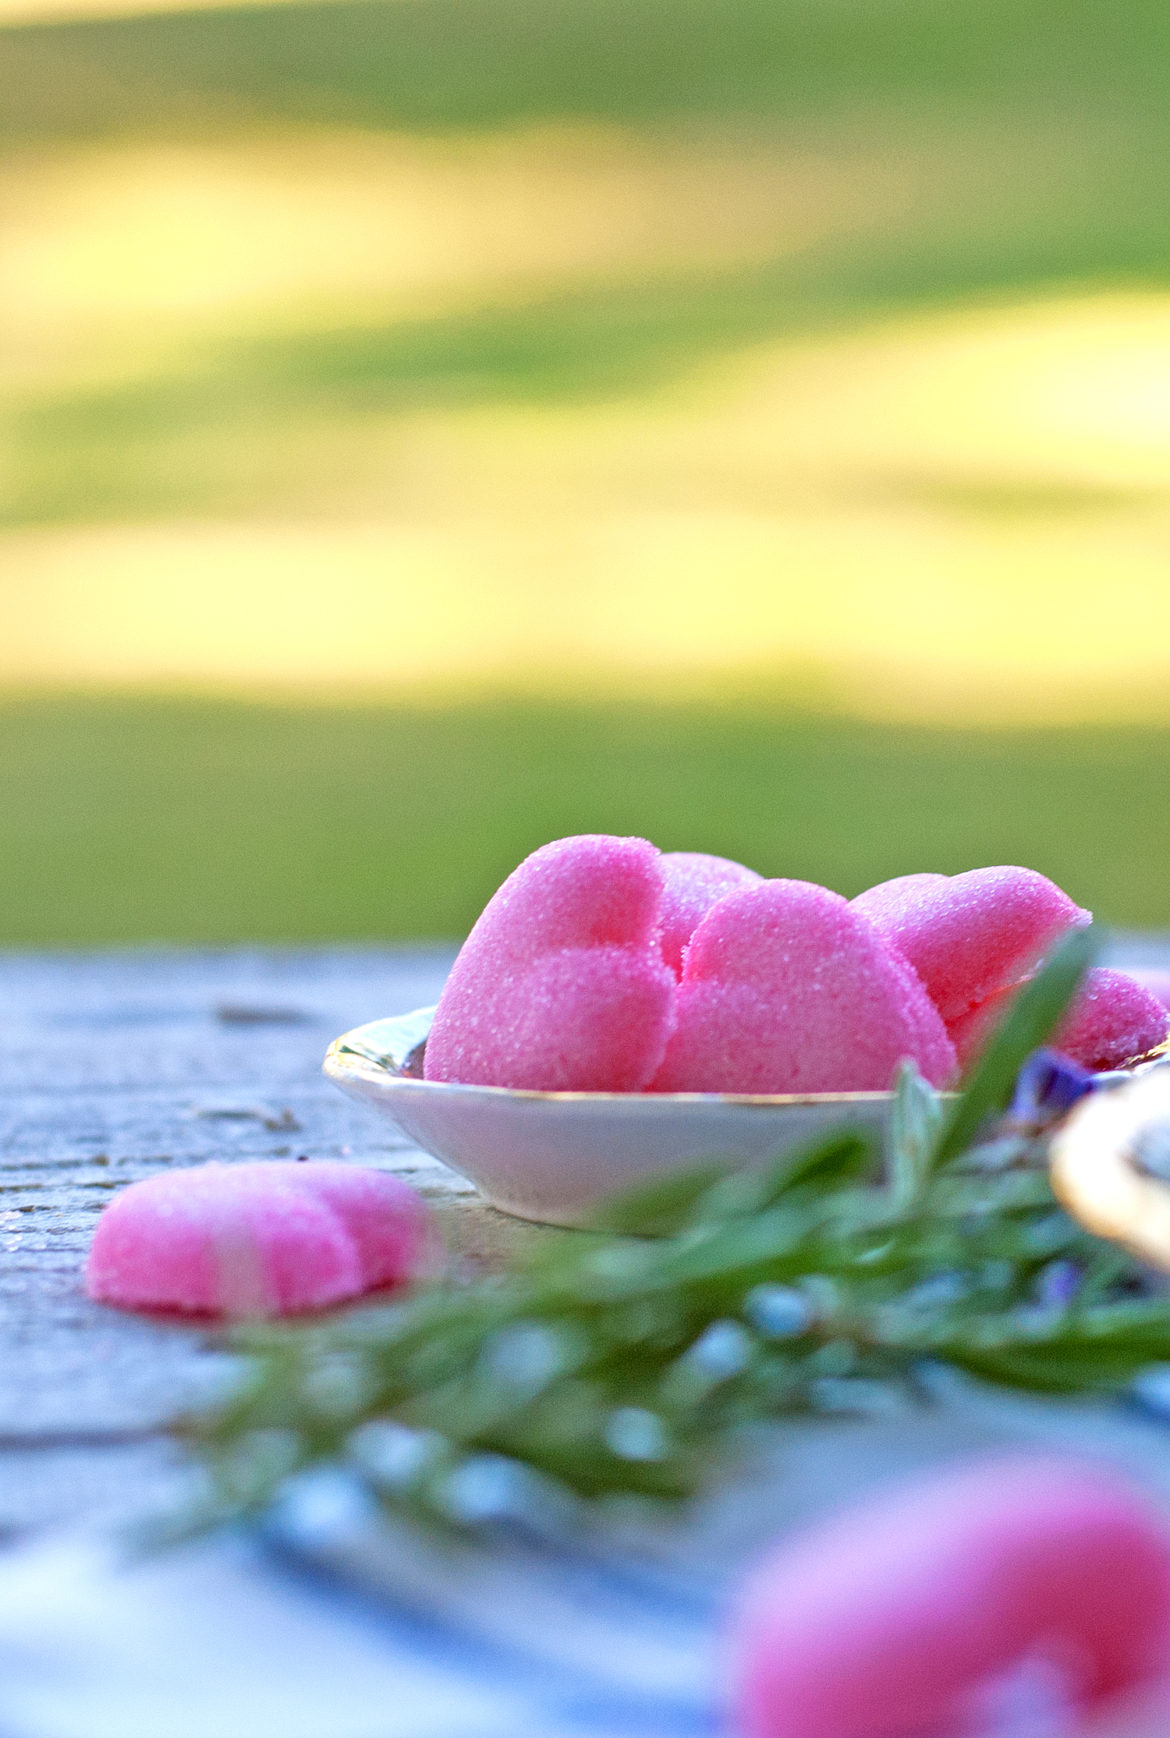
Once you have the water and coloring (if you’re using it) mixed in, your mixture will be roughly the consistency of damp sand. Use a butter knife to pack the mixture into a mold such as this small heart mold, and smooth it flat on the top.

There you go. Isn’t that PURDY? This part is really hard too. DO NOTHING. haha. You are a NATURAL at this! Why am I using all capitals? I don’t know. I will stop.
Let the sugar cubes sit for about 24 hours, to make sure that they are completely dried and won’t crumble when you try to take them out of the molds.
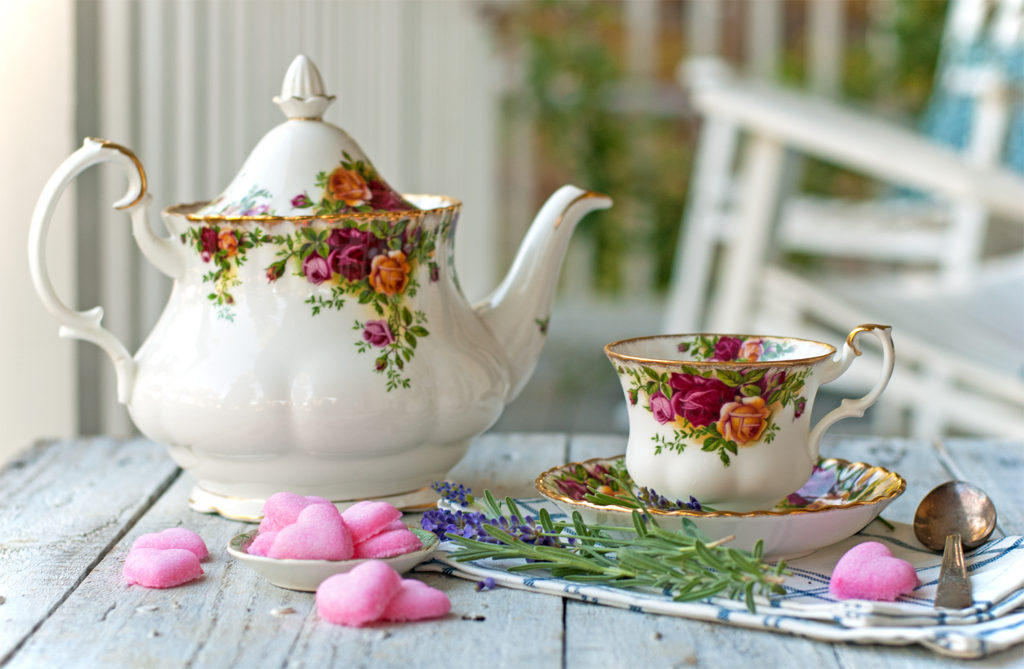
When roughly 24 hours have passed, gently use a sharp knife to get between the sugar cubes and the mold and pop out the cube. If you used silicone molds, you can just gently pop the sugar cubes out. Just be careful because although they aren’t super fragile, they will break if you are too rough.
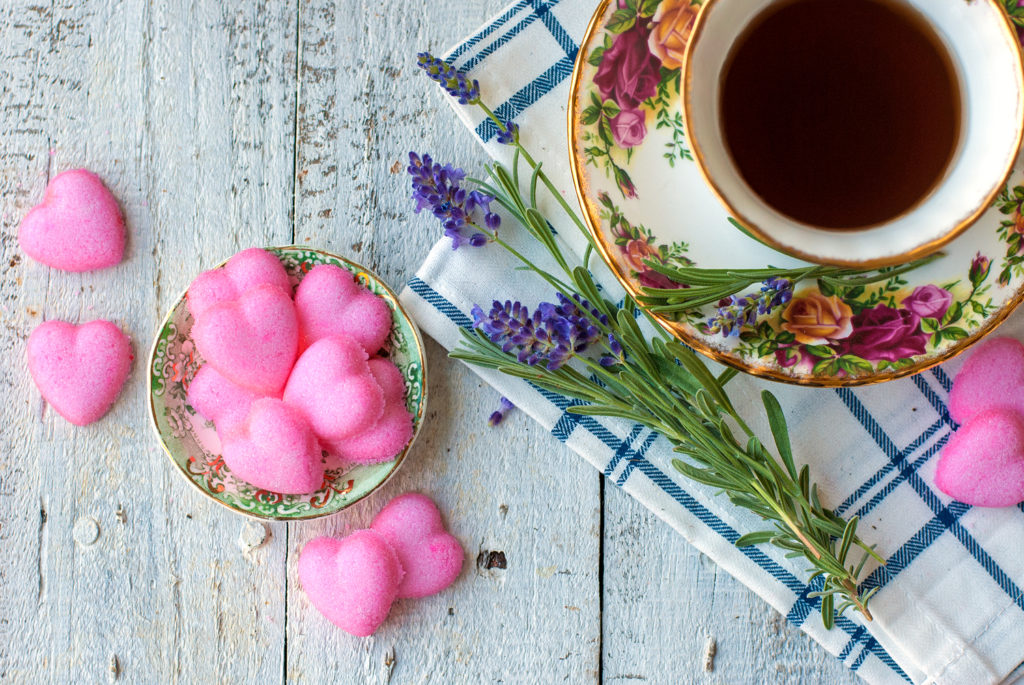
Little pink heart sugar cubes. Seriously. It doesn’t get any cuter than that.
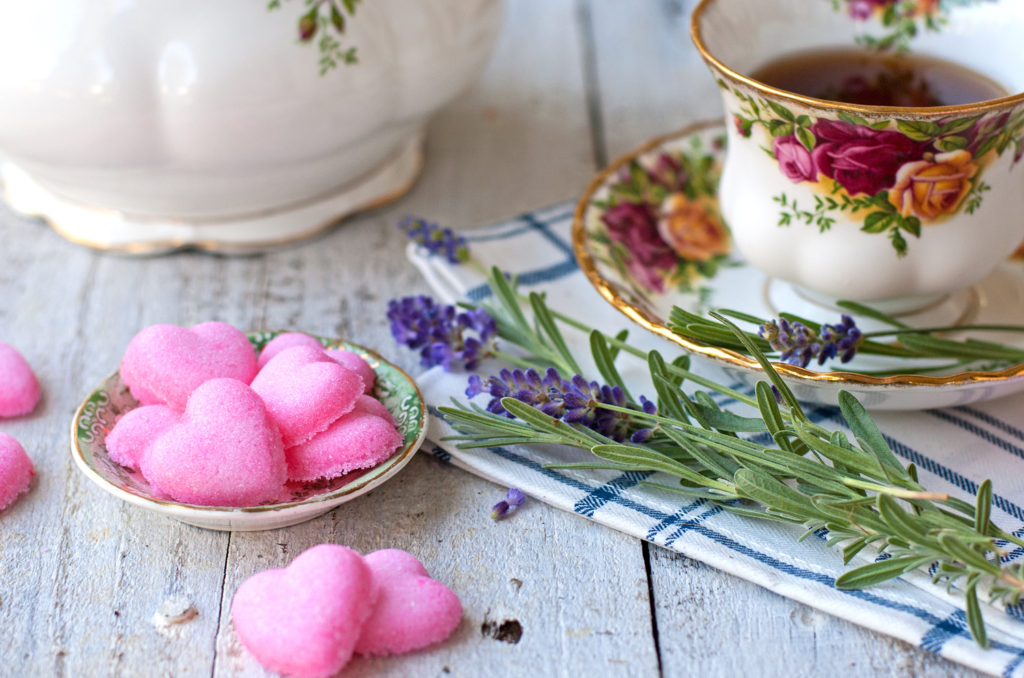
Keep these little sugar cubes in an airtight container for . . . are you ready for this? Up to two YEARS. I doubt they’ll last that long, but yeah. So cool to know that you did a job today that will make you look good for the next two years. Even swimsuits don’t do that. You’re welcome.
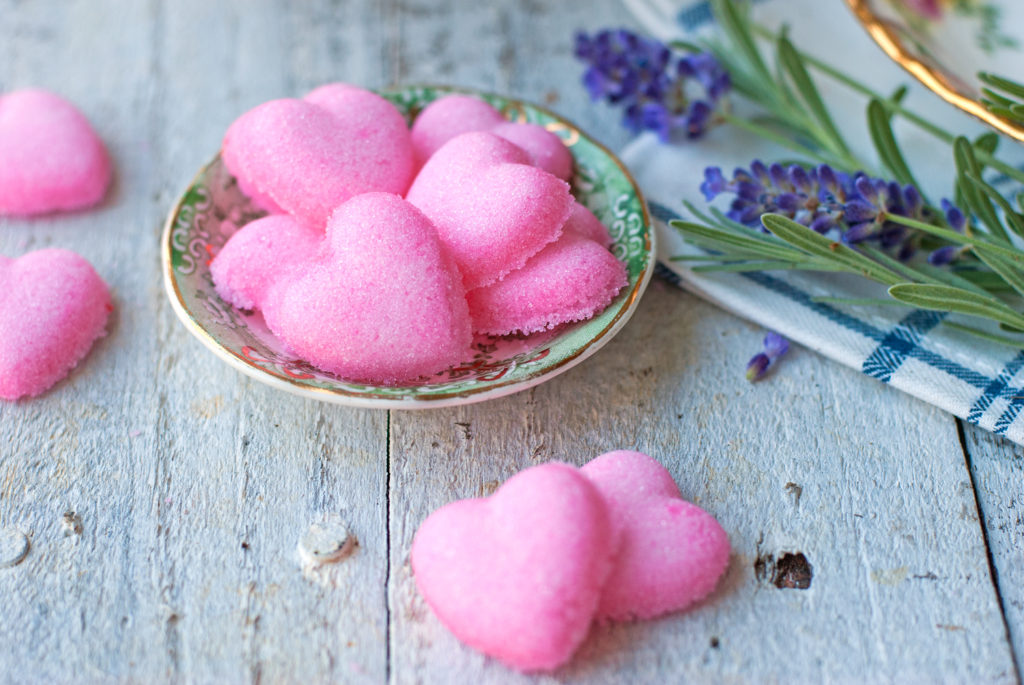
Whip up a batch of these sweeties for a ladies’ tea, Mother’s day brunch, or just a fun night in with friends. And when no one is looking . . .
Sneak one and just crunch it. Stolen sugar tastes so much better, somehow. 😉
You did it. And I’m just so proud of you.

Disclosure: This post may contain affiliate links, which just means that we get a few pennies if you purchase through our link. I never recommend products that I don't personally use and love. Thanks!


Oh my goodness these are adorable! I must try to make them sometime.
They are SO easy to make and so adorable! I know you’ll love them! 🙂