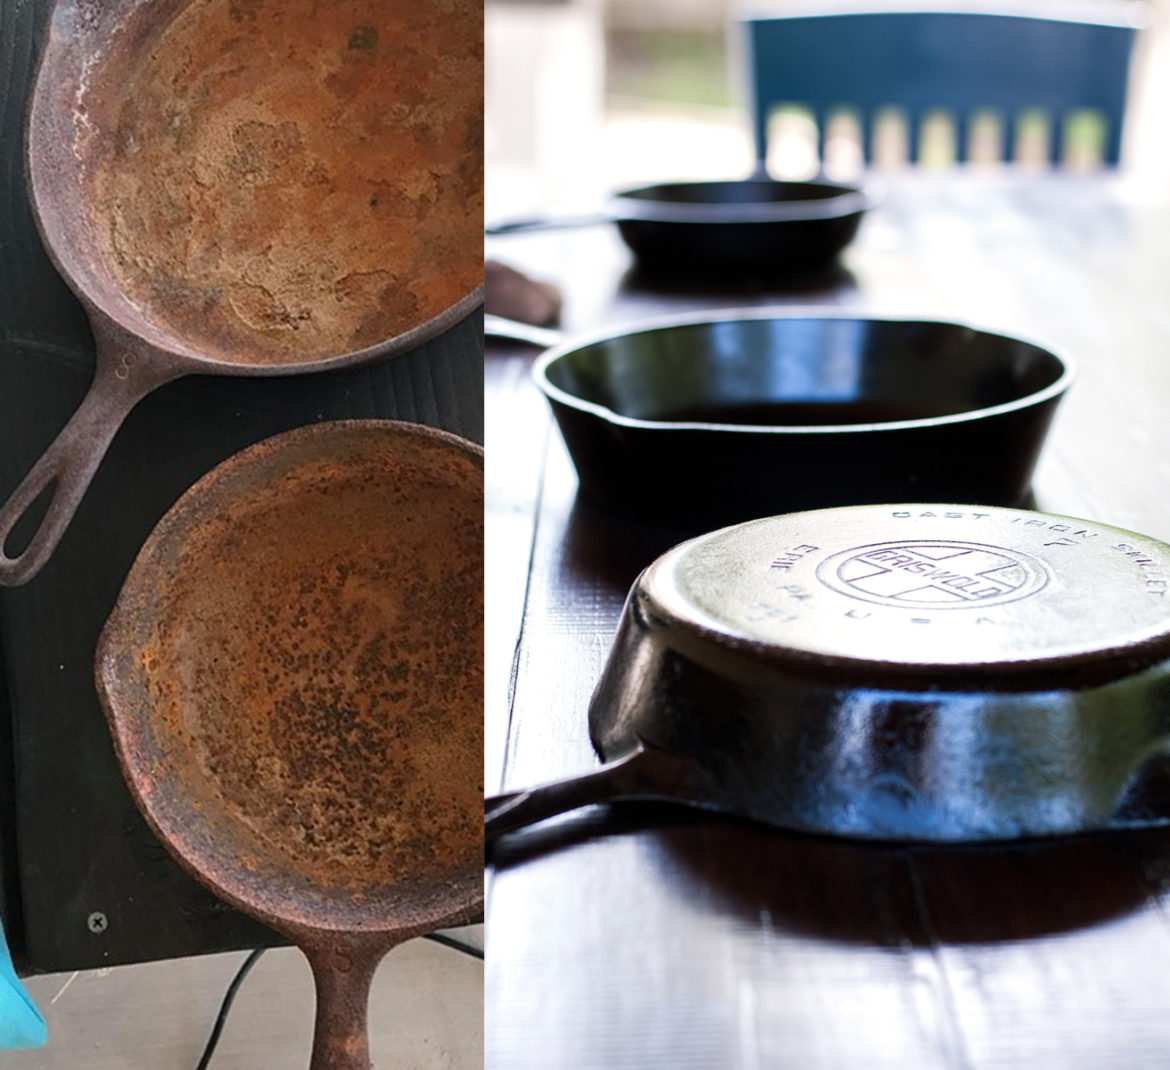
If you’ve ever seen a heap of rusty old skillets at a yard sale and thought “Those things are ruined. They should just throw them out,” then you’re not alone. Many people think that those rusty hunks of junk are good for nothing but the trash, but it isn’t true. Shhhh . . . the secret is that you can restore cast iron skillets just as good as new, some of them over 100 years old– with a little elbow grease and know how. And we are going to learn how to do that, today.
What are we waiting for? Let’s do this!
Restoring Cast Iron
The first thing you need when starting to restore a rusty cast iron skillet is a can of yellow Easy Off. The yellow kind is more heavy duty, and it will eat through the rust faster. Chomp chomp CHOMPPPP.

There is a blue Easy Off too, but it isn’t as caustic. Make sure you wear gloves when you handle this yellow kind because it’s lye-based, and you don’t want to get chemical burns on your fingers.

Start by spraying your pan completely (including handle) with Easy Off. Use the gloves to protect your skin, and place the entire skillet into a large plastic bag. Get most of the air out and seal the bag. This kind of creates a “gas chamber” for the chemical to work on the rust. Let this Easy-off coated skillet sit in the bag for 24 hours.

After 24 hours, take your skillets from the bag and rinse off the Easy Off and probably what will be a river of red, gross rust. I did my rinsing out in the yard because the rust will really get your sink filthy, leading to MORE scrubbing. And after you scrub these skillets you won’t want to scrub anything else. Trust me. Your arms are going to feel like spaghetti noodles, with the benefit of meatballs and sauce.

Get off what you can with water and steel wool, then let the skillets dry in the sun before popping them into another 24 hour Easy Off bath. At this point, we can start to see what’s hiding under all that gook and grime. And look! A little Wagner! Hi buddy!

Usually skillets just need a little touch up, and usually one or two “baths” in Easy Off will do it. But these skillets were pretty rough, and after 2 Easy Off sessions, there was still a lot of rust I couldn’t get off. Enter your secret weapon: heat. You can use a self cleaning oven, or even better, an outside grill. Put the skillets on a cold grill (or in a cold oven) so the heat rises gradually (instant high heat can shock and warp a cast iron piece), and then keep them on high heat for 1.5-2 hours. If you are using the grill, keep the lid closed during the baking so that the skillets receive maximum heat. At that point turn off the heat and let them cool down gradually. They will look kind of “dusty.” That’s good– it means that the rust was burned off into ash.

This next part takes some patience and some elbow grease, but it’s worth it. Use some steel wool and Barkeepers Friend
cleaner and scrub scrub SCRUBBBB the gook off that pan. This time it should all come off. Keep rinsing the crud off, and soon you will start to see the regular surface shining through. Your fingers will be your best guide. If you feel smoothness, then that means the rust is gone there, even if the color is not quite even. The seasoning will even the color out.

When you finish scrubbing, let the pan dry completely in the sun (or on the stove with the burner on low). Then use a soft cloth or paper towel to rub the skillet all over (top, bottom, handle) with oil. I used regular vegetable oil, but you can use any kind of oil that you want. Oils with high smoke points work best because these babies get HOT.

Here is a comparison of the skillet I just oiled (in the back) with a skillet that is already seasoned (up front). Don’t expect the skillet to be black right away. That comes with time and cooking. You basically oil the skillet lightly after each use, and each time you bake or cook with it, you are baking a tiny thin layer of oil onto the surface. The oil keeps the skillet from rusting and also creates a gorgeous, black, completely slippery nonstick surface when it’s properly seasoned. But this seasoning process takes time, so don’t worry if you don’t have that well seasoned black look right away.

Put your skillets on the grill, or in the oven. Start out cold so they can heat up gradually, and close the lid so that they achieve maximum heat. The grill works perfectly because the skillets will smoke a little bit (“Let’s head out back for a smoke!”), and you’d rather have that smoking gun in the great outdoors, trust me. Then it won’t smell like you walked through a forest fire for the next 2 weeks in your kitchen. Bake the oiled skillets on high on the grill (or about 425 in your oven) for 1/2 hour. Now this next part gets a little hairy scary, so pay attention. Your non-burned limbs and fingers will thank you.
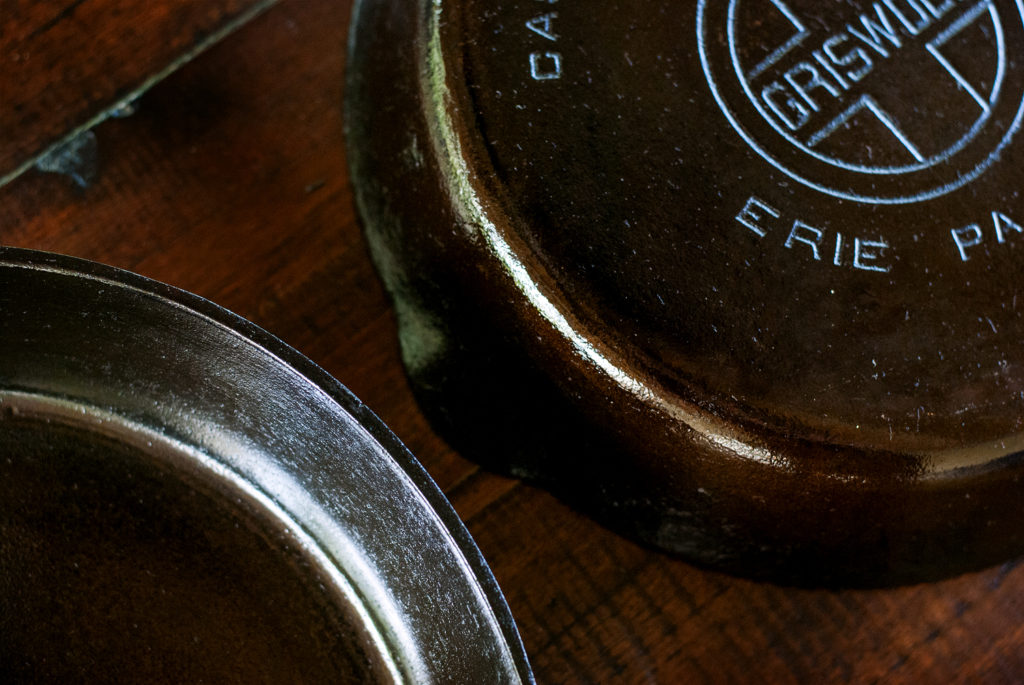
Cast iron gets hot. Like, we’re talking “Oh hi I’m hell this is my brother. He’s much hotter than I am” HOT. When I first started cooking with cast iron I made the mistake of grabbing a red hot skillet by the handle. It’s easy to forget, in today’s world of nonstick cookware, that cast iron handles get just as hot as the pan does. I never made that mistake again. WHEW.
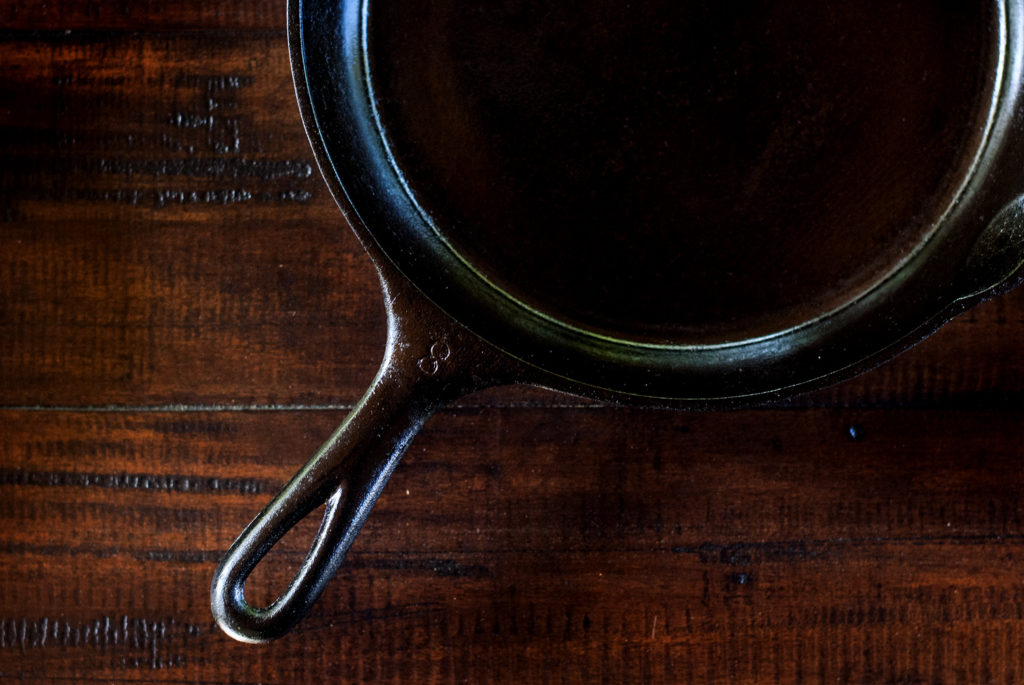
When you handle super hot cast iron skillets, you need a silicone pot holder. Do not try to use anything else. In a pinch once I grabbed the handle of one of these with a super thick cloth potholder, and it caught on fire and melted through the entire thing in about a second. If I wouldn’t have dropped the potholder I would have been badly burned. My advice is silicone, and then a regular potholder wrapped around that, because although silicone doesn’t melt it does get pretty hot. So those two layers of protection should keep your fingers intact. Make sure you are using a silicone trivet
, as well, to sit the hot pan on. It will scorch through wood and possibly melt aluminum, so be prepared with a safe surface to place it on before you try to move one of the skillets from the heat.
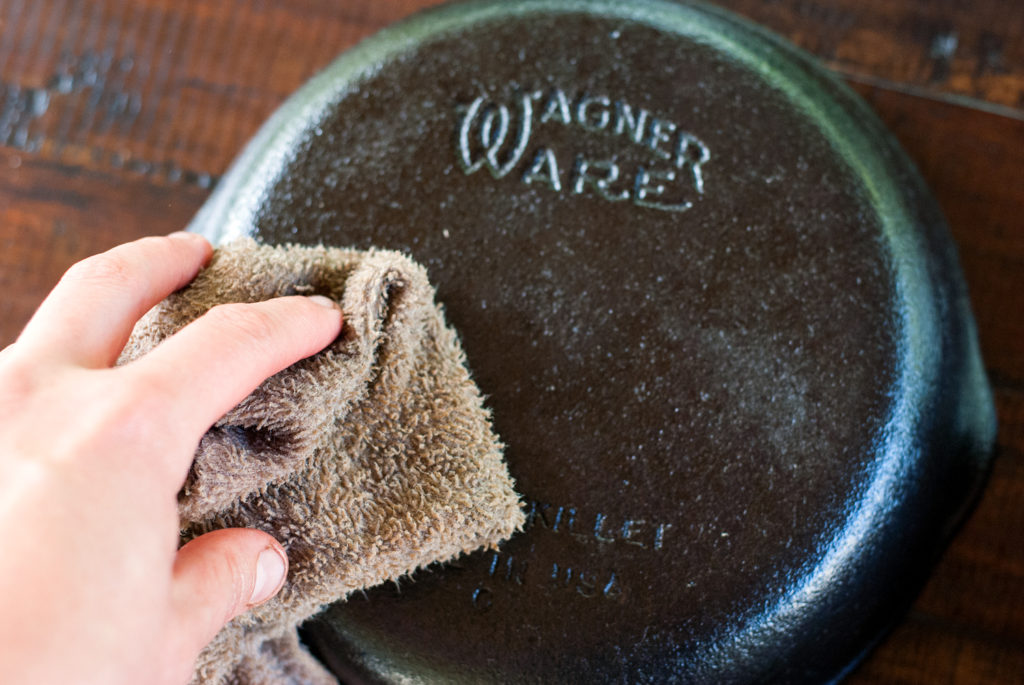
Take your hot skillets off the grill about 1/2 hour into baking time. Use your silicone pot holder and place the skillets one by one onto the silicone trivet
. Wipe them carefully all over with oil, being super careful not to burn yourself. The skillet will smoke horribly at first, but keep wiping until you have a super thin layer of oil all over the skillet. Some people prefer to let the pieces cool down before oiling them again, and you can certainly do this. But I didn’t have time to let the skillets cool and reheat every time I oiled them, so I went with the quicker (and perhaps a bit more dangerous) method. Just be careful and you’ll be fine.
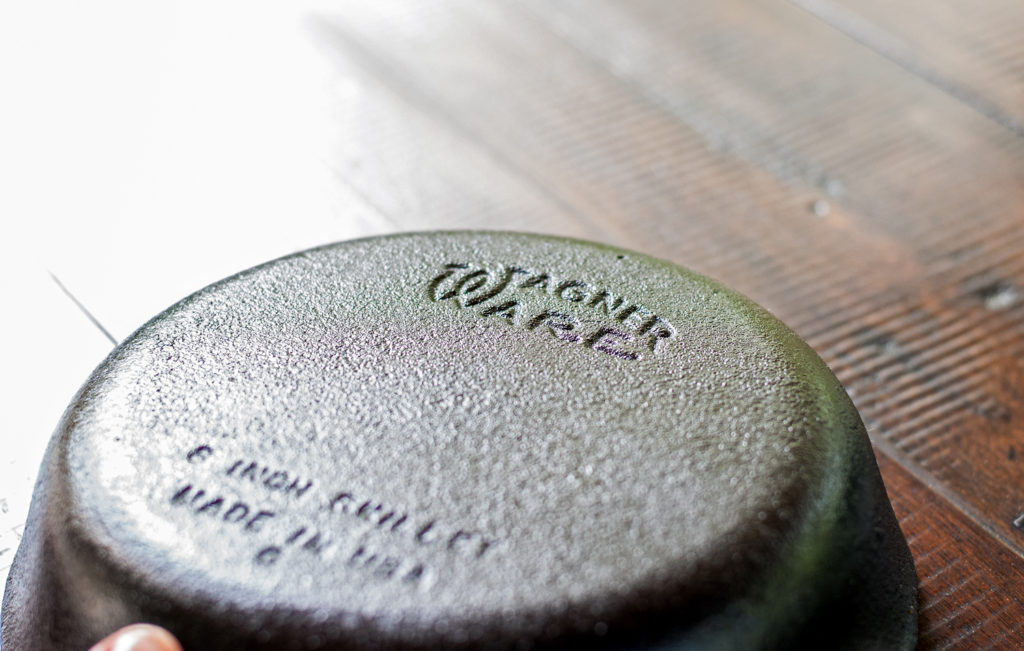
When your skillet is oiled again, place it back on the grill over the heat and close the lid. After 20 minutes or so, check on it again. Repeat the process. I oil and bake the skillets 3 times after I strip them. That seems to give them a “good start in life,” ready to receive real seasoning as you cook with them.
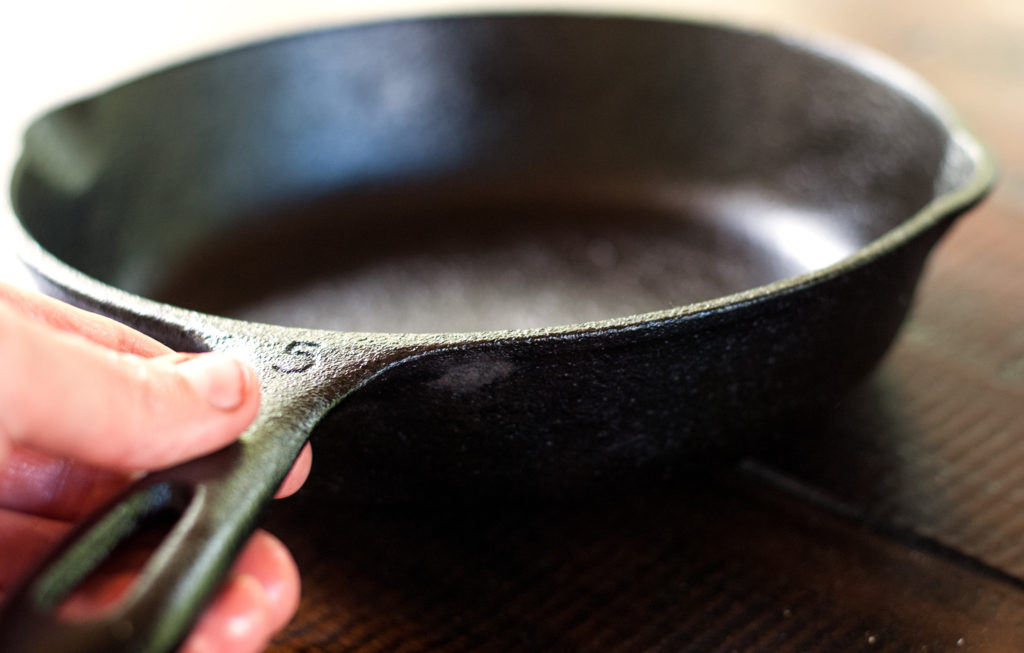
After the third seasoning and baking time, turn off the grill and let the skillets cool down at a natural pace. After a few hours check on them, and they should be nice and cool to the touch. And congratulations. You just brought these century old skillets back to life. Beautiful, aren’t they?
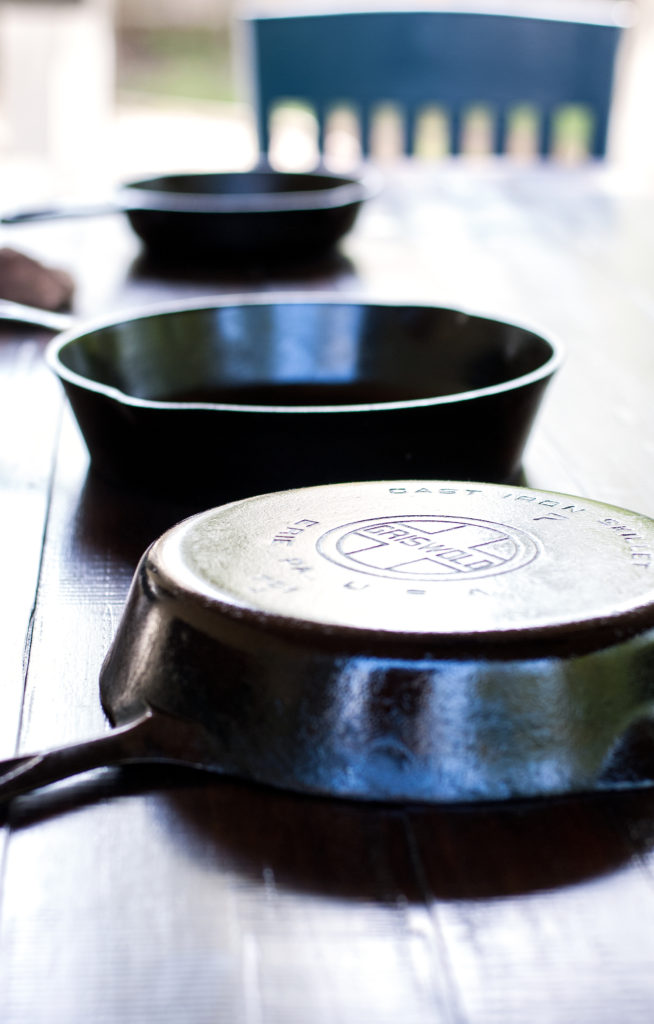
Each time you cook with these, finish by lightly oiling them (you should not see any liquid pooling at the bottom– just a sheen across the piece) and heating on the burner of your stove just enough to dry them out. These babies were made to last, and it’s so neat to think that the skillet you hold in your hand right now was probably someone’s grandmother’s or great grandmother’s, and that those ladies treasured and used these pieces on a daily basis. Who knows how many hundreds of skillets of cornbread, or morning breakfasts of fried potatoes and eggs these skillets have made in their times? It’s just so cool to think that you brought them back from rusty retirement into beautiful, “just like new” bliss.
You did it. And I’m just so proud of you.

Disclosure: This post may contain affiliate links, which just means that we get a few pennies if you purchase through our link. I never recommend products that I don't personally use and love. Thanks!
