
There is just something about bread. Every culture makes it. Every home has it. Though it changes in color, shape, size, and even ingredients and preparation methods, it remains integrally the same: the food of comfort– the food of home.
San Francisco Sourdough Bread is a true labor of love. From the basic starter, the cultures of which have at times been lovingly cared for over periods of more than a century, to the time-intensive preparation of waiting, watching, and waiting some more, it is the bread that you make when you are really itching to create bread completely from start to finish, with your own hands. This is the recipe that you make out of pure love, carefully watching, preparing, waiting. This is the bread you make when you truly want to “get” the breadmaking process– from the fermentation of the leavening, to the way the fermentation affects the size of the holes in the finished crumb, to the formation of a perfect, caramelized artisan crust.
This is the bread you bake when you want to graduate from making bread to making art.
What are we waiting for? Let’s do this!

San Francisco Sourdough Bread
Ingredients:
1 1/2 cups warm water
1 cup San Francisco Sourdough starter, fed (more on this in a minute)
2.5 teaspoons salt
4-5 cups flour, depending on what your dough needs (more on this in a minute)
Directions:
Combine your water, fed sourdough starter (we will discuss how to do this below), salt, and just enough flour to be able to whisk mixture into a thick, pancake batter consistency (this is not the finished dough and will not take much flour yet). Cover the bowl with plastic wrap and allow the mixture to rest for 30 minutes. Use the bread hook attachment of your mixer to gradually mix in just enough flour that your dough becomes smooth and is still tacky, but not so sticky that it cannot be handled. The amount of flour you will need will depend on the amount of liquid in your dough. Just add the flour slowly and let the mixer keep going until your dough is tacky (slightly sticky to touch) but not so sticky that it cannot be handled.
Let the dough rest, covered with plastic wrap, in a greased bowl in a warm place for 3 hours. Every hour lightly stretch the bread and pull it into a tight ball. After 3 hours, cover with plastic wrap and allow bread to rest in the refrigerator overnight. You can bake the dough at any point the next day. The longer you wait, the larger your holes will be in the finished bread. When you are ready to bake, preheat a 3.5 qt. cast iron Dutch Oven at 475 degrees (this will take about 1/2 an hour to get the stove and pot totally and fully heated). Gently turn the refrigerated loaf out onto a piece of parchment paper. Use a sharp knife to carefully make a few slash lines in the dough (this keeps the bread from being oddly shaped as it bakes).
Lift the bread into the preheated Dutch Oven and place the lid on the pot. Bake the covered bread at 475 degrees for 25 minutes. Uncover the Dutch Oven and bake for 30-35 more minutes, until the loaf registers an internal temperature of 200 degrees, or until you can “knock like a door” on the bottom of the loaf. Allow loaf to cool completely before slicing with a sharp bread knife.
Now, in pictures! 🙂
The base of any sourdough bread is the magical “starter.” Starter is essentially slow feeding wild yeast that is allowed to slowly grow and multiply, using similar healthy bacteria to what is found in yogurt. There are many, many tricks, tips, and techniques for keeping sourdough starter robust, healthy, and raring to go when you are hungry for bread. And it can be easy, especially if you are just starting out in your baking journey, to feel intimidated by the inundation of information to be found when one googles “simple sourdough bread recipe.” But don’t be intimidated. Start simply; you can always do more complicated steps and techniques later on.
This tutorial isn’t meant to be the complete guide to sourdough. It’s not meant to cover every single topic. It is meant to show you, as a baker who may be fairly new to the sourdough world, how the basic loaf is created. We are putting up a tent, here, just to get a roof over our heads. You can build the house later. 🙂
Sourdough starter is a living thing. It needs to be kept at temperatures around 70 degrees (too hot or too cold will kill the yeast cultures). It needs to be fed regularly (generally 1/2 cup all purpose flour and 1/2 cup warm water per day, if it is at room temperature, or once a week if it is kept in the refrigerator). The easiest way to get the starter is to get it from someone else who has kept it, fed it, and nourished it. Yes, you can make your own starters by capturing wild yeast from the air. I have done this. It’s complicated, and we are just building the tent, remember? Capturing wild yeast is building a big house. We aren’t there yet.
For now, all that you need to know is . . .
- You need to get a live sourdough starter from someone else (Etsy has loads of options for around $7-$10, or sometimes a friend or neighbor or even local bakery might have some sourdough culture that they are willing to share with you)
- You will need to feed the sourdough starter (daily at room temperature, weekly in the refrigerator) to keep it alive. (*Note: keeping starter in the fridge keeps it alive, but it will need to be brought back to room temperature to be strong enough to bake bread. The fridge is stressful for the starter, and it won’t be ready to bake for a little bit after it comes out. It will need warmth and sustenance for a few days to have enough power to raise your bread for you, after it has been in the cold.)
- Sourdough baking is not like traditional yeast bread (that you could make in just a few hours). It takes days, sometimes even a week, to get a good loaf. So be patient and don’t doubt yourself. The best things take time. You’ve got this. I believe in you. 🙂
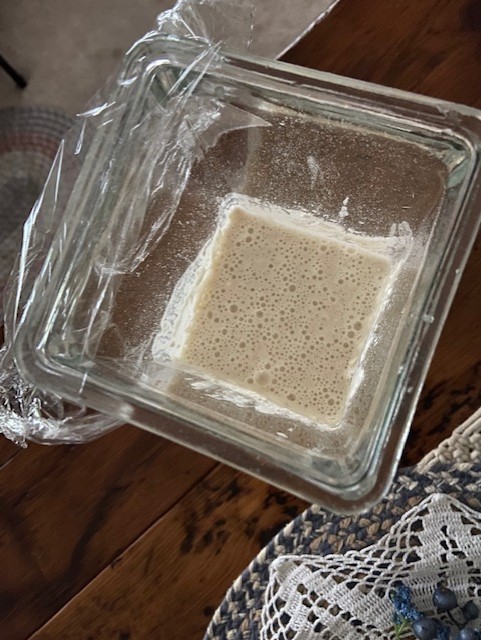
As I mentioned, there are many different types of sourdough, starters, and baking techniques. We are using the most simple and straightforward one today– simple San Francisco sourdough bread. This method calls for adding the starter (which is thinner than some starters– it is almost a pancake batter consistency) directly to the dough mixture. I think this is the easiest way, personally.
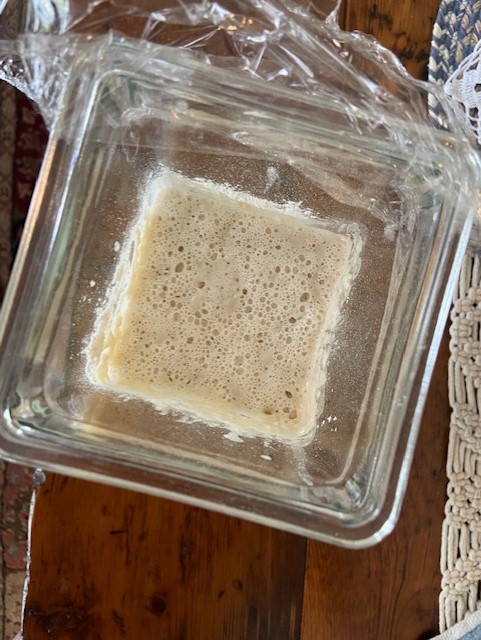
Start out by whisking together your warm water, salt, sourdough starter (roughly a cup, but don’t sweat it if you have a little more– just eyeball it), and just enough flour to whisk everything together to be about the consistency of thick pancake batter. You want a wet dough– definitely not dry enough to knead, yet. Cover your bowl with plastic wrap and let the dough sit for 30-60 minutes (you know– whenever your Netflix show is over. The bread wanted to see the ending of Tiger King, too. Rawhrrrr.).
This “resting” step is called autolyse. Basically, this is the “meet and greet” for your wet and dry ingredients. This resting step gives the flour a chance to absorb some of the liquid so that you won’t over-add your flour and come out with dry, crumbly, hard as a brick bread in the end.

When your 30-60 minutes Netflix binging . . . ahem, I mean “BREAD AUTOLYSE RESTING” period is complete, it’s time for the next step. Flours.
Awww. You brought me flowers? Sweetheart . . . you never cease to AMAZE me with your thoughtfulness!!!
Um. Not flowers. Flours.
Oh. Ahem. Now this is awkward. *glances toward door, awkwardly.*
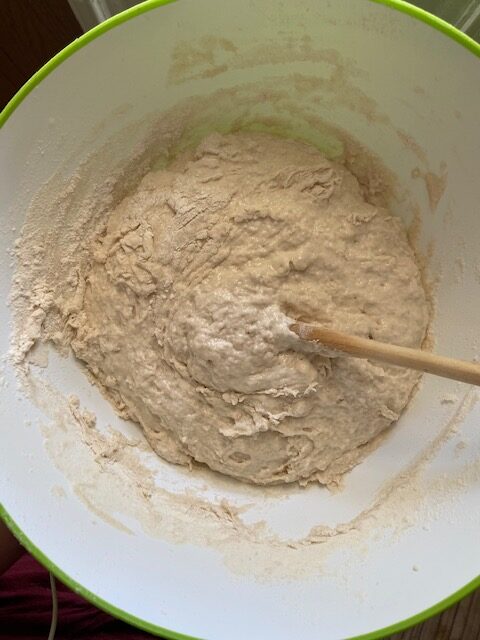
This is the part that your Kitchenaid mixer can do for you. You can also use your hands and good old fashioned kneading. Slowly work in just enough flour that your dough is smooth, soft, and tacky (sticks a little bit to your hands or the side of the bowl, but comes off cleanly without clinging). It should feel similar to the softness of your earlobe.
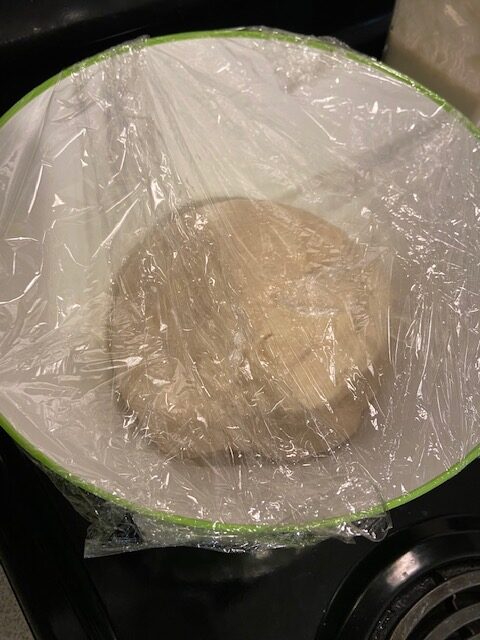
At this point put your dough ball into a greased bowl, cover it with plastic wrap, and let it sit at room temperature for about 3 hours.
Um . . . THREE HOURS?
Unlike regular yeast dough, which is ready in two (roughly) 45 minute rises, sourdough is SLOWWWW. This is a skateboard when you’ve been used to a Porsche. It gets the job done . . . but it takes a lot of time. Sourdough bread can actually take days to make. *Gasp* DAYS????
*checks to see if there are new seasons of Tiger King on Netflix*
Sourdough really is a labor of love. Oh– and time. 🙂 But if you just kind of work it into your day, you won’t even notice the time passing. Every hour or so grab the edges of the dough ball and pull them up tight to the top, making the dough ball tighter. After 3 hours (and 3 times “tightening” the dough ball), cover the bowl with plastic wrap and put it in the fridge. Now . . . this next part is hard. Hard. Are you ready? Do you have your engineering degree from NASA ready?
Do nothing.
Yep. Let your covered dough rest overnight, clear into the next day. You can even let it go another night in the fridge if you want. The longer it rests and ferments, the more sour it will be, and the larger the holes will be inside the bread. Do nothing. You’ve definitely got this.
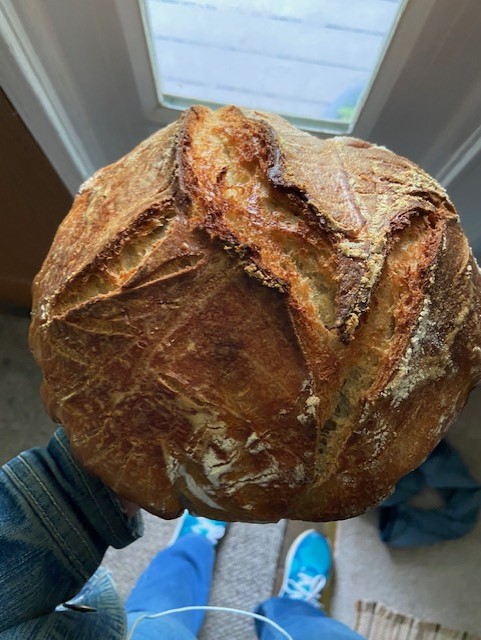
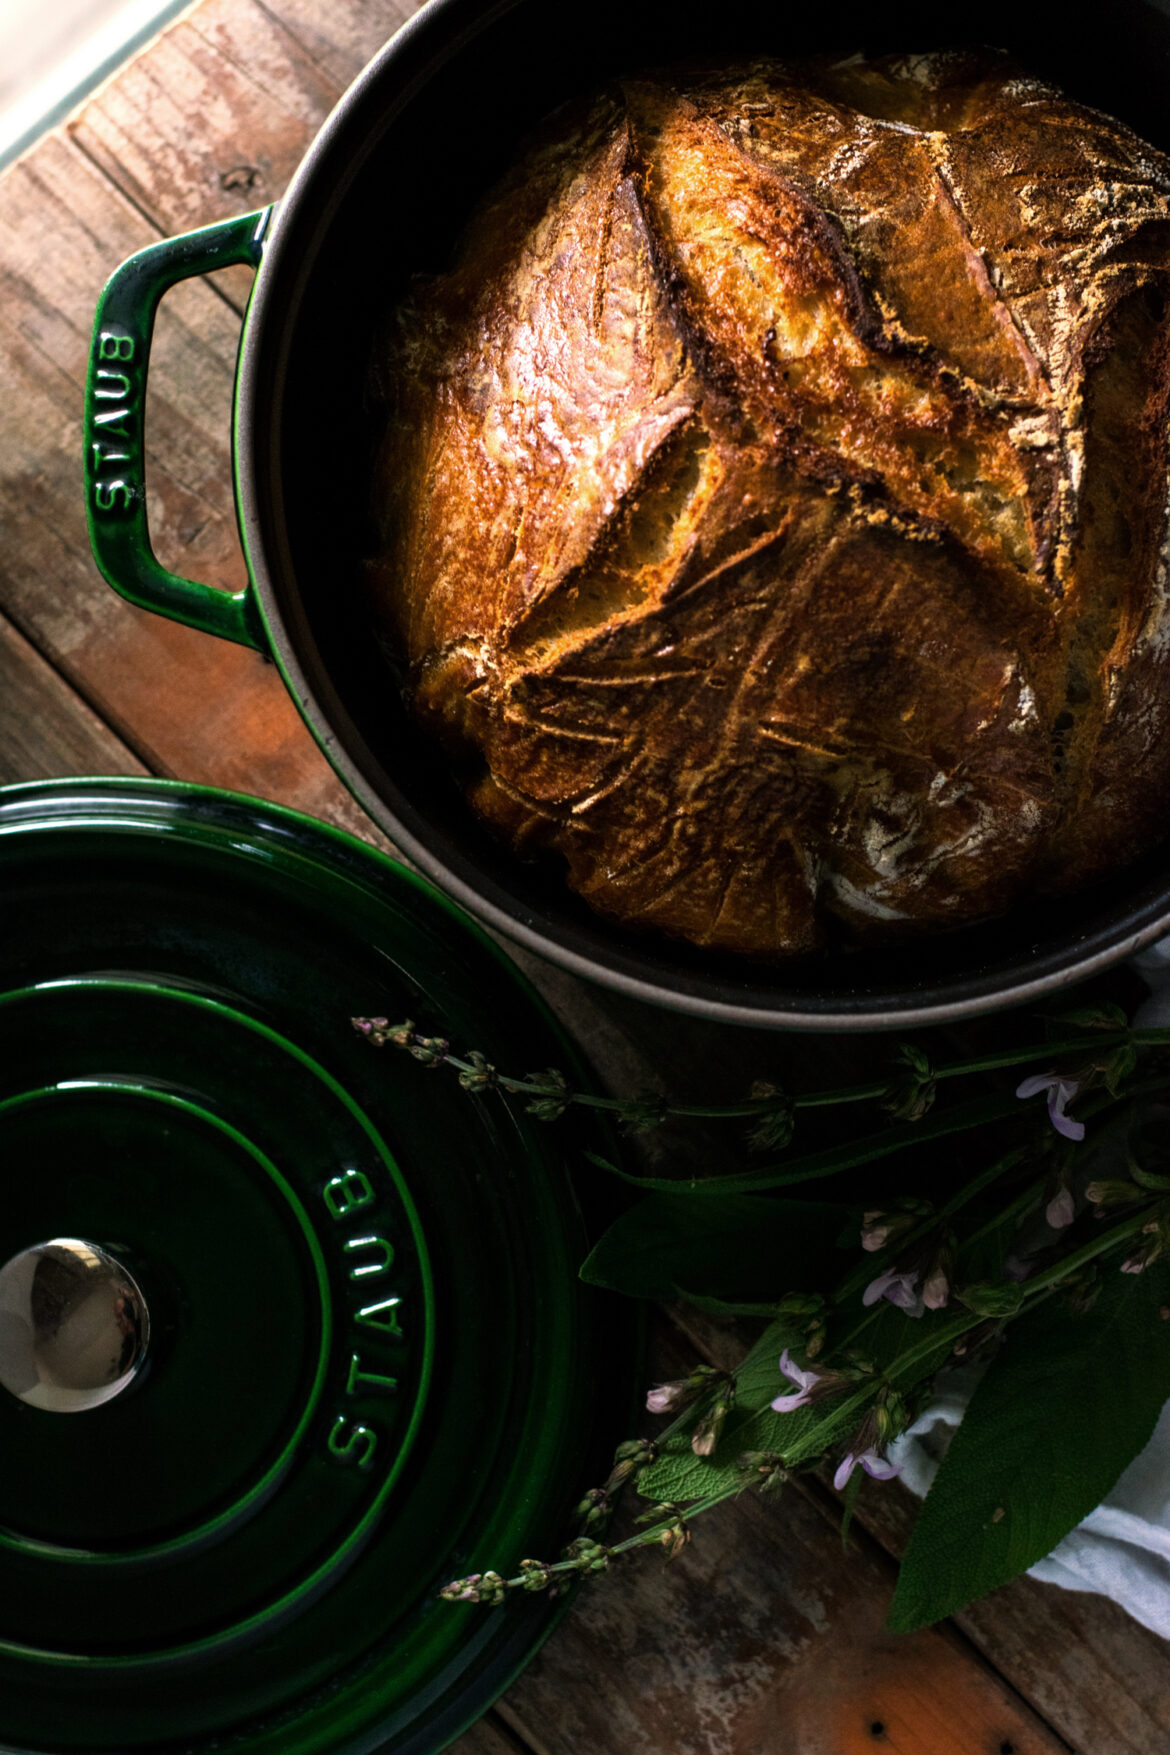
This is my bread after baking. I neglected to get a photo of the next step, so please direct me to the firing squad for punishment. Or . . . look at this pretty picture of finished bread and let me explain what I didn’t take a picture of, because I was busy trying not to let anyone get burned on a 500 degree cast iron pot with children running around my feet.
I have received a pardon? You are too kind. I do so love working with you.
When you ARE ready to bake (whether after 1 night in the fridge or 2), start out by preheating your cast iron Dutch oven in the regular oven at 475 degrees. You will need the lid on the top of the pot, too– both pot and lid need to be super duper hot (like, melt your skin off hot. Be careful). While your pot is preheating (it will take about half an hour to get nice and piping hot), prepare your loaf. Pull the dough out of the fridge. Gently turn it over onto a piece of parchment paper, smooth side up. Use a sharp knife to put a few cuts in the top of the bread. This slash just before baking helps the steam to escape from the loaf where you slashed the top, rather than random places that would make the loaf misshapen while it bakes.

Using the parchment as a sling, gently move the dough ball into your (very, very, very) hot pot. Please be careful. And keep kiddos out of the kitchen while you’re working with this pot. Please be safe. 🙂 This is why I didn’t get pictures of this step. I was too busy making sure no one got burned.
When you have placed the “dough in the parchment sling” into the pot, place the (also very, very, very hot) lid back on the Dutch oven. Sometimes it’s easy to forget, but the lid (and knob) are as hot as the pot. Be careful. I know I say that a lot, but having experienced burns from these critters, I don’t want that to happen to you. Put the whole ‘shebang back in the oven. Bake for 25 minutes at about 475, with the lid on the pot.

After 25 minutes, take the lid off the pot. Bake for another 25 minutes or so. Watch some more Tiger King. Imagine where you might keep a pet tiger. Decide that tigers might like to eat Sourdough, especially if they were YOUR tigers. Write “tiger kitten” on your Christmas wish list to Santa, postmarked South Texas.

Sourdough bread has a gorgeous, thick, crunchy crust with a tender, chewy inside. To get this combination you will need to bake the bread a little darker than you would normally bake, say, dinner rolls. You don’t want “just kissed with golden brown.” You want “Senior citizen on a Florida beach who forgot to wear sunscreen” brown. Bake that sucker until it is a dark, caramelized, rich mahogany brown. If you start to get a little too brown (read: black) on the very top, cover the very top with a small circle of aluminum foil, but leave the rest of the loaf exposed. We want that dark, rich color. You are literally baking flavor, here. Don’t skimp.

So how do you tell when this magnificence is finished? I’m so glad you asked.
You didn’t ask? Hmm. Well, let’s pretend you did. You are so accommodating. I love working with you.
There are 2 ways to tell that your bread is done. One way is by taking its temperature. (No, the bread is not sick. Then why are we taking its temperature? Shhhhh. I’m about to show you.) Take a digital cooking thermometer and stick it into the center of the bread. When you get to 200 degrees, your bread is done.
If you don’t have a thermometer, carefully remove the bread from the Dutch oven. Flip it over (holding it with potholders or a thick towel– it’s HOT!– and “thump” on the bottom of it. If you knock and it sounds like knocking on a door, it’s done. Let it cool on a cooling rack completely before slicing (this allows the center to finish baking, if it needs it, and also helps to keep the inside moist by allowing the steam to recirculate).

Then, get you a BIGGGGGG old bread knife. You need a knife that is like, almost a small saw. This is the one I have. It’s fantastic. It makes me feel like I could do anything– you know, like saw through a gigantic caveman loaf of bread or cut drywall or something. Maybe I could even cut up chunks of food for my tiger cub with it? You know. Theoretically.
A knife with POWAHHHH!!!!! Get one. You deserve it.

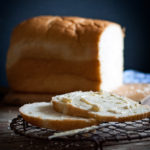
Slicing into this beautiful beast is a feast for the senses. You can hear the crackle of the crust. You see the crumbs spray as your knife tears into that gorgeous, mahogany top. You might even catch a whiff of gorgeous, distinctive sourdough scent. Slather some gorgeous, freshly whipped butter on a piece of that golden brown loveliness.

Smell the gorgeous sourdough scent that you worked for. Taste the crunch of that unbelievably crispy crust. Taste the soft, tender interior. Close your eyes. Smile.
You did it. And I’m just so proud of you.

Disclosure: This post may contain affiliate links, which just means that we get a few pennies if you purchase through our link. I never recommend products that I don't personally use and love. Thanks!


Wow beautiful bread Emilie. I love making sourdough it is so rewarding. The first starter I made was with a dried San Francisco sourdough starter. It lasted a few years my currant starter is about 5 years old so a baby really but made with local wild yeasts.
You are the bread baking goddess. So having your approval is like a blue ribbon to me! 🙂 Must be your baker’s genes! 🙂 Thank you for taking time to read and comment <3