Cherry pie is my absolute favorite pie of all time. Although it’s not a pie you see often at get-togethers, to me it represents the timeless beauty of another era. It’s a real treat when I’m lucky enough to have it created from the hands of a Grandma who uses real, old-fashioned tart cherries– a breed of fruit found only on old, heirloom trees, anymore. To taste a real, old-fashioned cherry pie is to take a trip down memory lane. One bite and I am transported back to a simpler time when fresh, summer breezes rustled lace curtains through wide open windows, clothes drifted in the breeze, and a man’s handshake was as good as a signed contract. I miss those days. Luckily, even if the years pass by, we can still remember those times with a sweet, modern take on a classic recipe.
What are we waiting for? Let’s do this!
Mini Cherry Tarts
(adapted from Allrecipes.com)
Ingredients:
2 cans sour cherries, drained
3/4 cup white sugar
1 lemon, juiced
1/4 cup cornstarch + 2-3 tbsp. water
4 single pie crusts (homemade or bought crusts (2 packs) work fine)
Egg wash and sparkling sugar, if desired
Directions:
Drain cherries and place cherries, sugar, and lemon juice in a medium saucepan on medium low heat. When mixture has started to bubble, add in cornstarch/water mixture and continue heating slowly and stirring until mixture becomes the consistency of cherry pie filling. Turn off stove and preheat oven to 350 degrees. Cut 4 circles out of each pie crust (4-5 inch circles work well– I used a small plastic bowl to cut out my shapes) and spoon 2-3 tbsp. of cooled pie filling into the center of each circle. Place circles on silpat-lined baking sheet and crimp (more on this in a minute). Brush crust with egg wash and sprinkle with sparkling sugar, if desired. Bake at 350 for 15-20 minutes, until crust is golden brown.
Now, in pictures! 🙂 And please remember to follow me on Facebook and Pinterest for more great recipes! ?
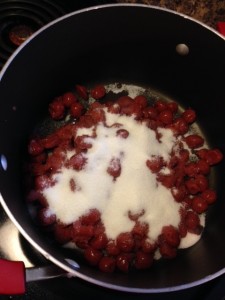
Do you want to make this with me? Pretty please, with a cherry on top? (Oh man. I can hear the homemade jokes starting up. I shall try to refrain, for your sakes. 🙂
To start with, I am using two 15 oz. cans of sour cherries, in water. If you are lucky enough to have access to fresh sour cherries, then this recipe takes about 4 cups, with pits and stems removed. If you are using canned cherries, then drain them and throw the cherries, sugar, and lemon juice into a medium saucepan. Start the heat on medium low. We want to coax the juice out of these babies, and low heat does that best. It will seem like they lost all their juice when you drained them, but voila . . . somehow where there’s a will there’s a way, and they will be saucy and delicious here, in a few minutes.
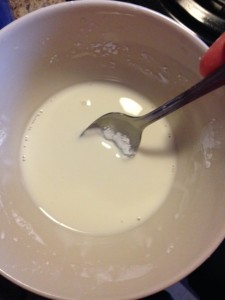
When the cherry mixture has gotten hot enough to start “almost” boiling (you will see an occasional bubble, but it won’t be fully boiling), it’s time to add the cornstarch. Cornstarch is kind of like the bully of the kitchen playground– it plays rough and always get everything messy. But, if you can control it, then you’ve got some real power. It’s messy, though. No matter how careful I am, somehow cornstarch always manages to get all over me. You may be able to save money on your snowy Christmas decorations– just make this recipe 😉
Add your cornstarch to a separate bowl, along with several tbsp. of water. You want just enough water that you can mix the cornstarch into a milky liquid. It will seem at first like the big, bad cornstarch wants to fight you all the way– it will almost seem like it turns to cement, at the bottom of the bowl. But just keep stirring, and eventually, like all bullies, it will relent and play nice. When it gets to be a liquid that looks like milk, quickly add it to the hot cherry mixture, before it has a chance to separate back out into a solid (I keep stirring right up until I add it to keep the cornstarch from separating before I add it to the cherries).
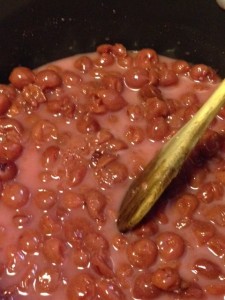
Mix the cornstarch into the fruit. Even though you tamed the mean ‘ole cornstarch, for now, it still isn’t dead. It will try to clump up on the bottom when you’re not looking. Keep stirring every few minutes while the mixture heats, and be sure to scrape all the corners of your pan, so that it doesn’t get a white solid on the bottom. Keep the heat on low and keep stirring until the mixture starts to thicken up.
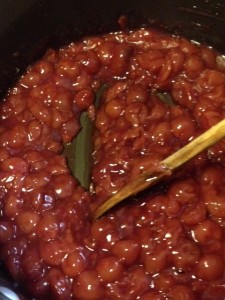
After a few minutes, the mixture will thicken to the consistency of cherry pie filling, which is exactly what you just made 🙂 Go ahead and turn the heat off under the cherries, and let’s start working on the pie crusts.
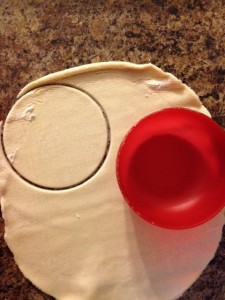
You will need 4 single pie crusts for these mini tarts– I am using bought pie crusts (2 packs), but you can make your own crust, if you want to. You want to cut 4 circles from each pie crust– you can use a knife to cut the circles, or you can use a small bowl to cut out the shapes. I used a small plastic bowl, and it worked perfectly. I guess that even if this bowl’s career containing toddler snacks has been a failure (hellooooo flying Cheez-Its . . .), it can start a night job cutting pie crusts. Does that job come with benefits? 😉
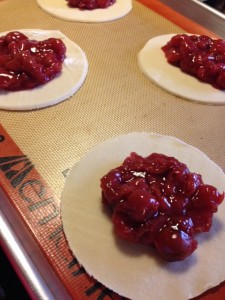
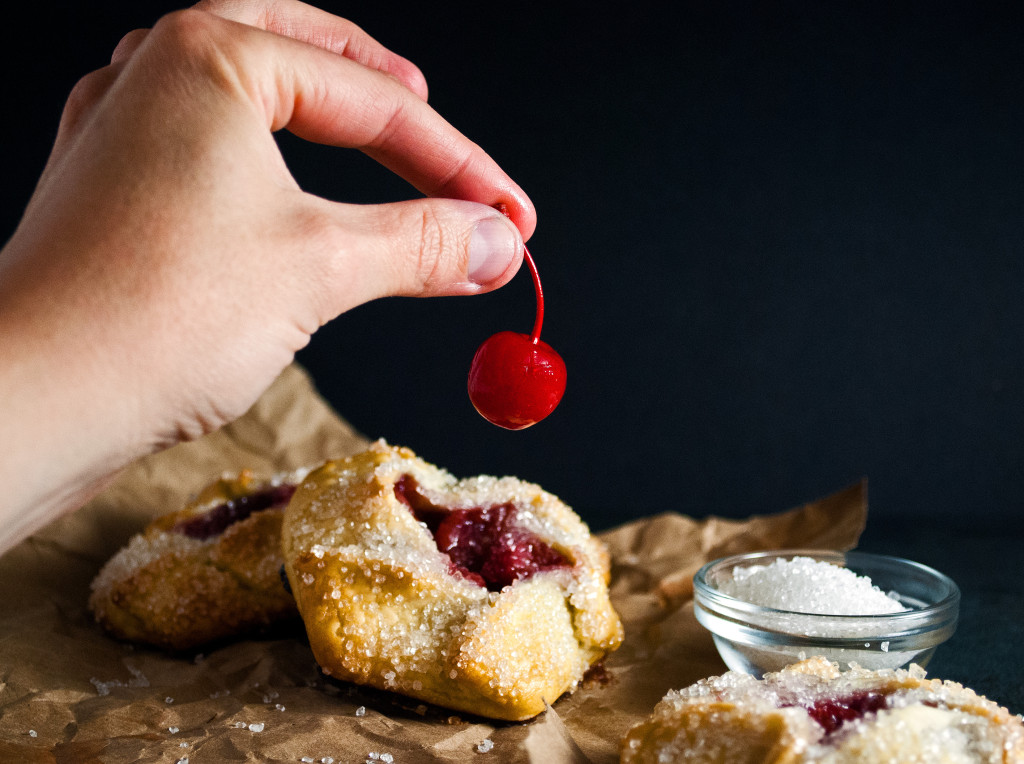
Place your pie crusts onto a silpat-lined baking sheet. You want to put about 2-3 tbsp. of filling into the center of each one, depending on how big your circles are. I made some with a decent amount of filling, like these in the picture, and I also made some with a smaller amount of filling, just to see how they looked. It’s really up to you on how much fruit you want showing in the finished tarts (more fruit added shows more cherries and less crust in the final product).
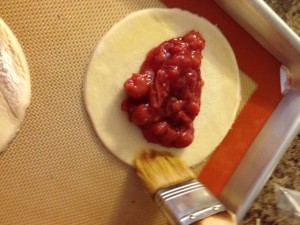
Now, it’s time for an egg wash. Egg wash is 1 beaten egg mixed with about 1 tsp. water. Egg wash is kind of like the “glue” of the pastry world. Brush egg wash around the cherry filling so that it will be nice and sticky when you press the pastry into shape. (Come on, crust! It’s time to GET IN SHAPE!)
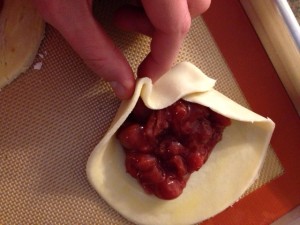
Go around the cherry filling, kind of crimping the crust as you go. Pinch the folded over parts so that the egg wash can stick the dough together.
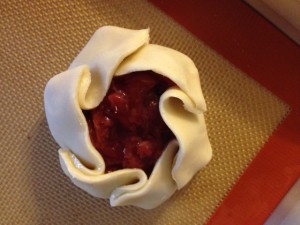
When you have the whole circle “crimped,” it will look so cute. Aww– look at that sweet little nest you just made! Use your egg wash, again, to lightly brush the sides of the crust. The egg wash also helps pastry to get nice and golden brown. It’s quite the team player, and it can do a little bit of everything. (Hey– can egg wash pay off my student loans? That would be nice. haha. Well, you said it could do anything!).
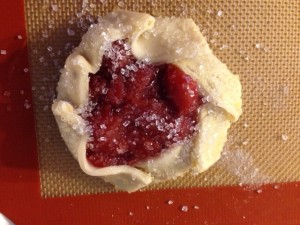
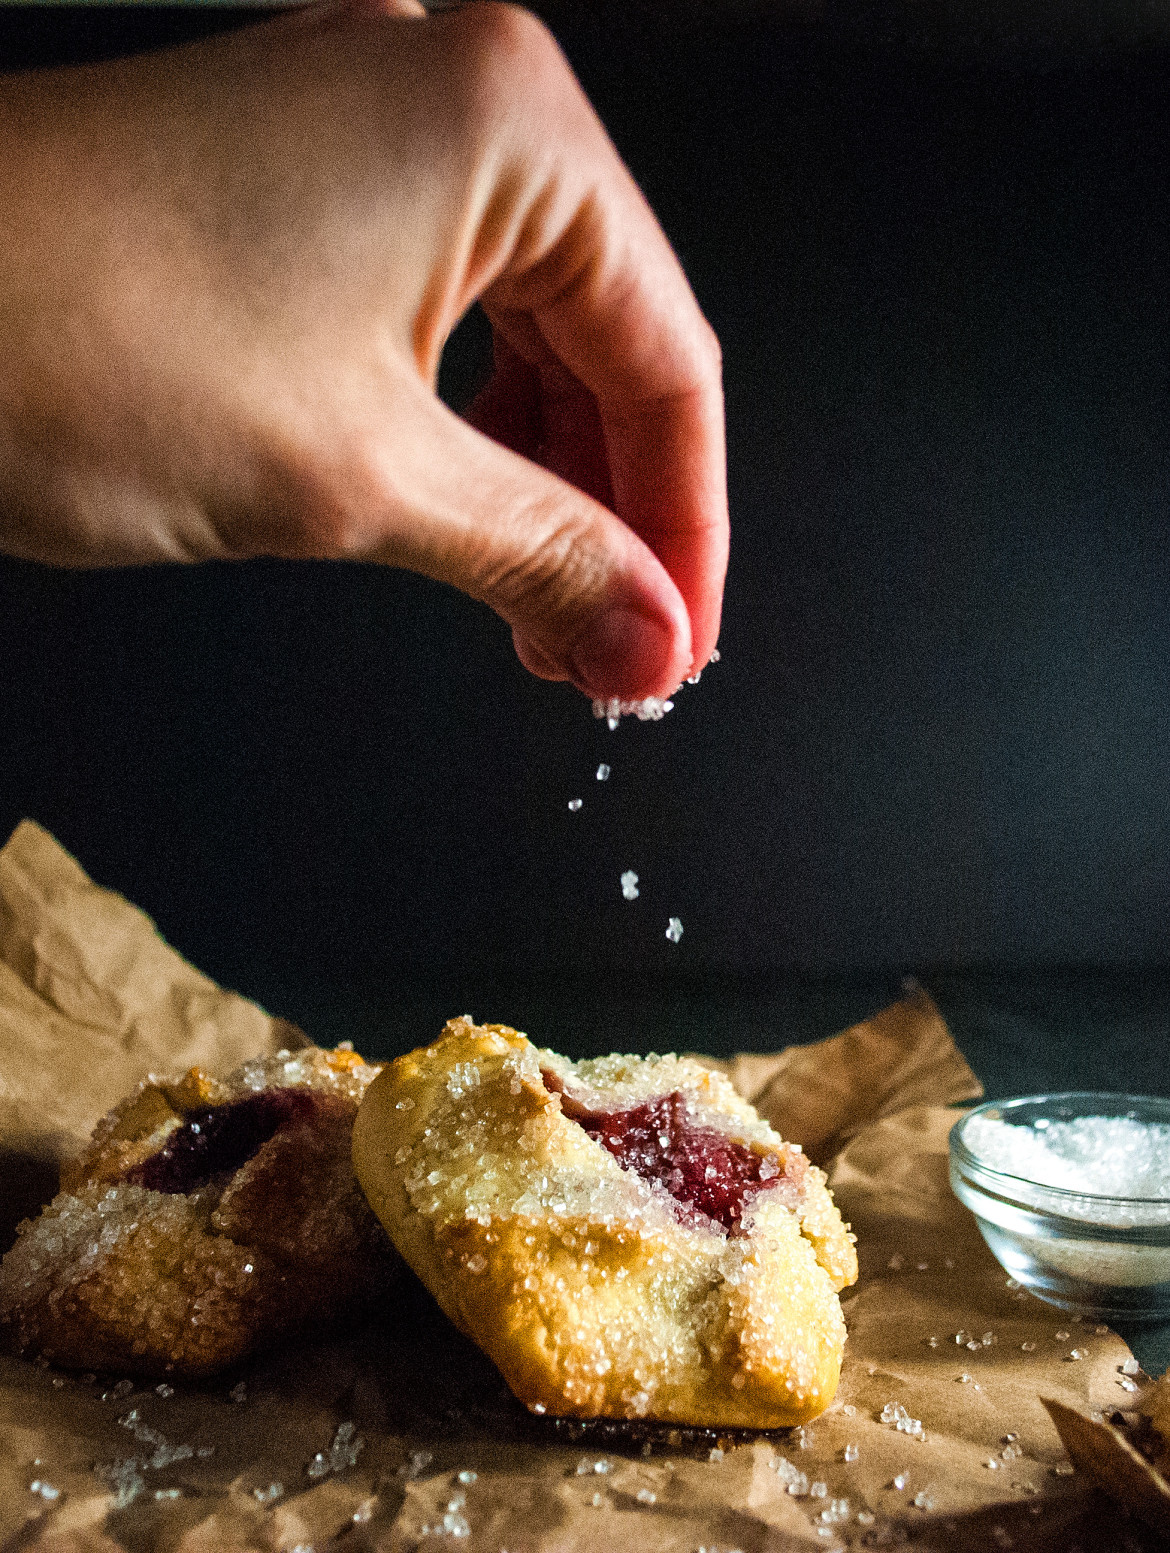
After you have brushed the rest of the crust with egg wash, dust a little sparkling sugar over the top and sides. I love King Arthur Flour’s sparkling sugar because it’s glittery and crunchy, and, unlike some sugars, it doesn’t melt when placed on top of baked goods. Pick up this edible bling here.
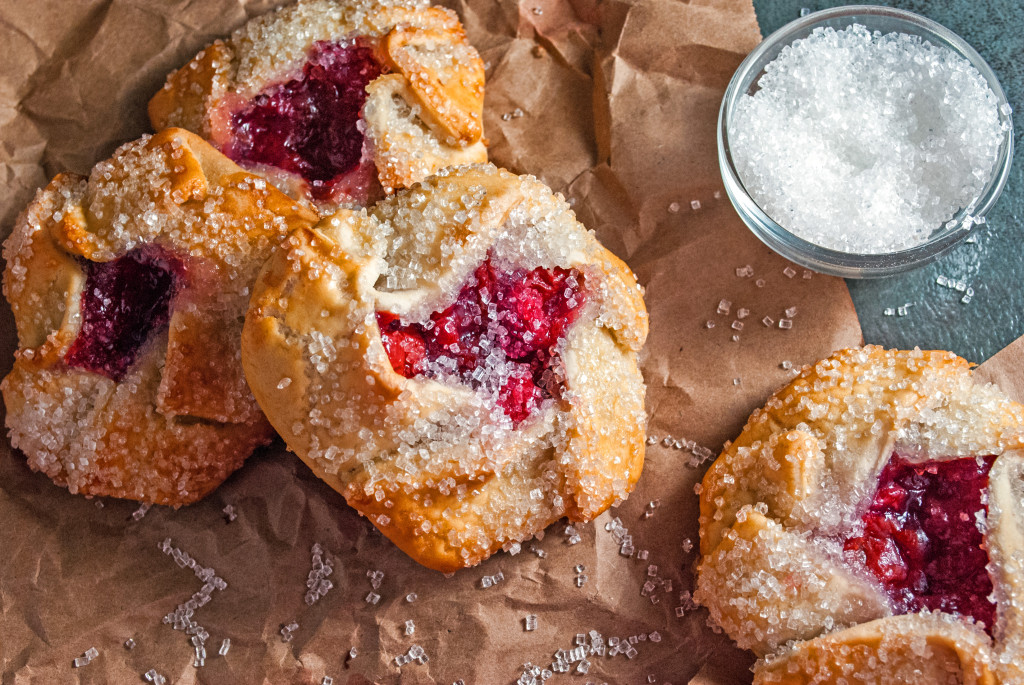
Bake the tarts at 350 for 15-20 minutes, until the crusts are golden brown. The filling is already cooked, so all you really need to watch is the crust. When the pies are finished, allow them to cool on a cooling rack before diving in.
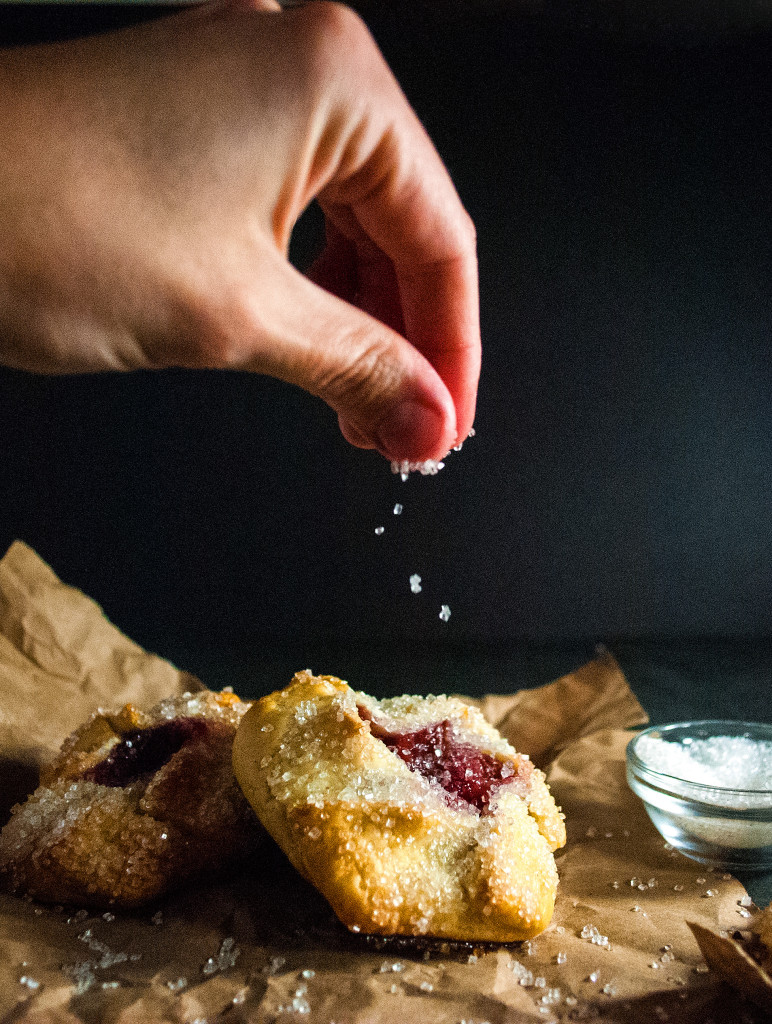
Or just dive into them, still warm, with a little scoop of vanilla ice cream. These little snacks are perfect for a cute afternoon treat, or as an accompaniment for a Mother’s Day afternoon tea or Easter brunch. No matter where you serve them, they’re bound to be a hit. I don’t think George Washington really cut down that legendary cherry tree. Naw– they’re just too delicious.
You did it. And I’m just so proud of you.

Disclosure: This post may contain affiliate links, which just means that we get a few pennies if you purchase through our link. I never recommend products that I don't personally use and love. Thanks!
