
Have you ever tried mint chocolate chip ice cream made with fresh mint? It all started when the store was out of EVERYTHING because of the COVID-19 panic. We were stranded together like cats in a sack, and the store was out of ice cream. This should be illegal. Ice cream should be life flighted in when one is forced to spend weeks upon weeks with one’s loved ones in the same house, without respite. Ahhhh the humanity!
I had the first, beautiful tendrils of fresh mint growing in my garden. I was craving mint chocolate chip. Once you taste mint chocolate chip made with real mint you will be amazed how much different it is from the regular fluorescent green stuff at the store. It has an herbaceous, well, “fresh” taste to it. It tastes like spring.
And stress relief.
What are we waiting for? Let’s do this!
Fresh Mint Chocolate Chip Ice Cream
(Original recipe from David Lebovitz’ The Perfect Scoop).
Ingredients:
1 cup whole milk
2 cups heavy cream (divided)
3/4 cup white sugar
2 cups fresh mint leaves, washed
Pinch salt
5 egg yolks (you can use your leftover whites to make homemade waffle cones, here)
1 tsp. vanilla extract
Directions:
Heat milk, sugar, 1 cup heavy cream (save other cup for later), and salt in a medium saucepan until nicely warm (not hot or boiling). Turn off the heat and add your washed mint leaves to the pan, stirring slightly to coat them. Cover the pan and allow leaves to steep in the cream mixture (with the heat off) for 1 hour.
Strain the mint leaves out of the milk mixture, pressing through a fine mesh strainer to get all the mint extract out of the leaves. The leaves should be dull in color now, and your milk should be slightly green. If you have some garden specks in the milk, run your mixture through a coffee filter to remove them. Reheat milk mixture until very warm but not boiling. Whisk egg yolks together in a separate bowl and slowly drizzle warm milk into eggs, whisking continually so that the eggs do not scramble. When the hot milk has been added completely to the eggs return the mixture to the saucepan and heat until the mixture thickens slightly and coats the spatula (roughly 160-165 degrees if you want to use a candy thermometer to measure the temperature).
While the milk/egg mixture heats, pour the remaining cup of cream into a bowl and place a fine mesh strainer overtop, waiting for the milk to be thick enough to coat the back of a spatula. When the milk is slightly thickened, pour the milk/egg mixture through the fine mesh strainer into the cream. Stir in vanilla. Cover bowl with plastic wrap and refrigerate mixture until completely chilled. Churn in ice cream maker
according to manufacturer’s directions.
Let’s take a look at the process in pictures. ?
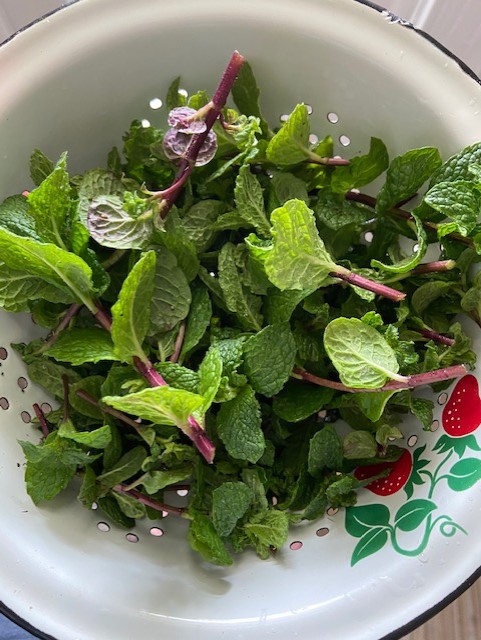
Mint really is an extraordinarily beautiful plant. It has delicate green leaves on dark, plum-colored stems. My mom taught me to find mint by feeling the stem of the plant– mint has a square stem. You can also, of course, rub a few leaves together and find mint by the scent. When in doubt buy a bunch of mint leaves from your local farmers’ market. Support local businesses and get ice cream for yourself. Win win.
Start out by picking about 2 cups of fresh mint leaves. Wash them as well as you can and set them aside. As with any plant you may not be able to get 100% of the garden particles off of them, but don’t worry– we will take care of any stragglers in a moment. Do the best you can.
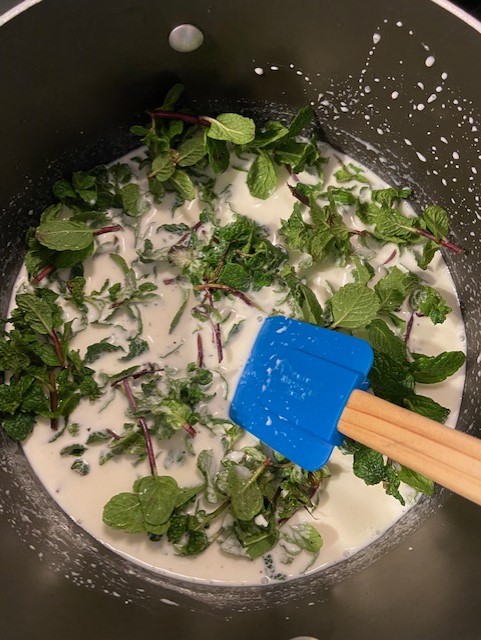
Ice cream is basically a custard base, frozen. To start making our creme anglaise (ice cream base) we want to place 1 cup of milk, 1 cup of the heavy cream (save the other cup for later), the white sugar, and the pinch of salt into a saucepan. Heat the milk mixture until it is nice and warm (not hot or steaming). Place your mint leaves into the mixture and stir them a little bit to make sure that all the leaves are covered in the warm milk (which will start them wilting and convince them very sweetly to give up their minty loveliness and donate it to our ice cream emergency cause). Cover the pot and let the mint leaves enjoy their hot tub for 1 hour. Ahhhhhhh nice. Tell them this is a nice place. All the best amenities.
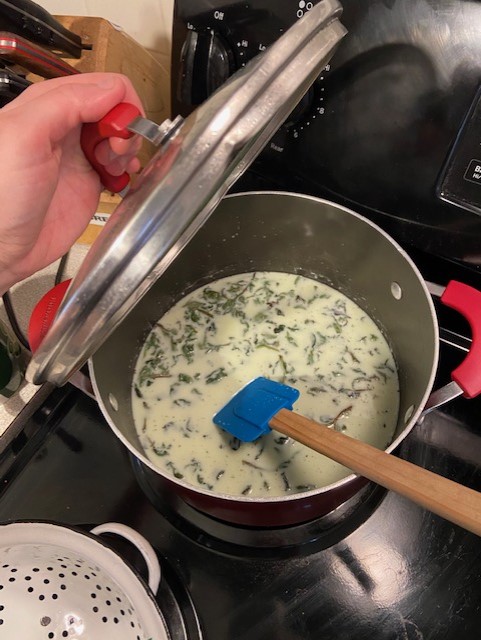
After an hour your leaves should be wilted completely into the milk. The mixture will probably be slightly green, depending on the freshness of your mint leaves. This is exactly what you want to happen. Good job. You’re a genius– I love working with you.
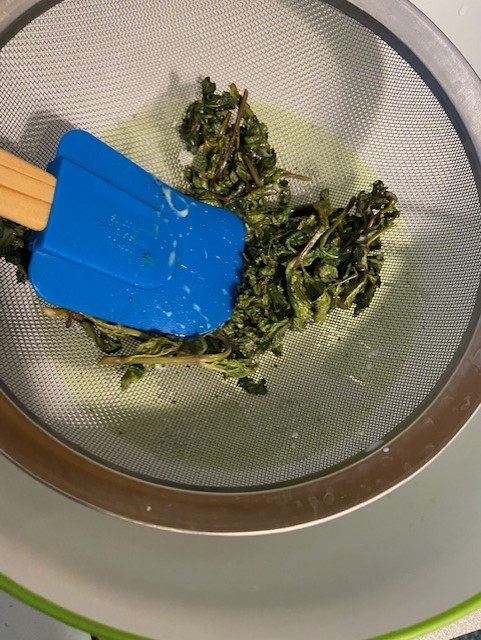
Run your mixture through a fine mesh strainer and use a spatula to “squish” the mint leaves down against the strainer. You want to squeeze out as much of the mint juice as you can. Notice how the leaves are kind of dull in color now? They donated their color for your ice cream. See? How self sacrificing are they?

Remember at the beginning we mentioned that you may not be able to get all the garden debris out of the leaves by washing? This is where you make that right. If you have some specks of garden dirt left in your leaves (they can hide anywhere. Trust me), then run the “green milk” through a coffee filter set inside your fine mesh strainer. Running the milk through the strainer will catch any last minute particles that you may have missed before you move on to making your ice cream. I washed my leaves about 3 times, but I still missed some garden specks. Run your milk through the coffee filter. Those little dirt specks are masters at hide and seek.
When you have your green milk “de-gardenified,” it’s time for the fun part– making the ice cream. This part goes quickly so I didn’t have a chance to take a picture of everything (being a one horse pony, I needed my hands for the whisking and couldn’t spare one for a photo). But in a nutshell, here’s what you do:
Start by reheating your green milk. It shouldn’t be hot– just nice and warm. Meanwhile, separate 5 eggs into yolks and whites. My suggestions is to use your leftover whites to make homemade waffle cones later. You can thank me later, when you are in warm waffle cone, ice cream bliss.
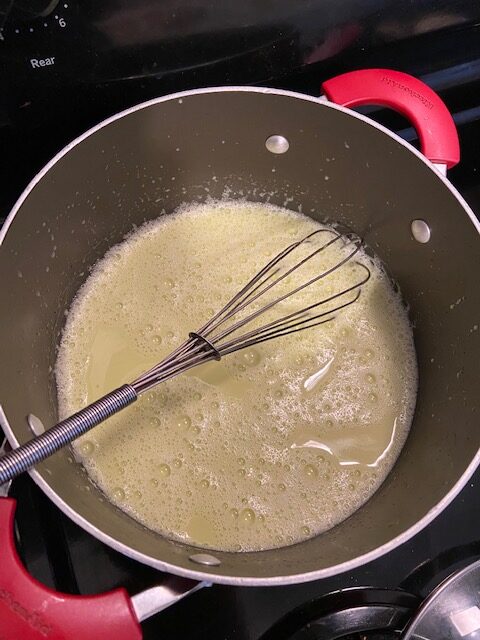
Whisk the egg yolks together in a bowl. Now this part is the one that goes quickly, and that’s the reason I couldn’t get a picture. You have to whisk those egg yolks CONSTANTLY while you dribble the very warm milk into them. If you don’t whisk, then you will get scrambled eggs. Whisking as you add the hot liquid gradually means that the temperature of the eggs raises gradually enough that you don’t scramble the egg yolks. When you get all the warm milk whisked in, return the entire mixture to the pan. It will be kind of a weird, gray green color. Don’t worry– that changes when we make the ice cream. Green Eggs and Ham weren’t made in a day, you know.
Oh, they WERE made in a day? I’m sorry. Please forgive me. I don’t want a law Seuss on my hands. *snicker*
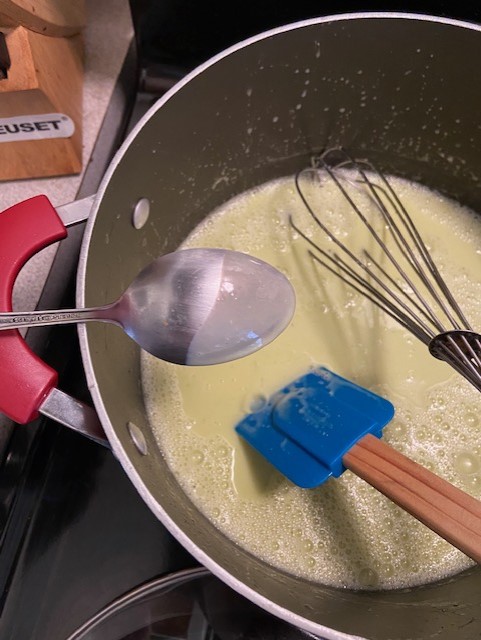
Heat this ice cream base over medium heat until the mixture is about 160 degrees– or until it coats the back of a spoon like, well, like melted ice cream. It should be hot but not at all steaming or boiling. If you get it that hot, it is too hot and likely ruined (gross, cooked egg gunk on the bottom of the pan. Eww). Just look for very warm temperature, and thick enough to coat the back of your spoon. Keep whisking as you go to make sure that no eggs start to cook on the bottom of the pan.
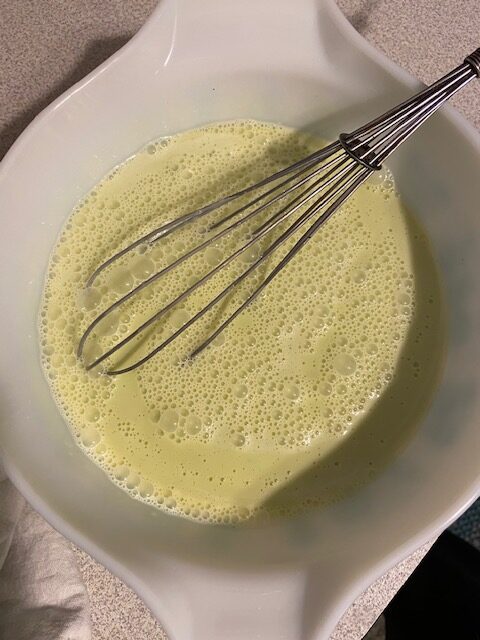
Pour your finished “hot green milk” through the fine mesh strainer again, just to make sure you catch any pieces of egg yolk that accidentally cooked in there. No one wants a mouthful of scrambled eggs in ice cream. Yuck. Add in your extra cup of heavy cream and vanilla and whisk together. Cover your bowl with plastic wrap and refrigerate until your mixture is chilled (several hours or up to overnight). Yes you CAN make your ice cream now, but if your custard is warm the finished product will have ice crystals in it. Have you ever gotten ice cream that had like, little bits of ice in it? The makers probably poured their custard into the machine when the creme anglaise was too warm. See? You’re like the Sherlock Holmes of ice cream. You’re so smart. I love working with you.
When your ice cream base is completely chilled, it’s time to MAKE SOME ICE CREAM BABY! Well. We don’t want to make literal ice cream babies. That’s cold.
Hehe. See what I did there? Ok that wasn’t funny.
Ok it was kind of funny.
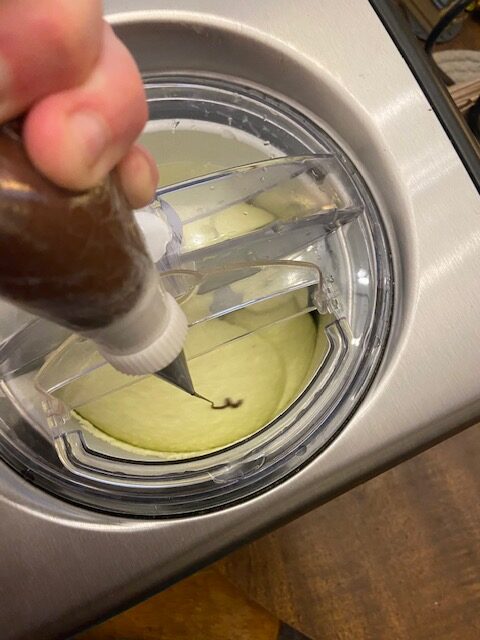
I have the Cuisnart ice cream maker. I absolutely love it– you just plug it in and go– no bowl chilling (or freezer space sucking) required. If you want to add “chocolate chips” to your ice cream, use a piping bag and a small tip (I used a Wilton #2
) to drizzle a stream of melted chocolate into your mixture when it is almost completely frozen. The chocolate “line” will break up as the ice cream machine spins, resulting in perfect little fragments of chocolate throughout. The Italians call this technique “stracciatella,” or streaming melted chocolate into churning ice cream to create tiny, fine flakes of chocolate throughout the finished product. And the Italians know their ice cream.

If you are new to ice cream making, then I highly recommend these ice cream containers. You freeze them beforehand, and then they are ready to cradle your perfectly spun (but soft serve consistency) ice cream when it first comes out of the machine. You worked hard for this. Don’t let all your hard work melt into ice cream oblivion. The air “layer” around the inside of the ice cream container also protects your finished ice cream from temperature fluctuations in your freezer, stopping those annoying ice crystal garden science experiments from forming on the top anytime you store ice cream on the freezer door. You’re welcome.

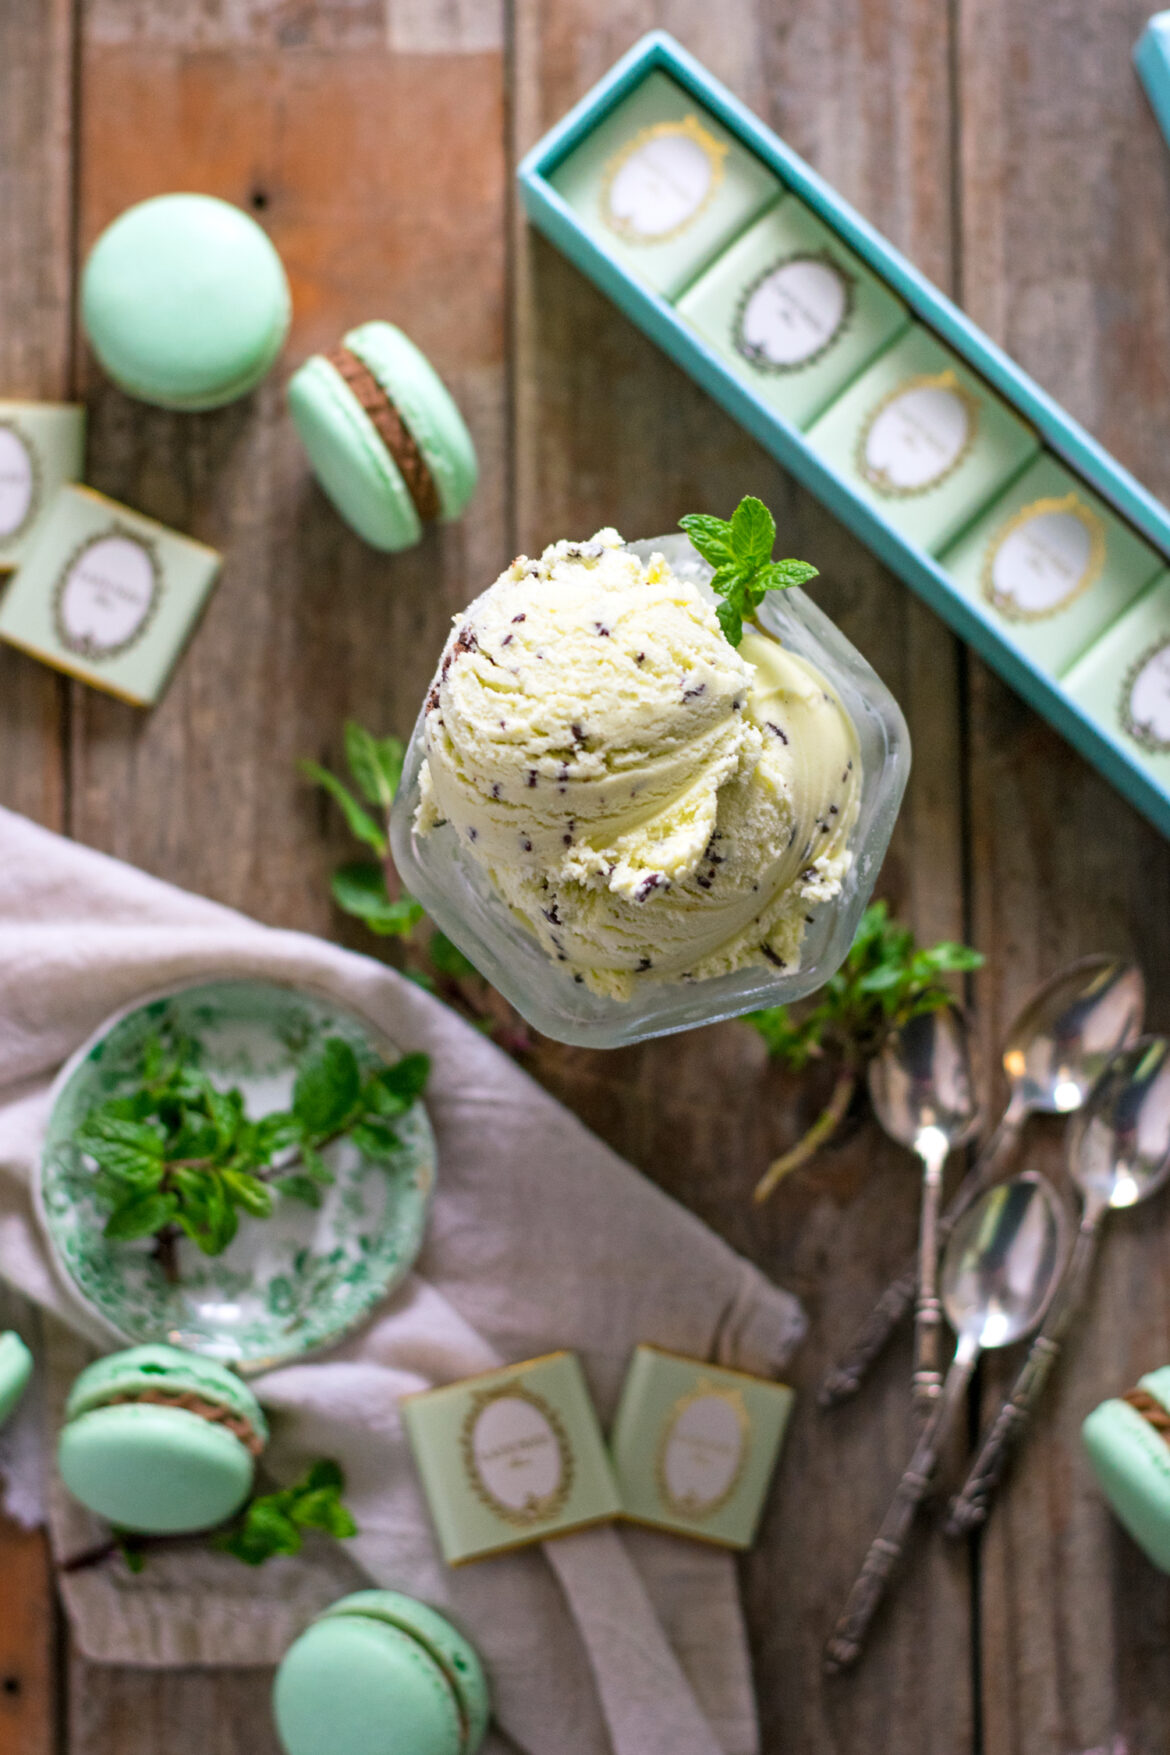
Of course, after you have allowed your ice cream to “chill out” in the freezer for a few hours it’s time to get that perfect, airy, fresh mint scoop that you have worked so hard for.

Look at that. You didn’t even use food coloring and LOOK at that fresh spring green! You ice cream goddess, you.

Take a bite. Taste the creamy, airy loveliness of the custard. Taste that fresh, spring sweetness of the mint. Taste the little flecks of chocolate that YOU CREATED FROM NOTHING.
When the entire world is out of ice cream, you found a way.
You’re amazing.
Because you did it. And I’m just so proud of you.

Disclosure: This post may contain affiliate links, which just means that we get a few pennies if you purchase through our link. I never recommend products that I don't personally use and love. Thanks!