I have a love hate relationship with fried chicken. Well . . . mostly love. This amazing, crispy Southern delicacy can get even the most stalwart dieting heart pumping with lust. But, unfortunately, like so many Southern staples, if you didn’t grow up making them (as I did not), they seem to taunt you as you attempt to recreate them . . . their perfection always *just* out of reach. I always seemed to get chicken that was super dried out and somewhat burned, on the edges, or chicken that was beautiful on the outside, but nasty and undercooked on the inside.
So, when my heart longed for Southern perfection, I patronized KFC. And don’t get me wrong . . . KFC is awesome. But there’s just something satisfying about making your very own, crispy fried chicken in your own kitchen. It makes me feel like a mighty Grandmother, carving out the frontier with nothing but my apron and my rolling pin. And you can totally do it, too.
What are we waiting for? Let’s do this!
Classic Southern Fried Chicken
(adapted from allrecipes.com)
Ingredients:
1 whole chicken, cut into individual pieces
2 eggs
1 cup buttermilk
1 1/2 cups all purpose flour
1 1/2 tsp. paprika
3 tsp. garlic salt
1 1/2 tsp. black pepper
1 1/2 tsp. cornstarch
Directions:
Cut up and prepare a whole chicken (see how to do that here). You can either take the skin off, or leave it on, depending on your preference. Whisk together flour, garlic salt, paprika, cornstarch, and pepper, and set aside. In a separate bowl whisk together eggs and buttermilk, and set aside. Dip your chicken pieces in seasoned flour, then in egg/buttermilk mixture, then in the seasoned flour, again. Allow breaded chicken to sit for 20 minutes or so, until it appears to be slightly “gummy” (this helps the coating adhere better). Place chicken pieces, without crowding them, into a cast iron dutch oven full of oil heated to 325 degrees. Cook chicken pieces for roughly 10 minutes on the first side before turning chicken and allowing it to brown on the other side. Place finished chicken on drying rack over a silpat-lined baking sheet to allow it to crisp and drain. For larger pieces, like the breasts, you may need to pop them, silpat, rack, and all, into a 400 degree oven for 5-7 minutes, until internal temperature registers at least 160 degrees.
Now, in pictures! 🙂

Why did the chicken cross the road? Um . . . to raise fried chicken awareness? I don’t know. But I do know that perfect, crispy fried chicken is a lot easier than I had originally thought. You can whip up this delicious dinner on Sunday, just like a classy Southern Grandma. Trust me . . . your family will LOVE this new tradition. So let’s get right to it! You’ll be calling yourself “The Colonel” in no time. 😉
First, cut up a whole chicken. (*Oh my goodness. I have never cut up a whole chicken before! I can’t do this! I better hurry up and go out before KFC closes! I’m hyperventilating!*) Naw . . . don’t stress out. You CAN DO IT!!! See my tutorial
here if you need a little guidance. I promise . . . chickens’ barks are worse than their bites. Wait. Do chickens bite? So weird.
Moving on!

I like to start by getting my bowls all set up. First, whisk together your flour and seasonings. Set that bowl aside. Then use a fork to mix up your eggs and buttermilk in another bowl. Good. Done. See how easy that was? Meanwhile, use a cast iron skillet or Dutch Oven to start heating your oil. You can use any kind of pan that you like, but my favorite type of pan to use for fried chicken bliss is the Le Creuset Dutch Oven (get this
here
). I like to use peanut oil, but any kind of oil is fine– heat your oil to about 325 degrees (a candy thermometer works great for testing your temperature).
Now, let’s get to breading!!! Try to keep one hand for “wet” and one hand for “dry” ingredients– trust me– it’s much less messy this way. Roll the chicken in your seasoned flour, then in egg wash, then in the seasoned flour, again. Kind of “pat” the seasoned flour onto the egg washed chicken to make sure that your coating adheres really well. We don’t want our crispiness slithering off! Allow the breaded chicken pieces to rest on a plate for a few minutes before you fry them– this helps the coating really stick to the chicken. Man . . . I hate it when I bite into a piece of chicken and all the coating comes off in one piece. Blah. Allowing the chicken to rest will help that coating to hang on for dear life! When it’s ready to cook, the chicken will look kind of “gummy.” That means it’s time for fried bliss. 😉

As I mentioned before, it really does make the difference to use a cast iron Dutch Oven or skillet to fry your chicken. Those Southern Grandmas knew what they were doing. Cast Iron holds the heat super well– when you place cold pieces of meat into the oil, the temperature stays consistent, rather than dropping and making the oil cold. Cold oil=greasy, nasty chicken. Hot oil=crispy, amazing chicken.
I recommend using a candy thermometer and trying to keep your oil close to 325/330 degrees. Sometimes I heat the oil a little hotter (350 or so) because the temperature will drop, slightly, when you place the cold chicken into the oil. But try to stick as close to 325 as you can while you’re cooking the pieces. It also helps to fry onto 3-4 pieces at a time, so you don’t end up cooling your oil off too much.

After about 8-10 minutes, when your chicken is browned on one side, flip it over and allow the other side to cook. Mmmmm . . . . move over, Colonel! There’s a new chicken chef in town! Meanwhile, prepare a silpat-lined baking sheet with a drying rack. What is a silpat, you say? Oh my goodness! You NEED a silpat in your life. These little beauties can go right from oven to freezer and back again, and make it look easy. They are the best reusable parchment paper ever– and nothing sticks to them. I use them for everything from rolling out pie crust to kneading bread dough– and then just wipe off the mess. They are just awesome. Get a silpat
here
.

When the chicken pieces are done, place them on the drying rack to . . . well . . . dry. This sitting allows the chicken to crisp up and become that to-die-for crunchy chicken that you love. Don’t be surprised if a few of the chicken wings “fly away” while they are drying. Amazing how that happens when the family knows that a good meal is cooking. 😉 Sometimes the larger pieces, like chicken breasts, need a few minutes in the oven to finish cooking their centers. Use a meat thermometer to check the larger pieces– they need to be a minimum internal temperature of 160, but I prefer between 165-170. If they aren’t quite there, put the rack, silpat, baking sheet and all into a 400 degree oven for 5 minutes or so, just so the middles finish cooking. The smaller pieces are usually fine without any extra baking time, but I go ahead and check their temperatures, anyway. What can I say . . . I’m a Mom. I’m an expert at taking temperatures. And cleaning up messes. And portioning out goldfish crackers . . .
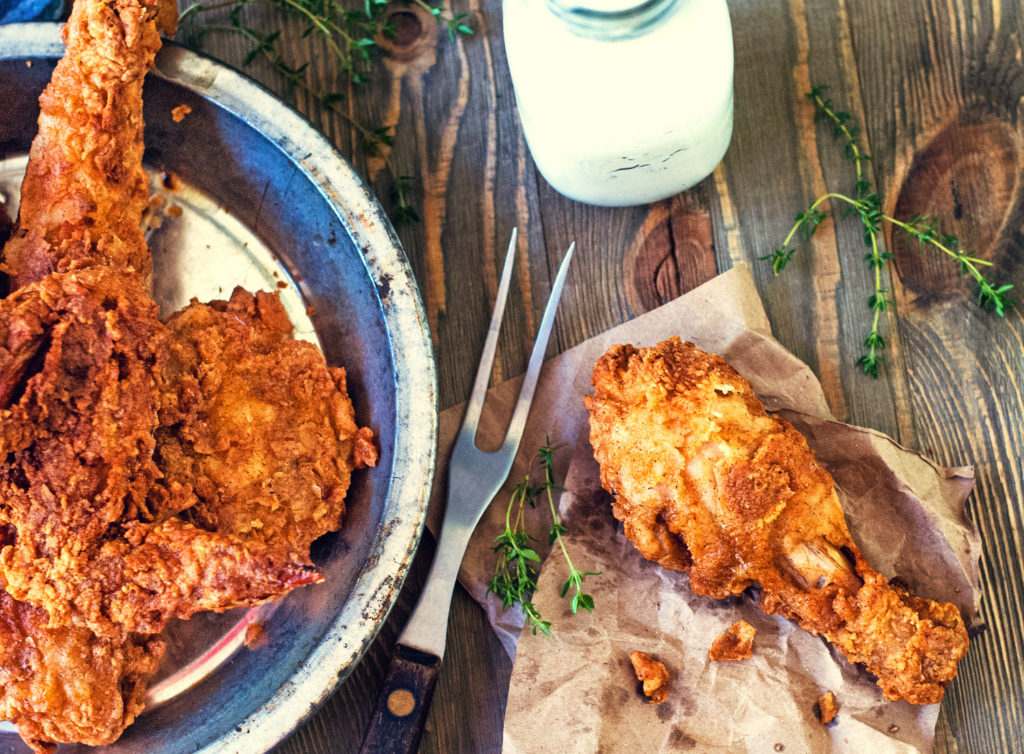
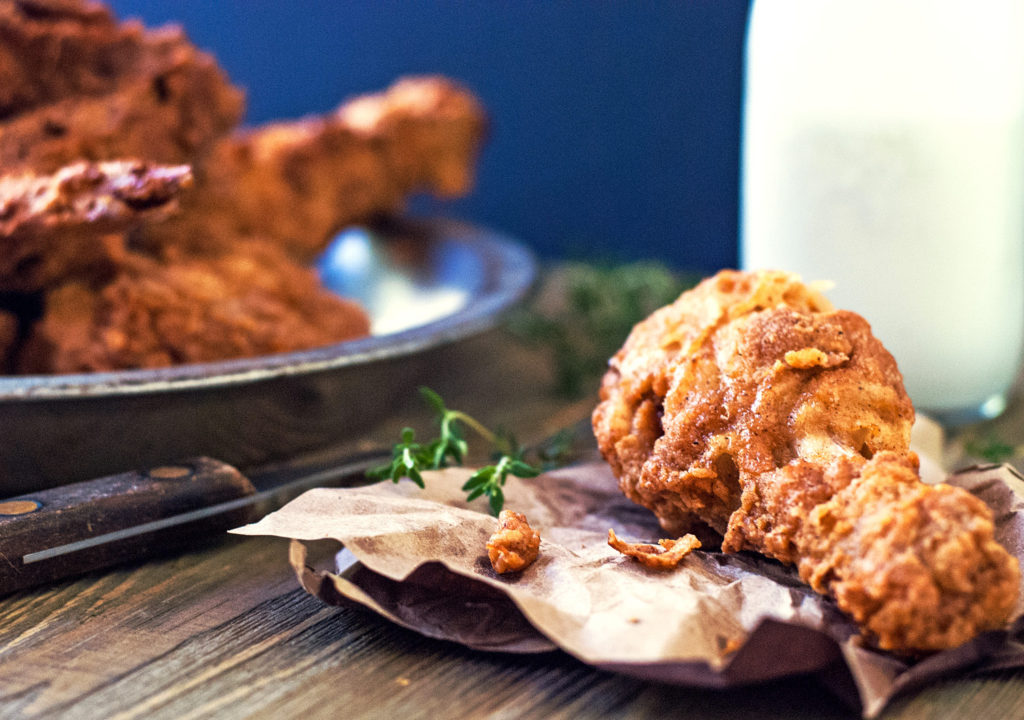
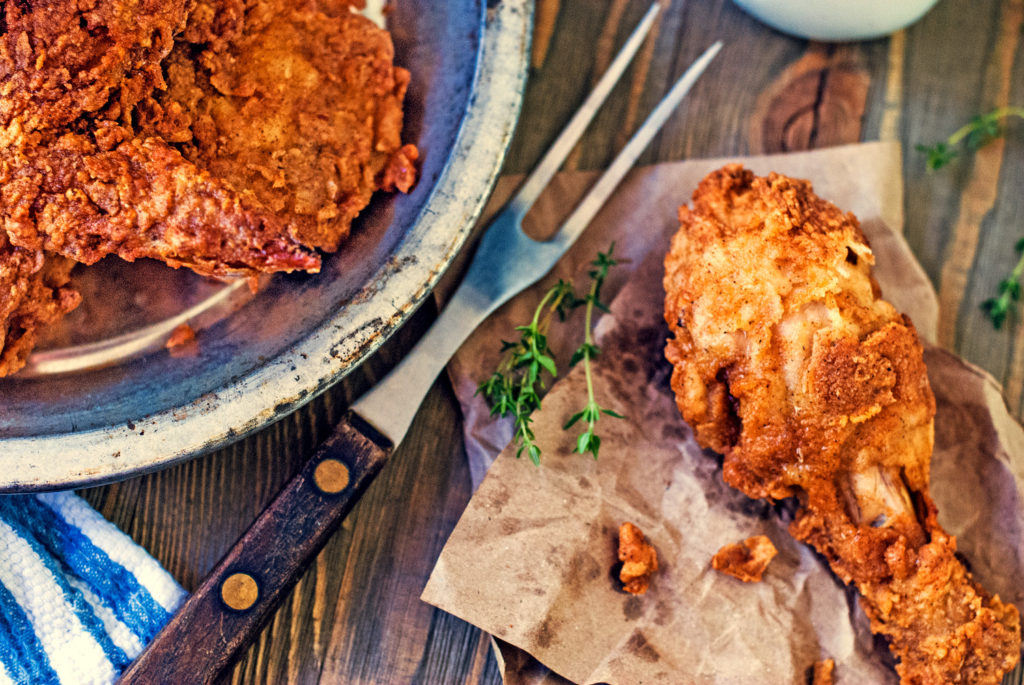
Because you were such awesome students and let your chicken pieces sit until they got gummy, your crust is this amazingly crisp, delicious coating with that eyes-roll-back-in-your-head-delicious feature at no additional charge. Yes. Look at that golden brown loveliness. You MADE THAT. Seriously. Does anything feel better than that?
Pack up your chicken dinner loveliness and take your family on one last, golden summer picnic. Let the kids play at the park. Make some dandelion wishes. Savor these last few, beautiful days of summer.
Or just make it for a big family dinner on Sunday– big steaming platters of chicken, biscuits, and gravy. Enjoy the time together. Laugh. Talk. Turn off the gadgets and spend time with your family. Your cell phone can wait. Family is more important.
You did it. And I’m just so proud of you.

Disclosure: This post may contain affiliate links, which just means that we get a few pennies if you purchase through our link. I never recommend products that I don't personally use and love. Thanks!
 I like to start by getting my bowls all set up. First, whisk together your flour and seasonings. Set that bowl aside. Then use a fork to mix up your eggs and buttermilk in another bowl. Good. Done. See how easy that was? Meanwhile, use a cast iron skillet or Dutch Oven to start heating your oil. You can use any kind of pan that you like, but my favorite type of pan to use for fried chicken bliss is the Le Creuset Dutch Oven (get this here





Question – can this recipe be used in an air fryer?
That’s an interesting question. I have not tried it, but my gut feeling is that, no, this would not work in an air fryer. If I were trying “fried” chicken in an air fryer I would try a coating which did not need to be “cooked,” just crisped– such as crushed potato chips, Ritz crackers, or even bread crumbs with a spritz of cooking spray. I think the flour and egg mixture would end up gummy with no oil to bind them.
Pingback: 5 Amazing Picnic Recipes - My Life, Blogged.