Have you ever tried making homemade envelopes? Neither had I. Neither had I, that is, until the day that I went to send a thank you note, and I couldn’t find a blasted envelope that matched. Because, like many of you, I’m busy. So when I buy cards, I stuff them into drawers, or between books, and sometimes I am on the phone with the doctor, and I need paper, and then DARNIT that pen won’t write and “Does anyone have paper??” and I grab whatever I can get.
Goodbye, fair envelope.
Anyway, I learned a little trick that means I never need to run out of envelopes, ever again. And I can use any kind of paper I want– from regular notebook paper, to wrapping paper, to cardstock, to even cool materials like brown paper bags. Making your own envelopes is going to be one of those little tricks that changes your life. So the next time the doctor calls, write away. You’ve totally got the replacement in the bag. Literally.
What are we waiting for? Let’s do this!
Homemade Envelopes
The first thing that I want to say is that, of course, you can cut open a “real” envelope and use that as a template to trace around. But honestly, ick. If I had an envelope to cut open and trace around, then I wouldn’t need an envelope, would I? And “ain’t nobody got time for dat!” Moving on.

Enter this little beauty– the Envelope Punch Board. This little guy may LOOK deceptively simple and “oh gosh there’s nothing TO IT!” but don’t believe it. Sometimes the best gifts come in small packages. 😉 To begin with, on the side there is tucked away (I have pulled it out for the photo) what almost looks like a little teal butter knife. Just wait till you see what that thing can do.

And on the underside of the teal buttons, you have double hole punches. Seriously– how cool is that? One punch makes your crease for the envelope, and the other side makes the “rounded” edge for your envelope tips. All with one convenient button, to save space. I love it.

Now this is the super cool part. Right on the board (not a separate instruction book that I will probably LOSE– (I mean, I lose envelopes. That’s why I’m here in the first place, for goodness’ sake) is a chart. And look closely, loved ones. EVERY SIZE ENVELOPE. Well, not every size. But all the decent sizes. Do you know what this means? *Whispers* You can make ANY SIZE ENVELOPE YOU NEED. That means that, when you lose an envelope, you just check out this chart to see what size card you have, and then it tells you what size paper you need to make your envelope. Seriously so neat. So let’s make one. Just for example, I’m going to make an envelope that fits a little 3×4 inch card. Checking out my chart, I see that I need a 6×6 size of paper. And I want the 2 5/8 inch score mark. No problem.
I love doing this size of card/envelope, and let me tell you why. The craft store sells little pads of cardstock that are 6×6. Yep. Perfect. I don’t even have to cut them. Ah! You agree! You’re so smart. I love working with you.

You can also cut your paper to 6×6 inches, if you don’t have the cardstock tablets. When you have your paper, go ahead and find the 2 5/8 inch mark on your ruler.

Slide your 6×6 inch paper to that line, and punch the teal button.

Still holding the paper in place after you punch your paper, use the teal plastic knife looking thing to “score” the paper. Now, I’m using an envelope I have already made, so yours won’t have the lines or the “chunks” out of it yet on that side. But that’s ok. I’m just showing you how it works. Basic review:
- Cut your paper to the size you need, for the card size you chose. We are using 6×6.
- Find the line indicated on the board for the 6×6 paper. Our line is 2 5/8.
- Line up your 6×6 paper with the 2 5/8 line.
- Punch the teal button.
- Holding the paper in place, use your butter knife thing to slide down the indicated line and “score” the paper (this will help you fold it later).
See? You’ve got this. It sounds complicated, but once you do it a few times, it will become almost second nature.

Now this part can be a little tricky, and I messed it up the first time I made an envelope. You want to take your paper out and make another punch on the catty corner side. The first time, I just kept rotating my paper, using the 2 5/8 line and punching/scoring. And WHEW my envelope was way off. So if our top left corner is punched first, rotate the paper so you are lining bottom right with 2 5/8 and punch. Sounds complicated but just do your thing, then catty corner do it again. It sounds more complicated than it is.
One and done. Across and floss.
Well I needed something to rhyme. haha. (Across and you’re the boss?) Across and pass the hot sauce . . . ok. Moving on.
Now you have 2 “catty corner” cuts and scores. Next, line up each score mark that you already made with the “tail” on the other side of the teal button, and cut and score again. Don’t use the 2 5/8 this time. Line up your scores along that tail and punch/score. To Recap:
- Line up and punch/score your first and catty corner sides with the 2 5/8 button. Remember, catty corner. NOT beside each other.
- Line your 2 catty corner score marks with the “tail” on your punch button, and punch/score again.

Use your handy dandy “other side” of the punch to round your pointy edges, if you want. And then use the butter knife thing to crease those score lines you made. I like to put a few dabs of Elmer’s glue on the flaps, and then I paper clip them together for an hour or so until they’re dry. I make big batches of these envelopes, so it’s no problem to let some dry while I work on others.
But if you just need a single envelope more quickly, you can use glue dots or strip adhesive (kind of like double sided tape). You are the king or queen of your kingdom. Far be it from me to interfere with foreign policy.

When your glue is dry, take off the paperclips and use the butter knife to crease the top of your envelope. Ahhh. It’s just too cute.
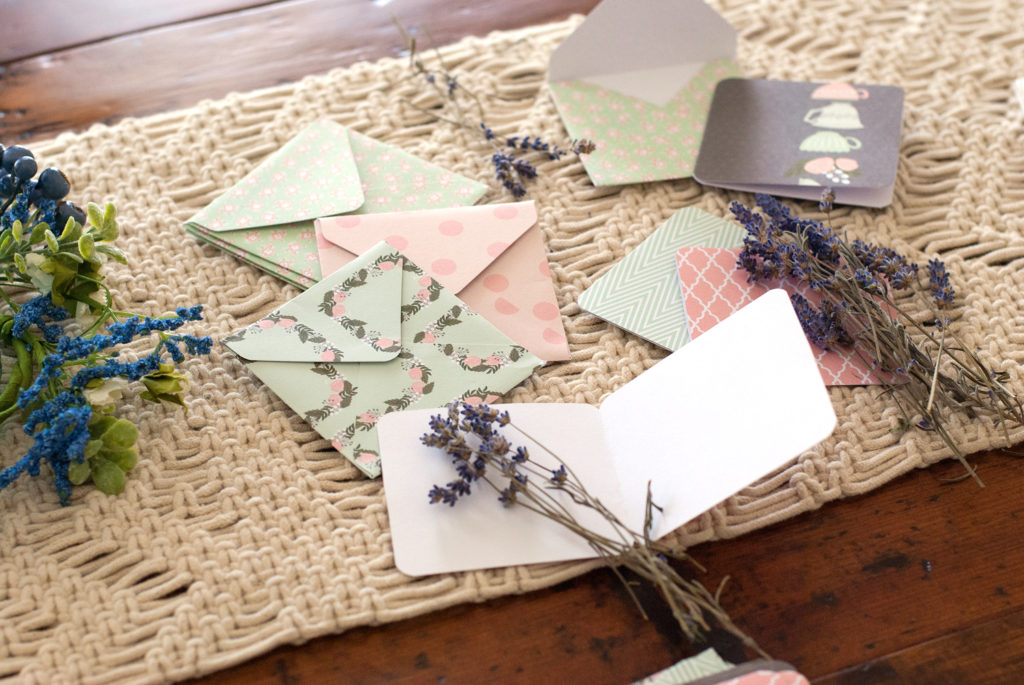
Sometimes, when I have a really stressful day, I just spend a little time making mini cards and envelopes. I don’t know why. There is something therapeutic about making adorable little stationary in any size I want. You can adorn them, or make cards to match (same envelope punch can soften those edges too).

I like to buy those 12×12 cardstock tablets at A.C. Moore or Michaels (don’t forget your coupon!) and use those for a nice coordinated look. The 12×12 size paper works perfectly. Each sheet makes 4 (6×6 paper size) envelopes, and you can make six 3×4 cards (your unfolded card will be 6×4, and then you fold that in half and punch edges) out of a single sheet of paper. It works very well with the 12×12 tablets, and you get loads and loads of cute stationary, without one bit of waste. You’re welcome. Sorry for all those numbers. Basically, each sheet of 12×12 paper makes 4 envelopes, or 6 cards. And you don’t have any wasted scraps. And there are so many cute patterns you really can’t lose.
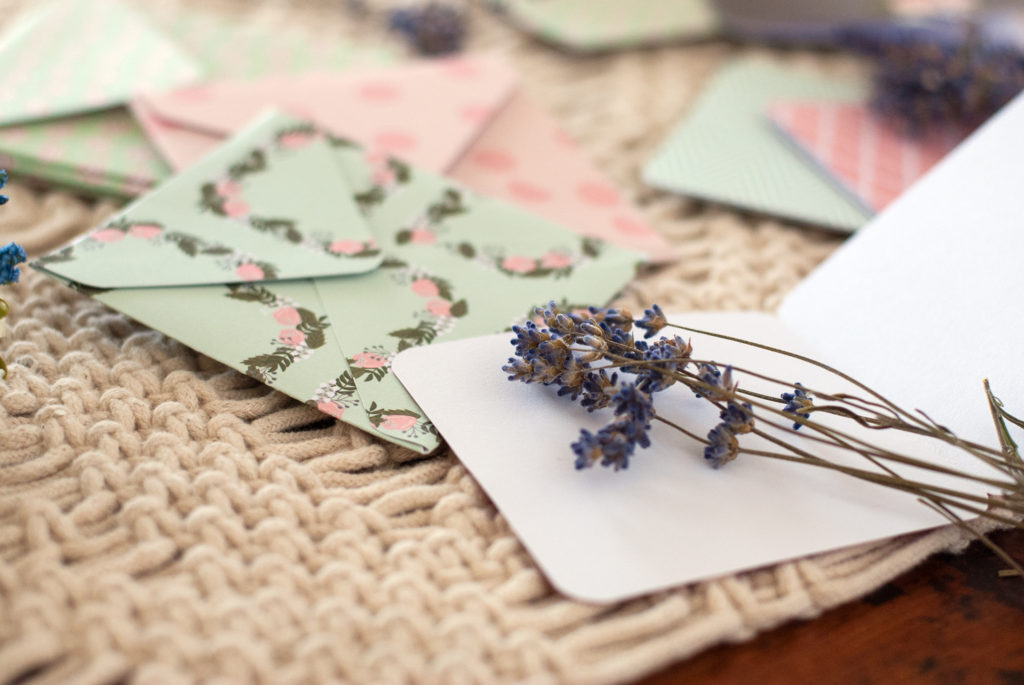
You can experiment with so many different sizes, angles, cuts. Find a size that you love, and get yourself a nice stamp to personalize them, if you want. Heck. I’ve even “bedazzled” them before with those little stick on rhinestones. I’m telling you– the craft store coupons are your friend. 😉
And when you’re all done, pack up a few sets of cute stationary for a friend or neighbor. Bring them some blueberry muffins and a set of personalized envelopes and cards. Or write to someone. Write a real, old fashioned letter. Take your time. Force yourself to slow down. Have a cup of tea and compose. Life is beautiful– take time to savor it. 🙂
You did it. And I’m just so proud of you. 🙂

Disclosure: This post may contain affiliate links, which just means that we get a few pennies if you purchase through our link. I never recommend products that I don't personally use and love. Thanks!






How did you use this tool to make a box?
Hi Amy. The more you use this tool the more comfortable you get with it. Instead of doing 4 straight measurements, you can do a “gap” between the first and second, essentially making a side and a a box when folded. There are lots of youtube tutorials– you asked earlier about Macaron boxes, and this is my favorite tutorial, here: https://www.youtube.com/watch?v=kEntMgFGHWU
Thank you! I am sharing about it Monday!!
Aww thank you Susie! 🙂