Tiffany & Co. Macaron Boxes
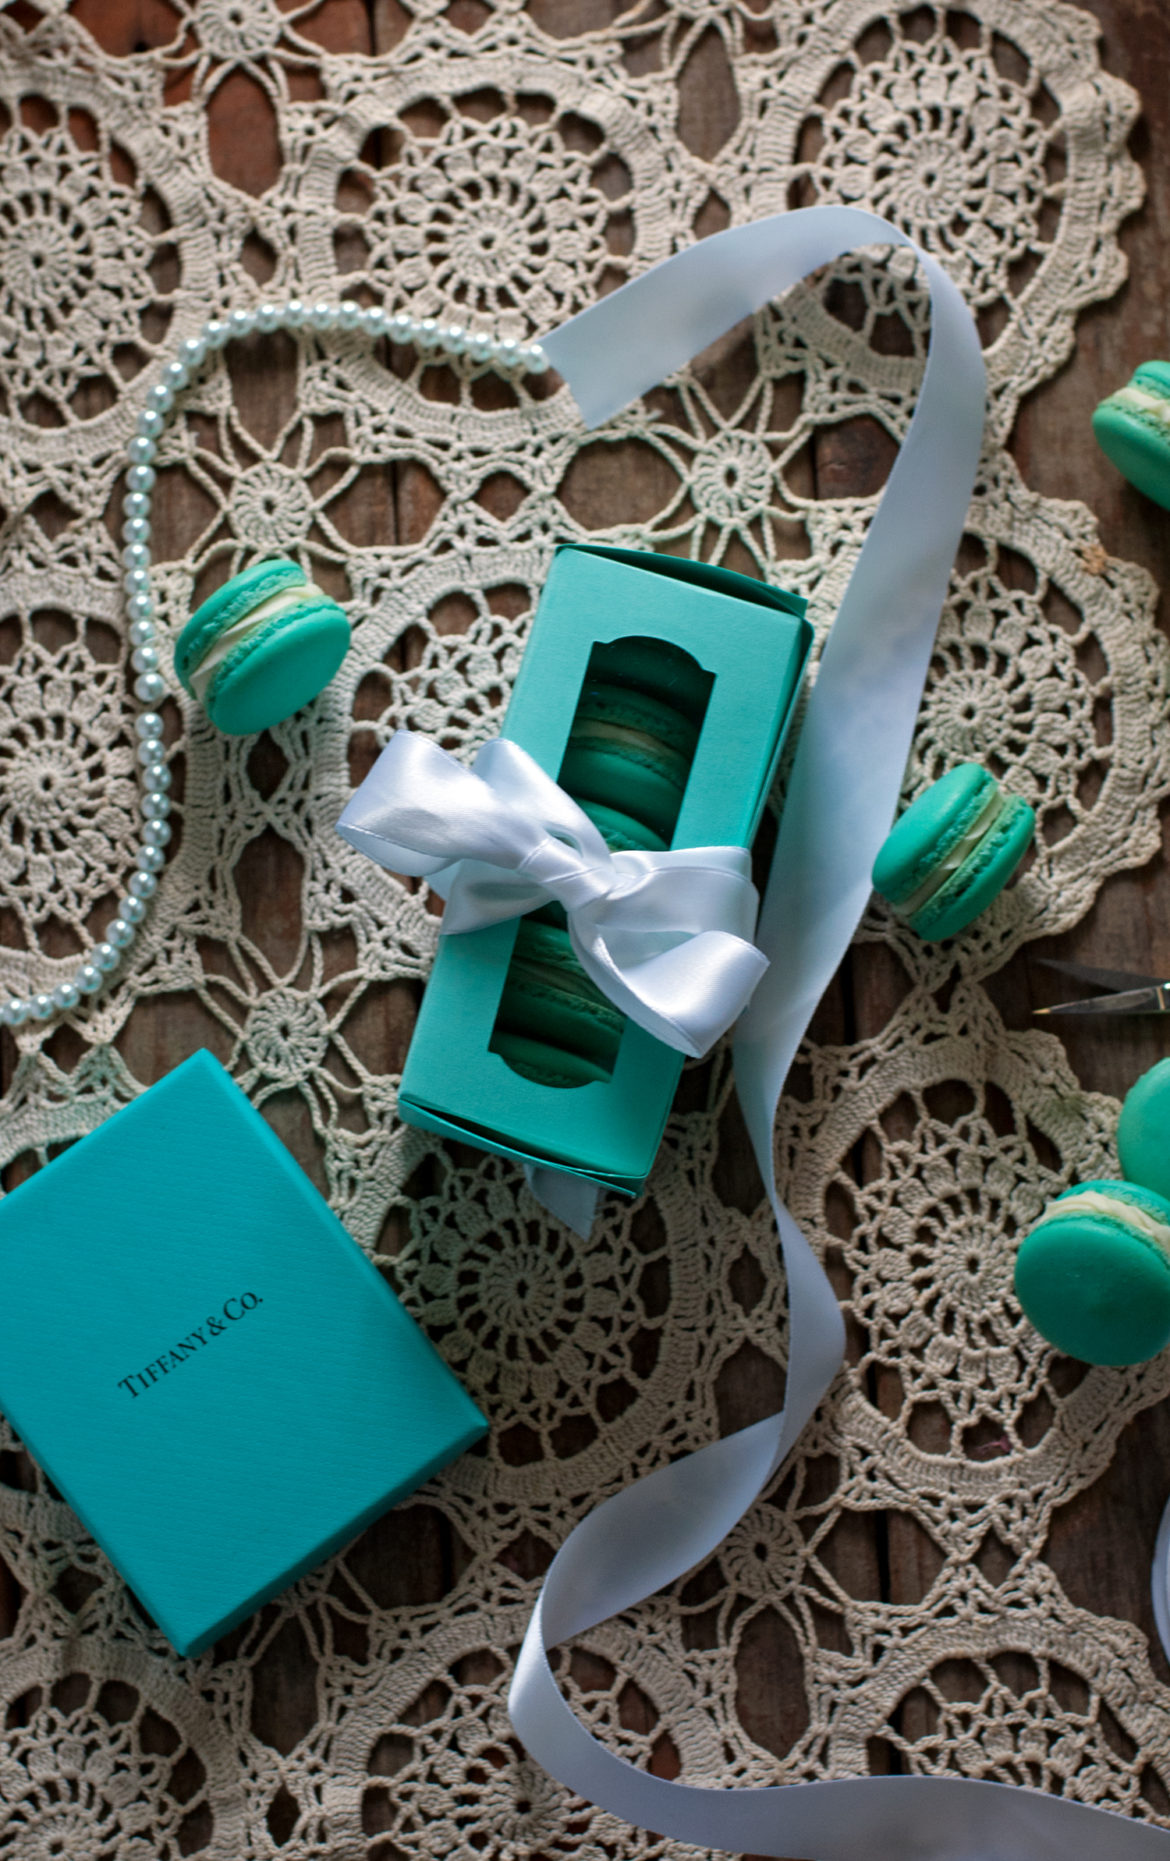
Well it is June and the season for all things wedding, diamonds, and TIFFANY! 🙂 You may remember that last week we did the cute as a button Tiffany & Co. French Macarons. Welllllll . . . this week I have a real treat for you. We are going to make a cute as a button BOX for those cute as a button French Macarons.
What are we waiting for? Let’s do this!
I have long been a fan of the paper artist Angie Pyjas (“Stamping with Amore” on youtube). This lady can make just about anything out of paper, and so one day I reached out to her to let her know that I was having trouble finding a macaron box tutorial anywhere. I make a lot of macarons, and it would be amazing if I could make my own boxes in the color scheme that I needed– could she help?
Well my friends, sweet Angie did more than help. She created this amazing tutorial on her channel to show us exactly how to make a gorgeous macaron box. I loved it so much (truly one of the best I have ever seen) that I asked her permission to share her video with you and show you my own spin in it. Of course since we just did Tiffany’s macarons, a Tiffany & Co. box seemed like the perfect way to package them. These adorable boxes would be perfect for a bridal shower, ladies’ tea, or just to show the people you love that they are the diamond standard. 😉 And hey . . . if you want to slip some bling into the package, I won’t stop you. 😉
Angie has the complete tutorial on her video, but I’m just going to walk you through my personalizations and show you how versatile her design is (which is another reason I love it so much!). You could literally make these out of any color you wanted to match your wedding colors, bridesmaid dresses . . . even team colors.

The first step in making your macaron boxes is to choose what color cardstock you would like. Let me tell you . . . Tiffany blue is a hard shade to match. I finally settled on this pack of cardstock from Michaels, and it worked pretty well. A word to the wise– don’t be like I was, with 15 sheets of cardstock *almost* exactly the same shade, scrutinizing them next to a picture of a Tiffany’s box on my phone while I was in the store. Choose something that looks like Tiffany, and your guests will appreciate them no matter what. No one is going to be taking out a microscope to check the color and see if you’re off by a fraction of a degree. I liked this multi pack because I didn’t have to buy each sheet individually. I think this whole package was $2 with a sale they were having. And you know what that means. When you save money on cardstock, you save money for diamonds. Makes sense to me.

Angie shows exactly how to make the macaron boxes in her youtube tutorial. I am skipping the decorative panels for mine because I wanted to do the box all one color. This is the creative chaos that I was happily working through. I also changed my box dimensions, slightly, to fit the paper I had. But the technique is the same. Once you familiarize yourself with her technique you can make the boxes in any size that you need.
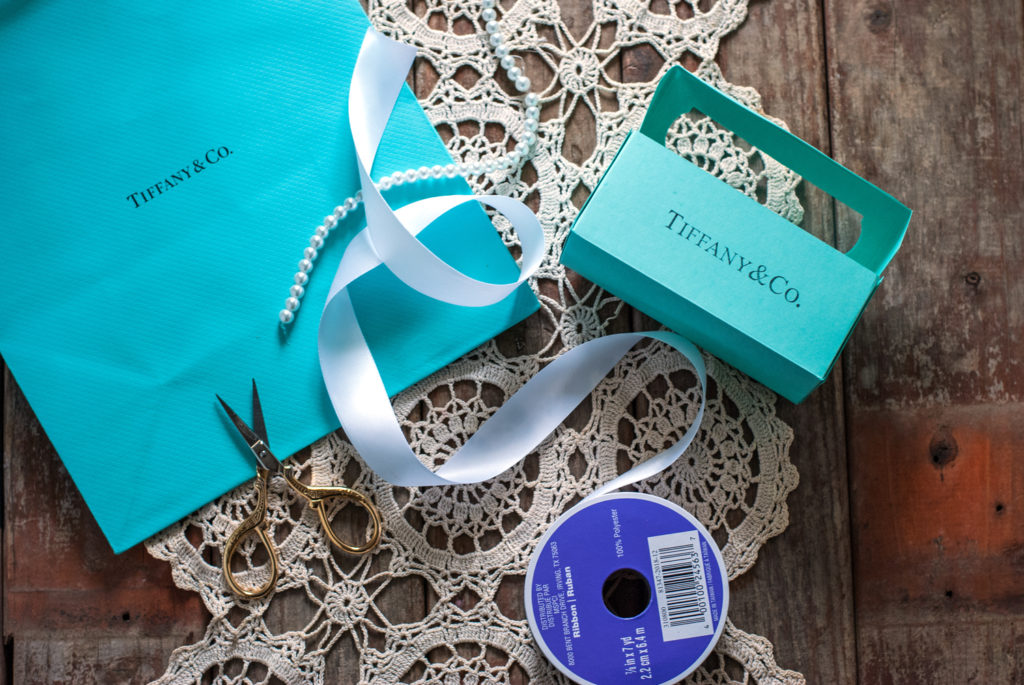
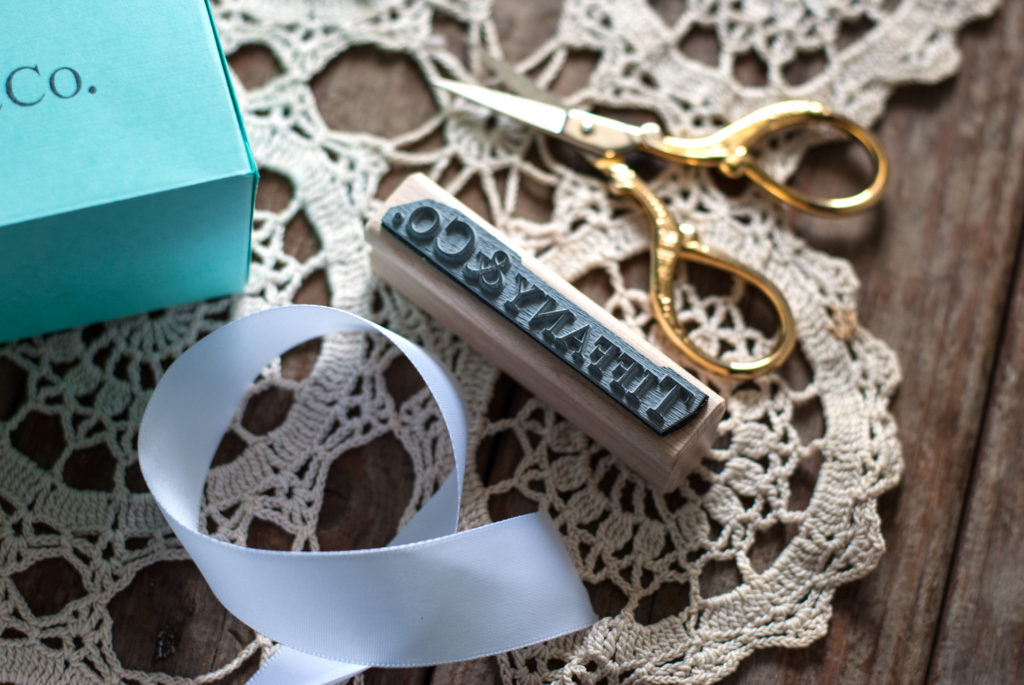
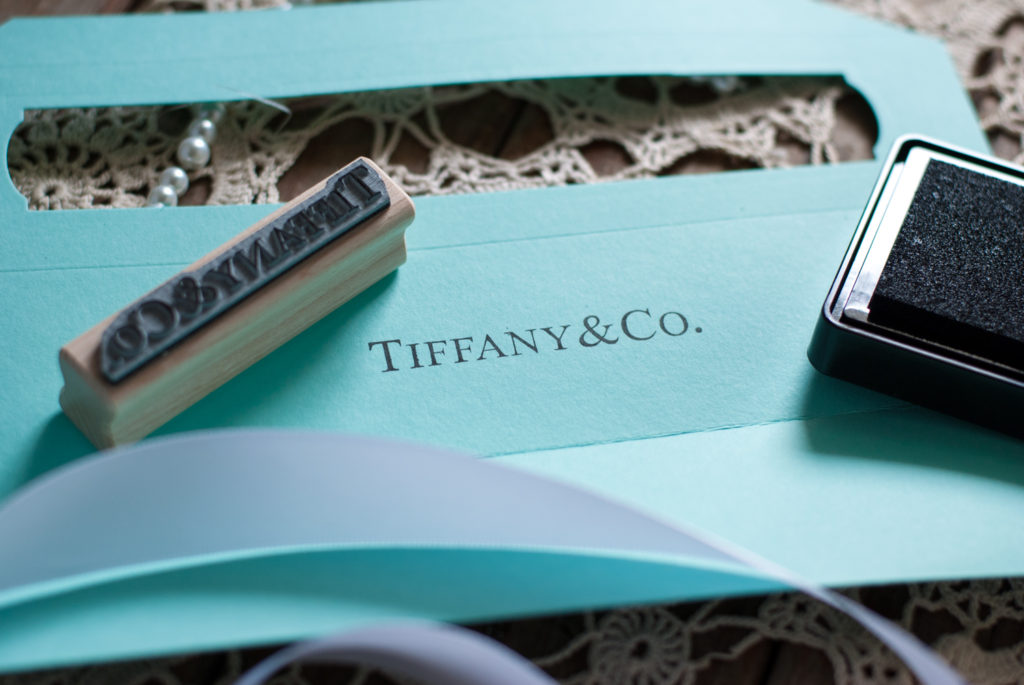
Let’s talk about how to get the words “Tiffany & Co.” on the side of your box. We can’t copy the exact font because of copyright violations, but since this is just for fun and your guests won’t care if this is precisely accurate, you can just run the cardstock through your printer and use a similar font, if you like. You can also use a stamp (again, it won’t be exactly the same, but it will be close enough).
After you cut out the box the way Angie shows in her video you can add a little see through window on top so that your GORGEOUS treats can have a photo-shoot after they get ready for prom. But HOW DO I CUT THE HOLE OUT FOR THE WINDOW!!!!!!!!!!! HOW DO I FIND BIGFOOT!!! MY WHOLE LIFE IS A LIEEEEEEEEE!!!!
I’m so glad you asked. There are a couple of ways you can cut out a cute little window for the top of your macaron box. The best way (and the way that Angie does it in the video) is to use a Big Shot machine and a metal die. Using the die cutter makes the window perfect and shaped, but you can cut a small rectangle out with scissors, too. It helps to trace your shape, first, if you’re using scissors to keep it more even. I used the Big Shot machine for these, but previous to getting one I cut lots of these bad boys out with scissors. You hear that boys? I have scissors. Behave.
Once you get the window cut out it’s time to put the plastic “glass” on there. You can use a piece of acetate sheet cut a little bit larger than the window for the plastic. The trick is getting that plastic to stick on there! Those acetate sheets are more slippery than a dishonest politician. I tried Elmer’s glue at first but it wasn’t super secure. Angie suggested using a Tombow
(kind of a little permanent glue gun), and that worked perfectly. So trade in Elmer for Tom. You can thank me later. And if he won’t come, remind him of the scissors. Oh he’s coming now? Thought so.
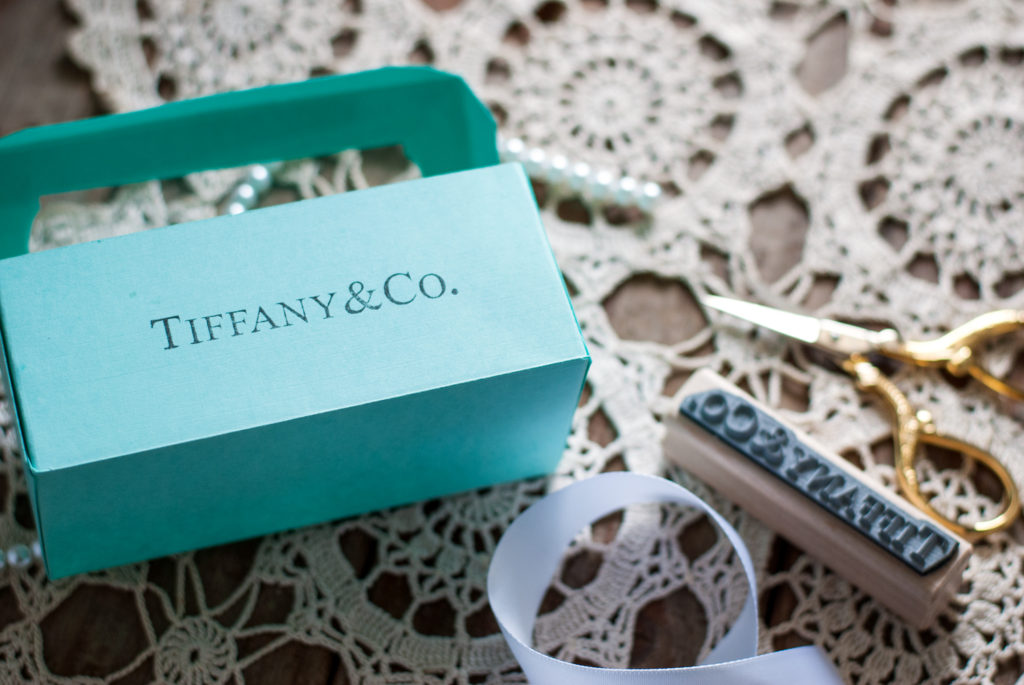
You can store the boxes flat until you’re ready to give someone an adorable little Tiffany’s box full of adorable little Tiffany’s macarons. Oh . . .
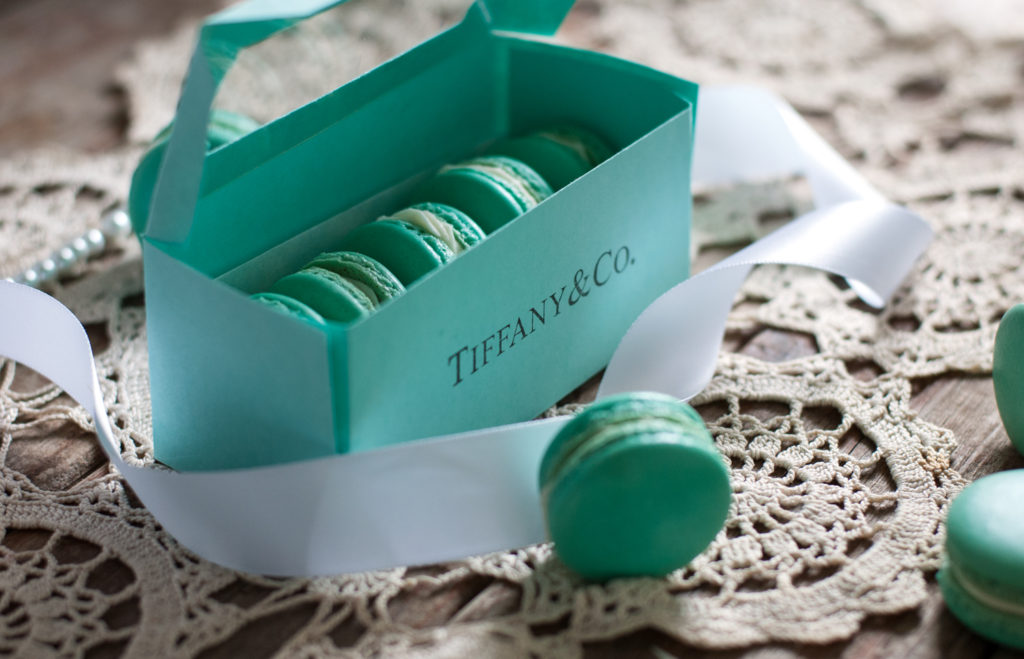
Don’t forget to tie the finished box with a white satin ribbon. Diamonds may be a girls’ best friend . . .
But cookies could probably come in at a close second. 😉
You did it. And I’m just so proud of you!

Disclosure: This post may contain affiliate links, which just means that we get a few pennies if you purchase through our link. I never recommend products that I don't personally use and love. Thanks!
