How to Stencil Cookies
If you’re like me, you have probably looked enviously at those gorgeous Pinterest pictures of immaculate, airbrushed sugar cookies. You tried not to be envious . . . but it was hard. How in the world can a person NOT experience cookie envy when you see some of those gorgeous creations that take a $150 machine to do, and you seem to spend every free cent buying diapers and baby formula?
Well my friends . . . even if you don’t have to buy diapers or baby formula (lucky you!), you still may not want to shell out $150 for a cookie airbrush. And I don’t blame you. I have one, now, but it took me a while to save up for one, and in the meantime, I had to get creative and try other techniques. Today, I’m going to teach you the basics of one of the easiest “non-airbrush” techniques out there– stenciling.
The best part about stenciling is that it’s one of the cheapest methods out there. You can reuse your stencils again and again, and you already have the royal icing.
What are we waiting for? Let’s do this.
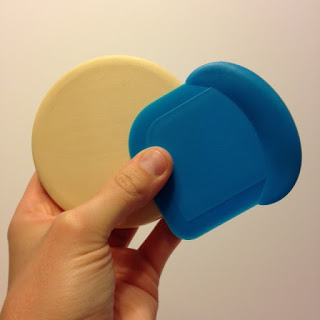
To start with, you need a few basic pieces of equipment. I have here a “Notta Cookie” (A Notta wha??? More on that in a minute) and a simple pot scraper. The Notta Cookie was about $3, and the scraper was 99 cents. If you don’t have either of these, you can make do with other things, and I will show you how, in a minute. We are all about saving money around here!
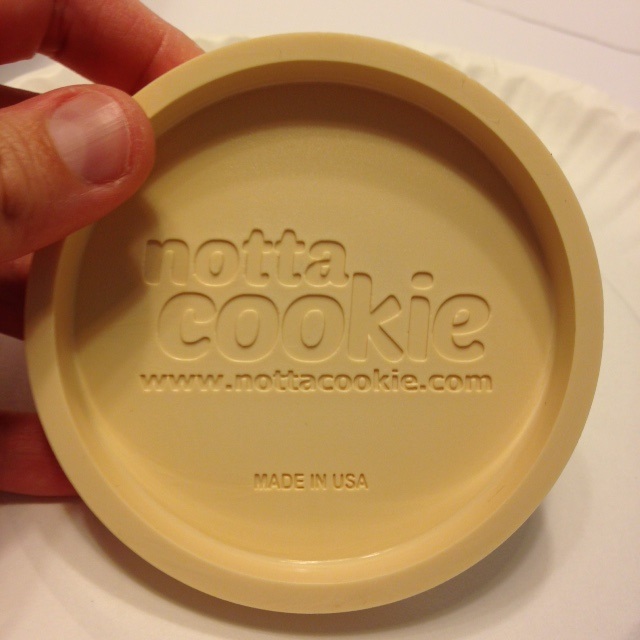
First, the Notta Cookie. It’s just what it sounds like– a cookie looking thingy that’s, well . . . “Notta cookie.” Basically, it’s a plastic “practice cookie” that I find invaluable to test out new airbrush colors, stencils, and decorating techniques. You can try out your technique on this little guy, and keep wiping it off again and again before you try it on an actual cookie. Of course, you don’t NEED this, but it is a handy little tool to have if you like to practice your techniques before you actually use them on your cookies. I bought mine
here.
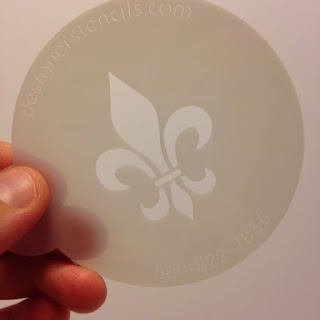
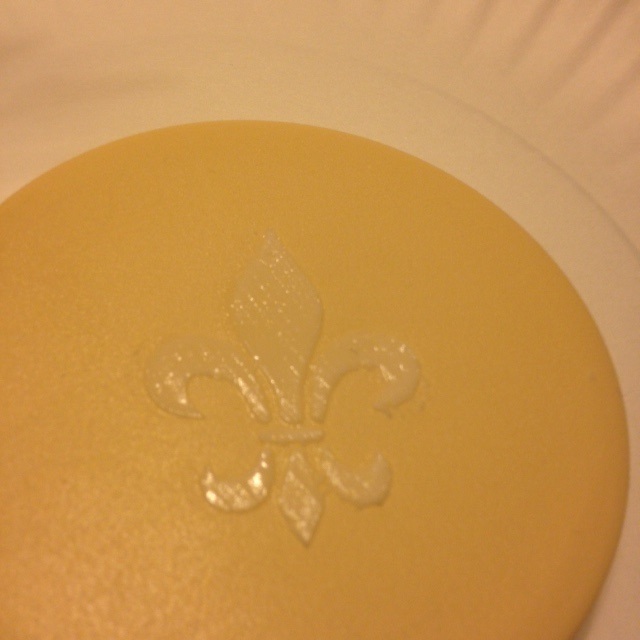
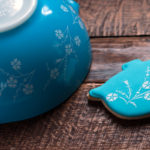
Another thing that you will need in this neat little stenciling journey is, well . . . a STENCIL! It doesn’t matter what stencil you choose– in fact, lots of great stencil places, including the Cookie Countess and Designer Stencils (where I got this one), will often throw in a little “freebie” stencil with your order. This cute little fleur-de-lis was a freebie from Designer Stencils with my last order. How nice to open your package and find a sweet little free stencil waiting for you!
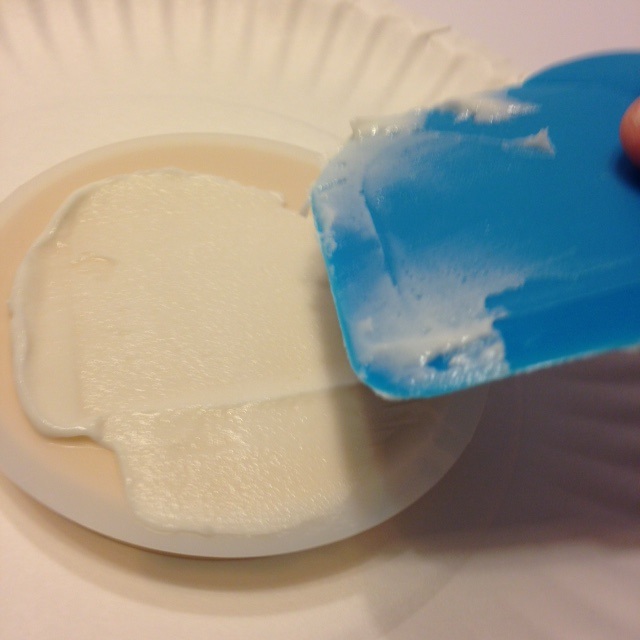
You will also need royal icing in the color of your choice. I’m using white because I have some on hand. You want it to be roughly the consistency of “natural” peanut butter– the kind that is a little runnier than the regular kind. Get yourself some icing on your scraper– it won’t take much.
Oh– and if you don’t have a scraper, you can take the top of a plastic lid (like from a container of sour cream or yogurt) and cut it into something like this shape. It works fine.
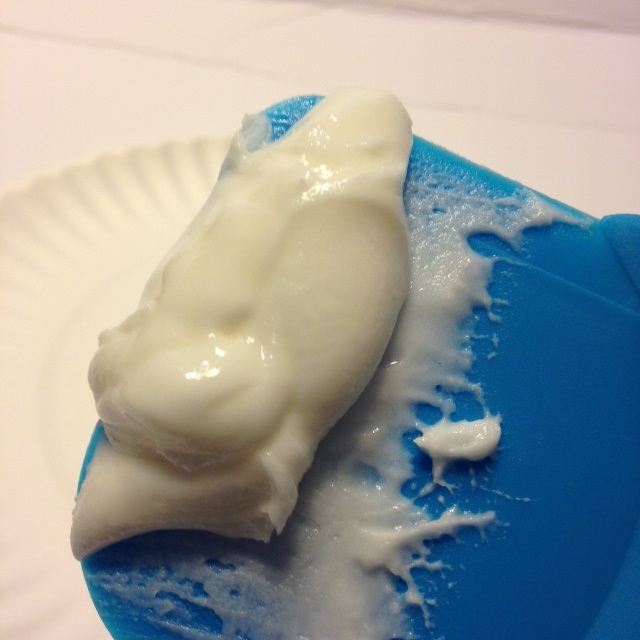
Place your stencil on your cookie. Unlike with airbrushing, where the stencil MUST hold still to avoid color bleeding, stenciling is a tad less fussy. It still needs to hold still, but since the icing is thicker than your watery airbrush color, I generally don’t use anything to hold the stencil except my fingers (which are clean! Did everyone wash hands? Sugar cookies are such a hands on cookie, that I can’t emphasize hand washing enough! Obviously. Haha).
Smear some icing over your stencil design. Hold the stencil still, but don’t stress. This is easier than you think. For now, just make sure that icing covers all the stencil.
Hold your stencil steady, and gently scrape the excess icing off the stencil. You don’t want to leave so much icing that it’s puffy, but scrape too low, and you won’t be able to see the design. A good rule of thumb is to scrape just as high as the rest of the stencil. If you hold your scraper almost horizontal to the stencil, it is pretty easy. Give it a try and see. This is why the Notta Cookie is good– you can practice and just scrape that icing right back off and try again, as many times as you want.
And there you go. Sorry it’s not super clear with the white icing. But you can make it any color you want. I’ll try with another that will make it easier for you to see.
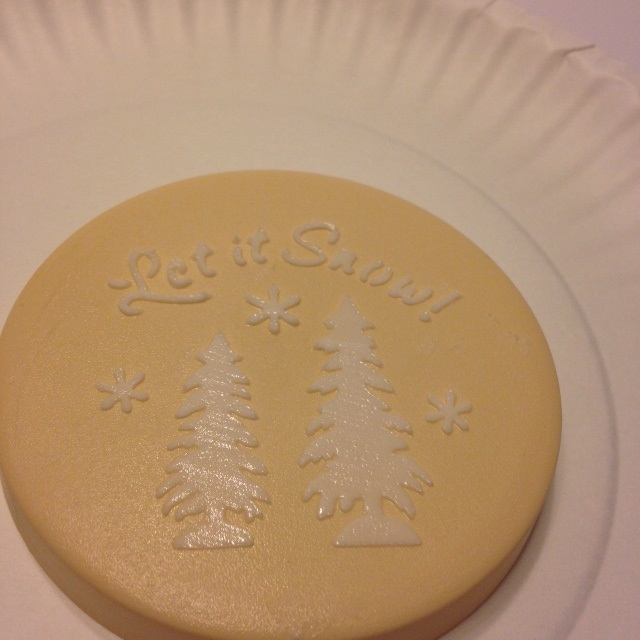
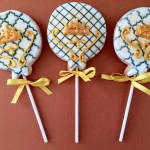
This time we will try a “let it snow” stencil. Since this one has a larger design than the Fleur, make sure to get icing over the entire thing.
Smear the icing over the entire design. Designs with snowflakes can be tricky. Since they are small, it can be easy to miss them. But you won’t miss, because you’ll be a pro in no time!
After scraping and removing your stencil (the quicker you are at this the better– going too slowly can make it smear a little bit), look at that beautiful design! White icing is great for stenciling, especially since airbrushing white is a tricky and usually very unsatisfactory business. If you want some stunning Christmas cookies this year, think about white stenciling. It is such an easy way to blast your cookies to a completely new level of awesome!
I placed my stencil down on the plate for a second, and when I picked it up, here is what I found. And I didn’t even scrape it! Haha. Apparently if you don’t have a “Notta Cookie,” a cheapo paper plate works just as well. See? There is always something to learn 🙂
You did it. And I’m just so proud of you.

Disclosure: This post may contain affiliate links, which just means that we get a few pennies if you purchase through our link. I never recommend products that I don't personally use and love. Thanks!


Pingback: How to Make Your Own Stencils – Cookies for England