Yum
The Queen of Hearts, she made some tarts, all on a summer’s day;
The Knave of Hearts, he stole those tarts, and took them clean away.
Tarts. There is perhaps no dessert cuter, sweeter, or more adorable to make than a tart. Even saying the name “tart” when you’re telling people the menu is amazingly fun. They can be teeny or large. They can be savory or sweet. They can be warm or cold. They are delicious, any way you choose to make them. I can kind of see why the Knave of Hearts stole them.
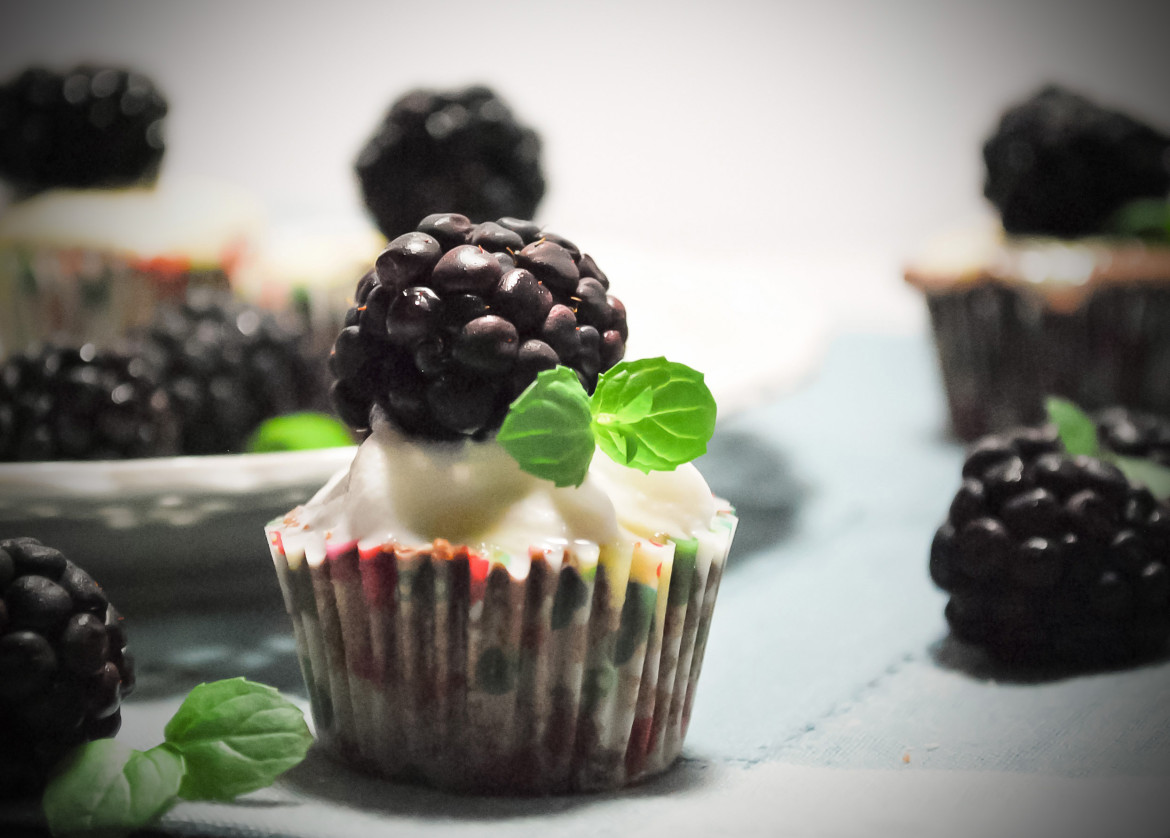
Today, we are making adorable, bite-sized blackberry tarts with a cream cheese filling. Oooooohhh yes. Garnish your finished tarts with whipped cream, loads of fresh berries, and a few sprigs of fresh mint for a special treat that will have everyone, well . . . stealing these little beauties right off your appetizer tray.
What are we waiting for? Let’s do this!
Cream Cheese Blackberry Tarts
(adapted from Taste of Home)
Ingredients:
1 cup all purpose flour
1/3 cup sugar
1/4 cup cocoa
1 stick (1/2 cup) butter or margarine, chilled
6 tbsp. icewater
Filling Ingredients:
6 oz. cream cheese, softened
1/4 cup sugar
2 tbsp. milk
1 tsp. vanilla
1 egg, beaten
Whipped cream and blackberries to garnish finished tarts
Directions:
Mix flour, sugar, and cocoa together with a whisk. Cut in chilled butter and add enough icewater to bring the dough together into a ball. Press the dough into 24 mini muffin cups and indent the centers so that you can fill them with the cheesecake mixture. For filling, beat the cream cheese and sugar together until fluffy. Mix in milk, vanilla, and egg, and beat until combined (mixture will be thin). Fill each chocolate “well” with filling and bake tarts at 325 for 16-18 minutes, just until set. Allow tarts to cool before garnishing with whipped cream and blackberries. Refrigerate tarts until ready to serve.
Now, in pictures! 🙂
This recipe is actually pretty easy. So let’s get right to it! 🙂 To begin, whisk your flour, sugar, and cocoa together, in a bowl. Use a pastry cutter to cut in 1 stick of cold butter or margarine. This mixture will be the basis for some amazing chocolate crust. Mmmm. Working hard to make chocolate. Truly a labor of love, eh? 😉
This is what your mixture will look like when you cut in the butter. The pieces will be roughly the size of small peas. If you have larger chunks, use your pastry cutter a few more times to cut those pieces down to size.

Usually I put a few ice cubes in a bowl of cold water and allow it to sit for a few minutes before I use the water. You want this water to be nice and chilly. Gradually add 6 tbsp. of water and mix the dough together, with a butter knife, until it comes together into a nice dough ball. Try not to touch the dough with your hands, or it will warm the dough, which we don’t want.
When your dough is ready, it’s time to make our cute little crusts. Using a mini muffin pan and mini cupcake papers, create 24 shells. I used about a grape-sized blob of dough for each crust. Use your fingers to gently smoosh the dough up the sides of the cupcake papers, making a nice little “well” in the center for all that delicious cheesecake goodness. You may need to dip your fingers in flour, every so often, so the dough doesn’t get too sticky.

Now . . . the most important part . . . the center! Mmmm. We are basically going to be making a tiny cheesecake for filling. Goodness . . . we are just take hit after hit for the team, today– first making chocolate, and now making cheesecake. I wouldn’t be surprised if the responsibility of tasting the finished tarts lands on our shoulders, also. Sigh. Such martyrs. But someone has to do it 😉
Beat your softened cream cheese and sugar, together, until the mixture looks light and fluffy, like mine does, above . . . with no lumps.
Now, add in your milk, vanilla, and beaten egg. Mix again until everything is combined. The mixture will be very runny, but don’t worry. That’s the way it’s supposed to be.
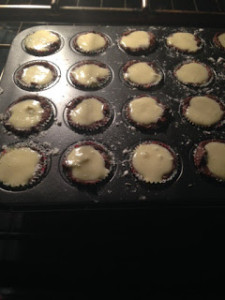
Fill your little crusts with the cream cheese mixture. If you have a little extra dough and filling, you can make a few more tarts– you can even make your tarts larger, regular cupcake size. But I think the teensy ones are cuter. Who doesn’t love a variety of tiny, bite-sized desserts? Bake the tarts at 325 for roughly 16-18 minutes.

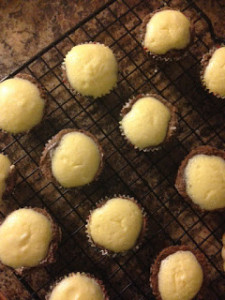
They won’t be brown or look “cooked”– but they will be firm and “set” if you press lightly on their centers. They will firm up even further as they cool, so a little bit of give is OK– they just shouldn’t jiggle, like there is liquid underneath.
When the tarts are done, put the little cuties on a cooling rack and let them cool, completely. Aren’t they just so sweet? I mean, well . . . of course they’re sweet, but aren’t they just so sweet!
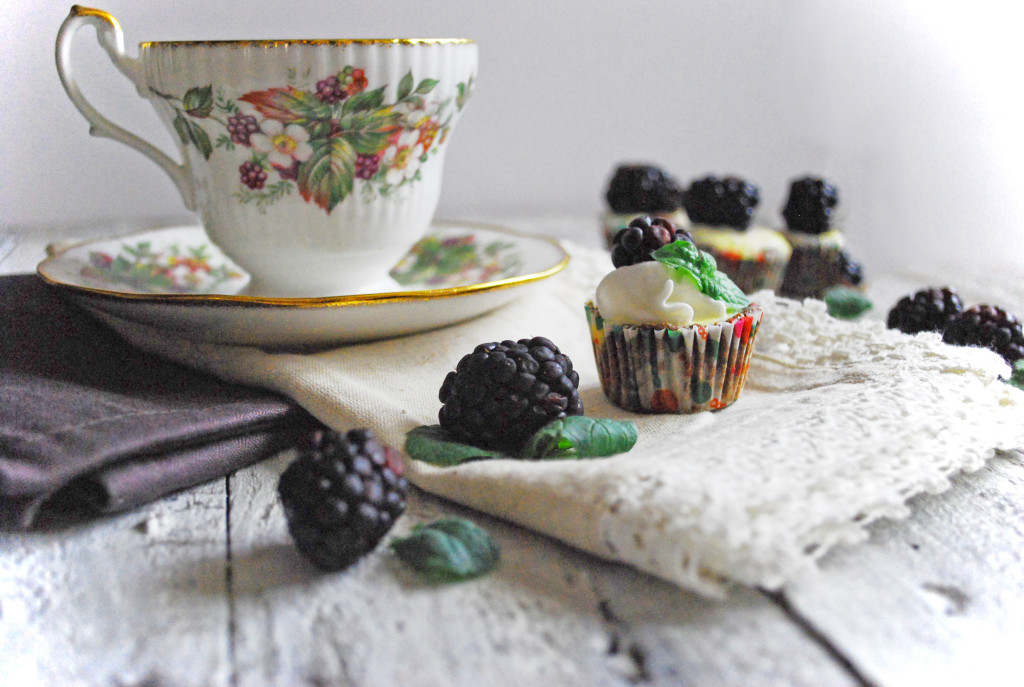
When you’re done, garnish them with whipped cream, fresh blackberries, and a few leaves of fresh mint. Word to the wise . . . do not use the instant, Reddi-Whip type whipped cream for these, unless you are going to eat them right away. Aerosol whipped cream tends to melt away after a few minutes, leaving you with a mess. Use cool whip or homemade whipped cream if you want these to remain beautiful for longer than about a minute.
Put a few stray blackberries on your plate. There is nothing quite so beautiful or luscious as a fresh, ripe berry. Make these for your next girls’ night in or Mother’s day celebration. Because, sometimes, we all need a little something fancy to brighten our normal days.
You did it. And I’m just so proud of you.

Disclosure: This post may contain affiliate links, which just means that we get a few pennies if you purchase through our link. I never recommend products that I don't personally use and love. Thanks!




![9[1]](https://cookiesforengland.com/wp-content/uploads/2016/01/91-1024x733.jpg)

