I hate doing dishes– who doesn’t? It seems like every time I turn around, the sink is full of those blasted dirty dishes. So I embrace the inevitable and wash them . . . morning, noon, and night.
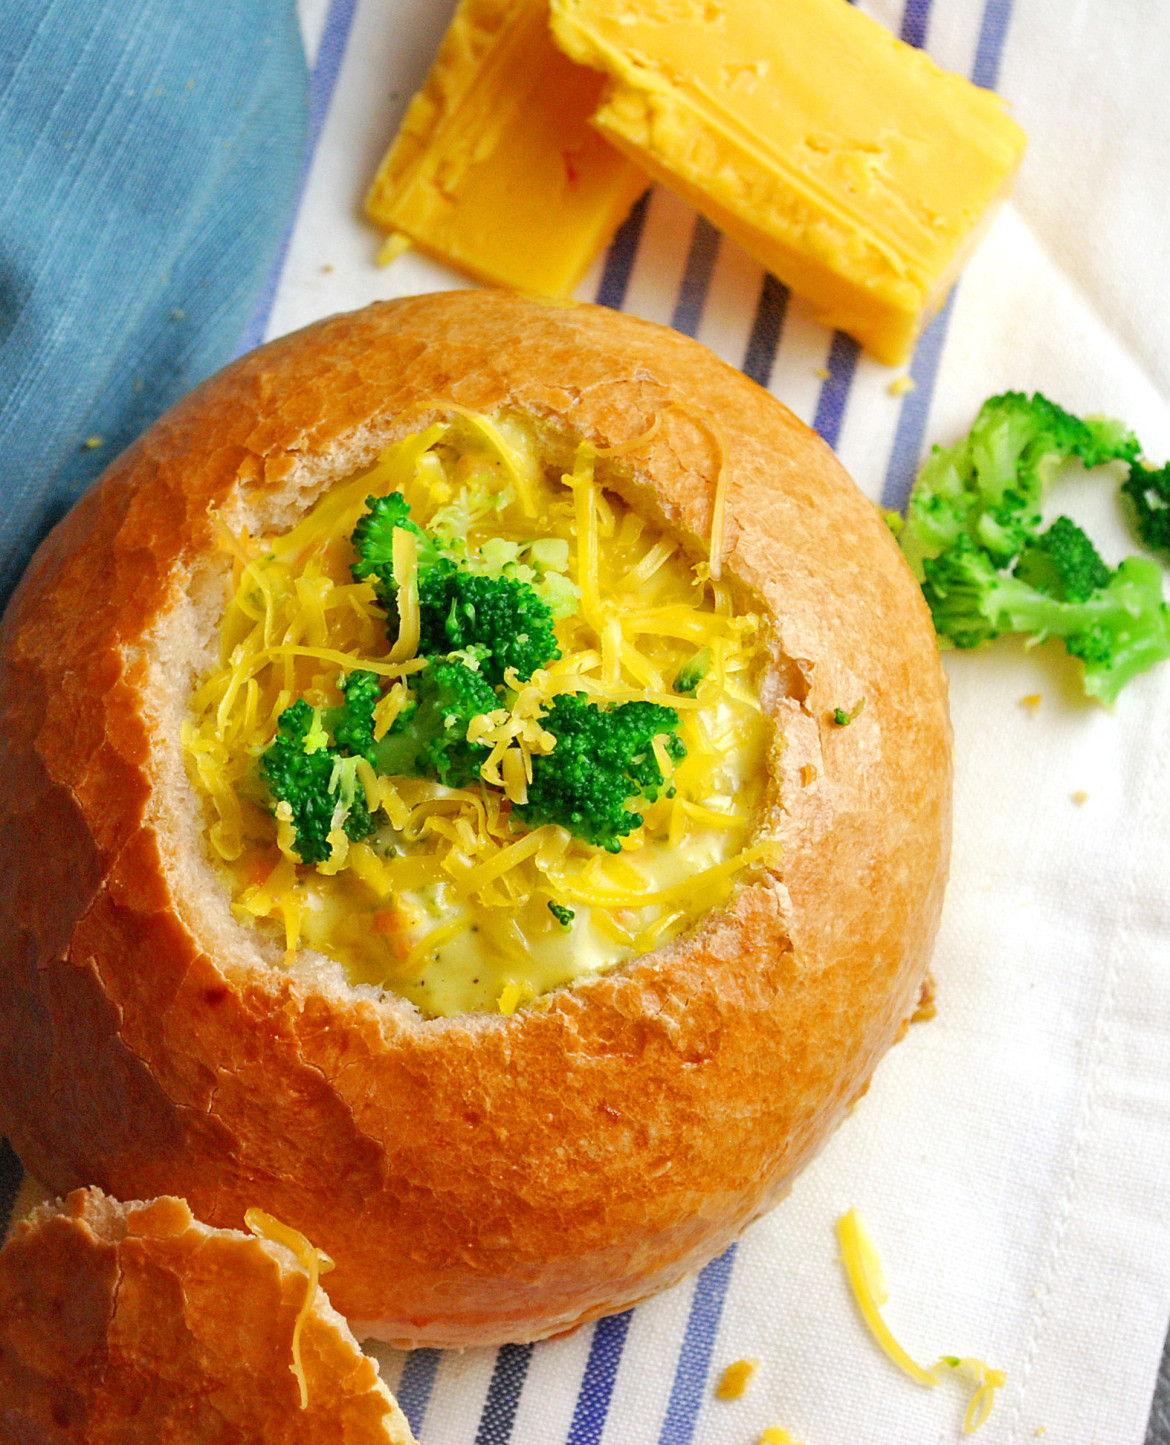
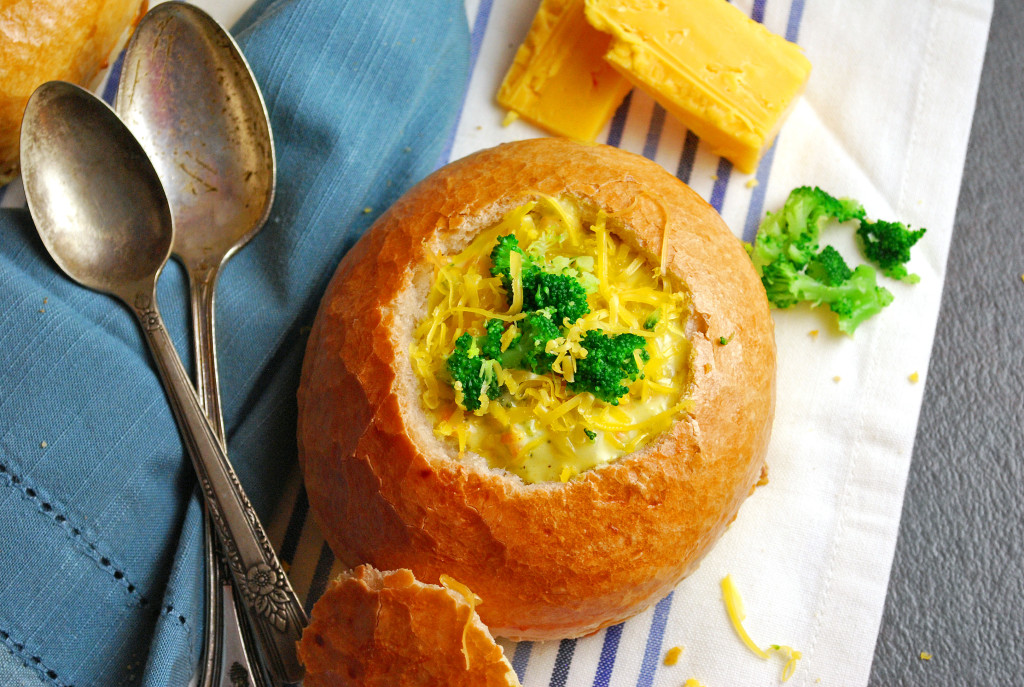
But . . . what if you could EAT your dishes? Seriously– what if you served a meal, and everyone just ate the dishes at the end, no dirty dish washing required? That would be so cool. You know what would be even cooler? Bowls made out of BREAD. Yep. Fancy restaurants do it, but did you know that you can make these adorable little bread bowls, yourself, at home, (*whispers*) anytime you want? They really aren’t hard, and you could fill them with something delicious, like the Copycat Panera Broccoli Cheese soup I made for them.
So declare a war against dirty dishes and eat ’em 😉 What are we waiting for? Let’s do this!
Homemade Bread Bowls
(adapted from Allrecipes.com)
Ingredients:
3 1/2 tsp. instant yeast
2 1/2 cups warm water
2 tbsp. olive oil
2 tsp. salt
5-6 cups all purpose flour
egg wash (1 egg beaten with 1 tsp. water)
Directions:
Whisk together the warm water, olive oil, and instant yeast. Add in 1/2 cup of flour and whisk in before adding in the salt and stirring well. Whisk in enough flour to form a shaggy dough and then turn the dough onto a floured silpat and knead until the dough is smooth and elastic. Place dough in a greased bowl, mist the top with cooking spray, and allow to rise, covered, for 1 1/2 hours until doubled in size. Divide the dough into 6 pieces and wrap each piece into a tight ball. Allow to rise for 35 minutes, until puffy. Brush with egg wash and bake at 400 degrees for 15 minutes. Re-brush the tops with egg wash and bake for 10-15 more minutes, until rolls are done. Allow to cool before hollowing out the bowls. Fill with a thick soup or stew when ready to serve.
Now, in pictures!
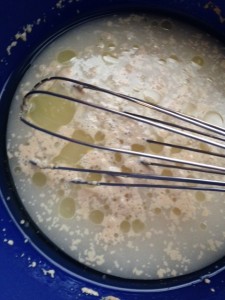
To start your bread, we need a few basic ingredients. Mix together your warm water, oil, and instant yeast. Say what? What is this thing called “Instant Yeast”?
Well, for more on the types of yeast, check out my cinnamon roll tutorial here. In a nutshell, instant yeast can be added directly to your dough, without a proofing step. It also rises about twice as quickly and jumps out of the freezer just dying to do calisthenics for your bread dough. I love it.
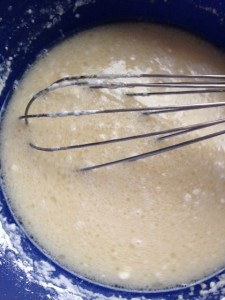
Next, add about 1/2 cup of flour to the mixture and whisk that in. THEN add your salt and whisk. Salt and yeast are like a pair of exes at a their child’s wedding– both need to be there, but unless you have something between them, things are going to get awkward and ugly fast. The flour acts as a buffer between the flour and the salt. Add that little bit of flour before adding your salt. The rest of the wedding party thanks you 😉
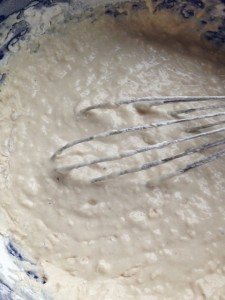
Slowly add flour, whisking as you go, until you have a thick dough. If it gets too thick to whisk, you can switch to a wooden spoon to stir. Pour your dough onto a floured silpat and knead it for about 6 minutes, adding little bits of flour as you go, until you have a soft and smooth dough. It should be roughly the consistency of a human earlobe– nice and smooth and supple. There is something so therapeutic and stress relieving about kneading bread– I always think deep thoughts while I’m doing it. 🙂
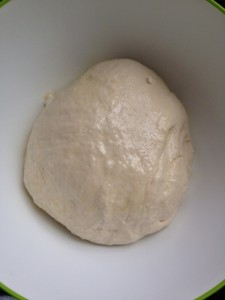
When you have a nice smooth dough, spray a bowl with cooking spray and put your dough ball into the bowl. Mist the top with cooking spray, cover it with a kitchen towel, and allow to rise in a warm place for an hour and a half, until it’s doubled in size.
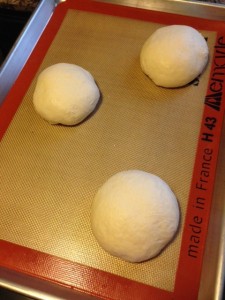
When the dough has finished rising, split the dough into 6 pieces and roll each piece into a medium dough ball. To help the bowls keep their shape and not flatten out, you want to kind of pull the dough downward, making the skin tight, as you form the dough balls. Place the formed bowls onto a silpat-lined baking sheet and cover, again. Let them rise for about 30-40 minutes, until they are nice and puffy. While the dough is rising for the second time, go ahead and preheat your oven to 400 degrees so that it will be ready to go when your dough is finished rising.
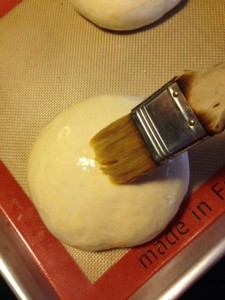
Right before the dough balls go into the oven, brush the dough with egg wash (1 beaten egg and 1 tsp water whisked together with a fork). The egg wash helps the dough bowls to get nice and golden brown while they are baking, and it also gives them a nice, crispy crust.
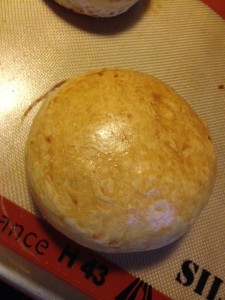
Bake the bread bowls for 15 minutes, then re-brush the rolls with egg wash, again. This just helps the bowls to get an extra nice, rich, brown color. Put them back in the oven and bake for another 10-15 minutes until the rolls are golden brown and sound hollow when you tap a finger on the bottom of one of them (use hot pads when you grab one, obviously ;). Let them cool completely on a cooling rack before you hollow out the bread to make the bowls.
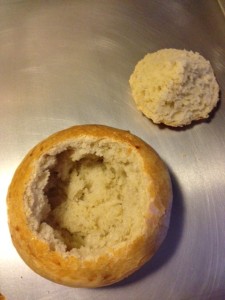
When the rolls are nice and cooled, take a serrated knife and cut a little cone out of the top of the roll. Use your knife to widen the opening in the bowl, but be careful not to scrape too deep or the bowl won’t hold the soup! We don’t want a leaky bowl after all that hard work, right?
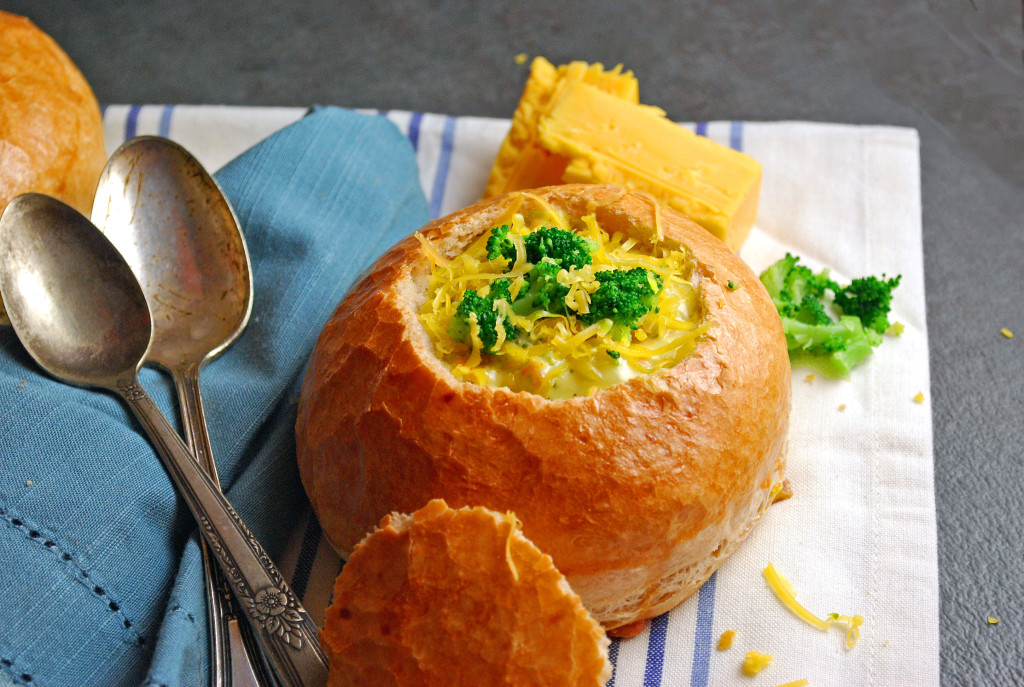
When you’re done, fill those cute little bowls with some kind of creamy, steaming goodness, like copycat Panera Broccoli Cheese Soup or amazing Creamy Potato Soup. Mmmm.
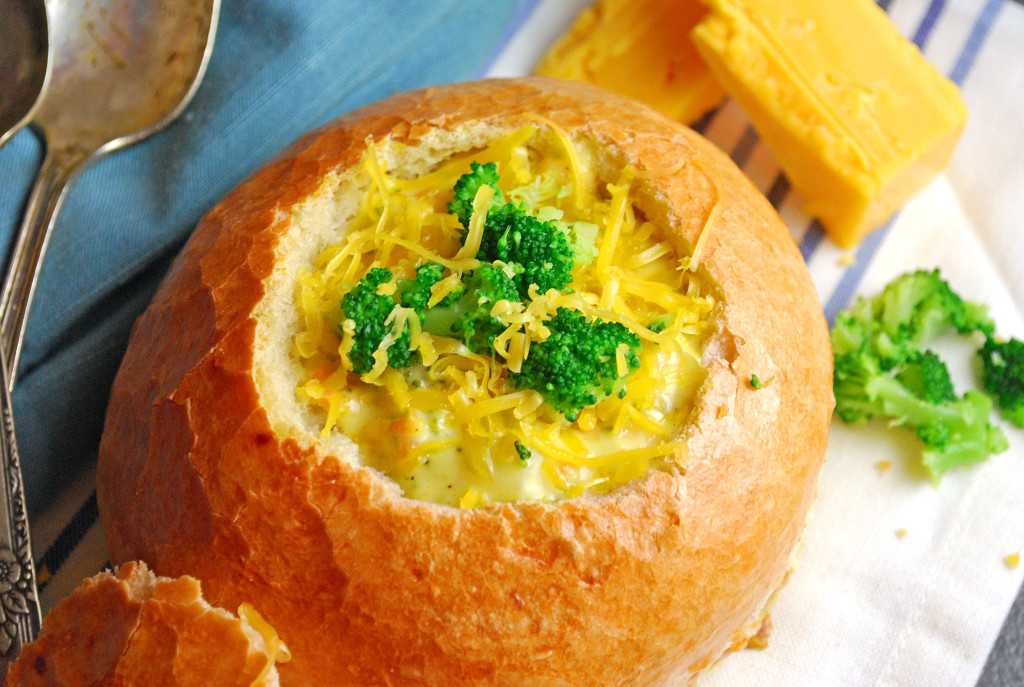
When you bring these little cuties out at your next meal, everyone will love them. I mean, seriously– what is cuter than having your own little individual bread bowl, and being able to tear off pieces of fresh, homemade bread as you eat, and dip it into the soup? Man. You are just the coolest.
Because you did it. And I’m just so proud of you.

Disclosure: This post may contain affiliate links, which just means that we get a few pennies if you purchase through our link. I never recommend products that I don't personally use and love. Thanks!

