Puff pastry is an amazing thing. You can turn it into almost anything– savory mushroom and brie breakfast tarts, deliciously flaky cream cheese croissants, or apple turnovers– sweet, buttery, and light as air. Puff pastry literally “puffs” in the oven– turning hundreds of buttery layers into a colossal, feathery pastry that is at the heart of so many awesome dishes. It can also transform into these amazing delights in a hurry– which is perfect for that classic 10:00 PM panic when your child says, “By the way mom, I forgot to tell you, but I need to bring 50 cookies for school tomorrow. Goodnight.”
The neatest thing about puff pastry is that (drum roll) . . . you can actually make it, yourself, at home. That’s right. Snap your fingers and turn your humble kitchen into your very own Parisian patisserie. Play “La Vie en Rose” on the accordion. Imagine a pink poodle. And make yourself some puff pastry to join the ranks of quick and easy kitchen shortcuts.
What are we waiting for? Let’s do this!
Homemade Puff Pastry
(adapted from Allrecipes.com)
Ingredients:
5 cups all purpose flour
2 1/2 tsp. salt
2 cups icewater
2 cups butter, divided
Directions:
Mix flour and salt together, with a whisk. Using a pastry cutter, cut in 1/2 cup butter until mixture resembles course crumbs. Use a butter knife to stir in just enough icewater that your dough comes together in a ball, cleaning the sides of the bowl without leaving out any dry, un-moistened crumbs. Wrap dough ball in plastic wrap and refrigerate until firm (overnight is ideal). At the same time, place 3 sticks of butter (1.5 cups) side by side in a coating of plastic wrap and use a rolling pin to smoosh them together into roughly an 8×8 square about 1/2″ thick. When the butter is covered with plastic wrap, refrigerate this, also. The next day, gently roll out your dough into a large square. Dust off the excess flour with a pastry brush and place the solid butter square in the center of the dough. Brushing off flour as you go, fold the left and right sides over the butter. Then, brushing excess flour off, fold the top and bottom lips over the butter, as well. Roll the entire “ravioli” looking thing into about a 13×9″ rectangle. Brushing off excess flour, do a “business fold” in threes. Roll out, again, dust off flour, and do another “business fold.” If the dough is starting to get sticky and warm, re-wrap it in plastic wrap and wait until it firms up before trying, again (I generally refrigerate for about 20-30 minutes after each “business fold” to keep it nice and crisp). All in all, you want to fold the dough into thirds 5 times– this creates hundreds of tiny, buttery layers. When you’re finished, use the pastry, or slice it and freeze until ready to use. Puff pastry can be baked at 400 degrees for 15-20 minutes, to ensure maximum puffiness.
Now, let’s take a look at the process in pictures! 🙂
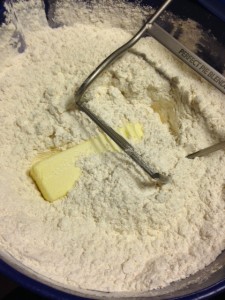
To begin with, whisk your flour and salt together to get it all nice and mixed, and then cut in 1/2 cup (1 stick) of cold butter. I am a big fan of the Perfect Pie Blender from King Arthur flour (more about that here), because unlike traditional pastry cutters, it has a flat bottom. This pastry blender makes cutting in butter a cinch. Pardon me . . . mind if I . . . cut in? Hehe.
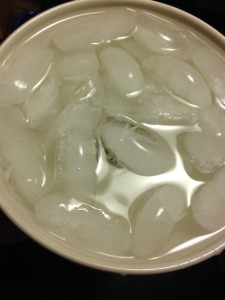
Next, grab yourself some ice water. Well . . . don’t literally grab it– that would be difficult. But get some ice water chilling away, because we want our ingredients to be cold to make the most tender pastry. Basically, at its heart, puff pastry is pie dough with layers of butter folded in. You probably won’t need all of this water– just add a little bit and keep stirring the dough, with a butter knife, until it forms a soft dough that pulls away and cleans the sides of the bowl. You want to make sure that all the dry crumbs are incorporated, but you don’t want the dough to be wet or soupy. Think play-dough. Try not to touch it with your hands– just use the knife– so that it stays nice and cold. And stir it just until combined, because overworking pastry dough makes it tough. It brings a whole new meaning to the phrase “Tough Cookies.” We don’t want that.
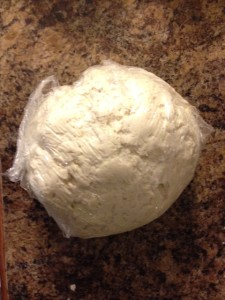
Puff pastry isn’t difficult, but it does take time– mostly for refrigeration. When you have finished making this basic dough ball, wrap it up in plastic wrap and refrigerate it until it’s completely chilled and firm. Overnight is perfect for this, but if you’re in a hurry, put it in the freezer for 1/2 hour or so, or in the fridge for at least a few hours. This means (whisper) that you can watch TV and still technically be “making puff pastry.” Hey. It’s all a process, right? 😉
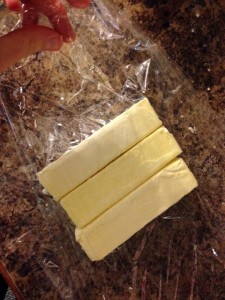
Meanwhile, get your butter ready. Everyone should have a square made out of butter. haha. Basically, you just want to put 3 somewhat softened butter sticks together, between two layers of plastic wrap. Take a rolling pin and gently smoosh the butter together, into a single square that is roughly 8×8 inches in size.
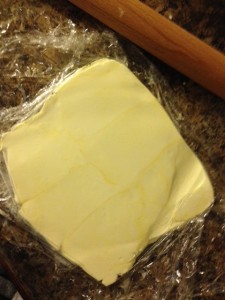
Isn’t that sweet. They are so close that it’s like one big happy family, now. Make sure the butter is nice and tucked in, and put that in the fridge to sleep next to the dough ball. Zzzzz.
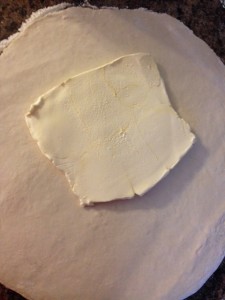
When the dough ball and the butter square are nice and firm (preferably after they have chilled all night), go ahead and start the cool part . . . the actual making of the butter layers. To do this, we want to take our dough ball and roll it out into a nice, big diamond shape. You want the diamond to be big enough that each side will fit just over the butter square. Once you get a nice, rolled out square, go ahead and put the butter square into the center. Isn’t that cute? It looks like a colossal pancake with butter on top. Weird, but OK.
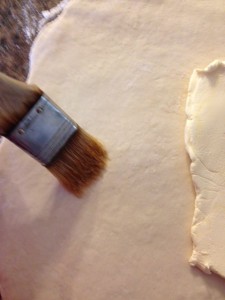
Now, this part is weird, but important– before you do any folding, use a pastry brush to dust off the excess flour. We want the dough layers to stick to each other, and they won’t do that if they’re all floured up. So dust off that flour!
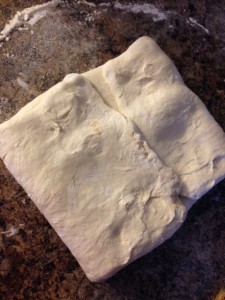
Fold left and right over the butter, and then dust your flour off, again, since the bottom of the dough still has flour on it from when you rolled it out. Then, fold over the top and bottom corners. Look! It’s like, a letter made out of bread. I could get behind that. At this point, wrap the whole ‘shebang in plastic wrap and refrigerate for about an hour, until the whole thing is solid. You can take a shortcut and do the freezer for 20-30 minutes, if you’re itching to get started. I told you– puff pastry isn’t hard, but it takes some time. I like to make it on a day when I will be home, because I can do a step, refrigerate, and then go about my business without wasting any time.
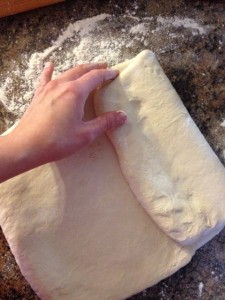
Once this refrigeration is over, let’s do the next step– rolling out a rectangle and folding it into thirds. We are going to do 5 “folds,” altogether. Some bakers put a little mark in the dough for each roll they have done (like, one “poke” before we refrigerated our bread letter thing, up above. The marks roll out, and they can help you remember where you are, since this dough takes a while. Of course, if you have an excellent memory, there’s no need to mark how many times you’ve rolled out the dough. Just do whatever works.
Roll another rectangle, and then brush off the excess flour. We are basically making a business letter fold. Then wrap the whole thing up and let it chill, again. “Yo dough . . . you need to chill!”
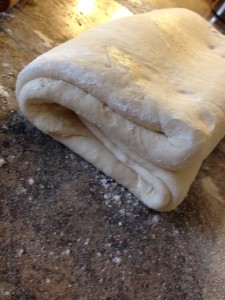
After the next refrigeration phase, do the same thing. Roll the dough out into a 13×9 rectangle, and, after brushing off the flour, roll the dough into thirds, again. See those pretty folds? Each time you fold the dough, you make more and more layers, and then those layers become more layers . . . it’s awesome. Do this process 5 times, total, refrigerating after each fold. It takes all day, but it’s worth it.
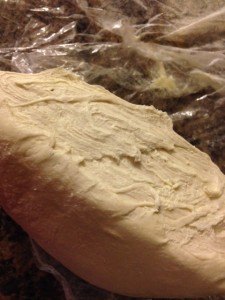
When you’re all done with the 5 folds, you have a choice– do you use this pastry, now, or do you want to save some, for later? Given all the work involved, I would suggest saving at least some of it for later, so that next time you can whip it out of the freezer when you need some, instead of taking all day to make it. You can use a sharp knife to cut the pastry– don’t “saw” it with a dull knife, or you will muddle the layers you worked so hard to make! I cut my pastry into 4 good size dough triangles– and look at all those amazing layers! Whew! That’s awesome. Wrap the pieces you want for later in plastic wrap and freeze in freezer bags, until you’re ready to use it.
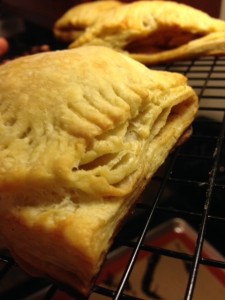
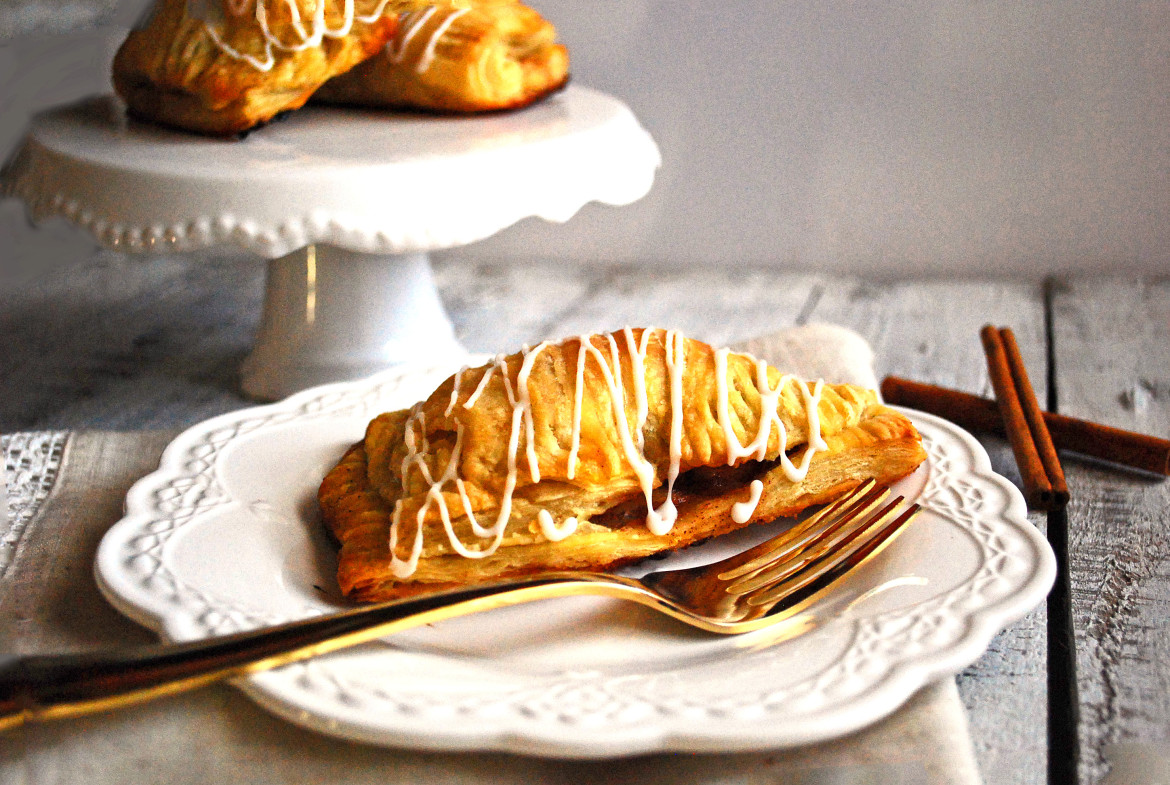
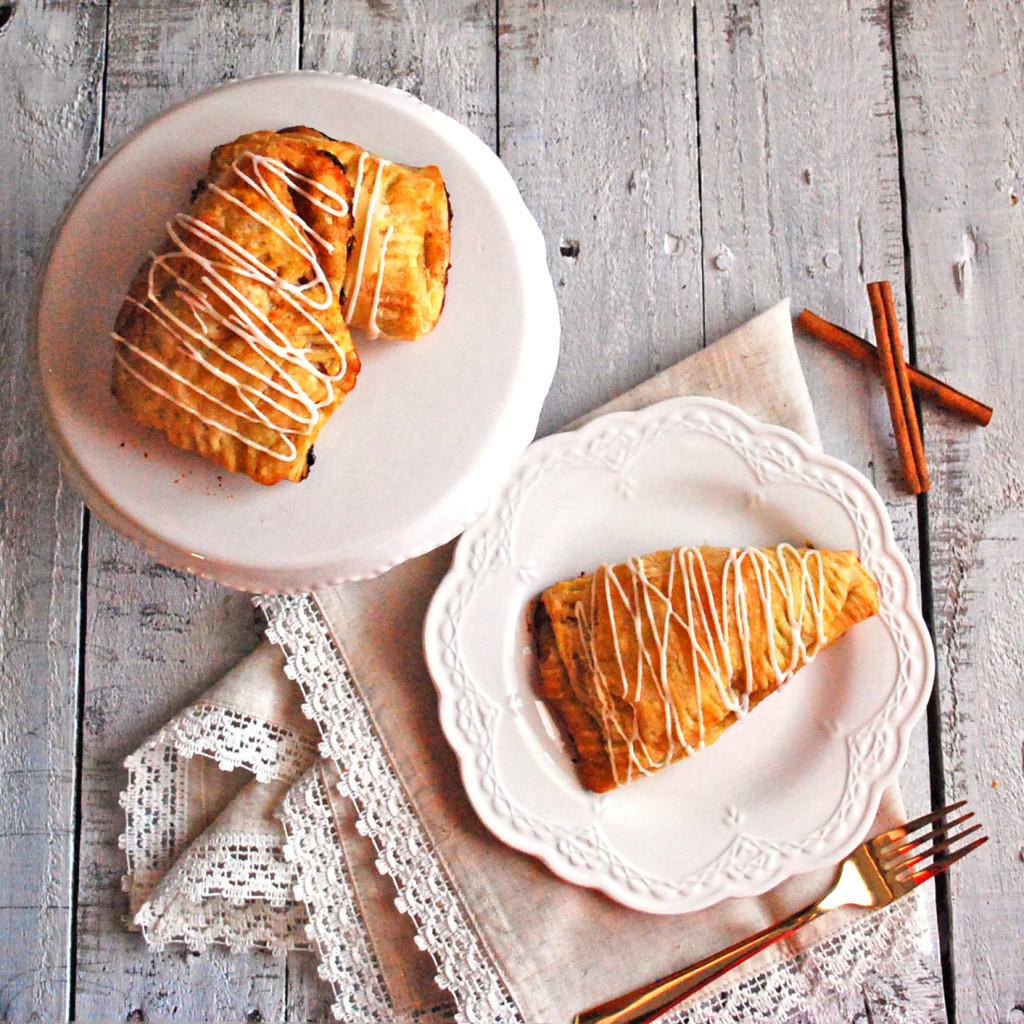
When you do decide to use your puff pastry dough, just let it sit overnight in the fridge to thaw, and you’re ready to go. I went ahead and made apple turnovers, which are perhaps the easiest things in the world to make. Well . . . perhaps making mistakes is easier than making these. But it’s close. 😉 I just made a tiny batch of the filling I use for my apple pie recipe, rolled out my puff pastry into thin squares, filled it with my apple filling, and sealed with a fork. I slit the tops for steam to escape and then baked at 400 degrees for about 15-20 minutes, until the pastry was golden brown and gaaawwgeeeeeous. Seriously. Look at all those layers! We MADE those with our own two hands! Sheesh. You’re amazing. It’s no wonder I love working with you.
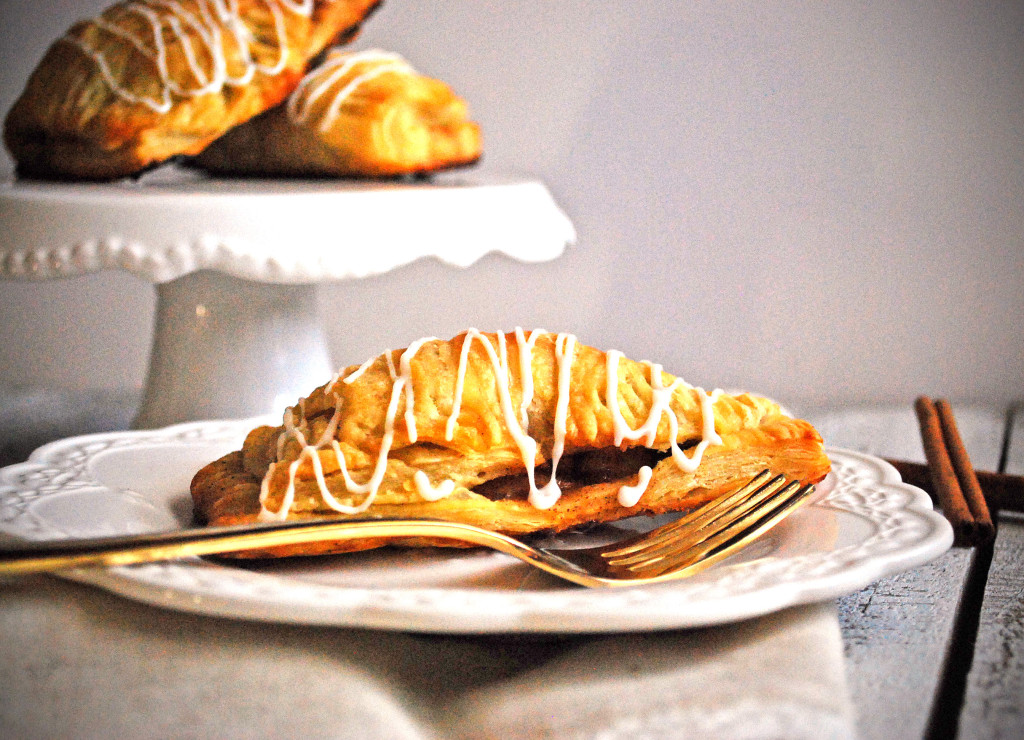
I drizzled my apple turnovers with a simple glaze like the one we used with our Pound Cake here, the other day. It’s basically just 1/2 cup of powdered sugar, 1 tsp. vanilla, and 1-2 tsp. milk until you get a nice, thick glaze. Drizzle over the top and allow the turnovers to dry.
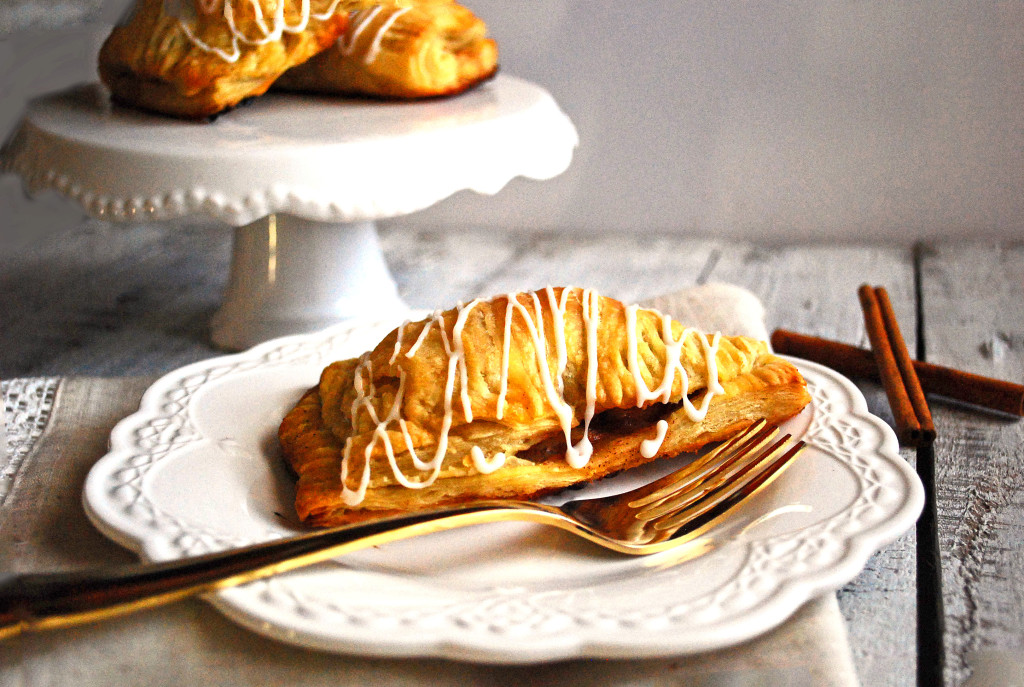
Eh . . . who are we kidding. Let’s not wait for the icing to dry. Let’s have one now. Mmmmm. These things are delicious. It took all day, but wasn’t it worth it? And just think . . . next time, you have the puff pastry ready and waiting for you, in the freezer.
So technically you can have these things . . . anytime you want. Sigh. 🙂 It’s bliss.
You did it. And I’m just so proud of you.

Disclosure: This post may contain affiliate links, which just means that we get a few pennies if you purchase through our link. I never recommend products that I don't personally use and love. Thanks!
