Yum
Fall is coming. Although we still have the occasional hot, sticky day here in Virginia, the promise of fall whispers to me, a little stronger every day. I see it as a few leaves begin to fall across the misty path just as the sun is coming up. I feel it as the cool breeze pulls a few stray hairs and wisps them around my face when I’m out for my walk. Stores are starting to stock Halloween masks, candy corn, and everything pumpkin. My jeans call to me from the closet . . . Soon. Soon. I just love it.
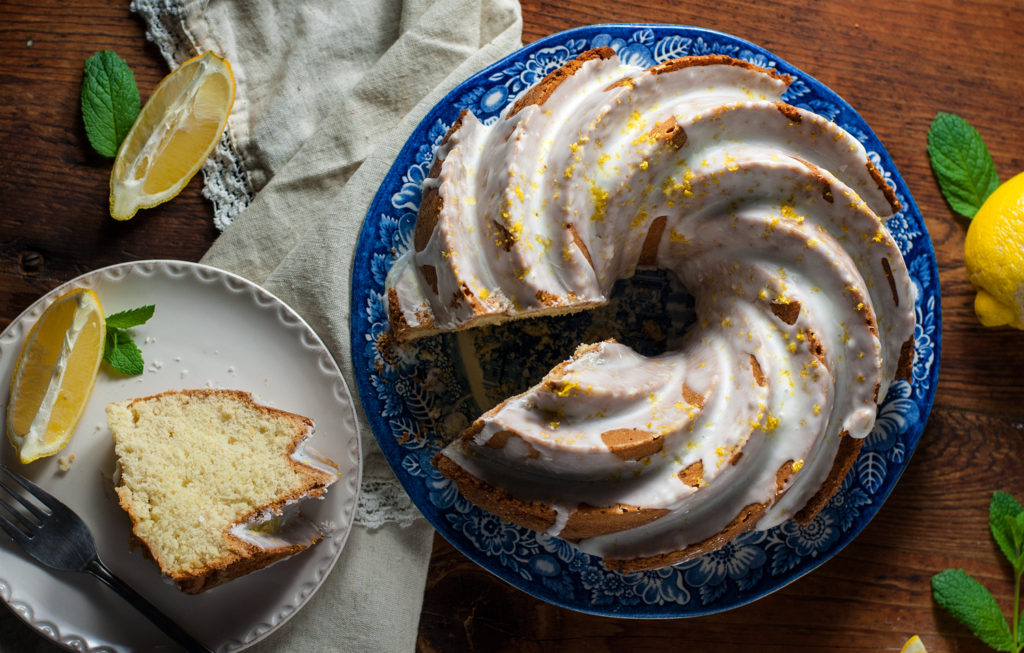
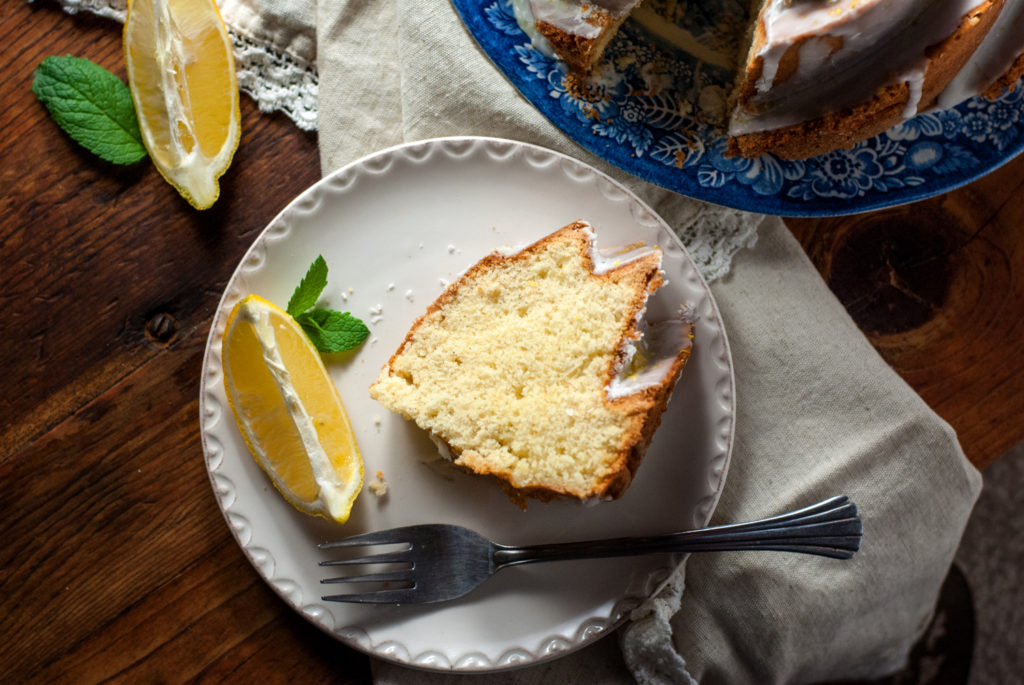
This Lemon Pound Cake is the best of everything fall– the delicious lemon flavor is paired with a kiss of cardamom, making a perfectly spiced accompaniment to a cup of steaming coffee or tea. And of course it’s always awesome to have something tasty in the oven, wafting delicious, cozy smells all over the kitchen.
What are we waiting for? Let’s do this!
Luscious Lemon Pound Cake
(Adapted from Allrecipes.com)
Ingredients:
1 cup butter, softened
3 cups white sugar
6 eggs, room temperature
1/4 tsp. baking soda
1/2 tsp. salt
3 cups all purpose flour
1 cup buttermilk, room temperature
1 tbsp. vanilla extract
1 tsp. lemon extract
1 1/2 tsp. cardamom
Glaze ingredients:
1 cup powdered sugar (possibly a squidge more, depending on how juicy your lemon is)
Juice and zest from 1 lemon
1/4 tsp. lemon extract
Directions:
Cream softened butter and sugar together until creamy– this process takes 4-5 minutes. Once the crumbs have come together into a creamy mixture, add the room temperature eggs, one by one, beating after each egg. Yes, this is a pain. Yes, you need to do it. Once all the eggs are added, mix in the baking soda, salt, and cardamom. This next part is a pain, too, but you really need to do it– add in a little flour (I do about 1/3 of it) and mix slowly. Add in a little buttermilk (about 1/3) and mix slowly. Keep alternating flour and buttermilk, mixing just until combined after each addition. Add in extracts and just mix. Pour batter into 2 buttered/floured 9×5 loaf pans and bake at 325 for roughly 60 minutes, until each loaf is golden brown and springs back when touched. A toothpick inserted into the center can have moist crumbs, but there shouldn’t be any liquid batter. Allow finished cakes to sit for several minutes in pans before inverting onto cooling racks to finish cooling. When loaves are cool, stir together glaze ingredients until mixture is the consistency of gravy and drizzle over loaves. Allow glaze to dry before cutting and serving. You can freeze loaves if desired and glaze when you remove from freezer.
Now, in pictures! 🙂

I’ve said it before, and I’ll say it again . . .
Cold Ingredients are the Enemy of Good Cookies
Well, in this case it’s cake, technically . . . but the idea is the same. Baked goods do better with room temperature ingredients. But why oh why oh why oh why???? Tell me MOMMMMEEEEEEEEEEE (can you tell I have a 1 year old and 4 year old? haha).
Well, basically, in order to have light-as-a-feather baked goods, your butter needs air bubbles in it. Say WHAT??? When a recipe tells you to “cream” butter and sugar together, you are basically beating tons of teeny weeny air bubbles into the butter, which will then swell into gorgeous, light and delicious baked goods in the oven, later. I like to get my eggs and butter out and sit them on the counter about 1/2 hour before I need them. That makes sure that your cold ingredients are nice and room temperature when you’re ready for cake time! 😀
Start by creaming your softened butter and sugar together until creamy– this process takes 4-5 minutes. Seriously. I am a big fan of saving time, but this is one time when you actually need to do all the steps. If you cut corners your pound cake will be a beautiful, lemon spice brick. We want our cake to be light (yet moist with the characteristic “dense” texture you expect from pound cake). And to get that texture and those super fine crumbs, you need to cream the heck out of your butter and sugar.
It will start out kind of crumbly– and you will think “Great. This is as good as it’s going to get. Let’s move on.” But don’t do it. Beat the mixture until it actually becomes a single, creamy batter– no sugar balls or lumps. Once the crumbs have come together into a creamy mixture, add the room temperature eggs, one by one, beating after each egg. Yes, this is a pain. Yes, you need to do it. You see, not to get too technical here, but we are actually making an “emulsion.” Basically, emulsions are mixtures that strike a delicate balance between oil and liquid. We want our ingredients mixed evenly together or the mixture will “break.” Have you ever been baking and you added the egg, and suddenly your mixture became this weird, grainy stuff with water settling out? Yeah . . . your emulsion broke. If that happens you can usually get the balance back by adding a few teaspoons of flour, but even better is not to let your emulsion break, in the first place. And to keep the balance going, we have to add our ingredients little by little, mixing a little bit (not too much– I give it 3-4 seconds of mixing) after each addition. So add one egg, and mix a bit. Add another, and mix a bit. Trust me . . . when you have the best pound cake you’ve ever had in your entire life come out of YOUR oven, you’ll be glad you didn’t cut corners. 😉 Once all the eggs are added, mix in the baking soda, salt, and cardamom. Mix for a few seconds, just until combined.

This next part is a pain, too, but you really need to do it (that emulsion business, again). Add in a little flour (I do about 1/3 of it) and mix slowly. Add in a little buttermilk (about 1/3) and mix slowly. Keep alternating flour and buttermilk, mixing just until combined after each addition. This alternating of ingredients helps keep the mixture balanced, so it won’t break. When you’ve finished adding all the flour and buttermilk, go ahead and add in extracts and just mix (3-4 turns of the beater).

Yum. That looks awesome. We don’t have anything watery or grainy settling out of there. Good– we didn’t break our emulsion, and now our cake promises to be AWESOME. You’re so talented. I love working with you.
Pour the finished batter into 2 buttered/floured 9×5 loaf pans and bake them at 325 for roughly 60 minutes, until your loaves are golden brown and spring back when touched. You can use the “toothpick test” too, but the toothpick won’t be completely clean when the cake is done– a few moist crumbs are OK. But there shouldn’t be any liquid batter on the toothpick.

Another good way to tell that your cake is done is that it will kind of “pull away” from the sides of the pan. See how the cake is pulling away from the corner, there? Yep. That golden brown lovely is done!
Let your cakes sit in the pans for 5 minutes or so, and then run a butter knife around the edge of the pan and invert your cakes onto a cooling rack to finish cooling.

I like to put my cooling rack over a silpat-lined baking sheet. That way, when I glaze my loaves, the silpat catches all my mess, and I can wipe it right off for easy cleanup. Yesssss.
Speaking of that delicious glaze . . .
The glaze is super easy to make. Just whisk together your glaze ingredients. Done. Told you that was easy. Sometimes, depending how juicy my lemon is, I add a squidge more powdered sugar so that it isn’t too runny. Use your judgment. Either way, it will be delicious.

I wait until the loaves are cooled a bit– they shouldn’t be hot, but glazing while the loaf is a little warm is OK. Just drizzle the glaze over-top of the loaf and let the cake finish cooling. The glaze will dry as the cake cools.

And then you have the most amazing teatime treat, ever. You have light as a feather pound cake, kissed with citrus and spice, with a delicious, moist texture and a velvety crumb. Yes, it does sound weird to say “Crumb.” Let’s say it again.
Crumb, crumb, crumb, crumb, crumb.
You did it. And I’m just so proud of you.

Disclosure: This post may contain affiliate links, which just means that we get a few pennies if you purchase through our link. I never recommend products that I don't personally use and love. Thanks!


