Yum
“Peter never stopped running or looked behind him till he got home to the big fir-tree. He was so tired that he flopped down upon the nice soft sand on the floor of the rabbit-hole, and shut his eyes. His mother was busy cooking; she wondered what he had done with his clothes. It was the second little jacket and pair of shoes that Peter had lost in a fortnight!
I am sorry to say that Peter was not very well during the evening. His mother put him to bed, and made some camomile tea; and she gave a dose of it to Peter! “One table-spoonful to be taken at bed-time.”
But Flopsy, Mopsy, and Cotton-tail had bread and milk and blackberries for supper.” — The Tale of Peter Rabbit
Is it wrong that on Black Friday I’m thinking blackberries instead of black spirits of stressed out people in the shopping line? hehe. If there were more pies in this world and less holiday shopping stress, it would be a happier world, in my humble opinion. 😉
There is something about the thought of plump, ripe blackberries that instantly transports me back to a sweet summer evening. The best part about blackberries is that they are enormous, which means that you can make a pie quickly and easily. And ohhhhh . . . eating it is super easy, too. 😉
What are we waiting for? Let’s do this!
Blackberry Pie
Ingredients:
6 cups blackberries, fresh or frozen
1 lemon, juiced
1 cup white sugar
1/2 cup cornstarch, mixed with enough water to make a milky liquid
Double Pie Crust
Milk and coarse sugar for decoration, if desired
Directions: In a large saucepan simmer blackberries, lemon juice, and white sugar until berries are juicy and hot. In a separate bowl mix just enough water with your cornstarch to make a milky fluid and add all at once to simmering berry mixture. Stir berries over heat just until thickened (about 30 seconds). Remove from heat. Prepare your bottom crust and fill with slightly cooled berry mixture. Top with second crust; brush crust lightly with milk and sprinkle with coarse sparkling sugar, if desired. Bake pie at 350 degrees for 50-60 minutes, just until golden brown. Allow to cool completely before cutting and serving.
Now, in pictures! 🙂

The beautiful thing about blackberry pie is . . . IT’S SIMPLE. You can use basically nothing but berries and sugar and cornstarch, and you get a gorgeous dessert out of it. I have also made this pie without creating the pie filling, beforehand. In a time crunch I just mixing my berries, lemon juice, sugar, and cornstarch together and POOF into the pie shell. That’s what you see in this photo. But I find that I get SLIGHTLY better consistency and less runny berry juice if I cook the filling, beforehand. But it can be done either way you like. 🙂 If you’re cooking the filling (as indicated in directions), heat the berries to simmering and then add the cornstarch/water mixture all at once, just until the filling thickens. And presto . . . you just made blackberry pie filling. You’re so smart. I love working with you.

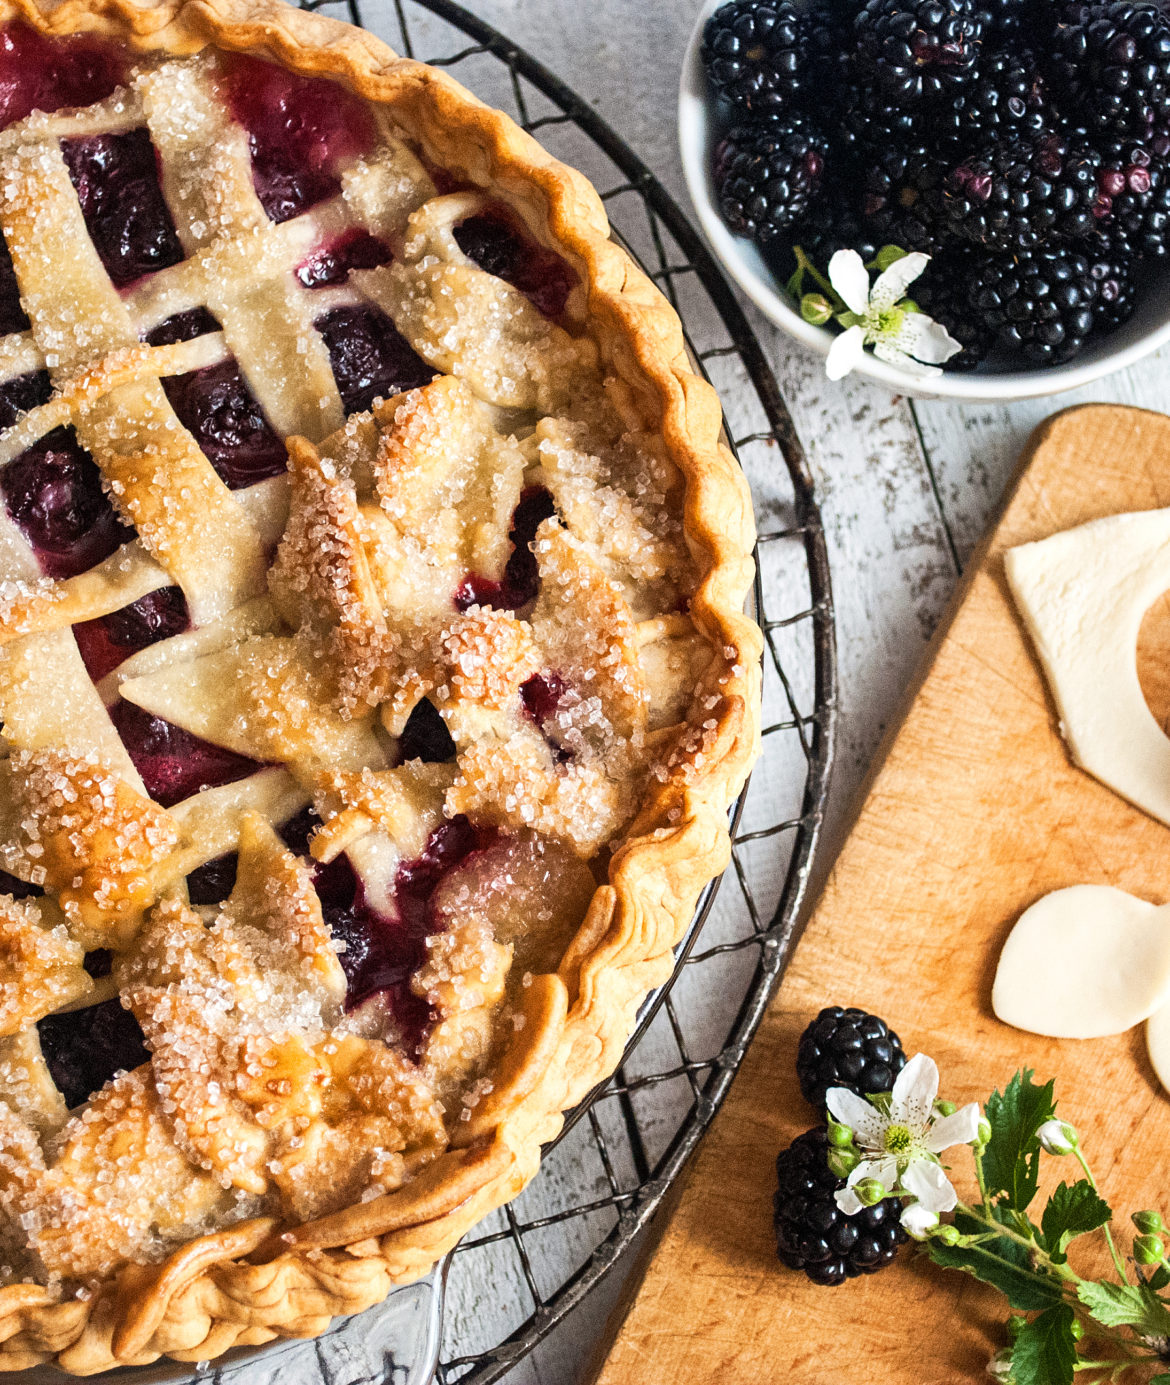
Whether you choose to cook your filling or just mix the ingredients together, cold, you’re going to need a double pie crust. You can use a set of bought pie crusts, or you can make your own (I use a basic Crisco pie crust). I also love decorating my pie crusts and making them all PURDY with little decorative pie crust punch cutters like these here. Not only can these cutters cut out shapes, but they embed a neat little leaf vein pattern into the crust leaf which is ADORABLE. Spend 10 bucks and take your pies to the next level. I never make a pie without ’em. 🙂
You can also do a really easy and pretty crust lattice– just cut your crust into strips about 1/2 inch wide with a pizza cutter. You can also use a fluted pie crust cutter if you want to make your lattice extra adorable. To make the lattice weave, place your horizontal crust strips down, first, and then bend back every other strip and place one vertical crust line. Fold back the horizontal strips and then bend back the next set, like in the photo, continuing until you get all the vertical strips in place. Presto . . . easy lattice crust.

When you get ready to crimp the edge of your pie crust, just trim and discard the crust about 1/2 inch beyond the edge of the pie plate and squish the remaining crust together in a nice standing line around the pie.

With your left pointer finger and thumb, form a space and “push” your right pointer finger into the space, forming a crimp. Easy peasy. Of course, if you want to use an extremely difficult, handed-down-from-grandma technique, then by all means be my guest. I go for quick and easy, because it means I can take a bite of delicious, juicy blackberry pie sooner. See? I told you that quick and easy was an easy choice. 😉

When you’re done dolling up your crust, brush it lightly with milk and dust with a coarse sparkling sugar, like this Wilton sparkling sugar here. I love taking this extra step because it makes the crust so pretty– like a sparkling piece of jewelry when you serve it. And who doesn’t love bedazzled pie crust????
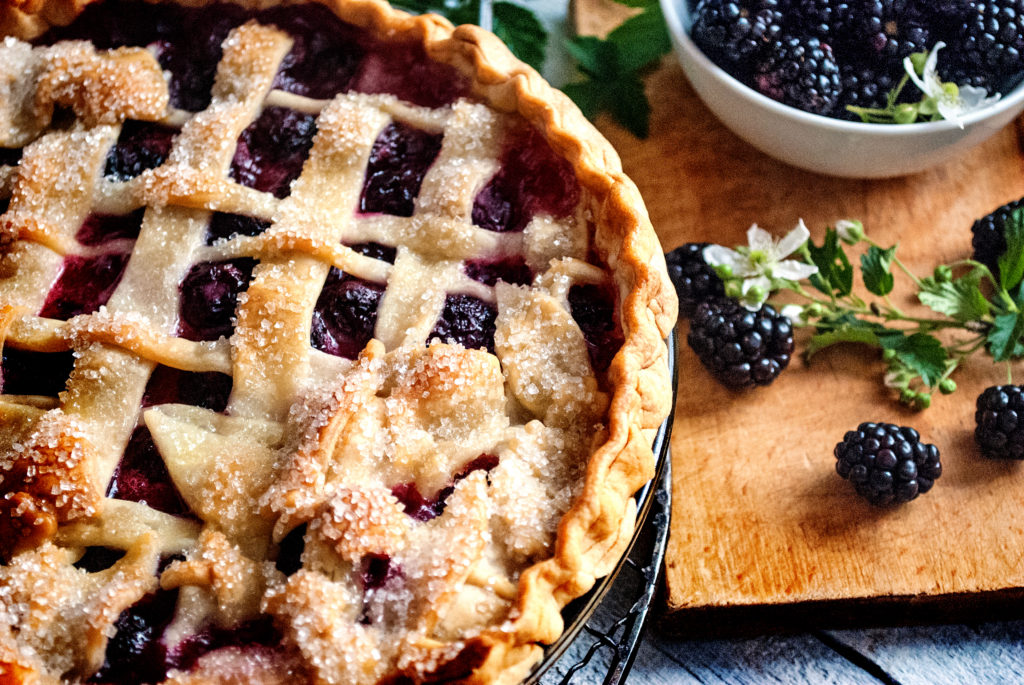
When your pie is ready to bake, pop it in the oven at 350 degrees for 50-60 minutes, until your crust is golden brown. And take my word for it . . . ALWAYS bake pies over a cookie sheet. Nine out of ten times your pie won’t run over, but the one time that it does, you’ll be so glad you don’t smell it running over in the oven. Yeeeeeeck. You’re welcome.
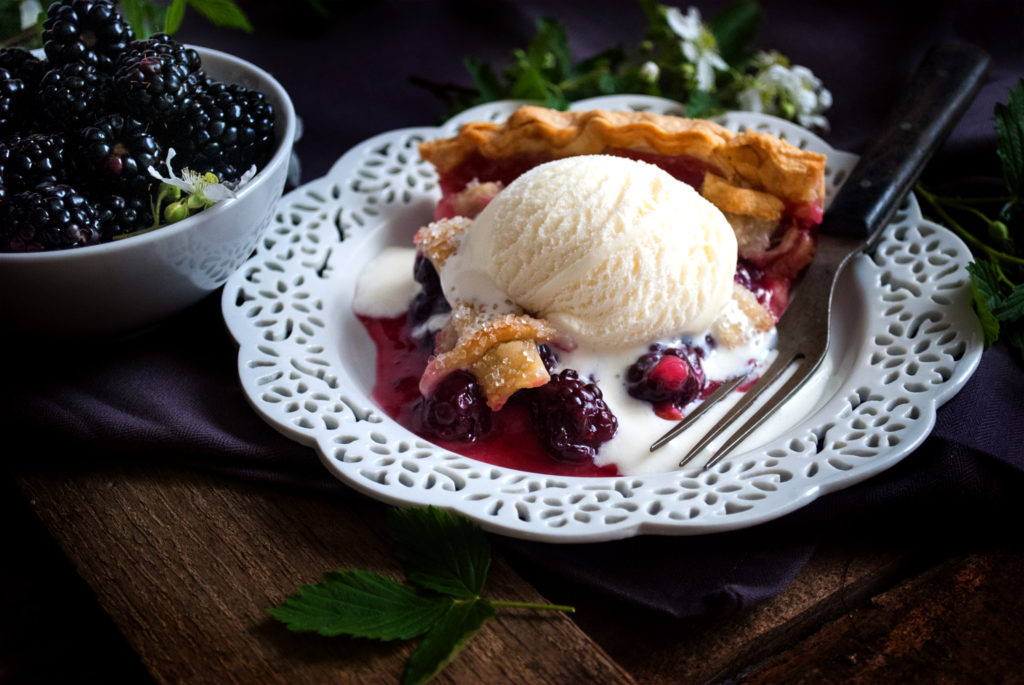
Now, I know it will be hard to leave this pie alone until it cools. I know, baby. But force yourself. If you cut right into a berry pie when it comes out of the oven, it will ooze all over the plate and leak your beautiful work all over creation. But . . . with a little patience . . . OK a LOT of patience, you can cut into a perfect berry pie. You just have to wait . . . until it cools. Letting the pie cool helps the cornstarch to “gel” and hold everything in– like a good pair of spandex. 😉
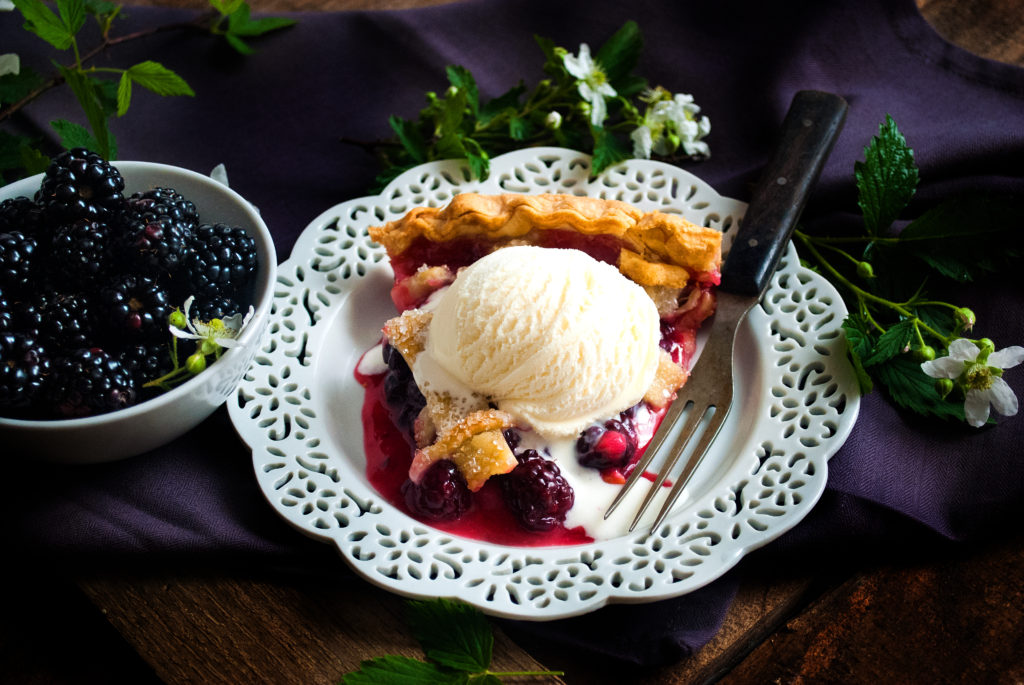
But don’t worry because it will all be worth it. You will cut gorgeous, bejeweled slices of rich berry pie and serve them with generous scoops of rich vanilla ice cream. You will inhale the praise of your guests. You will have seconds. You will smile a blissful smile. You deserve it.
Because you did it. And I’m just so proud of you.

Disclosure: This post may contain affiliate links, which just means that we get a few pennies if you purchase through our link. I never recommend products that I don't personally use and love. Thanks!
