Yum
I’m not a morning fan. I mean, I’m not a huge grouch in the morning, but to be honest, I prefer to stay up late rather than get up early. Thankfully, my kids make sure I get a healthy helping of both staying up late and getting up early. *eye roll*
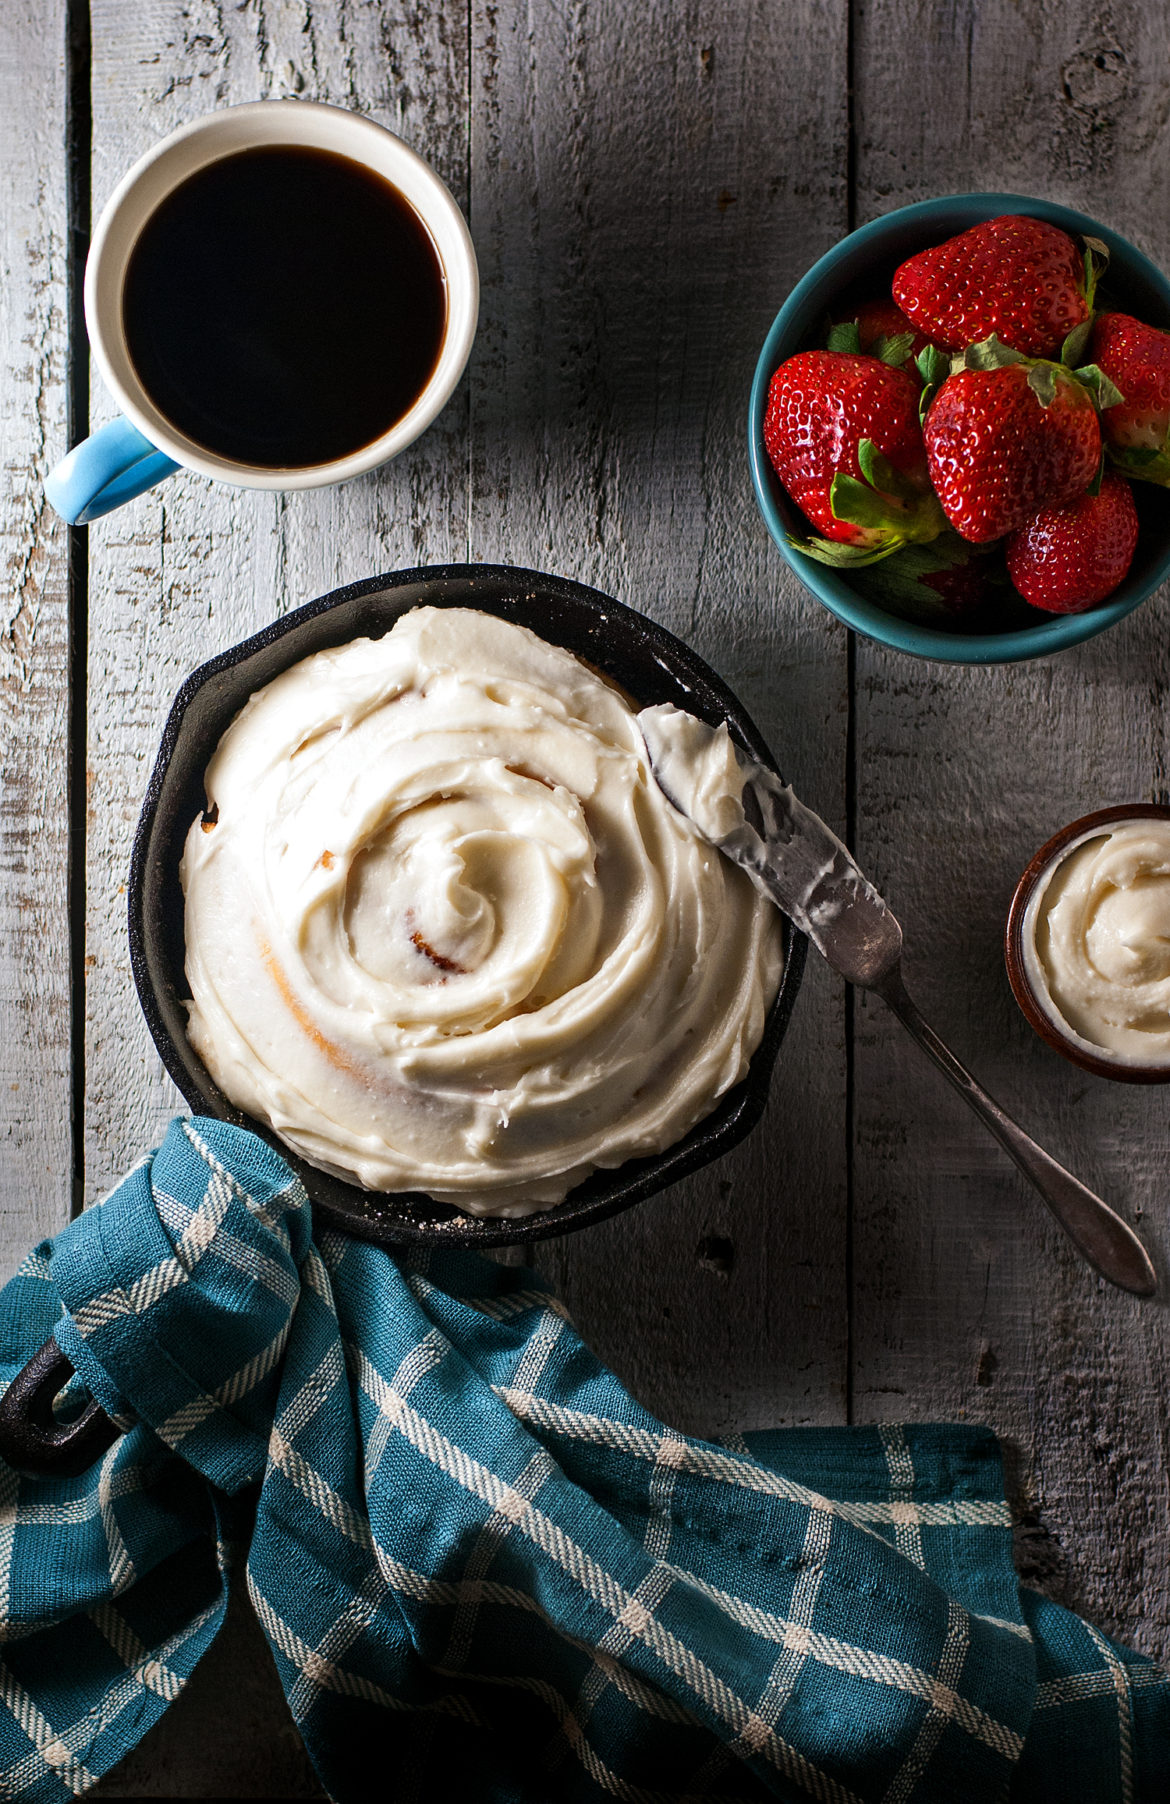
But there is something that can make even the dreariest, sleepiest morning into something to smile about– homemade cinnamon rolls. And if that cinnamon roll is big enough to fill a cast iron skillet and be cut into wedges, pie-style, well . . . that may just be cute enough to begin anticipating mornings. 😉
What are we waiting for? Let’s do this!
Giant Skillet Cinnamon Roll
Adapted from Taste of Home
Roll Ingredients:
1 box yellow cake mix
2 1/2 cups warm water
4 1/2 tsp. SAF Gold instant yeast (get this here) or 2 packages active dry yeast
5-6 cups all purpose flour
Butter, sugar, and cinnamon for topping dough (more on this later)
Icing Ingredients:
6 tbsp. softened butter
3 cups powdered sugar
1 1/2 tsp. vanilla
3 tbsp. milk
Directions:
Place cake mix, warm water, and INSTANT yeast (more on this later) in a mixing bowl. Mix well. Add flour gradually until it is almost too stiff to mix. Swap out your beater for the dough hook and gradually add enough flour to form a soft dough. Place dough in greased bowl, grease the top, and cover. Allow to rise until doubled in size– roughly 1-1 1/2 hours. Punch dough down and divide into 2 dough balls. Roll each dough ball out into a long rectangle roughly 18×12 inches in size. Cover the layer with butter, sugar, and cinnamon. Roll up the log and pinch the ends closed. Divide each log into 16 pieces and place in greased cast iron skillets. You can either do several individual rounds per skillet or wrap a few “rolls” around the others to create one gigantic cinnamon roll (this is what I did). Cover and allow to rise about 30 minutes more until puffy and almost doubled. Preheat the oven to 375 while the rolls are having their second rise, and then pop them into the preheated oven when they look nice and puffy. Bake for roughly 20-25 minutes, until golden brown. Rotate pans halfway through baking to ensure even browning.
Icing: Allow butter to come to room temperature. Slowly mix butter and powdered sugar in your stand mixer until you have what looks like large crumbs. Add in vanilla and milk. Beat well, until lumps are gone. Store icing in the refrigerator until you are ready to use. Warming the rolls and adding the icing on top creates an amazing, sticky glaze. Yum!
Now, in pictures! 🙂

To begin with, banish your thoughts of the intense difficulty of homemade cinnamon rolls. These sweet babies start with a plain ‘ole yellow cake mix. I use this traditional yellow one from Pillsbury because it’s 98 cents, but any yellow cake mix works.

Place your cake mix, warm water, and instant yeast into a bowl. What is instant yeast???? I have only ever heard of those little packets at the store . . . what is this witchcraft you talk about?
OHHHHHH if you have never used instant yeast, you are missing out! Unlike the “packet” kind, instant yeast can be added directly to a recipe, without proofing (that weird step where you have to sprinkle the yeast overtop of warm sugar water and let it sit for 10 minutes and start foaming). Instant yeast is kept in the freezer and lasts up to 5 years (WOW!!!!). I love it because I no longer get my recipe started, sprinkle the packets, and then discover, 10 minutes later, that nothing is happening and my yeast is dead. Instant yeast goes right from freezer to recipe. It also makes your dough rise so quickly and well that it’s almost unrecognizable from the packet kind. It’s SOOOOO much easier! I use SAF red yeast for bread and the SAF gold yeast here
for sweet breads, like cinnamon rolls. Treat yourself. Your amazingly rising baked goods will be your reward.

With the mixing blade of your mixer, add in just enough flour that your mixture becomes *almost* too thick to mix. Then switch out the blade for your dough hook and allow the mixer to go on slow speed, adding flour little by little, until you get a dough that looks like this– still a little sticky, but “cleaning” the sides of the bowl while the dough hook agitates it. Once your dough looks like that, stop adding flour, even if you haven’t added the full amount– bread recipes give a “range” of flour because even the weather can affect how moist your dough is (and how much flour you need). Learn to see how dough should “look” rather than relying on measurements, so much– use them as a guide with you as the master. 😉
Place your dough into a greased bowl, mist the top with cooking spray, and cover with a kitchen towel. Allow the dough to rise in a warm place for 1-1.5 hours, until the dough is doubled in size and puffy. I divide my dough into 2 greased bowls, because it grows so large that sometimes it overflows just one bowl. 😉 Plus, when you divide the dough later, it’s easier to have it already divided into 2 parts.

Yep. Just like that. haha. See how huge that dough became? It’s nice and puffy and doubled. It’s ready.

Working with 1/2 of the dough at a time (or 1 bowl, if you divided the dough pre-rise), lightly flour your counter and roll out the dough into a nice rectangle about 18×12 inches or so. Keep lightly flouring as you go just to keep from sticking– but don’t glob the flour on there. Just lightly dust and use as little as possible. When your dough is rolled out, brush it with melted butter (I use a shortcut of using the back of a spoon to lightly spread on Country Crock spread because it doesn’t need to be melted– don’t tell the butter police), then sprinkle with white sugar and dust with cinnamon. I never measure any of these ingredients– I just sprinkle until it feels right– just basically give a thin layer of everything. How’s that for scientific directions? haha.
Use your hands to gently roll the dough up into a roll, pulling it tight as you go so that it won’t “unroll” when you cut the individual pieces. Go slowly and carefully and keep everything nice and tight if you can.

Now here is where you have a little freedom, if you like. Divide each “log” into 16 pieces. I use the dull end of a knife to divide in half multiple times until I have 16 cut marks to go by.
 When I make cinnamon rolls the “normal” way, I just place 12 of the rounds (cut with a serrated knife so you don’t tear the dough) into a greased 9×13 baking pan. But when I want to make a bigger skillet cinnamon roll, I have a little trick.
Lightly spray a 6-6.5″ cast iron skillet (like these cuties here) with cooking spray. When I used to make larger, skillet style cinnamon rolls, I tried to make my initial “roll” thicker. But that didn’t work too well because the layers would slip and slide around. So now I have a little cheater shortcut to make the larger sizes more easily.
Start by putting one “round” into the center of the sprayed cast iron skillet. Then take a second round and kind of “unwrap” it, as you wrap it around the first one. Basically, you just want to wrap 2-3 extra cinnamon roll “tapes” around the first one. When your roll is wrapped to about 1.5″ away from the edge of the skillet, you can stop wrapping. Since each round is a slightly different height, use your hand to gently smoosh down the top when you’re finished wrapping. Cover the pans with a towel and allow the dough to rise for a second time for 30-40 minutes, until the dough is puffy and edging toward the sides of the skillet. While the dough is getting this second rise, go ahead and preheat your oven so it will be hot when the rolls are ready to bake.
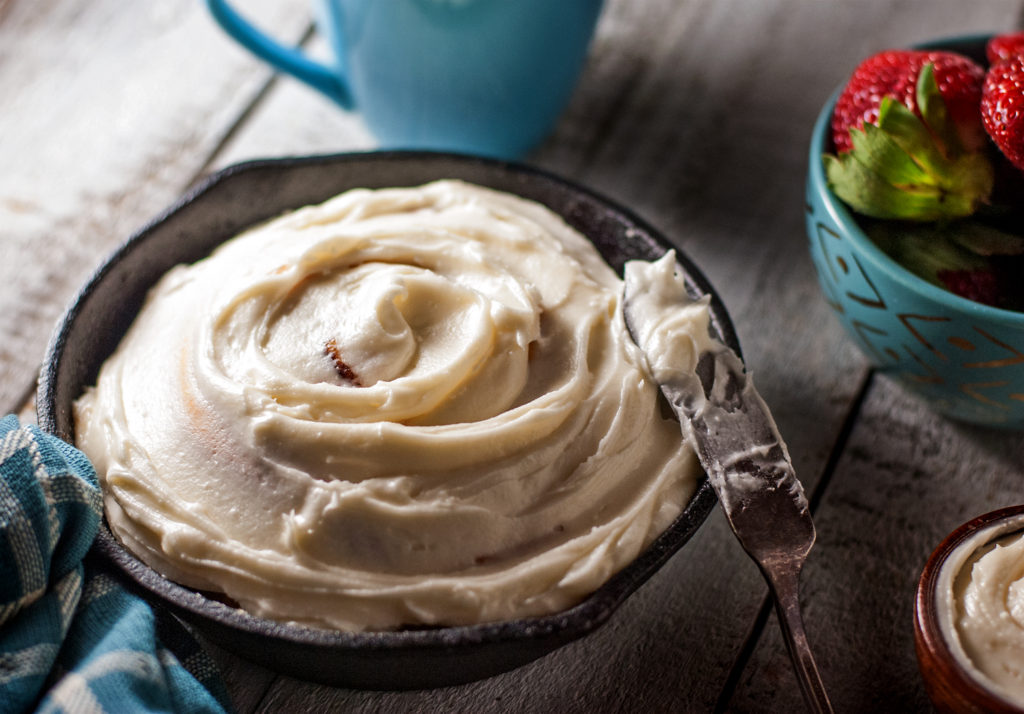
Bake the cinnamon rolls at 375 degrees for 20-25 minutes, until the rolls (or giant roll!) are done. To help me tell when the cinnamon rolls are finished baking, I slide a butter knife into the groove between the roll and the side of the pan. When that part is lightly golden brown (not white), the roll is finished. For a big cinnamon roll you may have to cover the top with foil toward the end of baking so that the center gets done without the top getting too toasty. Just keep an eye on it– you’ll do fine.
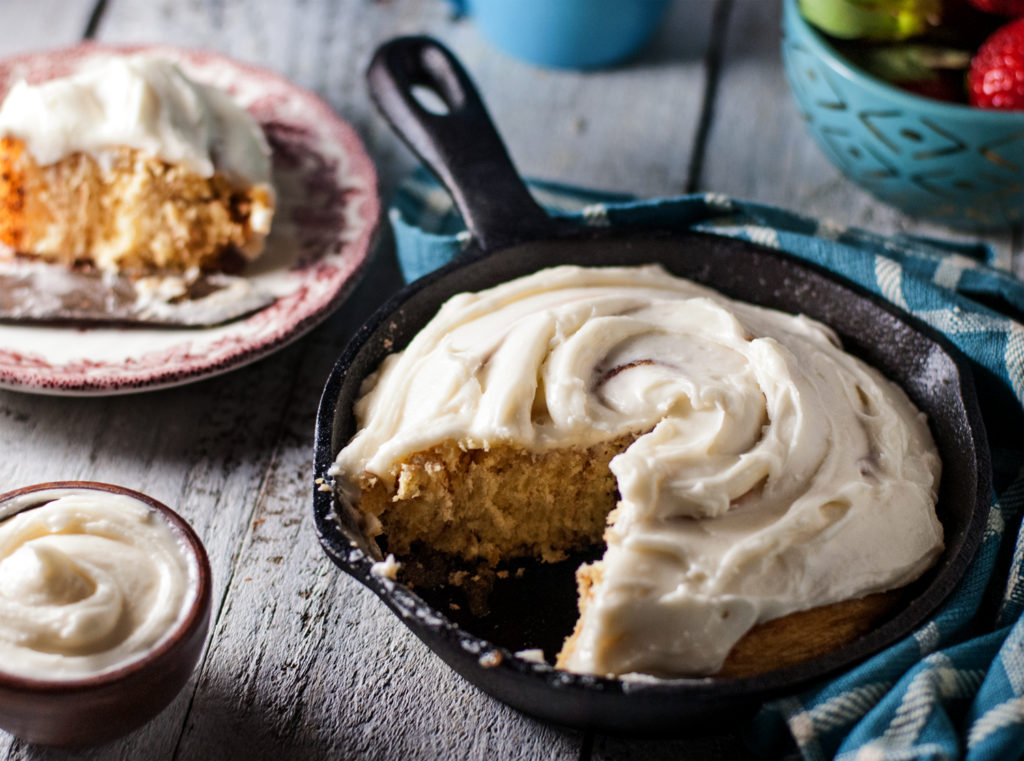
The icing is pretty easy– put your softened butter (take butter out of the fridge about 1/2 hour before you’re ready to use it), powdered sugar, vanilla, and milk into the bowl of your stand mixer. Start out slowly until the powdered sugar gets combined (so you don’t have a winter wonderland all over your kitchen), and then speed up to whip the icing until there are no lumps. Yep. That’s it. Done.
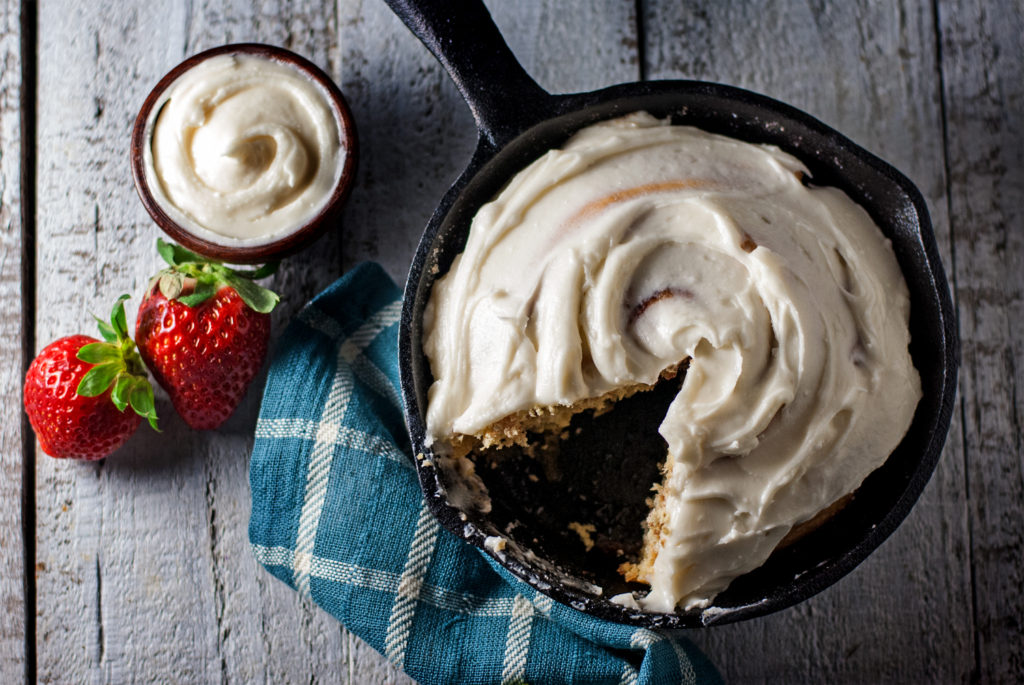
If you want more of a “glaze,” spread the icing overtop of the warm rolls. If you prefer “cinnabon style” icing, wait until the rolls have cooled to ice them.
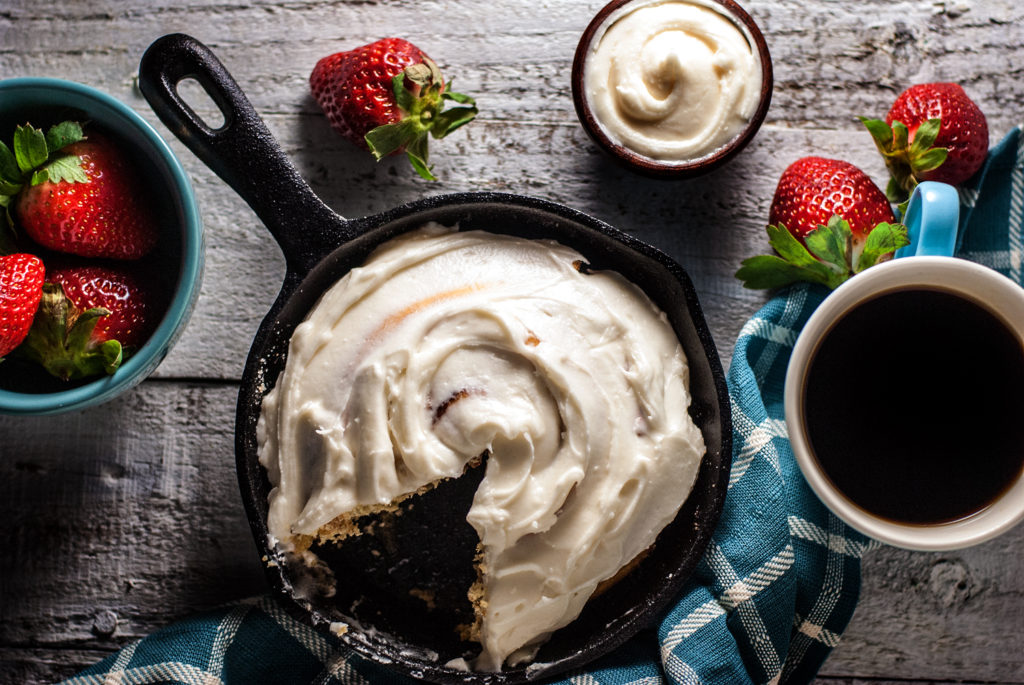
There really is no “wrong way” to do this, though. Because no matter how you finish out your cinnamon rolls, they will be delicious. Make these for your sweetie Friday night and then bring a nice, skillet cinnamon roll upstairs for a sweet breakfast in bed. Make a tray of these for a friend or neighbor who has gone out of the way to be nice. It’s hard not to love a sweet little cast iron skillet with an even sweeter treat inside.
You did it. And I’m just so proud of you.

Disclosure: This post may contain affiliate links, which just means that we get a few pennies if you purchase through our link. I never recommend products that I don't personally use and love. Thanks!





With a cinnamon roll like this, I’d be willing to get up very early in the morning. During the winter I become lazy and did not want to wake up early, especially when it’s raining outside or there is fog, but in summer, with the first rays of sun I get an injection of energy and jump out of bed.
I love the photos, the richness of butter cream, the soft light, the morning mood.
Hugs!
Coming from someone whose work is as stunning as yours, I consider this a grand compliment! Thanks so much for stopping by! 😀