Yum
Ahhh, glorious apple pie. You are the fodder for fun-filled July picnics at the park or a sweet treat after a sumptuous Sunday meal. It’s the perfect gift to take to your new neighbors to welcome them to the neighborhood. It’s the quiet, satisfied smile at the end of a long day, when enjoyed with a steaming cup of coffee. I just don’t think it gets any better than these pure, simple flavors.
Don’t be intimidated by homemade pie (or homemade pie crust). Anyone can do it with a little practice, and I’m going to walk you through the process, step by step. You’ll be a pie-making pro in no time! 🙂
What are we waiting for? Let’s do this!
Classic Apple Pie
(my own recipe based on years of tweaking to find what I liked best 🙂
Pie Filling Ingredients:
8 Granny Smith apples, room temperature (not chilled)
Juice from 1 lemon
2 tsp. vanilla
1/2 cup white sugar
1/2 cup brown sugar
1 tsp. cinnamon
2 tbsp. flour
3 tbsp. cornstarch
Double pie crust (may use bought or homemade)
Directions:
Peel and slice apples. Continually toss the apple slices in lemon juice as you cut them so that they don’t turn brown. When all the apples are sliced, add in the vanilla and toss the apples in the lemon juice and vanilla mixture. Add the sugars, cinnamon, flour, and cornstarch. Make sure that the dry ingredients get completely mixed through all of the apples. Pour the apple mixture into a prepared pie crust. Top your apples with the other crust and brush with milk or egg wash (more on this in a minute). Sprinkle with coarse turbinado sugar, if desired. Bake over a cookie sheet (in case of spills running over) at 350 degrees for 1 hour, or until crust is brown and apples are tender. Allow to cool before slicing if you don’t want the juices to run.
Now, in pictures! 🙂

Ahhh, homemade pie. Homemade Pie CRUST. These words used to intimidate me beyond belief. But don’t worry– there are a few tips and tricks in the ‘ole arsenal which can help you make a gorgeous pie from scratch, to the rave reviews of your family and friends. Yep. If I can go from making tough dog biscuits to tender, flaky pie dough, then you can, too. 🙂
To start with, all pie crust basically hinges on one principal– keep it COLD. When the elements of pie dough are kept cold, the fat (usually shortening– or lard, in the old days) doesn’t melt, and then the pieces of cold fat puff up into gloriously light, flaky crust in the oven.
You’ll help yourself out by (1) Keeping your ingredients cold (I keep my shortening in the fridge, and I use icewater), and (2) working quickly so that the shortening doesn’t warm up too much.
The crust recipe I use is just the classic Crisco recipe, found here. It’s a classic for a reason, my friends. It’s probably the one your Grandma used. 🙂
Start out by whisking your flour and salt, together, in a large mixing bowl. Then grab your chilled shortening and cut the blob of shortening into small pieces. I have the best luck “cutting in shortening” with the Perfect Pie pastry blender (get one here), because it has a flat bottom, which makes it so much easier to get to the bottom of the bowl with your cutter, as opposed to the traditional, curved-blade pastry cutters, where only the very bottom of the cutter will touch the bowl. Since getting this little tool I have gone from making pie crust tougher than a monster truck tire, and biscuits that could have passed for baseballs in a pinch, to light, effortlessly flaky baked goods. Spend the 14 bucks and get one of these pie blenders. You will seriously not be able to believe how much easier this tool makes all of your pastry adventures.
In a few “pushes” with the pastry blender, your chilled shortening is about the size of small peas. Next, mix in your vinegar and just enough icewater (I usually use 8-10 tbsp. or so, but it’s a little different every time) to bring the dough together. I use a fork to mix the liquid into the flour/shortening mixture, and then to kind of “toss” everything together. When the mixture starts to hold together, I quickly use my hands to smoosh it into a ball. Be careful not to touch it too much, or your hands will warm the dough.
When your dough comes together (handle it as little as possible to keep it tender and flaky), wrap the whole ‘shebang in plastic wrap and put it in the fridge for an hour or so, until it’s nice and chilled, again. You can even make a double recipe of crust and freeze an extra dough lump, wrapped in plastic wrap, for next time.

After your dough has chilled in the refrigerator for preferably a few hours, all nestled in that plastic wrap cocoon, it’s time to roll out your pie crust. This is where most peoples’ teeth start to chatter with fear. Don’t worry! You can do this! I promise! I bake all the time, and I still don’t make pie crust perfectly. But each time I get a little better, and I get a little better at knowing what my dough should look like. And, of course, I use a few little helpers along the way– such as this pastry bag.
I seriously don’t know how anyone makes pie dough without one of these babies. This pastry bag changed my pie baking woes into pie baking successes. You plop in half of the dough we just made, with a little bit of flour to keep it from sticking, zip up the pastry bag (leave about 2 inches unzipped for venting while you roll for air to escape), and voila. Done. Perfect pie crust, in a perfect circle, every time. Get one of these little beauties for about 5 bucks here. Now you can actually give something useful at those Christmas gift exchanges where “no one is supposed to spend more than 5 dollars.” You’re welcome.

I also rolled some dough out, without the pie bag, to show you that it *can* be done without a cheater plastic bag. 😉 Personally, I think it’s ten times easier with the bag, but you can definitely do it without one, too. Be sure to put a little flour underneath the dough so it doesn’t stick to the counter when you try to pick up the cutouts you make.
I think the secret to rolling out pie dough successfully is taking your time. Someone once told me that “you need to slow down, breathe, and think deep thoughts while rolling out pie dough.” Odd, but I think it actually works. When I breathe deeply and think, my hands naturally relax, and the dough says “thank you.” Now might be a good time to contemplate whether you want this beauty WITH ice cream, or without. You know– deep thoughts like that.

The filling is also super easy. I start by squeezing my lemon into a bowl. Then, as I peel and slice the apples, I occasionally stir the mixture. The lemon juice keeps the apples from turning brown. When the apples are all finished slicing and dicing, add in your vanilla and stir to coat. Then add everything else (sugars, cinnamon, flour, cornstarch), and stir until everything is combined. There. Done. See how easy that was?

Place your apple mixture into a deep 9.5″ pie plate (Like this divinely beautiful red stunner here). Use a spoon to gently press the apples down and kind of flatten them a little bit so that you don’t have any unruly pieces sticking up trying to be the tallest in the class.

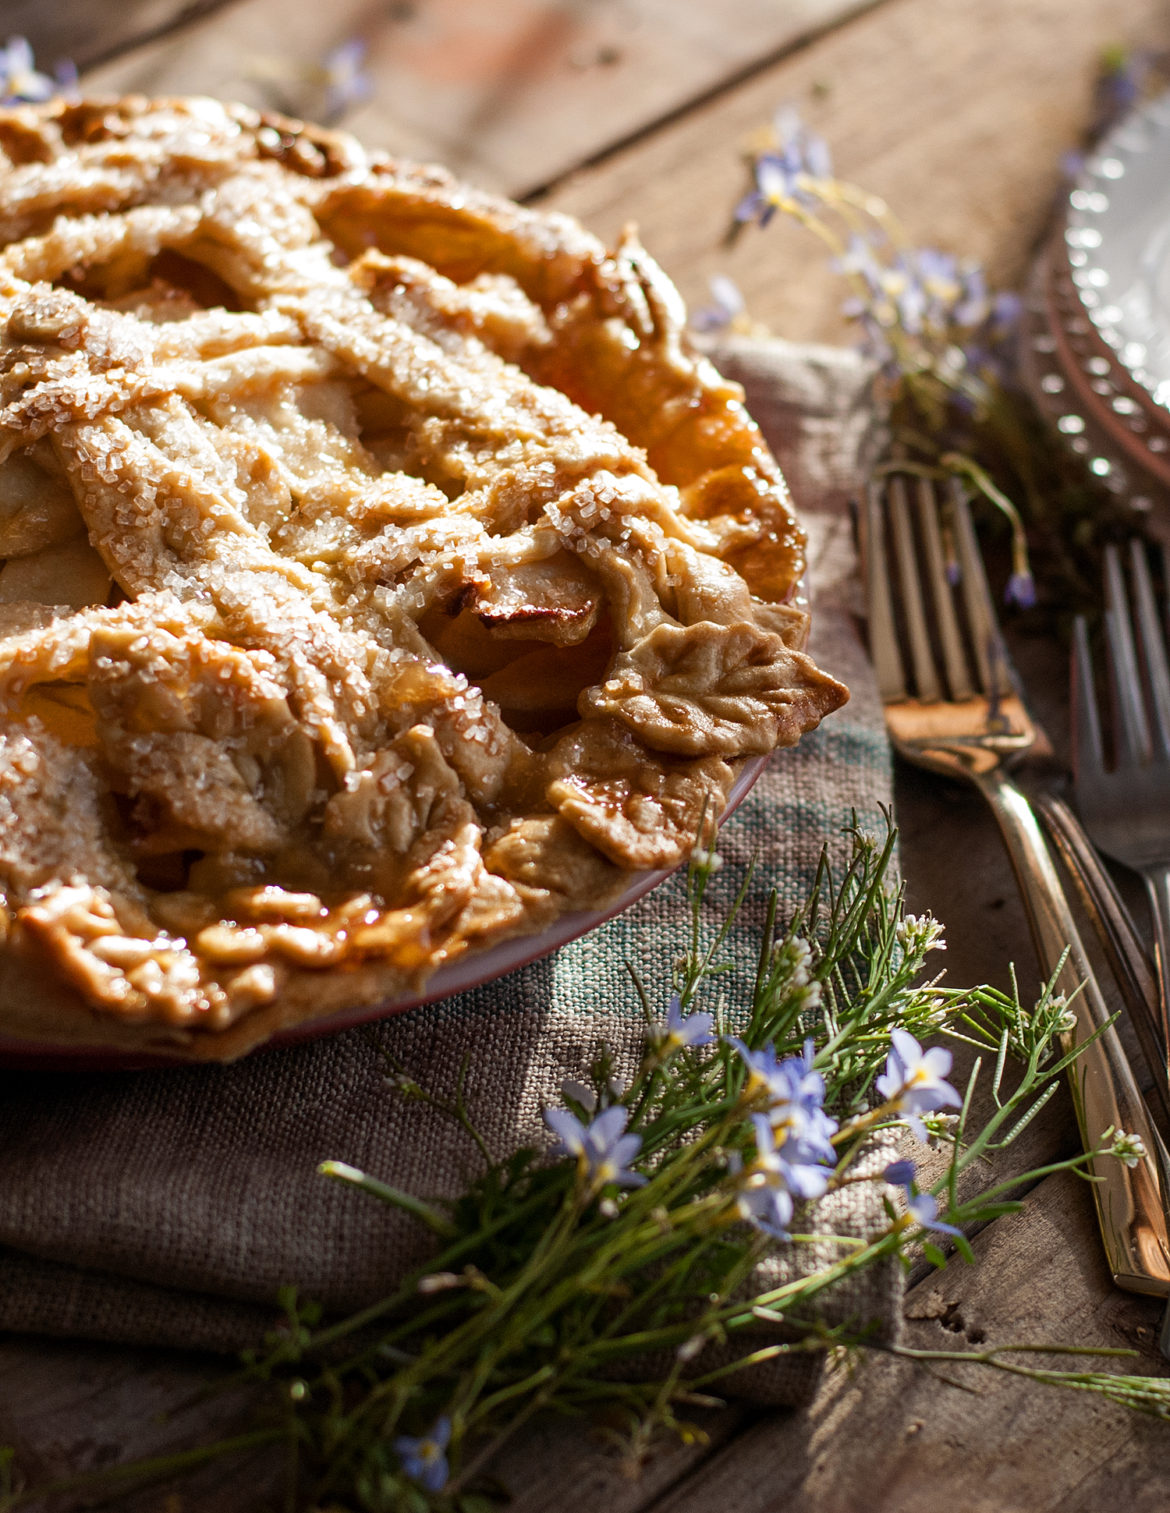
When you have your apples nestled into that first crust, it’s time to decorate! Personally, I adore decorating my pies all fancy schmancy (mainly because I have no money and this is a cheap way to do something beautiful without spending an arm and a leg ;). I love to use the 3-D cutout cutters. They make little veins and details on the leaves which I adore. You can pick up a set of these for about 9 bucks here, if you want. I use them again and again on every pie I make.
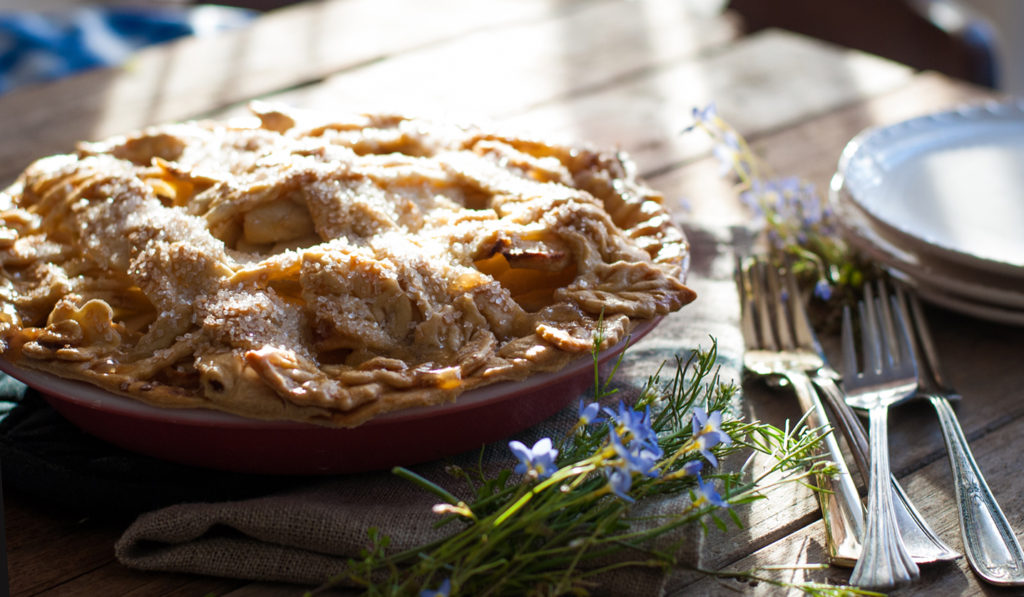
After you’ve “topped” your crust, there are variety of “washes” that you can brush the crust with. I use different ones, depending on how I want my finished pie to look. Here’s a basic breakdown of your options:
- Brush with milk for a soft, delicious, but not super brown crust
- Brush with melted butter for a delicious, slightly brown, and slightly crunchy crust
- Brush with egg wash (1 egg whisked with 1 tsp. water) for a classic golden brown, but not overly tasty crust.
- Sprinkle any of these “washes” with turbinado sugar
to get some crunch and sparkle.
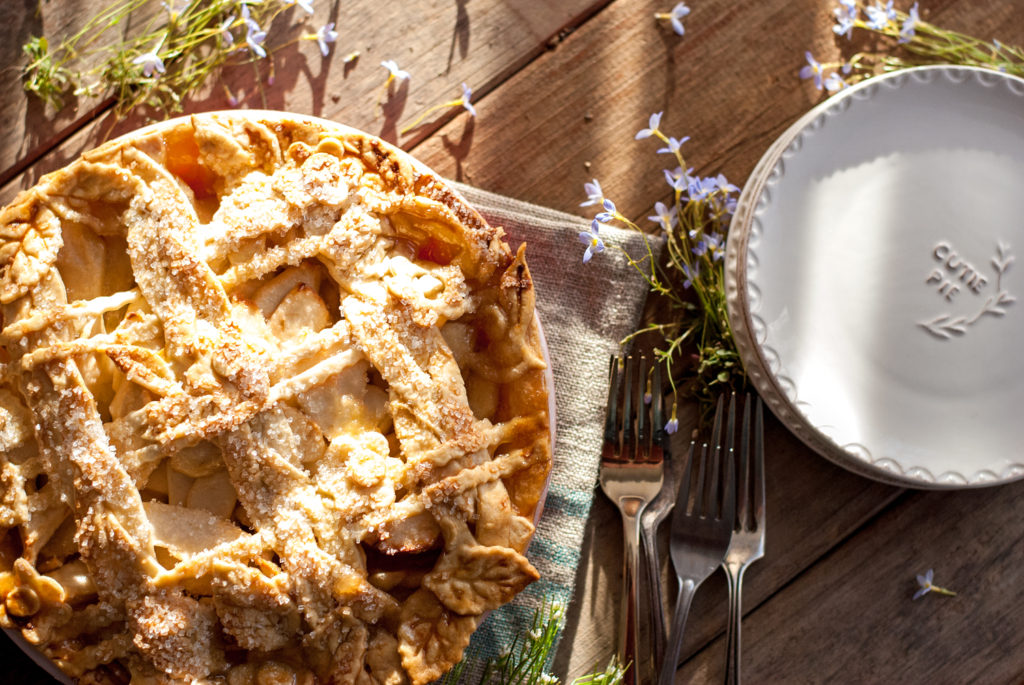
Personally, my favorite way to finish off my pie crust is with milk and turbinado sugar (you can get this herefor about 5 bucks). Nothing beats that soft, buttery crust with a little sparkle and crunch. YUMMMM.
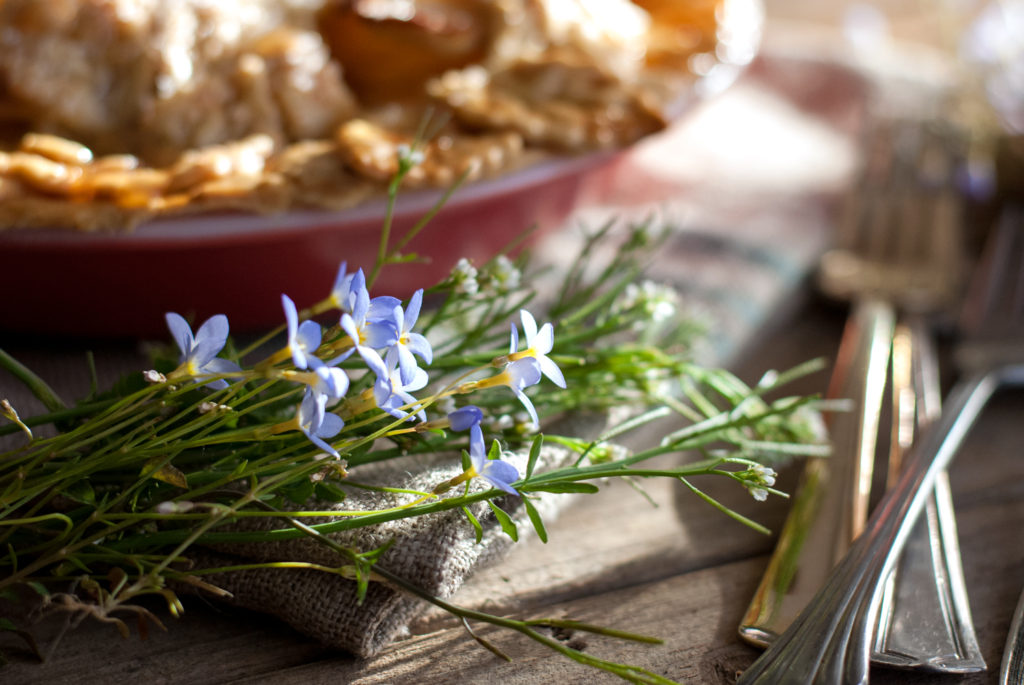
Bake your pie for 1 hour at 350 degrees. I always put a cookie sheet underneath– just in case it decides to love life and bubble over, enjoying it. 😉 Seriously– nothing ruins the beauty of a homemade pie like its running over in the oven and burning. Yuck. We don’t want that!
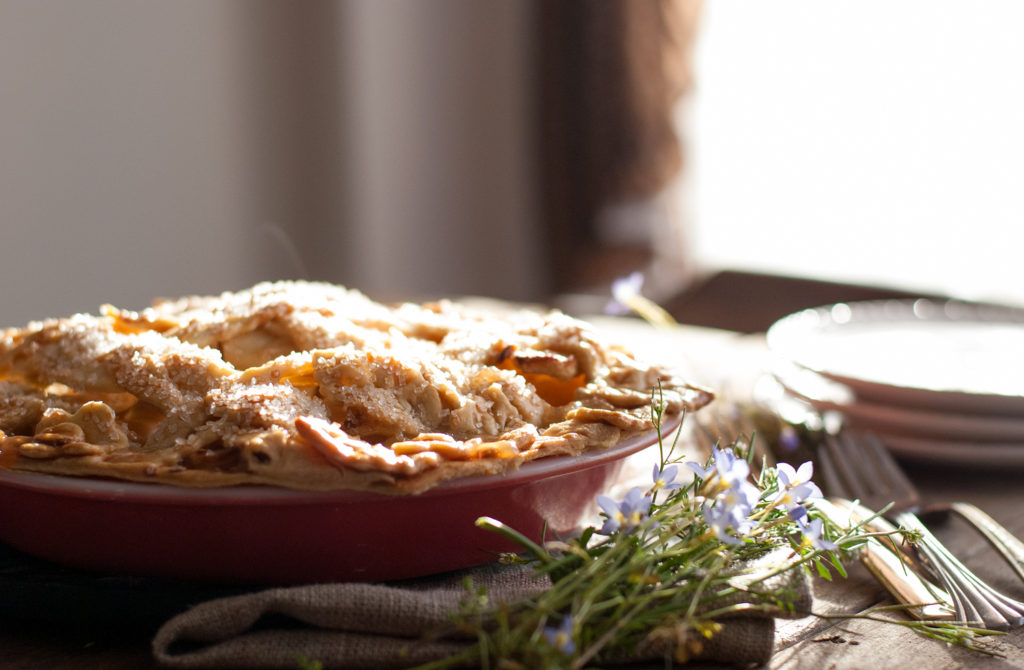
While the pie is baking, your entire house will smell like the spirits of a million Grandmas working their magic in your kitchen. MMMMMhhhhmmmm. There is just nothing like it.
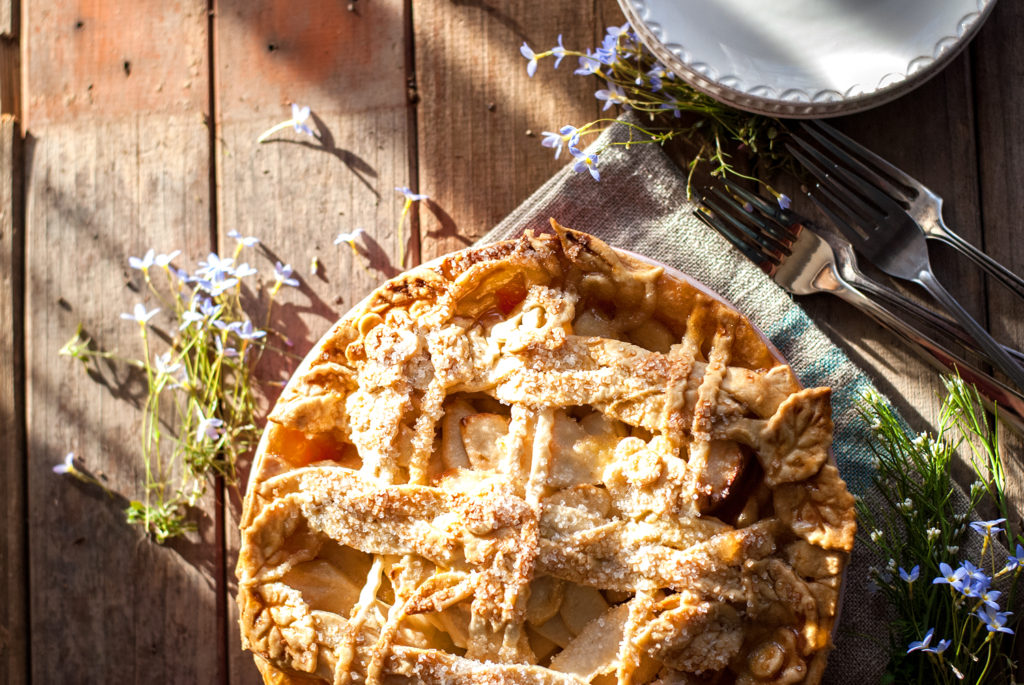
When your pie is finished baking, remove it from the oven and let it cool. I KNOW it’s tempting to dig into that steaming pie right away and load it up with vanilla ice cream. But resist the temptation– you know why? If you cut into a pie hot, right out of the oven, it will run all over the place like politicians a week before election day. If you let the pie cool completely before cutting, then your slices will be gorgeous and perfect, just like you made that beauty for the cover of a magazine. 😉 If your company wants the pie warm, then give each slice 20 seconds in the microwave after cutting. Perfect slices and warm pie. You win. 😉
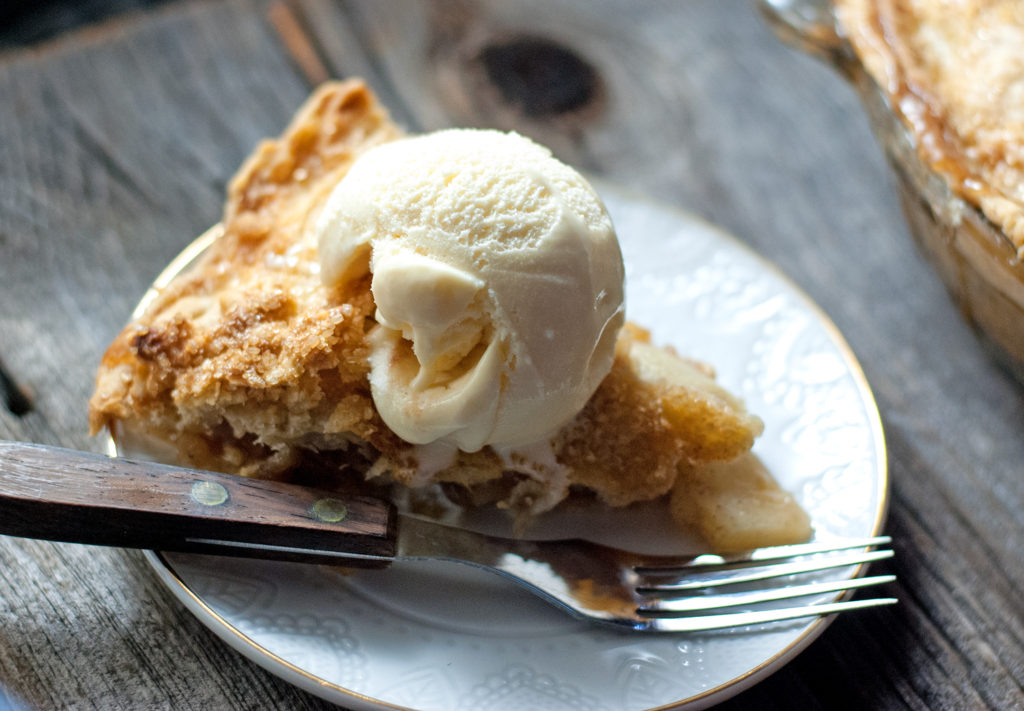
Of course, don’t forget to plop a big scoop of vanilla ice cream on top of each slice. I’m pretty sure there’s a law somewhere that says that warm apple pie is not complete without ice cream dripping seductively down the side. Just like Adam and Eve, and Romeo and Juliet, and meat and potatoes . . . they are a perfect match. 😉
You did it. And I’m just so proud of you.

Disclosure: This post may contain affiliate links, which just means that we get a few pennies if you purchase through our link. I never recommend products that I don't personally use and love. Thanks!
