I can still remember that unforgettable scent of breakfast wafting upstairs to my childhood bedroom, practically dragging me out of bed and luring me downstairs to eat. I would creep through the chilly house, trying not to let my bare feet touch the floor as I scooted through the semi-darkness of the morning. As I entered the kitchen I could see my Mom standing there at the stove, making pancakes. She always had a huge stack of these golden beauties (the chocolate chip version was the Sunday special ;), ready, with real maple syrup warming on the stove. There were plenty of pancakes for everyone– us, friends, and any neighbors who might stop by. Why not start a new tradition in your family? And I won’t tell if you decide to make these extra fluffy pancakes with chocolate chips every day, even if it isn’t a Sunday. 😉
What are we waiting for? Let’s do this!
Fluffy Chocolate Chip Pancakes
(adapted from an old Better Homes and Gardens cookbook from the 1950s)
Ingredients:
2 1/2-3 cups all purpose flour
2 tbsp. baking powder
2 tbsp. white sugar
2 eggs, beaten
2 cups whole milk
1/4 cup vegetable oil
1 cup mini chocolate chips
Directions:
Whisk together 2 1/2 cups flour, baking powder, and sugar. In a separate bowl whisk together beaten eggs, milk, and oil, and add all at once to dry mixture. Whisk ingredients together and add a little extra flour, if necessary, until dough is very thick (mine actually bends the metal whisk when I stir). Stir in chocolate chips and fry on low heat on a cast iron griddle until pancakes show small bubbles. Flip them over and allow to finish cooking on the other side before serving.
Now, in pictures!

Good pancakes take time. Over the years I have probably made thousands of pancakes, and I have learned a few tips along the way. So don’t worry if you have never had any luck making fluffy pancakes– I’ll help you do it! 🙂
Start out by whisking together your dry ingredients (2 1/2 cups flour, baking powder, and sugar). Whisking them together just helps to make sure that your baking powder is well incorporated into the whole recipe. That way you won’t have one pancake that is battling a short complex while another one stands head and shoulders over the others. Do yourself a favor. Whisk the dry ingredients. 😉

Next I like to put my eggs, milk, and oil into a bowl and whisk everything up into a single liquid. Then add the liquid ingredients to the dry ones, all at once. And use your handy dandy whisk, again.
Think deep thoughts. Whisk away. Whisk all your troubles away . . . haha.

Now let me explain a little something about pancakes, to you. Here is my unofficial “pancake law”:
Thin batter+high heat= tough, kind of “grilled” tasting pancakes.
Thick batter+low heat+a little bit more time=soft, light, amazingly thick pancakes.
Seriously. If you remember my basic Fluffy Breakfast Pancake recipe here, then you know that I sometimes add a little extra flour to the batter after I have mixed in my dry ingredients. That’s why I have a range listed for the amount of flour needed. Lots of factors can make your batter more “watery” (which means you will need extra flour)– larger eggs, skim milk (higher water content, etc). And the different brands of flour also measure differently. Basically, what I look for is for my batter to be so thick that it actually bends the whisk when I stir quickly. YESSSS, that’s super thick. But that’s how we need the batter to be for really fluffy pancakes. It shouldn’t be runny at all. Start with 2 1/2 cups of flour and keep adding a little more until your dough is thick enough to bend the whisk.

Next, let’s talk skillets. I have used just about every kind of skillet there is, I think. (No– I don’t use these skillets for hitting people over the head with. Well . . . unless those people try to steal my skillets. Then I might have to use them for batting practice. haha). But here’s what I have found, in all my skillet wanderings . . .
- Nonstick skillets work well, but since they are almost all aluminum they are very sensitive to heat, which often leaves your pancakes too dark on the bottom while being raw inside. If you turn down the heat to compensate and not burn them, your pancakes often become rubbery.
- Stainless steel skillets conduct heat well but often require so much oil to keep from sticking that your pancakes come out oddly oily– like your hair at junior high prom.
- Cast iron skillets. *DING DING DING!!! We have a winner!!!!!
Cast iron skillets are the heroes of breakfast. They make amazing, perfect eggs and succulent, crispy bacon. Well . . . to be honest I haven’t found anything that they CAN’T make– from Giant Skillet Cinnamon Rolls to 3 ingredient Honey Grilled Chicken. My absolute favorite cast iron skillet, bar none, is this beauty from Le Creuset here. Unlike traditional cast iron skillets, the ones from Le Creuset
are enameled, which means that you can wash them like regular cookware– without all the seasoning and not getting them submerged in water, like a regular black classic cast iron skillet. LC also has a lifetime guarantee, which I have personally taken advantage of– so I feel that it’s a good investment for cookware that will last a lifetime.

Start your cast iron skillet on low heat. CI holds the heat really well, so give it 8-10 minutes or so to heat up. Don’t think, “This skillet isn’t getting hot! Turn up the heat!!!” Like any good relationship, a faithful cast iron skillet just takes a little time to heat up. 😉
I spray my skillet with nonstick cooking spray the first time, just to be safe, but after that I don’t need to respray. While the skillet is heating nicely on about 1 1/2 or 2 on the dial, you can start your pancakes. I always use a cookie scoop (I use the black one here for pancakes, and also for perfectly round chocolate chip cookies) to place 4 “blobs” of pancake batter onto the low heat skillet. And yes, I made some plain pancakes too. So yours will have chocolate chips. My family likes both plain and chocolate chip. I know. They’re passing up chocolate. They’re weird.

Now here’s the kicker . . . most times, pancakes are ready to flip in a minute or two. Usually high heat almost blackens the bottom and you flip them quickly. The thinner pancakes can roll that way.
Not these.
To make light, effortlessly fluffy breakfast pancakes, you need to let these babies sit on that low heat skillet for a while. I’d say each set of pancakes takes about 5-6 minutes per side. Don’t peek and turn them over before they’re ready. You will know they are ready to flip when they get little bubbles kind of baked into the tops of them, like in the photo. At that point, you may flip them and wait another 5 minutes or so. Don’t poke at them. Don’t peak at them. Do not pass Go. Do not collect $200.
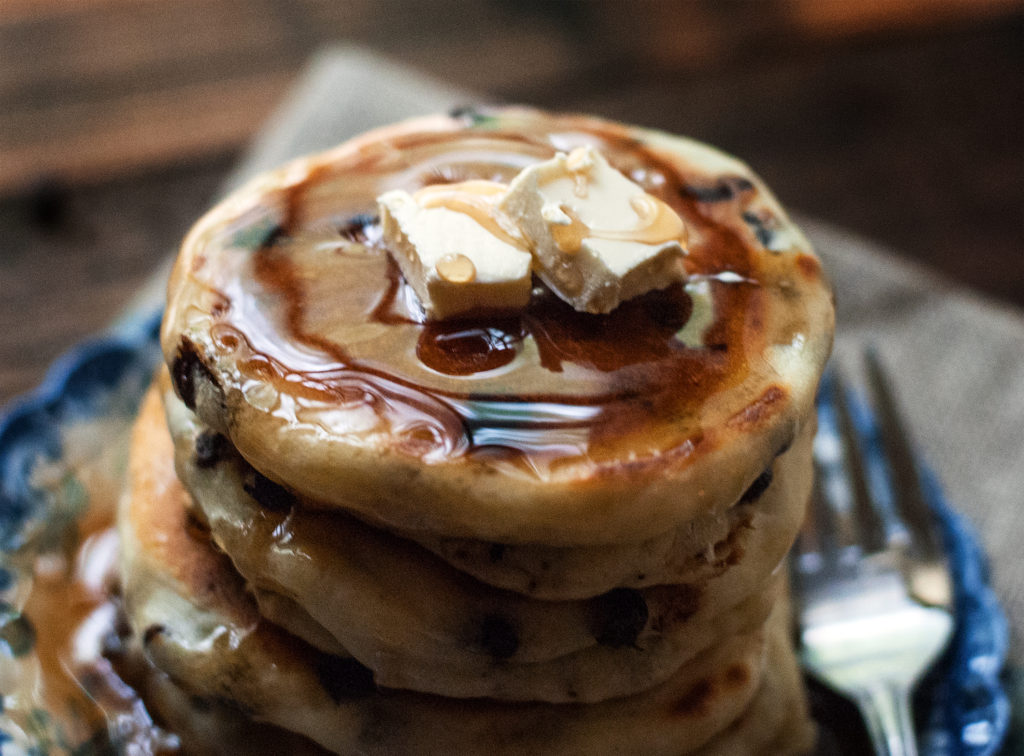
So let’s review: here’s what you need. (1) Thick batter (2) low heat (preferably with cast iron skillet) and (3) letting the pancakes alone until you see the little bubbles and not messing with them and peeking before they’re ready. Does the BRIDE want to be seen before she’s ready? No. Absolutely not. And neither do these pancakes. Give them a little privacy, for Pete’s sake. haha.
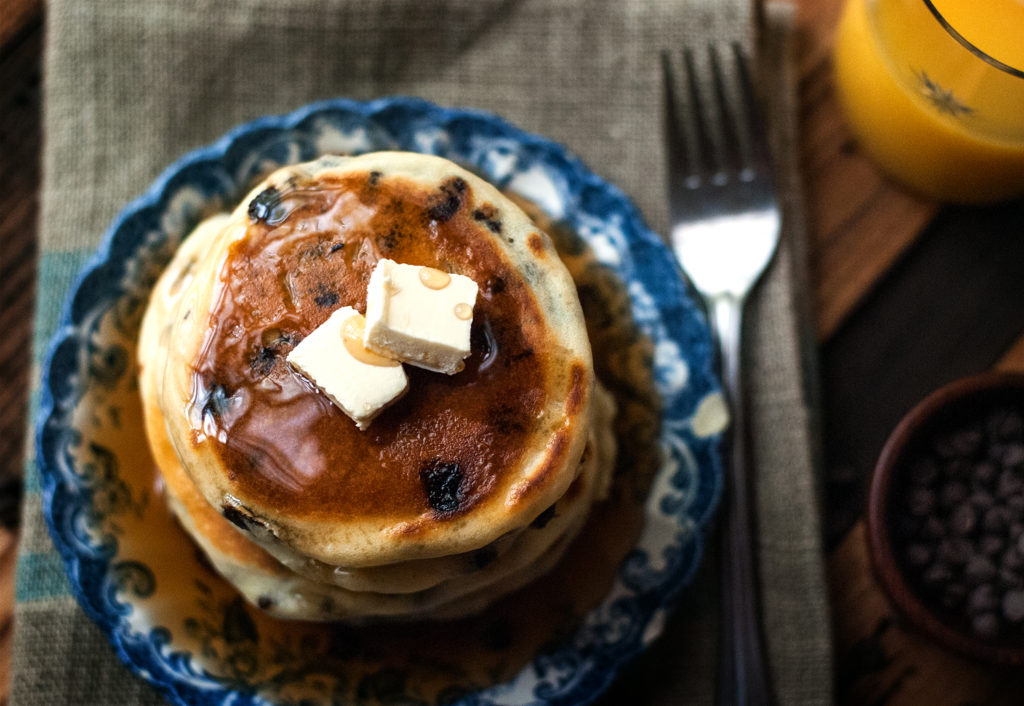
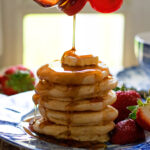
Keep making these little beauties. Don’t rush. Eat them fresh, right as they come off the griddle. Smother them with real maple syrup, just like we always did. (There. See? I told you I made some with chocolate chips. You’re welcome).
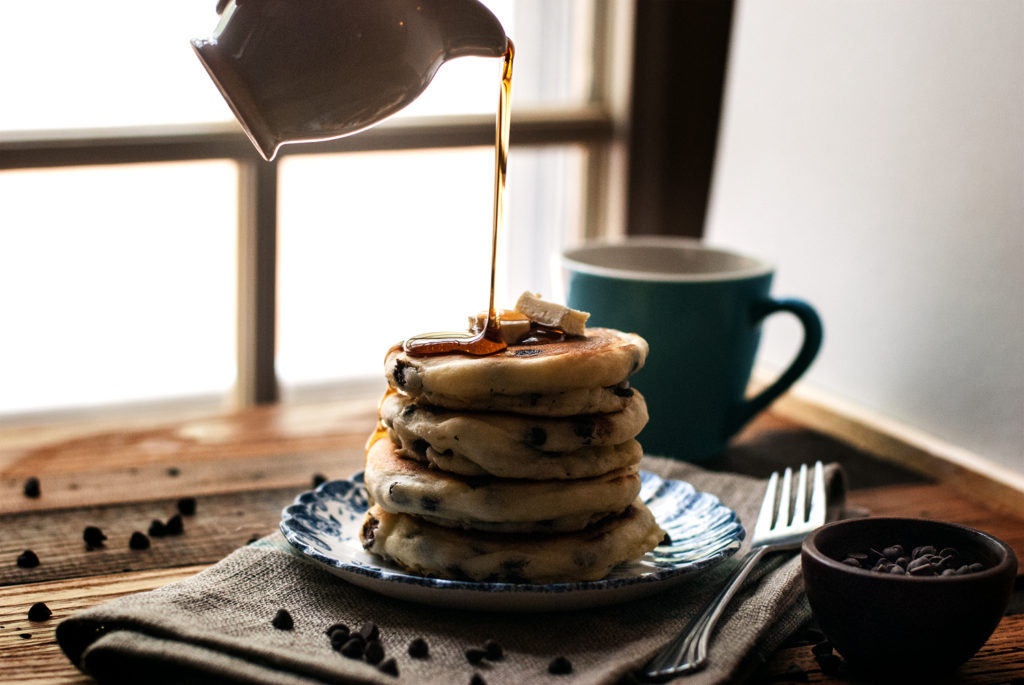
Have a bite. A big, fluffy, chocolate-packed bite. Wonderful, isn’t it? Pancakes this delicious might even sneak into the weekly supper rotation. But don’t tell Sunday. 😉
You did it. And I’m just so proud of you.

Disclosure: This post may contain affiliate links, which just means that we get a few pennies if you purchase through our link. I never recommend products that I don't personally use and love. Thanks!

Love everything about this! I’ll be adding this recipe to my weekend brunch rotation!
Thanks hon! 🙂 I still chuckle about you saying, “Life happens. Throw it to the dogs and move on.” It has become my “words to live by.” 😉 <3
Amazing! Now I’m hungry for pancakes… thankyou for sharing!
You’re welcome! 🙂