Yum
Cheesecake is a dessert worthy of the gods. It combines the luxurious richness of cream cheese with the decadent loveliness of whatever filling you choose. It is sturdy, yet soft. Creamy, yet with texture. So divinely rich that even a single bite can be savored as a full on dessert. And what could be better than the perfection of cheesecake, along with the rich, caramel nuttiness that is a classic Snickers bar? Methinks . . . “NOT MUCH!!” 😉 And when you see how easy this cheesecake is to make, it just may become your new favorite signature dessert for potlucks, picnics, and get togethers. 😉
What are we waiting for? Let’s do this!
Snickers Cheesecake
(Adapted from many recipes I have tried over the years)
Crust Ingredients:
2 1/2 cups crushed chocolate cream cookies (like Duplex Creams or Oreos)
3 tbsp. melted butter
Cheesecake Ingredients:
4 (8 oz.) packages of cream cheese, softened
1 1/2 cups white sugar
3/4 cup whole milk (room temperature)
4 eggs (room temperature)
1 cup sour cream (room temperature)
1 tbsp. vanilla bean paste
1/4 cup all purpose flour
1 cup chopped Snickers
Directions:
To make crust, pulse chocolate cream sandwich cookies in a food processor until they are fine crumbs. Mix with melted butter and set crust aside.
Prepare a 9″ springform pan for baking. Spray the pan with cooking spray and line with parchment paper (I use chip clips to help hold the paper in place). Re-spray the parchment paper with cooking spray. Pour the crust into the (1) sprayed (2) parchment paper lined (3) resprayed springform pan, and lightly press the crust about 1″ up the sides and along the bottom of the pan.
To make cheesecake batter, whip together softened cream cheese and white sugar until nice and creamy with no lumps. With the mixer going on low speed, slowly drizzle in lukewarm milk. Stop mixer and scrape down sides of the mixing bowl, to make sure that everything is incorporated. Add in the eggs, one by one, mixing after each addition. Mix in vanilla bean paste and sour cream, and then flour. Stir in chopped Snickers.
Pour cheesecake batter into 9″ springform pan and prepared crust. Place cheesecake on a cookie sheet and place in the center of the oven (move racks if necessary to make sure it bakes in the center), with a pan of boiling water on a separate baking rack underneath. Bake at 350 degrees for roughly 1 hour/15 minutes, until cheesecake is set in the center and a toothpick inserted in the center comes out “creamy,” and not wet. You may need to cover the cheesecake with foil during the last 1/2 hour of baking, to avoid it getting too brown. When the cheesecake is set in the center turn off oven and crack the door, but let the cheesecake inside to cool. When the cheesecake has cooled to warm, and not hot, place it in the refrigerator, with a paper towel overtop to absorb moisture. Allow cheesecake to chill completely in the refrigerator overnight until removing from springform pan and cutting into slices.
Whew. That sounds hard, but it’s not. It’s just a lot of steps. Let’s take a look at the process in pictures.

When you make a cheesecake, it’s more “lots of steps” than it is hard. But if you just take your time and follow all the steps, you’ll be making a dessert worthy of the Cheesecake Factory in no time. 🙂
Start out by getting the crust ingredients ready. You need 2 1/2 cups of crushed chocolate cream sandwich cookies. This is kind of a “you can substitute whatever kind of cookies you like best” kind of thing. I’m using a generic Duplex Cream kind of cookie, with chocolate icing. But you can use Oreos, too, if you prefer an all chocolate crust, or some type of similar cookie. I won’t tell the cookie police. Pick what you want. 😉
Blend your poison of choice in a food processor (I love my sturdy little soldier from Black and Decker here). Now you see cookies . . .

Now you don’t. “Oh crumbs!!!” haha. You may end up with more crumbs than you need. No problem. Just put them in a freezer safe bag for the next crust, and voila . . . easy peasy crust next time. You don’t even need to get out the food processor. (“Mommy just ground these cookies to DUST with her mind powers!” Yes she did. Be afraid. Be very, very afraid.) You’re welcome.

Mix 2 1/2 cups of the crushed cookie crumbs with your 3 tbsp. melted butter or margarine. The mixture definitely won’t be “wet,” but it will kind of clump together. That’s what you want. If there’s too much butter it will run out while the cheesecake is baking and make your oven smell HORRIBLE. Trust me on this. In fact, I still bake cheesecakes on a cookie sheet because of one too many “burned oven nightmares.” 😉 Let this crust sit there and wait patiently until you’re ready. And unlike kids, this crust will wait without hassling you for tic-tacs. You’re welcome.

While the crust is waiting patiently, go ahead and get your pan ready. For this cheesecake recipe you need a 9″ springform pan. Now, this part is a pain. There’s no doubt about it. BUT . . . faint heart never won fair cheesecake. Or, something like that.
I just mean, these steps are important. So sigh deeply, and roll your eyes if you wish. I do, too. But do all the steps and you’ll have perfect cheesecake to thank you for your hard work. 😉 Here are the steps:
- Spray the pan with cooking spray
- Trace the bottom of the pan on parchment paper and cut out the circle
- Cut a few more rectangles of parchment paper for the sides
- Line the bottom and sides of the sprayed pan with parchment (I use chip clips to hold it together)
- Re-spray the parchment paper with cooking spray.
Yeah, it’s a pain. But your marvelous cheesecake won’t stick to the sides of the pan when it’s done and you’ll be glad you did all these steps. The best things in life take a little work, but when you’re eating a perfect slice of your homemade decadent dessert, you will know they’re worth it. 😉

When your pan is sprayed and parchment(ed?), and resprayed, and you’ve rolled your eyes sufficiently, go ahead and dump your cookie crumbs/melted butter mixture into the pan. Use your fingers to gently press crumbs about 1″ up the side of the pan and across the bottom. The crumbs won’t really be solid, but they will have enough “oomph” to make them stick in place.

Now for the best part– the CHEEEEEEEEEEEEEESECAKE!!! All your ingredients for this recipe should be at room temperature– taking the chill off will help them all get along well and cream nicely, without lumps. I get my ingredients out of the fridge about 45 minutes before I start to make my cheesecake, and that works well.
Start out by creaming your room temperature cream cheese and white sugar together. You want a nice, creamy mixture with no lumps. Don’t you wish you could just add sugar to yourself and your lumps would be gone? haha. Me too! 😉

Next, with your mixer going on low speed, slowly drizzle in the lukewarm milk. Halfway through mixing, stop the mixer and scrape down the sides of mixing bowl, to make sure that everything is incorporated. Sometimes in baking you can get away with a little hand mixer, but with cheesecake, eh . . . no. You need a powerful stand mixer for this. Four blocks of cream cheese? Not for the faint hearted hand mixer. I use a Kitchenaid Mixer for all my baking, and I strongly recommend it.

Next, it’s time to get serious about the richness in this dessert. Add in all 4 room temperature eggs, one by one, mixing after each one. The mixing as you add just helps the emulsion not to break (fancy talk for, if you mix after each one, your cheesecake will have a creamier texture). 😉

Next, let’s talk vanilla. There are many types of vanilla, and one of my favorite kinds is Vanilla Bean Paste. Surprisingly, this “paste” isn’t really paste at all. It’s a thick, syrupy liquid roughly the consistency of thin honey. You can substitute it teaspoon for teaspoon for vanilla extract in recipes where you want the flavor to be especially rich and luxurious. Plus, it has all those divine vanilla bean flecks, which means that your cheesecake will be delightfully freckled with flavor, and everyone will know you used the good stuff. 😉 Get vanilla bean paste here, and trust me– for decadent recipes like Vanilla Bean Cheesecake and Luxurious Lemon Pound Cake . . . you should definitely pull out the big guns. 😉

Add in your vanilla bean paste, sour cream, and flour. Ahhhh. That’s what beauty looks like, folks.

Chop yourself up about 1 cup of Snickers. Oh ok you twisted my arm. Throw a few more in there. 😉 Nibble a few, too. I’m pretty sure it’s a law that the stuff you nibble while cooking doesn’t count for calories. 😉

Fold your Snickers into the cheesecake batter. Imagine the divine loveliness that you will be enjoying soon. Think deep thoughts.

Pour your cheesecake batter into your prepared springform pan and crust. Some people wrap their cheesecake pan in foil and place the entire cheesecake in a water bath. Personally, I find that it works just as well to bake the cheesecake on a cookie sheet in the center of the oven (shuffle your oven racks around). I also place an oven safe pan of boiling water on the oven rack below the cheesecake. The water keeps the environment moist so that the cheesecake doesn’t crack while baking.
Cheesecakes can be temperamental. Use an oven thermometer (I got a cheapie for $5 at walmart, and I never bake without it) and bake your cheesecake in the center of your oven, with the pan of boiling water beneath it, at 350 degrees. Leave the water in there while the cheesecake bakes, and refill it if the water evaporates out. Just make sure the water you add is hot when you add it, and be careful of steam burns. Don’t ask me how I know that. 😉
Bake the cheesecake at 350 degrees for 1 hour/15 minutes-1 hour/30 minutes. Each oven is a little different, so start checking after an hour and cover the cheesecake with foil if it starts to get too brown. You will know the cheesecake is done when the center is set– you can gently wiggle the pan and the center will be fairly firm– perhaps a little jiggle but no swish of liquid. A toothpick inserted into the center can have some thick creamy substance on it, but no liquid. If you touch the surface of the center with your finger, it will be firm, albeit with a little give. No “water bed feeling” like water is underneath, or the cheesecake isn’t done yet.
When the cheesecake is done, leave it in the oven. Turn off the oven and crack the door. The slow, gradual cooling keeps the cheesecake from cracking. When the oven has cooled to fairly room temperature (can still be a little warm) remove the cheesecake and put it in the refrigerator, covered with a paper towel. The towel just helps to absorb some of the condensation that happens as the warm cheesecake cools. I change out the towel every so often for a fresh one so that the cheesecake doesn’t get moisture on its pretty little face.
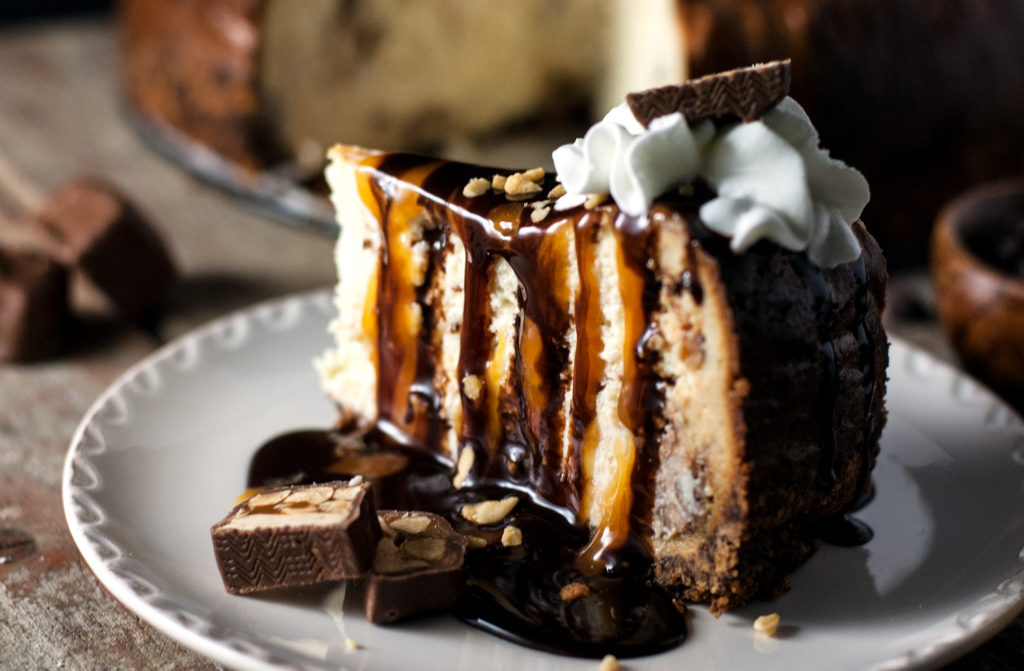
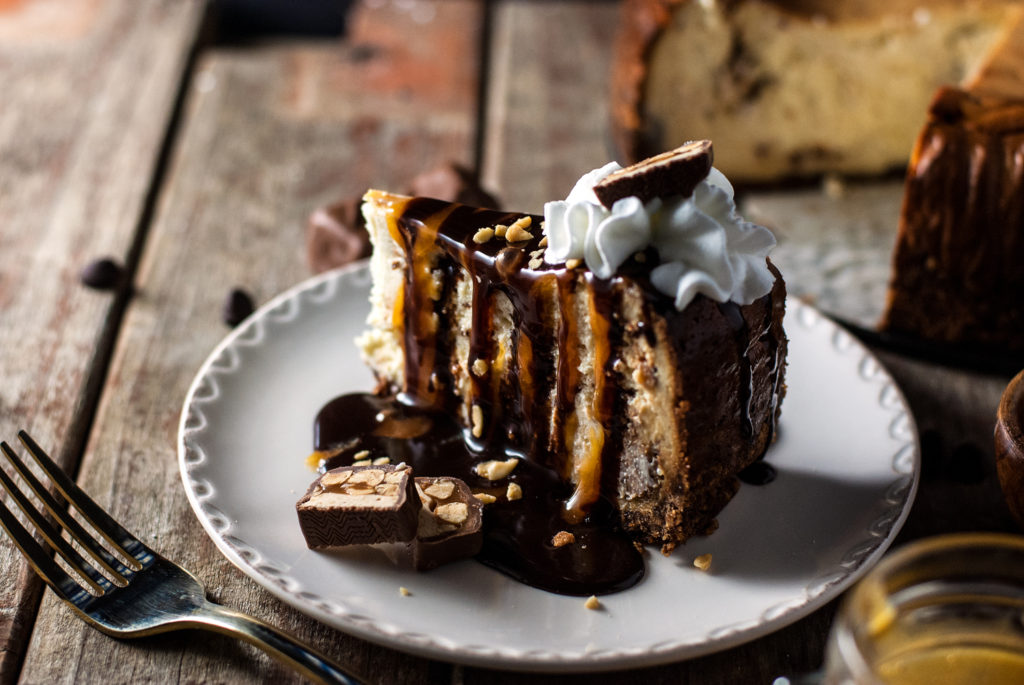
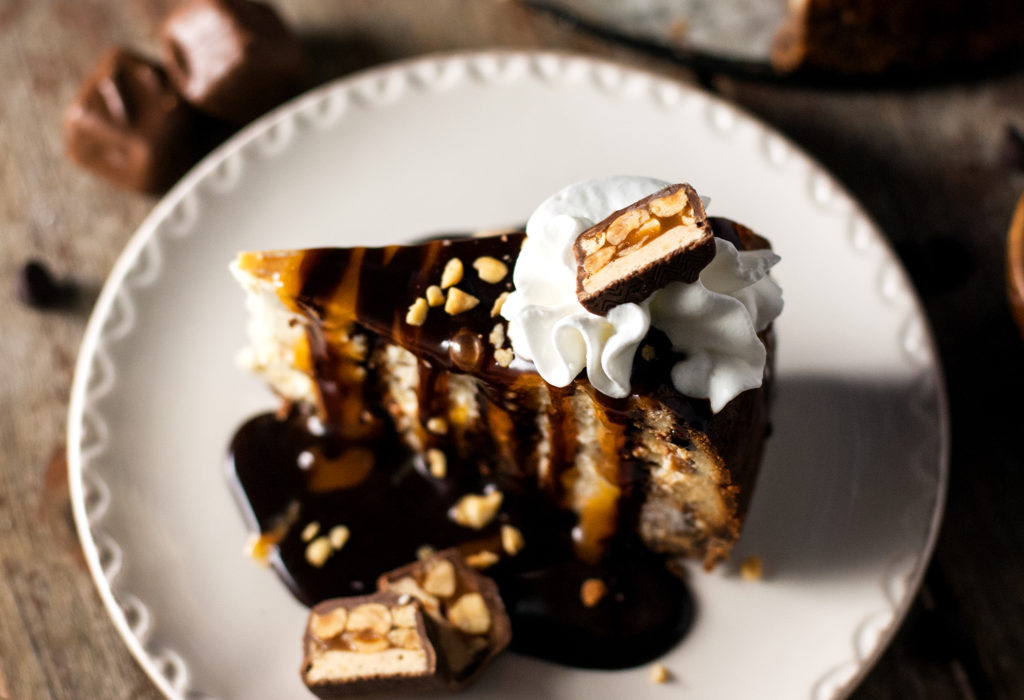
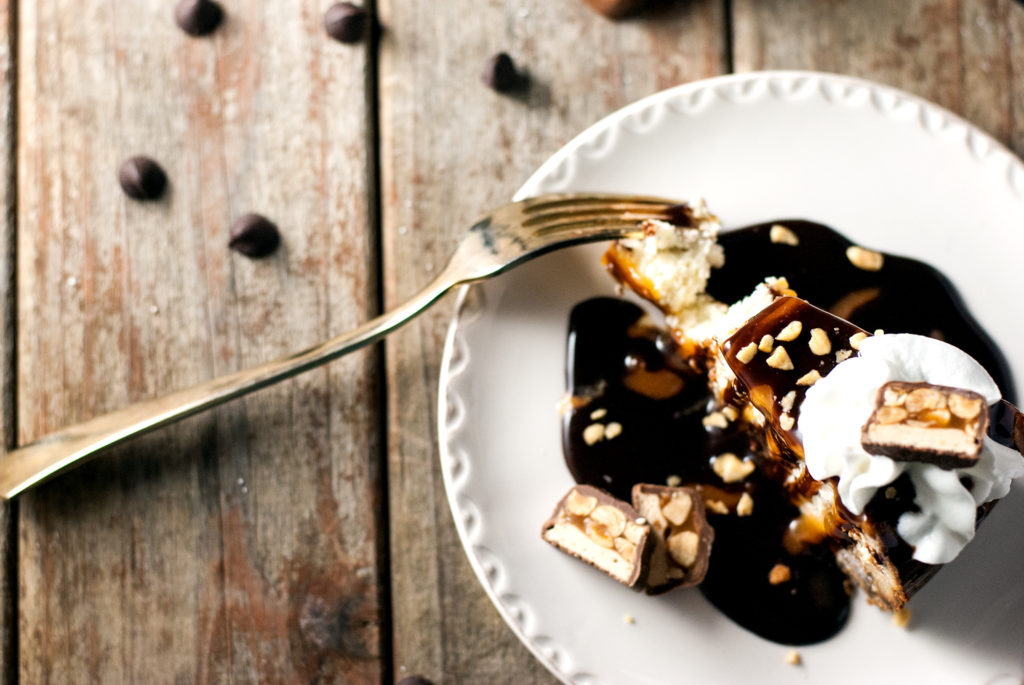
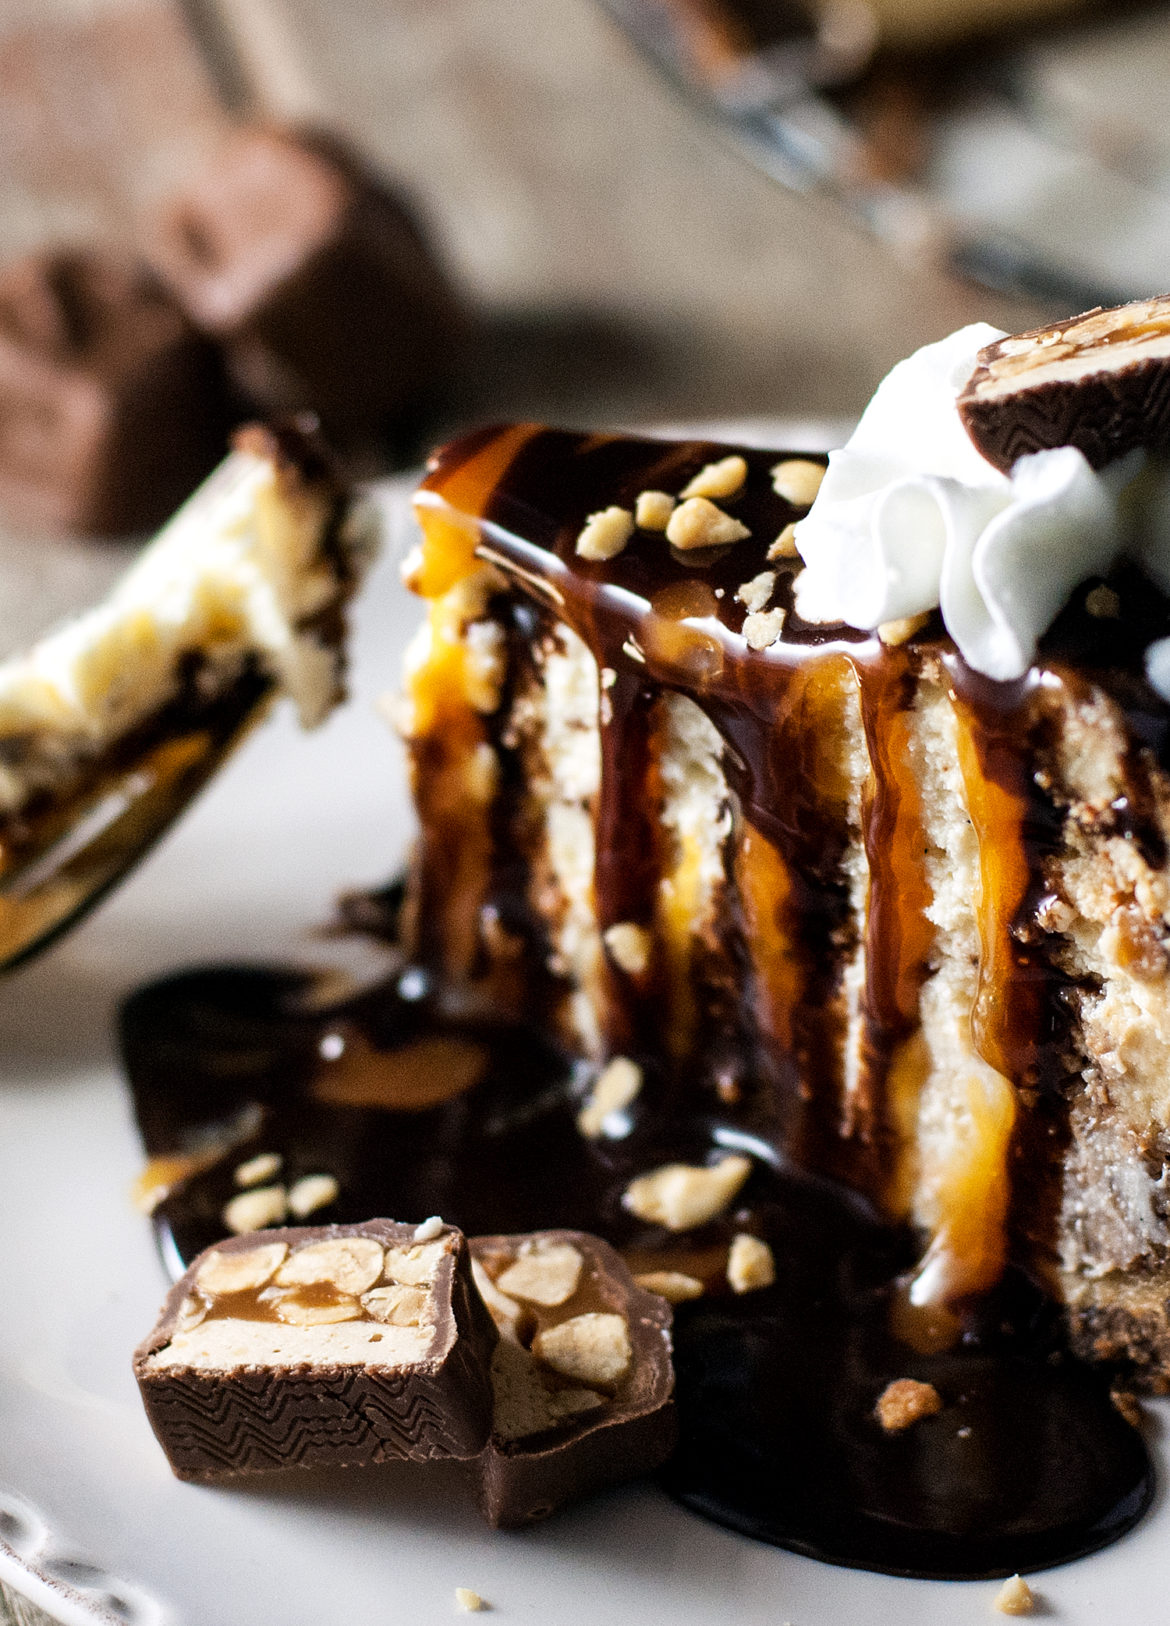
When the cheesecake is completely cool, place another fresh paper towel on top and cover it in plastic wrap. Let this beauty chill in the fridge, overnight. When you’re ready for a dessert more unbelievable than anything you’ve ever tasted, free the fair princess from her gilded cage! Slice delicious, decadent slices of cheesecake. Drizzle each slice with caramel and chocolate and sprinkle with chopped peanuts. Maybe add a swish of glorious whipped cream and a few mini Snickers bars, just to make it *extra* special. 😉
Or just have a piece plain. Savor the richness of the vanilla bean. The decadence of the buttery cookie crust. The absolutely sinful bite of creamy dessert perfection.
You did it. And I’m just so proud of you.

Disclosure: This post may contain affiliate links, which just means that we get a few pennies if you purchase through our link. I never recommend products that I don't personally use and love. Thanks!




Wow! I need a piece of this right now!
I’d gladly trade for some of those divine cinnamon chip scones you made! YUMMMM!