Yum
If you’ve never heard of a Springerle cookie, you’re not alone. Springerle is an old time, traditional type of German cookie which is so ornate that you almost can’t believe you are looking at edible cookies. The classic cookies are made using hand carved molds that have been passed down through generations. For those of us who DON’T have centuries of German tradition at our fingertips, there are awesome springerle rolling pins. 🙂 And when a friend recently gifted me one of these sweet little rolling pins, I wanted to give it a whirl!
What are we waiting for? Let’s do this!
Springerle Cookies
Adapted from King Arthur Flour
Ingredients:
3 eggs
1/2 tsp. salt
3 1/2 cups powdered sugar
1/2 tsp. almond extract
2 1/2 cups all purpose flour
Directions:
Whip the eggs, salt, sugar, and flavoring using the whisk attachment of your stand mixer on high speed for 5-10 minutes, until mixture is slightly thickened and lightened in color. Replace whisk with beater attachment and slowly mix in flour. When your dough is the consistency of play dough, stop adding flour. You might not need to add quite the full 2 1/2 cups. Wrap dough in plastic wrap to keep it moist (no need to refrigerate). When you’re ready to make cookies, gently flour your springerle rolling pin. Take walnut sized clumps of dough, and always keeping the remaining dough covered with plastic so it doesn’t dry out, lightly flour the clump and press it firmly into the floured mold. Remove the cast and use a pizza cutter to trim the excess from the design. Let the cookies rest for 24 hours, uncovered, before baking at 275 for 25-30 minutes, just until set (cookies will not be brown). The cookies will “spring” in the oven, with a little foot at the back of the cookie. This is the mark of a well made springerle. Don’t freak out when your cookies look weird. haha. If you prefer no foot on your cookies, dry them on a drying rack for the 24 hour period, so that the cookies will dry out on both top and bottom, prior to baking.
Now, in pictures! 🙂

One thing you definitely need for making springerle (unless you have arm muscles like a body builder) is a stand mixer with a whisk attachment. I could not more highly recommend the Kitchenaid Mixer. That was the first piece of kitchen equipment I got when I got married, and I still use it almost every day. No kitchen should be without one. 😉
Fit your mixer with the oh-so-handy whisk attachment and whip the eggs, salt, sugar, and flavor for 5-10 minutes.

Say WHAT? You have to beat this for 5-10 MINUTES?! What are we, here? Swiss milkmaids creating desserts with our glorious biceps whisking the froth into glorious sugary oblivion? Haha.
Sorry, but springerle really does take that long to whip. See how yellow the mixture is in the first photo, after 1 minute of whisking? Look how much lighter it gets after 5 minutes. We still aren’t quite there yet, though.

Now, after 10 minutes. You want to see your mixture kind of get a little bit thick. Almost like a thick meringue, although not as light. Think “soft set pudding.” It’s *almost* (not quite) that thick. When you lift the whisk from the bowl, the mixture should smoothly flow from the beater in an unbroken line of ribbony batter. That’s what you want. Give your mixer a rest, ’cause this baby is ready to roll. 😉

Well hang on– don’t rest the mixer *just* yet. Switch your whisk attachment for the beater, and slowly start to add in your flour. Since all eggs are different sizes, you might not need quite all the 2.5 cups of flour. Keep slowly adding. Your poor mixer will grunt and groan and ask “What in the world have I done to deserve this??? What are my retirement package options, here?” Just keep slowly adding and slowly mixing. When your mixture is the consistency of play dough, that’s just right. NOW your mixer can have a break. 😉 Seriously. I can’t imagine how long it took to make these cookies back before Kitchenaid mixers. No wonder they only made them once a year. Whew! I have a feeling you didn’t want to arm wrestle with those women. 😉

Now that your flour is incorporated, wrap your dough ball in plastic wrap, because we don’t want it to dry out. If the dough dries out, it becomes like dry play dough– really hard to work with. You don’t need to refrigerate it, but keep it in a bag or wrapped in plastic wrap to keep things nice and moist.

When you’re ready to start forming your cookies, cut off about a walnut sized ball of dough. Make sure you cover the rest of the dough up so that it doesn’t dry out, in between cutting pieces. This process takes a little time. 😉 And the more dried out the dough gets, the harder it gets to work with. Dust your springerle rolling pin and your walnut sized dough ball with flour, lightly, so that nothing sticks. I use a fan brush
to dust on the flour. It just seems to be able to put the flour on with a light touch more effectively than other ways I tried.

If you want to do more than 1 shape at a time, get a little more dough, and after the rolling pin and dough ball are floured, press the dough onto the molds, being sure to “get” all the corners. Carefully brush off the excess flour with the brush and use a pizza cutter or knife to carefully trim the shapes.

Voila! Isn’t that PURDY? 🙂 As you trim the cookies, place them on a silpat lined baking mat to dry. If you don’t want the finished springerle to have the “foot” that traditionally raises the cookies up and makes them kind of 3D, then dry them on a drying rack, so that both top and bottom have access to the air during the 24 hour drying time.

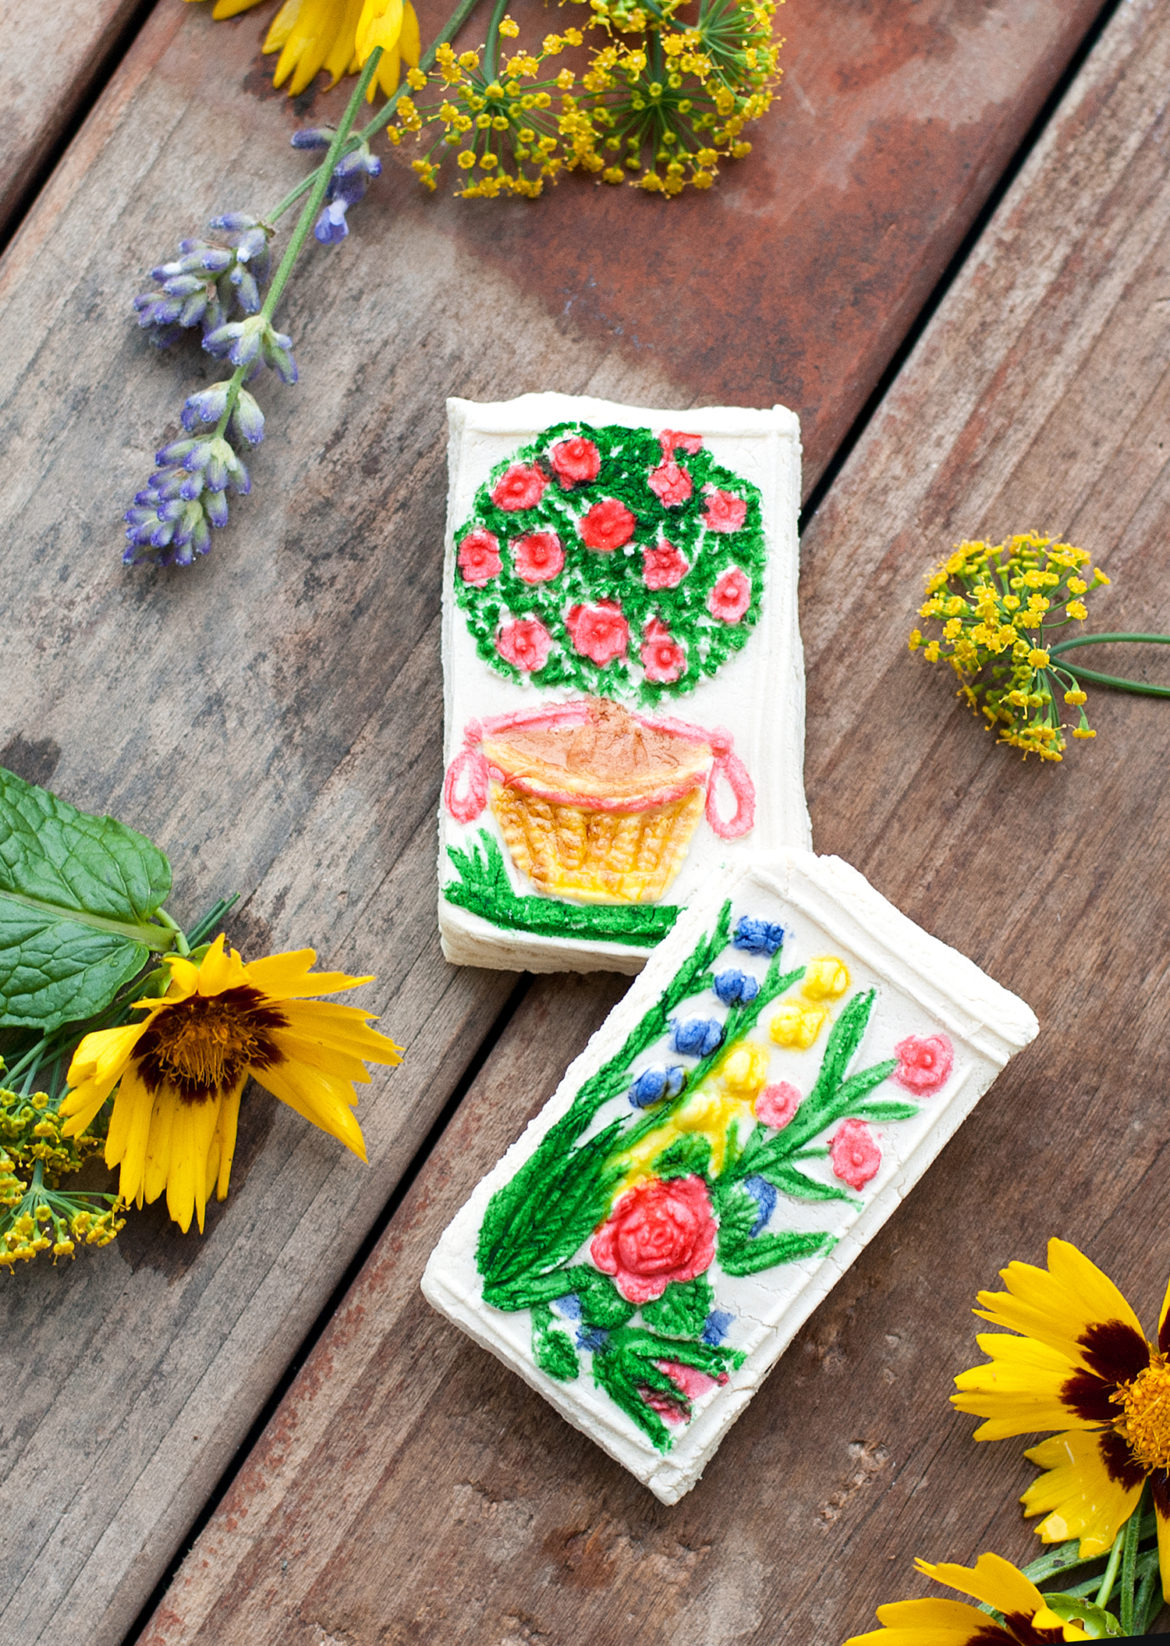
After letting the cookies dry for 24 hours, bake them at 275 degrees for 25-30 minutes, until lightly browned on the bottom. The tops will still be pale– they will almost look like clay figurines. When the cookies have cooled, use some food coloring thinned down (gel colors need to be thinned with a quick evaporating alcohol, like vodka, while airbrush colors
can be thinned with water) and begin to paint the cookies. The more you thin down your colors, the lighter they will be. I did about 1 drop of color to 1 drop thinner, and my colors were night and bright. If you want more of a pastel look, try for 1 drop color to 3 drops thinner and see what you think. Remember– you can always add more color, but you can’t take it off, once it’s on there. 😉
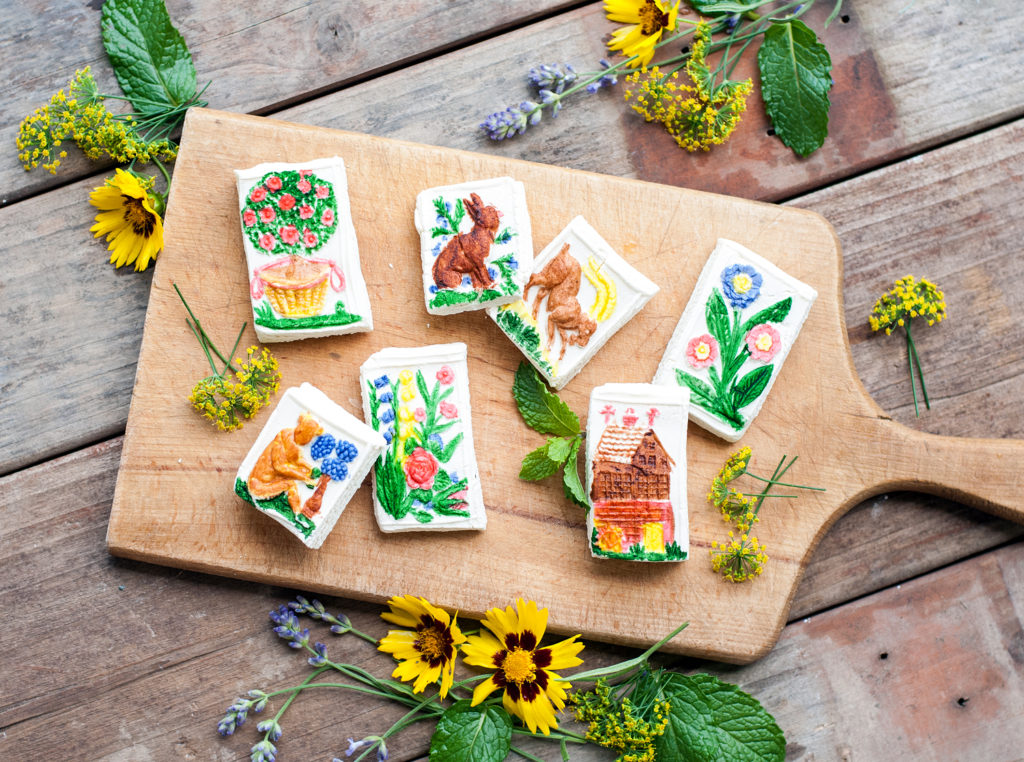
There really isn’t any rule about how to paint these cookies. I find it easiest to do like, “all the green” on all the cookies. That way you don’t have to keep cleaning your brush in between cookies. It just streamlines what turns out to be a meticulous and painstaking, yet fun process.
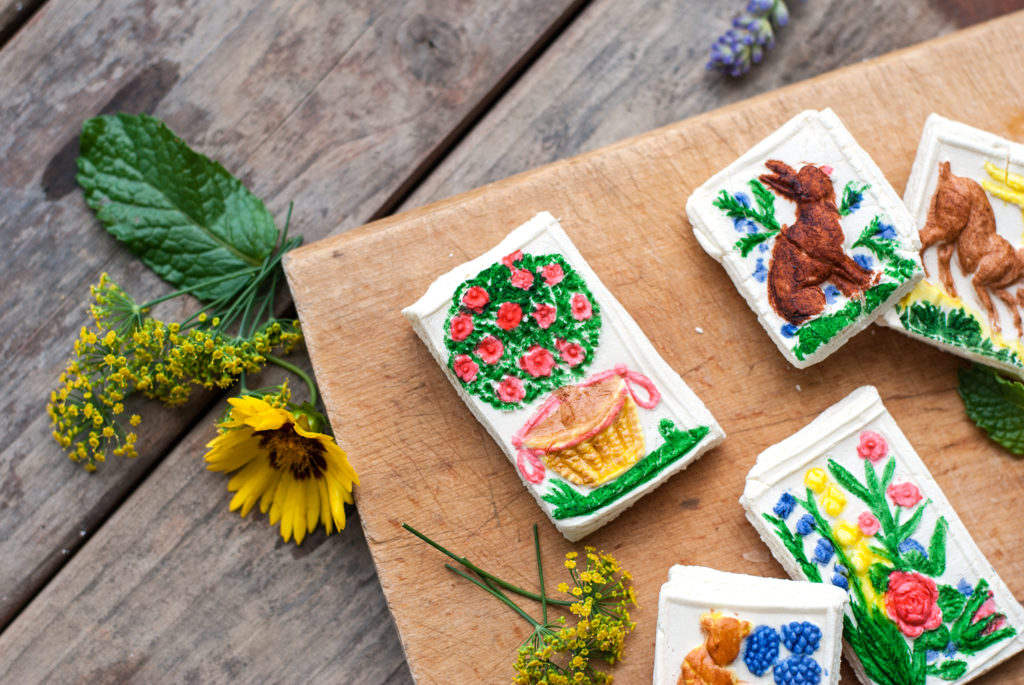
There is a reason they used to make these cookies only once per year. And it’s no accident that nowadays German pastry shops seldom carry these gorgeous traditional cookies because “they just take too much work.”
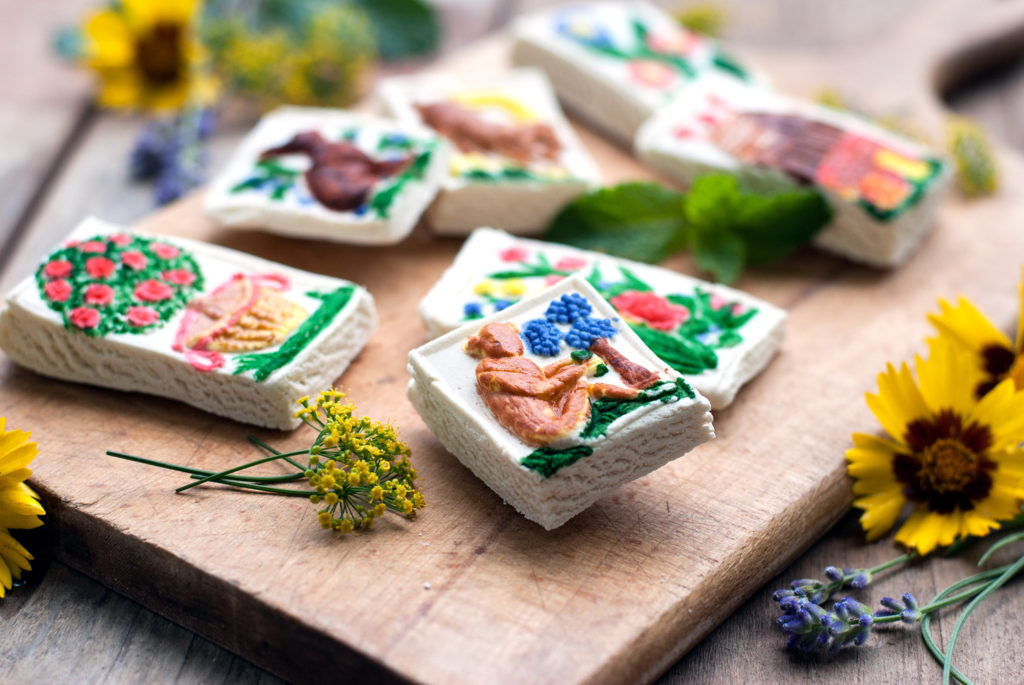
And yet, as I sat there, dipping my brush, taking hours when I could have been folding laundry, or doing dishes, or vacuuming the floor, I kind of got into the zone. The paint swished across the cookies like a blank canvas, being awakened as if by magic. Slowly, the colors began to shine as the cookies materialized, and I could see the pattern. And I imagined thousands of women doing this before me– of laughing and talking together at the Christmas table by candlelight as they used the molds that their mothers, and maybe even their grandmothers had used. It was like bringing the past to life, right before my eyes, seeing these cookies come to life. Talk about cool.
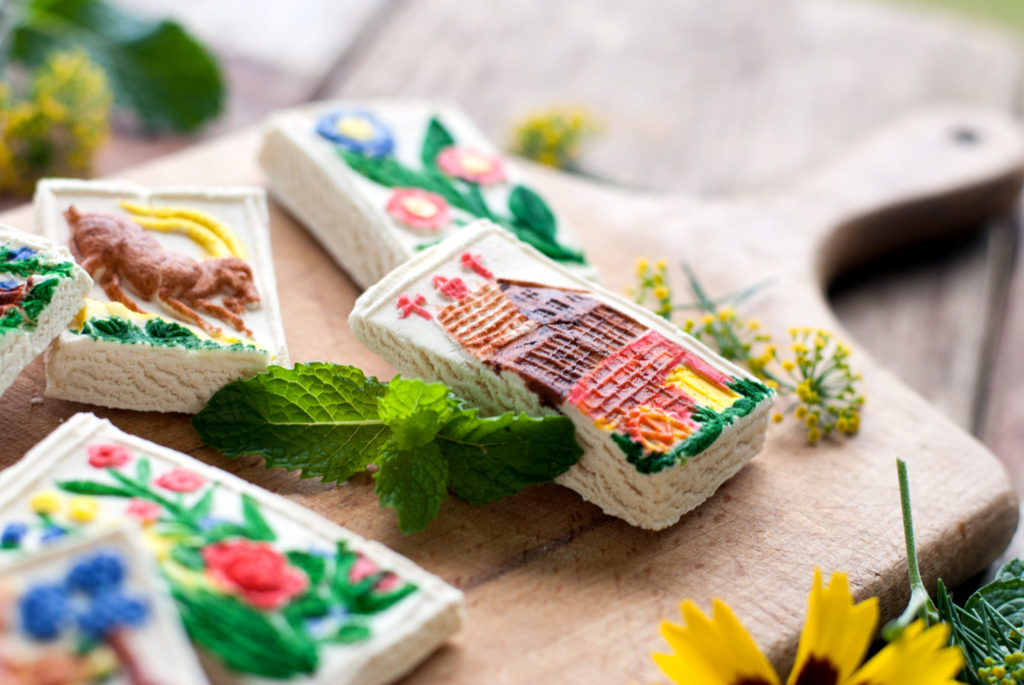
So even if these cookies took some time, and even if they took a little (ok– a LOT) of work, when they were all done, and I saw their little classic designs shining away at me with a tiny bit of Bavarian charm right there in my sunny Virginia kitchen, I fell in love with them. They are almost too pretty to eat, which is probably why they are dried and baked hard– almost like biscotti– so that they can last longer for people to look at, since they take so much work.
So make these cookies for someone you really, truly love. Make the most elegant, labor intensive piece of edible art possible. And share that joy with someone else. Pass on a springerle tradition and make these beautiful cookies with your own family.
You just might find yourself with a new Christmas (or Christmas in July) tradition. 🙂
You did it. And I’m just so proud of you.

Disclosure: This post may contain affiliate links, which just means that we get a few pennies if you purchase through our link. I never recommend products that I don't personally use and love. Thanks!
