Yum
On a recent trip to Cracker Barrel, I saw a new item on their menu– the Cinnamon Roll Biscuit. Intrigued, I ordered one. It was divine– light and flaky, with swirls of cinnamon sugar and these amazing little pockets of cinnamon sugar explosions. Tragically, I learned that Cracker Barrel was just “testing” this item, and so until they decide to go the way of righteousness and bring them back, I had to come up with a copycat to meet my cinnamon sugar cravings. And you know what? These are so easy that you just might find that you have a delicious new favorite for a lazy Saturday breakfast with your family.
What are we waiting for? Let’s do this!
Cinnamon Roll Biscuits
Cinnamon Sugar Bits Ingredients:
1 cup white sugar
4 tbsp. cinnamon
1/4 cup Crisco butter flavored shortening
1/4 cup light corn syrup
1/2 tsp. vanilla extract
Cinnamon Roll Biscuit Ingredients:
1 cup White Lily self rising flour
1/4 cup white sugar
1 1/2 tsp. cinnamon
6 tbsp. Crisco butter flavored shortening
1/2 cup Cinnamon Sugar Bits (above)
3/4-1 cup buttermilk (I used whole buttermilk rather than skim)
Glaze Ingredients:
1.5 cups powdered sugar
1-2 tbsp. milk (depending on the consistency you desire)
Directions:
To make cinnamon sugar bits, combine ingredients until the consistency of moist sand, in the bowl of a stand mixer. Roll out mixture between 2 pieces of greased parchment paper, until it is approximately 1/8-1/4 inch thick. Bake at 275 for 15-20 minutes, just until melted and slightly bubbled around the edges. Allow to cool until you can handle it without getting burned, and chop into small pieces. Freeze in an airtight container for up to 2 months.
To make Cinnamon Roll Biscuits, whisk together White Lily flour, sugar, and cinnamon. Using a pastry cutter, cut in cold shortening
until mixture resembles coarse crumbs. Stir in cinnamon sugar bits. Add in just enough buttermilk to make a shaggy dough, being careful not to overmix. Roll out on a well floured surface, doing 3 “business fold” motions to make the biscuits nice and layered. Roll the biscuits out to 1-1.5″ thickness and cut circles out with a biscuit cutter. Place the biscuits on a well greased baking sheet so that the sides are just touching. Bake at 425 for 18-22 minutes, until biscuits are golden brown on top. Remove from oven and brush with melted butter. Drizzle with glaze and allow to cool slightly before serving.
Now, in pictures! 🙂
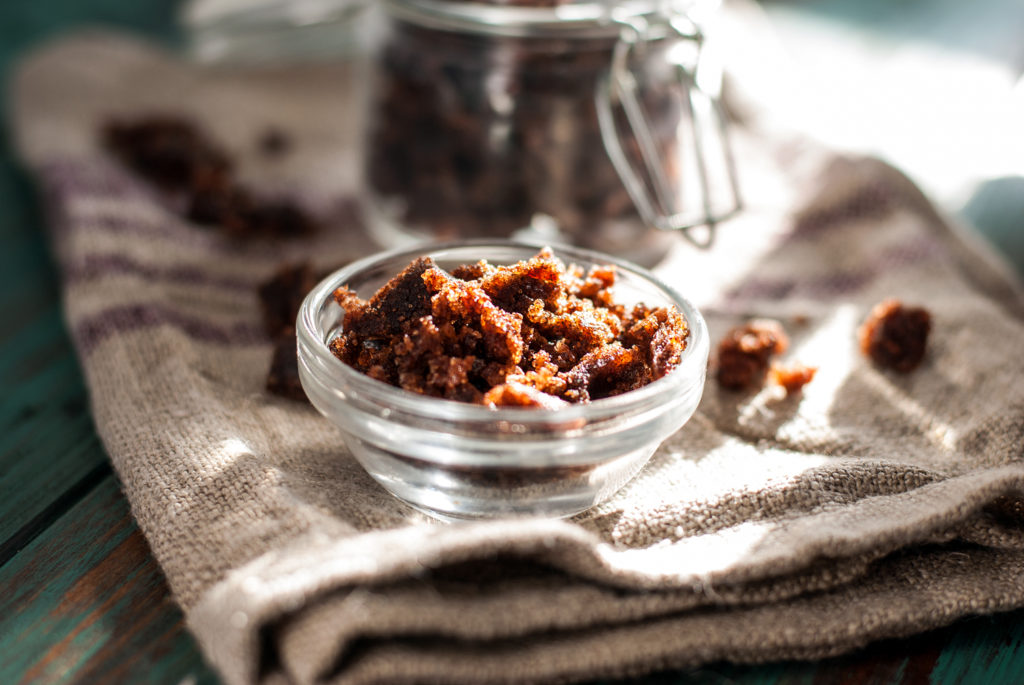
The beautiful little trick about these biscuits (that I wormed out of a Cracker Barrel cook when I heard they were discontinuing these little beauties) is the pockets of melted cinnamon sugar. How do you DO that? I asked her. She told me it was little cinnamon sugar chips. And since I couldn’t find “cinnamon sugar chips” at the store, I had to make my own. I tried various recipes, but I didn’t want something crunchy. I wanted my chips to be soft enough that, in the biscuits, they turned into melty, ooey gooey, sweet loveliness. So after a bunch of trial and error (and a lot of dumping mistakes into the trash), I came up with something that worked pretty well. The great thing is that you can freeze these little beauties and have a little explosion of cinnamon sugar in anything you want– from scones, to cakes, to French toast. Snickerdoodles? Heck. You could put these in your morning oatmeal, if you wanted. The possibilities are endless. Let’s make those first.

Now, since I made a lot of mistakes as I worked through various attempts and recipes to make these, I tried many mixing techniques, from a plain spoon, to my hands, to a mixer. And let me tell you . . . the mixer is totally the way to go. Throw all your ingredients into the bowl of your Kitchenaid stand mixer (my hubby recently treated me to their gorgeous new Seaglass color
) and mix until your sugar looks almost like damp sand.

The easiest way I found to get a consistent layer was to put my cinnamon sugar mixture between 2 pieces of greased parchment paper and roll it to about 1/8-1/4″ thickness with a rolling pin. That way, everything is fairly even (as opposed to when I tried to smoosh it with my hands. Eh . . don’t ask).

We don’t want to really harden this, or bake it. We just want it to melt together. I found that 275 degrees for about 15-20 minutes worked pretty well. You just want to see the mixture kind of bubbling and melting. Not smoking or getting hardened. When you see it melted, take it out of the oven and let it cool slightly.

When your cinnamon sugar, um . . . “wafer”? Whatever it is. Whenever it’s cool enough to handle (still warm is ok), chop it up into pieces roughly the size of bacon bits. The wafer will be soft enough that you can roll it. You can actually roll the entire thing up and chop it like that. It’s quicker. Just keep chopping until your pieces are the size you want. Don’t be too picky– it doesn’t have to be perfect. They will melt in the oven, anyway.

Now that we have our cinnamon sugar bits shaking and (almost) baking, let’s get started on the glorious biscuits. Start out by whisking together your self rising White Lily flour (the holy grail of Southern biscuit baking– seriously. You will never find a better biscuit flour), sugar, and cinnamon together in a medium mixing bowl.

I have preached this before, but I’ll preach it again. You NEED one of these Perfect Pastry blenders. I mean it. If you make pie crust, scones, muffins– any kind of quick bread with any kind of regularity, this will absolutely change your baking game. Use the Perfect Pastry blender to cut in your chilled shortening
(this tool makes this part a breeze, instead of the ancient “2 knives or a fork” method. Cringe). You want your pieces to be about the size of small peas.

Stir in 1/2 cup of those glorious little cinnamon sugar bites that we just made. The rest I put into an airtight container in the freezer. They keep for a while. Just throw them into whatever you are baking that needs a little extra “cinnamon sugar magic.” It will be our little secret. Shhhhh . . .

Now here comes the part where we launch more into artistry than science. When I first started baking, I used to be so perplexed when recipes gave ranges. “What the heck does 4-5 cups flour mean? Is it 4 cups or 5 cups?” I used to get so frustrated.
But baking is as much art as it is science. And the more you do it, the more you get to know how dough looks and feels. I very seldom ever make a recipe the way it’s written. The recipe is a good starting point– a blueprint, if you will. It helps you build the house, but you get to choose the curtains and the furniture.
You basically want to add enough buttermilk (I used whole buttermilk– Pet is my favorite brand) to get a shaggy, slightly sticky dough. Your dough should not be wet, and it shouldn’t be crumbly and dry. Try to get it to look like that picture, above. Don’t worry. If you add too much milk, add a touch more flour. Don’t worry. Just try not to overmix and it will be fine. I mean, you added cinnamon sugar bomb thingees to it. Seriously. This will be delicious no matter what. Don’t stress.

Let me show you another little trick about biscuit making. It took me years to figure out how to make my biscuits light and fluffy. The secret is not overmixing, and folding “business fold” layers into your dough. I generally do not knead biscuit dough, ever. I place my shaggy dough blob onto a well floured surface, lightly flour the top, and use a French rolling pin (nice because it’s longer and easier to clean) to roll out my dough to about 1″ thick. Then I fold the dough into thirds (business letter style). Roll out and fold again. Then a third time. Each time you do it, you build in tons of flaky, buttery layers. Three times is enough. Three is the perfect mix between enough layers and not overmixing.

After your third “fold,” roll your dough to about 1-1.5″ thick and use a floured biscuit cutter to cut out your biscuits. Don’t twist. Just down and up. Twisting destroys your layers. Just trust me on this. Down, up. Done.
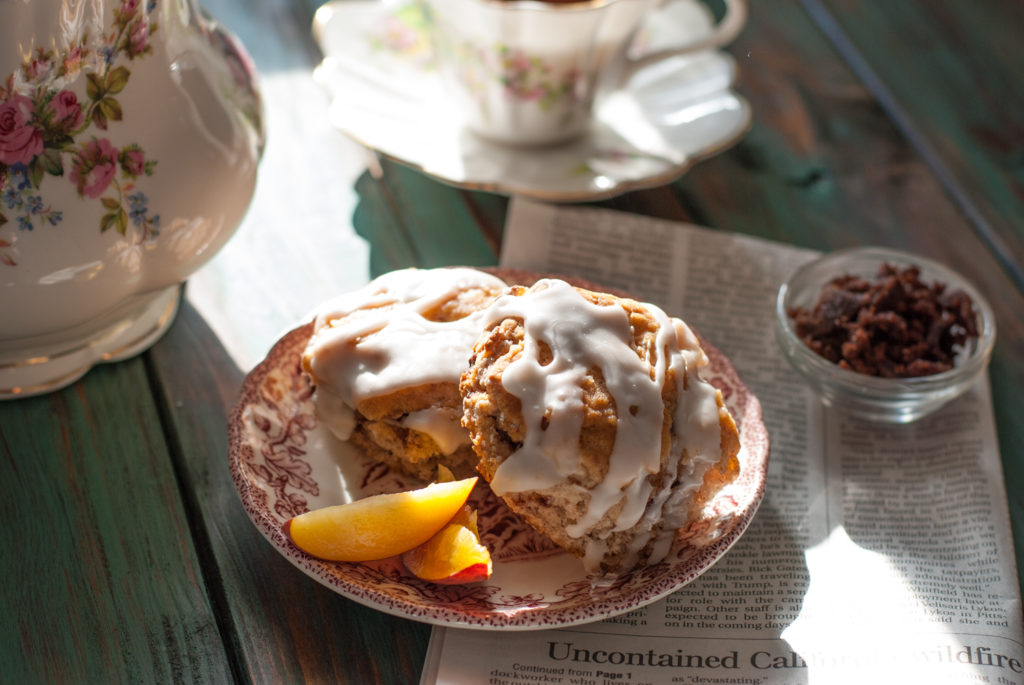
Another secret to high-rising biscuits is placing them *just* touching on a well greased baking sheet. You don’t want them smooshed together, or they won’t get done. Too far apart, and they will be low and sad. Just touching.
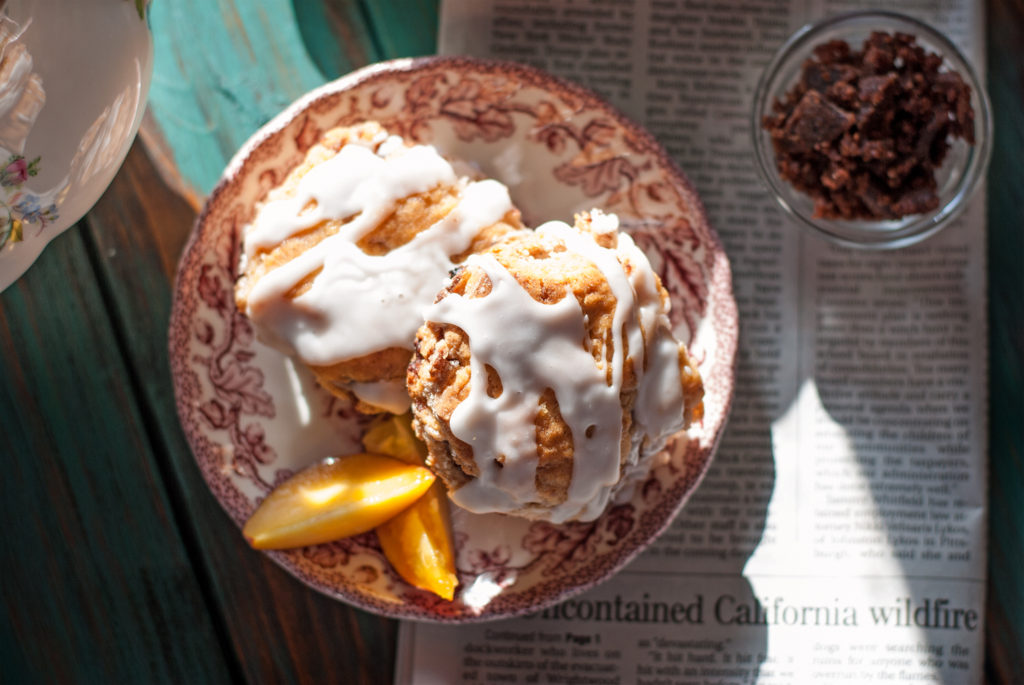
Bake these gorgeous beauties at 425 (have your oven preheated ahead of time and use an oven thermometer to make sure your oven isn’t lying to you) for 18-22 minutes, until they are golden brown on top. Take them out of the oven and brush with melted butter. Swoon.
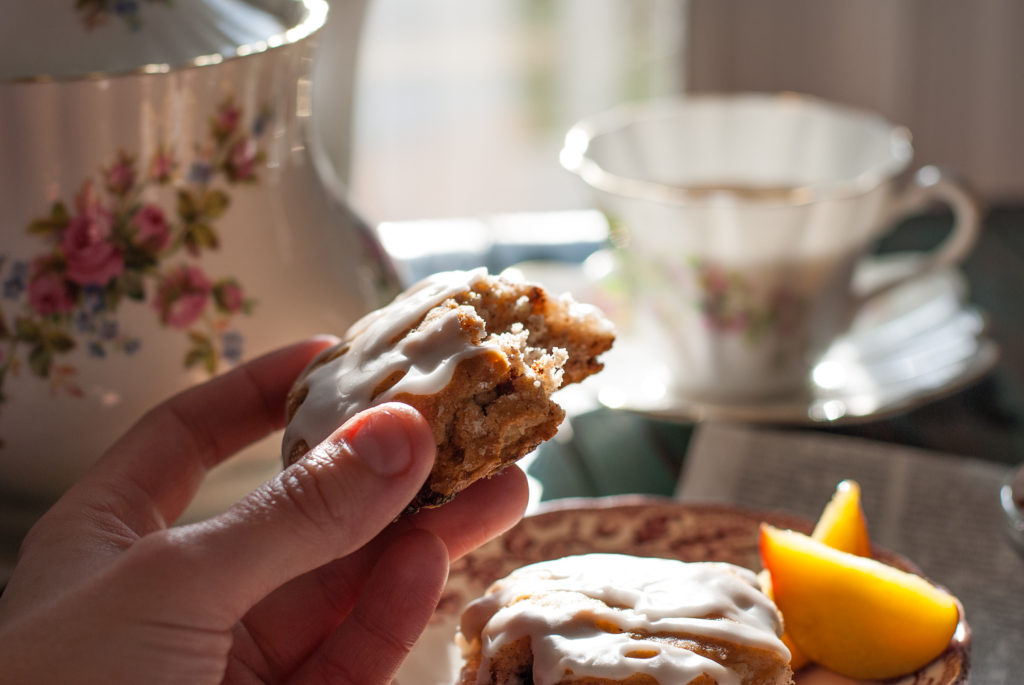
Let the biscuits cool a little bit and then drizzle glaze overtop of them (using a drying rack over a silpat lined baking sheet makes cleanup a snap). Serve them warm, with a steaming cup of coffee or tea.

Take a few minutes to just savor every bite– every melty, gooey pocket of cinnamon sugar goodness. You created this. You even MADE the cinnamon sugar bits. Like, from NOTHING. I’m pretty sure that entitles you to a second biscuit. Calories don’t count if you created the biscuits. I think that’s a law in like, Iceland or something.
You did it. And I’m just so proud of you.

Disclosure: This post may contain affiliate links, which just means that we get a few pennies if you purchase through our link. I never recommend products that I don't personally use and love. Thanks!
