Yum
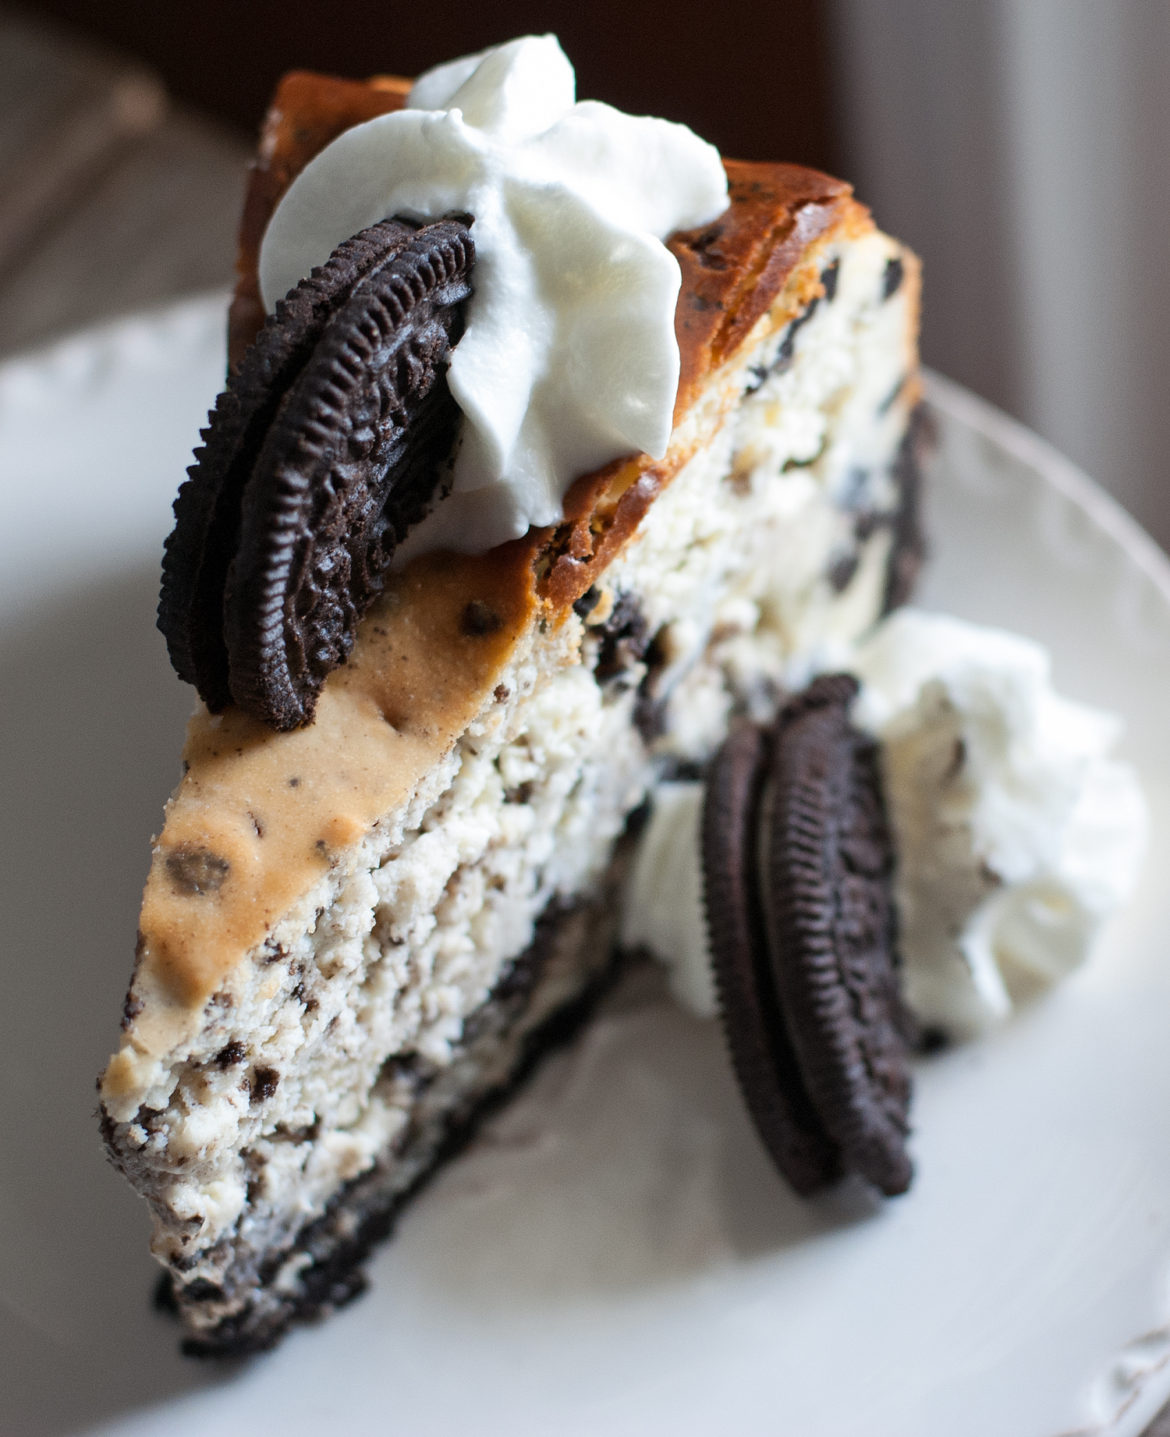
There is a reason that Cookies and Cream Cheesecake is a classic flavor combination. It combines the crunchy, chocolate loveliness of the cookies with the silky, decadent creaminess of the cream . . . and a classic was born! This dessert is easier to pull off than you think, and when you pull this beauty from the kitchen for your next family get together, don’t be surprised if the family breaks into applause! 🙂 Yes. It really is that good.
What are we waiting for? Let’s do this!
Cookies and Cream Cheesecake
(Adapted from many recipes I have tried over the years and allrecipes.com)
Crust Ingredients:
2 1/2 cups crushed chocolate cream cookies (such as Oreos)
3 tbsp. melted butter
Cheesecake Ingredients:
4 (8 oz.) packages of cream cheese, softened
1 1/2 cups white sugar
3/4 cup whole milk (room temperature)
4 eggs (room temperature)
1 cup sour cream (room temperature)
1 tbsp. vanilla bean paste
1/4 cup all purpose flour
1 1/2 cup roughly chopped chocolate sandwich cookies (such as Oreos)
Directions:
To make crust, pulse chocolate cream sandwich cookies in a food processor until they are fine crumbs. Mix with melted butter and set crust aside.
Prepare a 9″ springform pan for baking. Spray the pan with cooking spray and line with parchment paper (I use chip clips to help hold the paper in place). Re-spray the parchment paper with cooking spray. Pour the crust into the (1) sprayed (2) parchment paper lined (3) resprayed springform pan, and lightly press the crust about 1″ up the sides and along the bottom of the pan.
To make cheesecake batter, whip together softened cream cheese and white sugar until nice and creamy with no lumps. With the mixer going on low speed, slowly drizzle in lukewarm milk. Stop mixer and scrape down sides of the mixing bowl, to make sure that everything is incorporated. Add in the eggs, one by one, mixing after each addition. Mix in vanilla bean paste and sour cream, and then flour. Stir in chopped chocolate sandwich cookies.
Pour cheesecake batter into 9″ springform pan and prepared crust. Place cheesecake on a cookie sheet and place in the center of the oven (move racks if necessary to make sure it bakes in the center), with a pan of boiling water on a separate baking rack underneath. Bake at 350 degrees for roughly 1 hour/15 minutes, until cheesecake is set in the center and a toothpick inserted in the center comes out “creamy,” and not wet. You may need to cover the cheesecake with foil during the last 1/2 hour of baking, to avoid it getting too brown. When the cheesecake is set in the center turn off oven and crack the door, but let the cheesecake inside to cool. When the cheesecake has cooled to warm, and not hot, place it in the refrigerator, with a paper towel overtop to absorb moisture. Allow cheesecake to chill completely in the refrigerator overnight before removing from springform pan and cutting into slices.
A great cheesecake is a true triumph. And soon you will be the family cheesecake goddess. 😉 Let’s take a look at the process in pictures. 🙂

Cheesecake is one of those desserts that makes people say “OH MY GOSH!!!!” when it comes out of the kitchen, in stately grandeur. Cheesecake, I’m sure, is the dessert they serve in heaven. I mean, how could it be heaven without CHEESECAKE?!
Actually creating a cheesecake intimidates many people, but don’t worry. Once you learn how to make it, you will be a pro in no time. 🙂 I will show you a few of my “cheesecake secrets.” The first secret is a parchment paper lined springform pan. The other secret is room temperature ingredients. (“But WHY must I have room temperature ingredients, oh great cheesecake teacher?”). Take my word for it. Get your cream cheese, eggs, sour cream, and milk out of the fridge. Then start working on lining your pan. By the time your pan is ready to roll, your ingredients should have been at room temperature for about 1/2 hour, which is perfect. They can still be “cool” but should not be warm or cold. Just enough to take the chill off and soften the cream cheese slightly.
To line the pan, I find that it’s easiest to trace the pan’s round shape on parchment. Cut out that circle. Then make yourself some long straight strips for the sides. Spray the pan with cooking spray (this, oddly, will help the parchment stick. I guess 2 nonsticks do make a stick. Ok, weak joke. Sorry).
Press your parchment paper against the bottom and sides, and then spray the parchment, again, with cooking spray. I use clothespins or chip clips to hold the paper in place until the pan is filled. 😉 Stay right there parchment. You aren’t going ANYWHERE.

Once your pan is prepared, use a food processor to grind up your Oreo crumbs. This time, you want the crumbs very fine (the ones for actually putting in the cheesecake you just want to roughly chop so there are nice Oreo chunks). 🙂 Mix your Oreo crumbs with the melted butter and press the crumbs about 1 inch up the side of the pan and along the bottom. The back of a big spoon works well to press the crumbs flat and smooth.

Now that our crust is ready, it’s time to start on the GOOOOOOD stuff– the cheesecake. Yum. Remember when I told you it was important to get your cold ingredients out of the fridge 30-40 minutes before you started? I’m so glad you took my advice, because it’s going to make your life so much easier right now.
I should mention, too, that you really need a stand mixer (I have the Kitchenaid Mixer) to make this batter. It’s just too many heavy ingredients for a little hand-held mixer. You’ll burn up the motor. Invest in a good mixer. You will not regret it. I think I use my Kitchenaid more than any other piece of equipment in my kitchen.
Start by slowly mixing together your softened cream cheese and white sugar. You have to start slowly because 4 bricks of cream cheese is a lot. I mean, seriously. Imagine all the bagels you could cream with that. haha. As your mixture starts to break down you can up the speed until your mixture is nice and fluffy and creamy, with no lumps.

With the mixer going on low speed, slowly drizzle in your lukewarm milk. Go slowly so that you don’t splash everyone. Unless your enemy is there. Then, by all means turn the speed to high and blast him with warm milk. I think I would do the same in your place.
Stop the mixer when the milk seems to be all mixed in and scrape down the sides of the bowl. Mix again. This just makes sure that everything gets incorporated.

Add in the room temperature eggs, one by one, mixing after each one. Mixing in the eggs one by one keeps the mixture nice and creamy and stable. Cheesecake is basically a custard, and you don’t want your emulsion to break. Just trust me on this. Add the eggs one by one and beat after each one.

Mix in your vanilla bean paste (YUM!) and lukewarm sour cream. Then your flour.

Voila. Those little flecks of vanilla bean are so gorgeous. And so are you, you cheesecake goddess, you.

Gently stir in your roughly chopped Oreo cookies. Remember how we pulverized the cookies for the crust? For these you just want to pulse the cookies a few times in the food processor. Cut them up a little bit, but you still want some nice Oreo chunks in there. Stir in the cookies just until combined– here, too, we just want it barely mixed in so we get the white batter with chunks of Oreo. We don’t want gray batter. Eww. Use a light touch.

Pour your cheesecake batter into your prepared crust and remove the chip clips. Voila. No one will even know that you used those sneaky little guys. 😉
Wrap the bottom of the cheesecake in foil (this just keeps any butter that might leak through the pan from getting all over your oven) and place the springform on a cookie sheet. Anytime you make a cheesecake follow these steps:
- Preheat the oven to 350. Use an oven thermometer
to make sure that your oven is at the right temperature. I actually set my oven to 375 before I begin and then check after my cheesecake has been in the oven 10 minutes and re-adjust as necessary. The cold cheesecake will make the oven temp come down a little bit at first, and you can readjust to 350 once it equalizes.
- Place a pan of boiling water on a rack underneath the cheesecake. The moist environment will keep the cheesecake from cracking. Refill the water as necessary to keep the oven moist through the baking process.
- Cool the cheesecake when it’s finished by turning off the oven and cracking the door, allowing the cheesecake to cool gradually (this also helps avoid cracking).
I generally find that this particular cheesecake takes 1 hour and 15 minutes, at 350. Make sure that your oven stays at 350 throughout the baking time You can cover the cheesecake the last 20 minutes or so of baking if it starts to get too brown. Spritzing the foil with cooking spray first will keep the foil from sticking to the top.
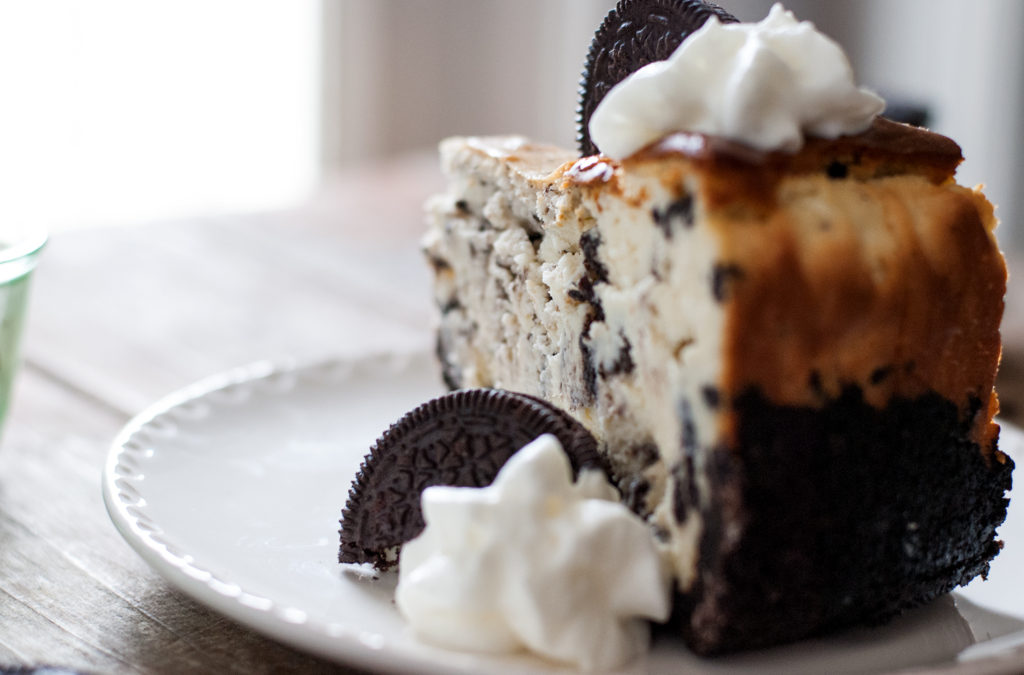
You will know the cheesecake is done when the center is set but not completely firm. A toothpick inserted into the center will be creamy, but not glistening and wet. Just do an hour and 15 minutes at 350 and that should be fine. 🙂 When the cheesecake is done turn the oven off, but leave the cheesecake inside. Crack the oven door and wait about 15 minutes until the oven is cooled off. Then let the cheesecake cool at room temperature until it’s just slightly warm. Then the fridge. Yes this is fussy, but I like to put a dry paper towel on top and cover everything with plastic wrap. The towel absorbs the moisture as the cheesecake finishes cooling.
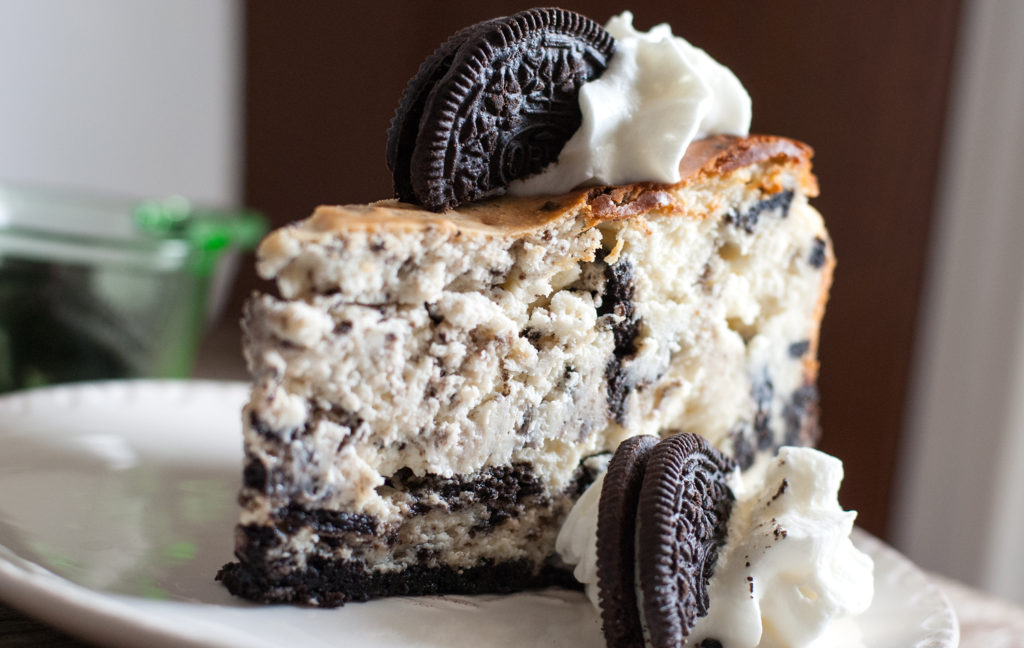
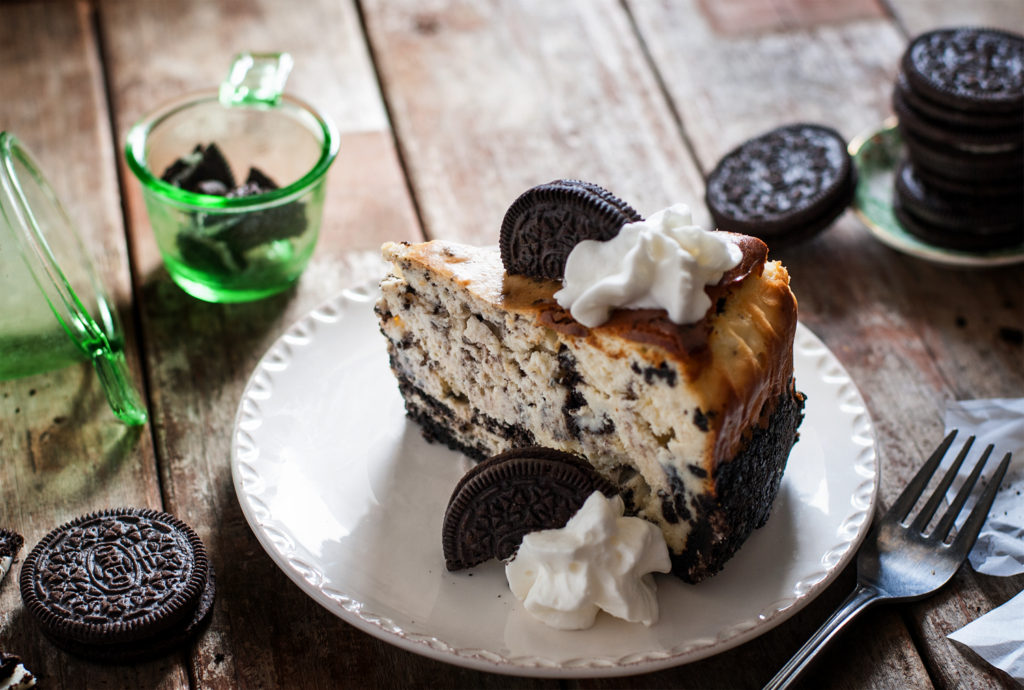
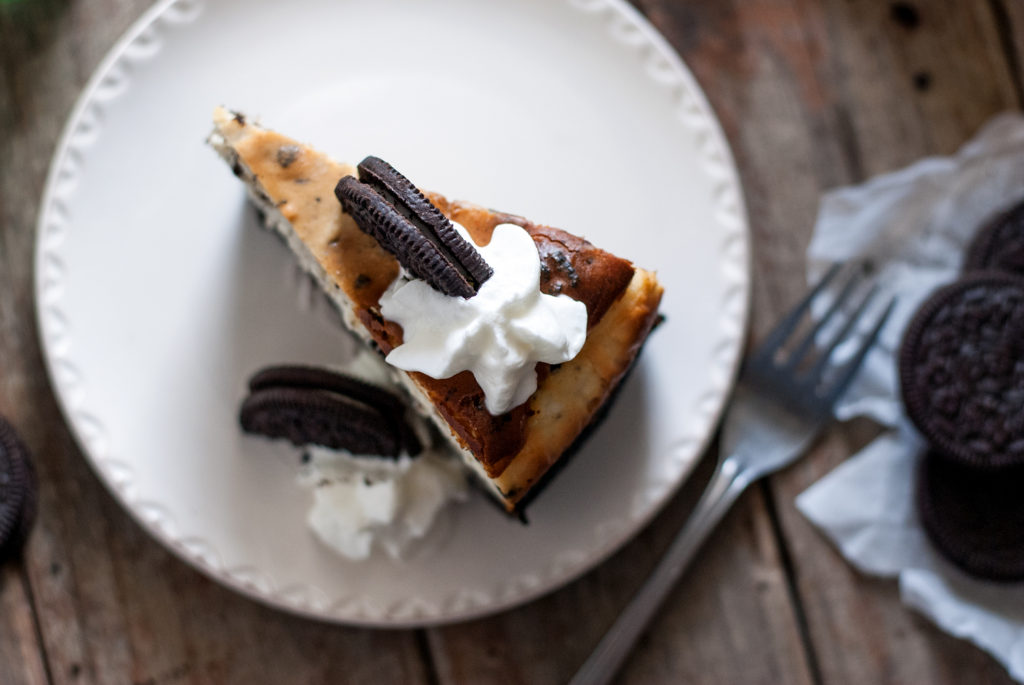
When the cheesecake has cooled completely (overnight is best), carefully remove the outer sides of the springform pan and carefully peel off the parchment pieces from the sides. Cut this devilishly decadent beauty into slices and adorn with whipped cream and extra Oreos.
And I think you should know that the cook is allowed an extra piece. I’m pretty sure it’s in the law, somewhere. 😉
You did it. And I’m just so proud of you. 🙂

Disclosure: This post may contain affiliate links, which just means that we get a few pennies if you purchase through our link. I never recommend products that I don't personally use and love. Thanks!
