What seems like a lifetime ago, when things were “normal” before COVID-19 quarantine, my kids and I planted seeds in little Jiffy seed starter greenhouses. We watered them carefully and watched them grow from tiny little sprouts to bushy, healthy plants.
So it seemed only natural that our little plants should graduate from their starter homes to a “real” home. We decided to paint some flower pots and put our little seedlings in there for Mother’s day gifts this year for the grandmothers (or, as they prefer to be called, Nana and Mimi– they are too cool for “grandma” because, as they both tell me, “Grandmas are old.”). You can customize this project to your own hobbies and interests. And let the kids help– giving them a project that they can be invested in from start to finish is education in action. 🙂
What are we waiting for? Let’s do this!
Tiffany and Co. Flower Pots
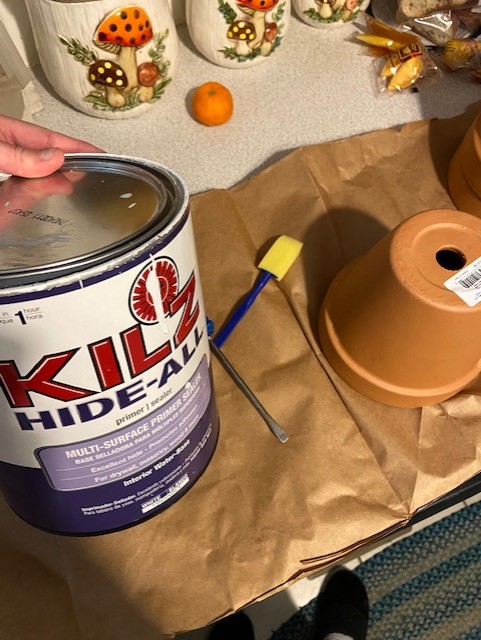
When you are painting flower pots, obviously you need flower pots. But let’s talk a little bit about the kind of flowerpots and other materials you may need. Go for the terra cotta pots– they hold paint much better than the plastic kind. You will also need some kind of primer (I am using KILZ) to cover up the red/orange color before you add your desired shade. Oh. And apparently you need an orange for snack, as it photobombed my picture.
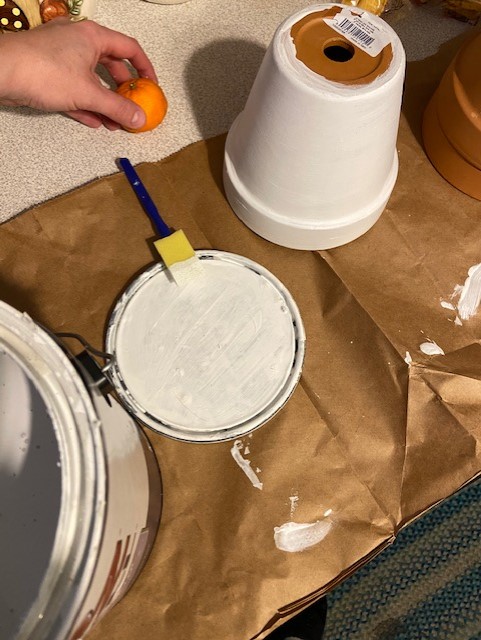
Mmmmm I think I’ll eat it.
The orange. Not the flower pot.
As far as brushes go, you don’t want one that is super small (like the tiny ones that come in watercolor paint kits). I chose a little foam brush because the color went on easily without leaving brush marks.
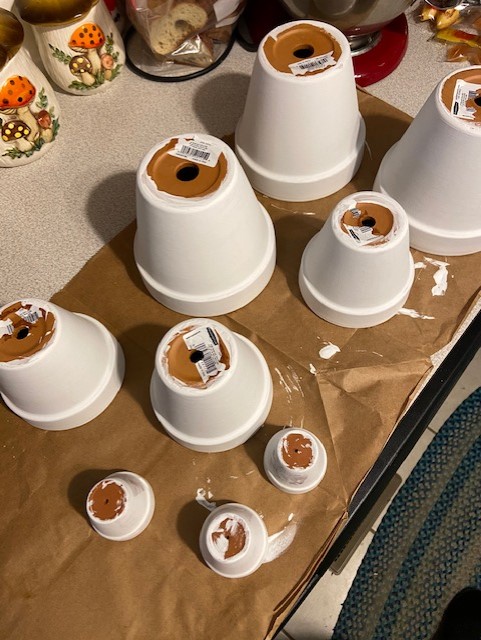
You will probably need to paint each pot with primer at least twice, so that you don’t have any orange color shining through. You don’t have to worry about the bottom of the pot, but you will need to paint yourself a “lip” of color on the inside so that you don’t see a ring of orange above the soil when you plant something.
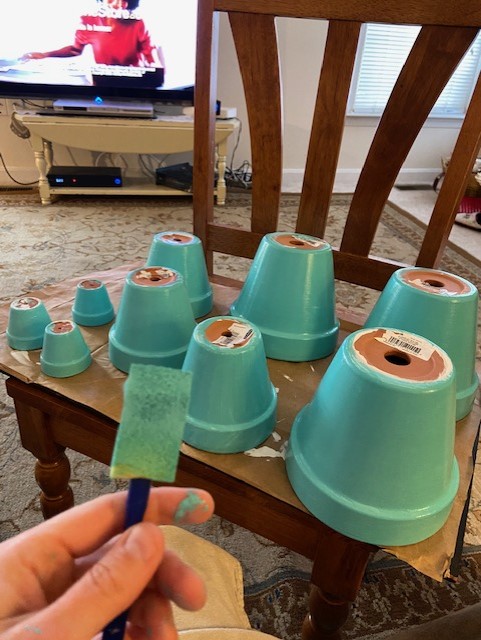
Let the primer dry completely and then give your pots a layer of your desired color. You will probably need to paint this color twice as well– the pot on the right has had two coats, and the smaller pot beside it to the left has had only one. You can see the brush marks clearly on the pot with one coat. Don’t be stingy. Give them two coats. You will thank yourself later.
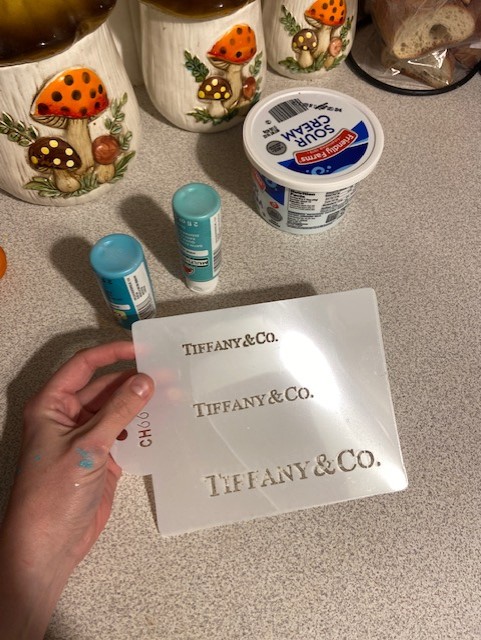
As far as colors go, I mixed 2 close shades of craft paint that I found at walmart until I felt I had it close to being right and kept my mixture in an old plastic container while the pots took turns drying. Don’t stress if you can’t get the color exactly right– just eyeball it until whatever color you want looks right. Be sure to choose paint that is outdoor resistant if these are pots for the porch. If they are inside plants then it doesn’t matter what kind of paint you use.
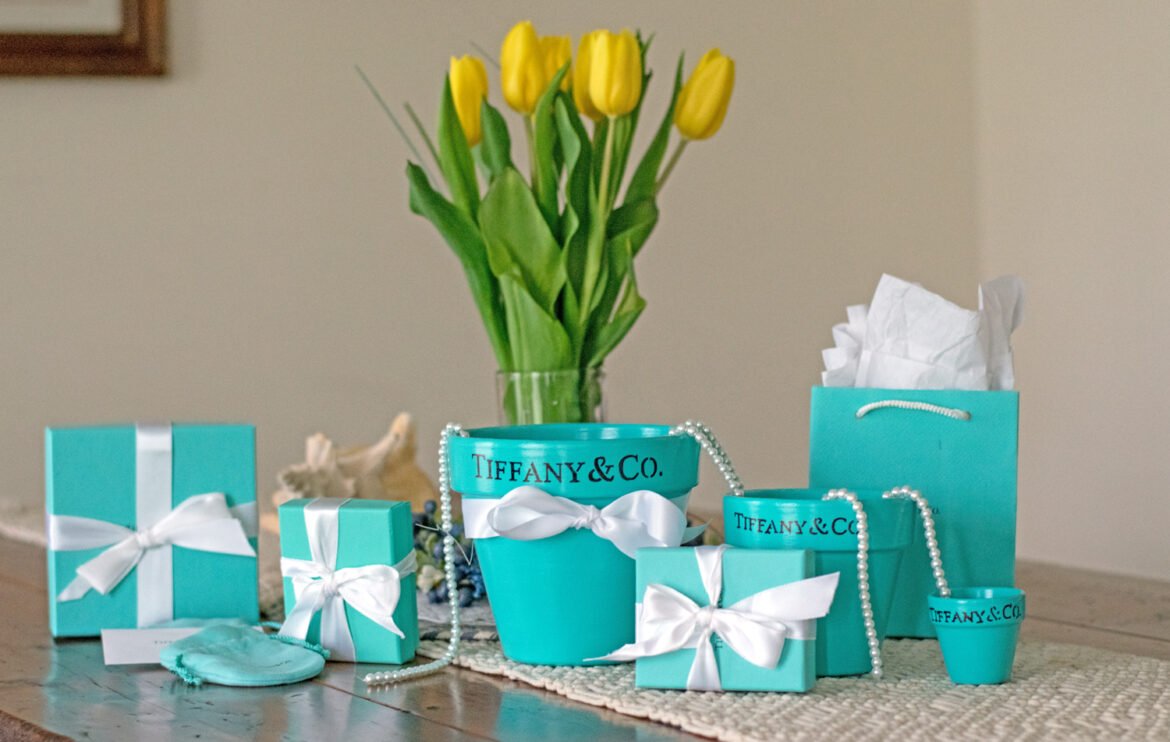
I decided to do Tiffany and Co. flowerpots because it seemed like an easy project for my kids to help with. You can, of course, use whatever pattern you like or even just use a sharpie to draw freehand on these. Sometimes pictures by the grandkids are even cuter for grandma (er, Nana and Mimi. I wouldn’t want them to lose their “coolness”).

A note about using stencils: I found that if I tried to put my stencil below the lip of the pot I got a weird, warped version of the pattern. This is because the pot is not a flat surface, but gradually tapers as it goes down. So my straight stencil was in the shape of a smile when I tried to lie it flat on a tapered pot. SOOOOO I stenciled on top. The top still tapers very slightly, but it wasn’t enough to be super noticeable except on the little pots. Again, these are just for fun so if you do want your pattern on the bottom part of your pot you will have to move your stencil slightly as you paint, to compensate for the tapering.
I used masking tape to hold my stencil in place. Make sure that it is secure so that it doesn’t slither around while you are trying to put the paint on it.
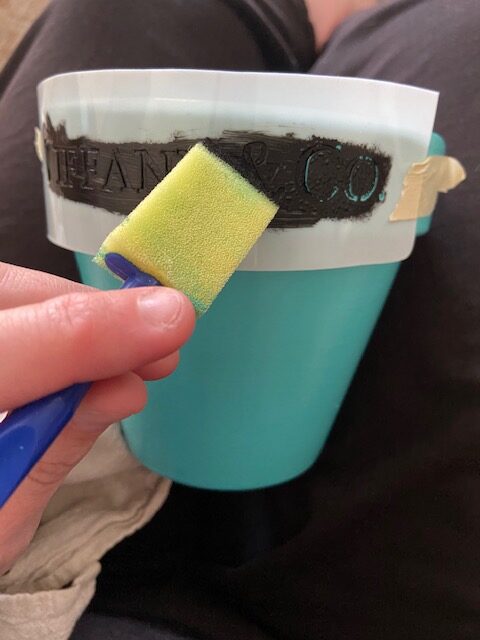
Very lightly dab black paint on your stencil. Go easy on this– if you put too much on your stencil will bleed underneath, making your pattern blotchy. If you do mess up just wipe it off and start over. When you get the paint the way you want it, carefully loosen one side of the tape and then pull the stencil off quickly in one motion. Don’t move too slowly or the stencil might move and smear your work.

Voila. You can also use a fine point sharpie if you are having trouble with a paintbrush, or if you are freehanding and don’t have a stencil.

I’m a little flowerpot short and stout . . .
Hey. Who are you calling stout. If you PLEASE.
Oh. Sorry. Quarantine diet for flowerpots too? I’m so sorry. You’re not stout at all. You’re . . . healthy. Yes. Healthy sounds better. Robust! Generous! Full of life . . . flowers?
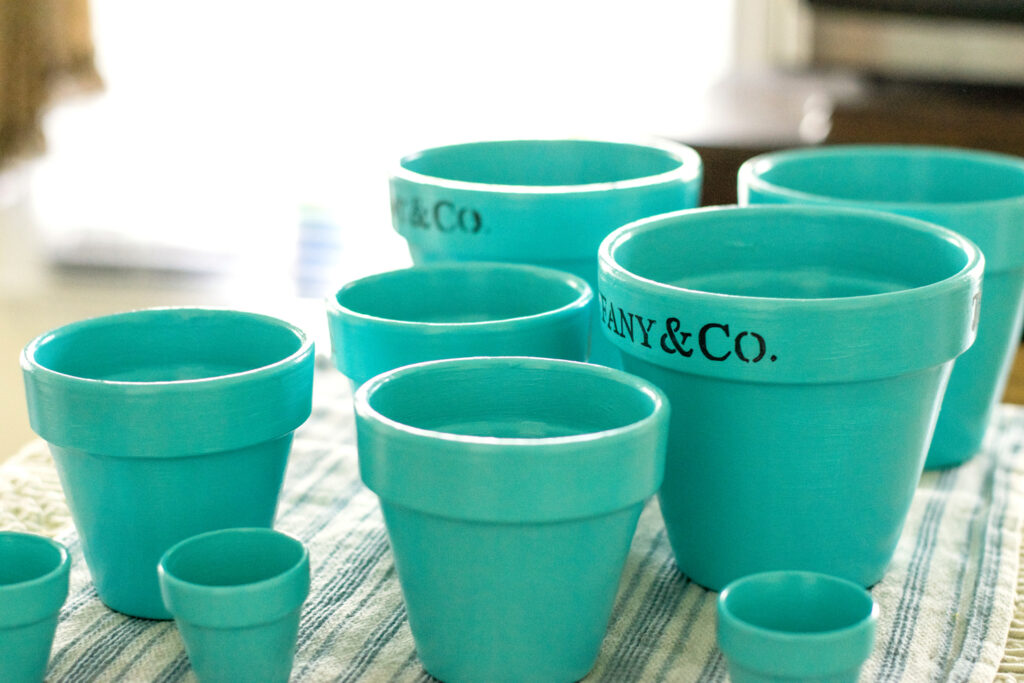
Let the pots dry completely overnight, before you plant anything in them. Remember you painted those “lips” of the pot inside? Aren’t you so glad you did that now? Now when you plant something you won’t see a ring of orange on top of the soil. You’re so smart. I love working with you.
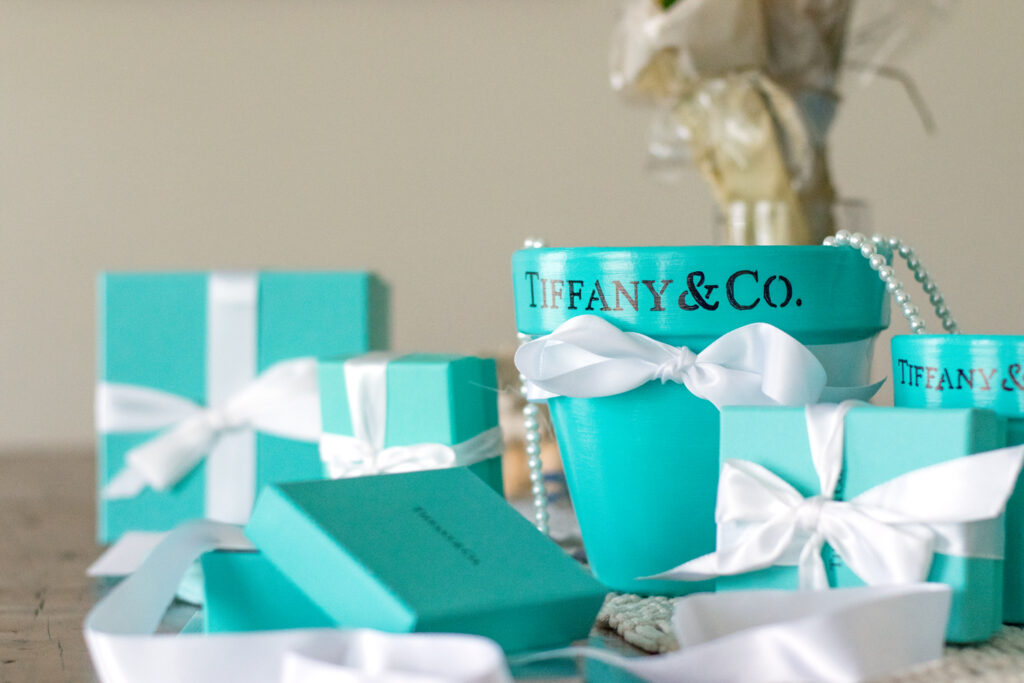
If you want to be extra cute, tie a white ribbon around your flowerpots to make them look like a real Tiffany box. You can put diamonds in there too if you’re a millionaire. Just remember me on your Christmas list. 😉
At this point I want to thank my sweet friend Nancy for giving me these Tiffany boxes to use for the photo. You’re a gem to me. 🙂

Hopefully the grandmothers, er, Nanas and Mimis, will be pleased.
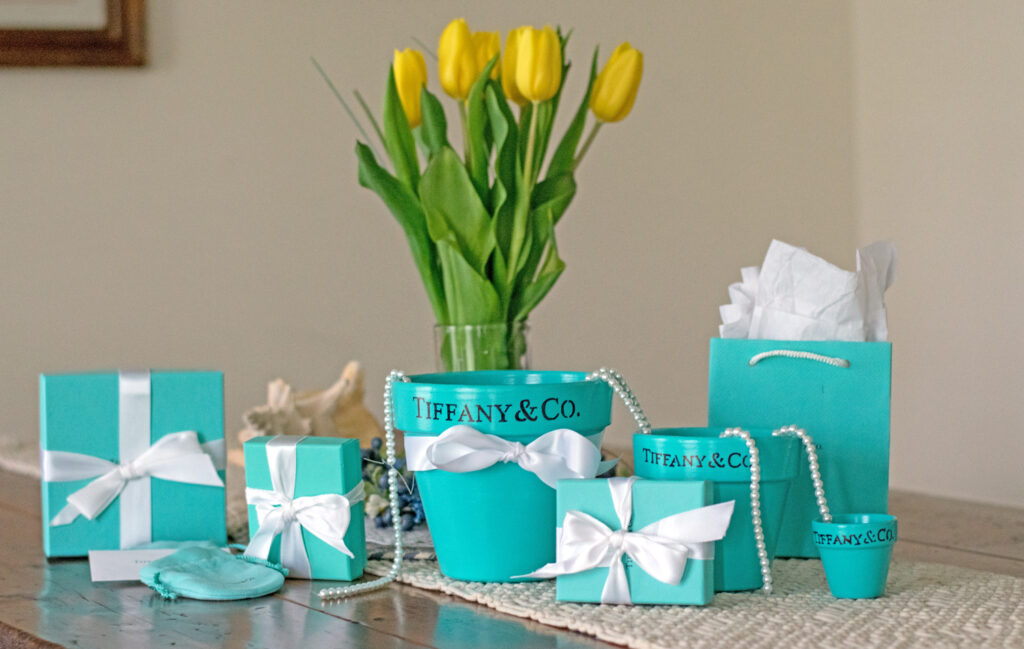
Get the kiddos to help you plant some flowers in these pretty pots. Put a coffee filter at the bottom before you add soil so that you don’t leak mud every time you water them. Have the kids make a cute handprint note. The Nanas and Mimis will love them. And you didn’t even have to leave your quarantine house to do it. You’re so amazingly creative. I love working with you.
You did it. And I’m just so proud of you.

Disclosure: This post may contain affiliate links, which just means that we get a few pennies if you purchase through our link. I never recommend products that I don't personally use and love. Thanks!
