If you could design the perfect meal . . . what would it be? Would it be bursting with flavor? Would it be something you could make ahead and pop in the oven when you got home from work? Would it require minimal effort, on your part, and be a crowd pleaser that you could always customize with what tastes you were hungry for, that night? How about if it were also gluten free and used up leftovers?
Bllllliiiiiinnnnngggg!!!!!!!!!!!!!!!! (Sorry. That was my attempt to type the sound of a fairy’s wand waving over you and granting your wish).
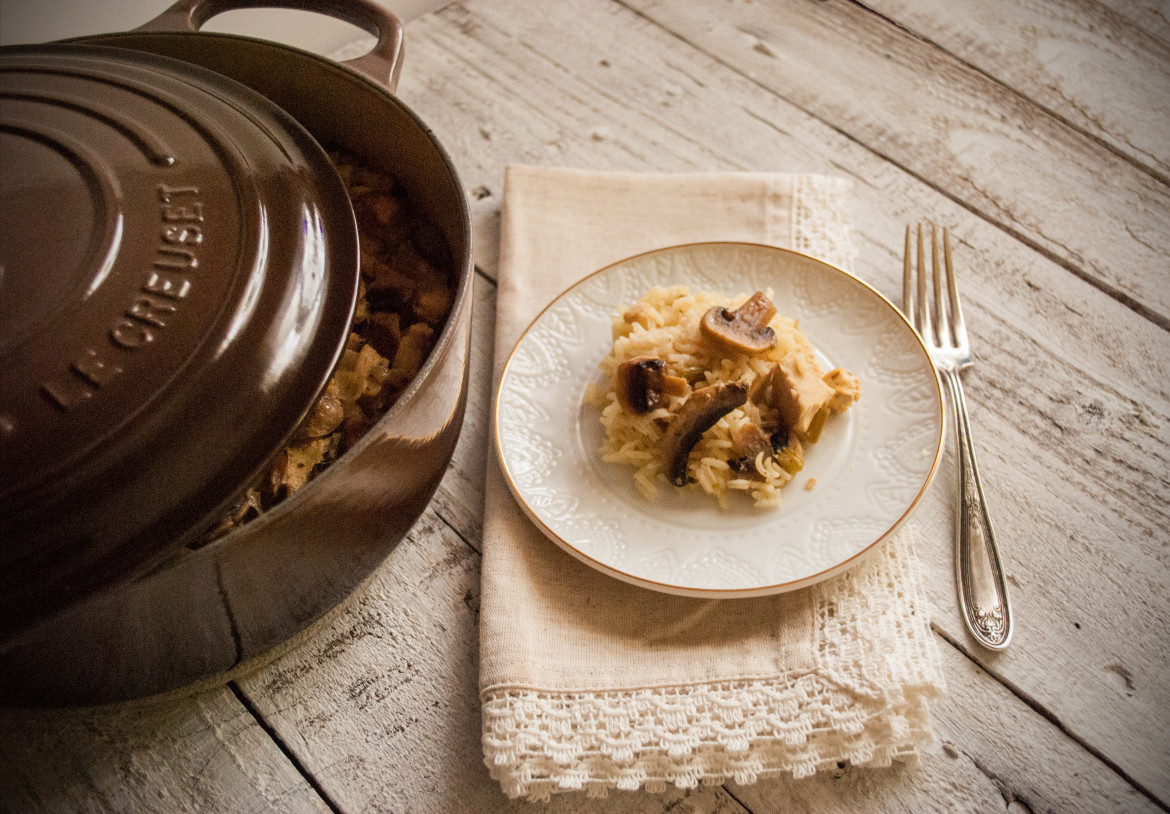
Meet your new best friend . . . rice pilaf. Not only is this dish super easy to prepare, but it can easily be made ahead for you to finish off and throw into the oven when you get home, exhausted from yet another day of saving the world. It uses up pretty much anything you have in your fridge, and it can be customized to any taste. It is also deliciously gluten free, and it can be a main dish or a side dish. Sigh. Will you marry me, beautiful rice pilaf? Because this must be love.
What are we waiting for? Let’s do this!
Easy Mushroom Rice Pilaf
(product of my own madness– feel free to change it up, shake it up, share it up . . . and credit up so maybe someday I can earn enough money to buy a postage stamp 😉
Ingredients:
2 tbsp. butter
1 onion, chopped
½ cup celery, chopped
1 cup mushrooms, sliced
1 tbsp. white wine
4 tsp. chicken bouillon
2 tsp. beef bouillon
1 tsp. black pepper
1/2 tsp. salt, optional
2.5 cups water
2 cups milk
1.5 cups white rice, uncooked
1.5 cups fully cooked chicken, chopped
Directions:
In a small Dutch Oven (I used a 3.5 qt. wide oven, but a 4.5 qt. would work, also) melt your butter on medium low heat. Sauté onion, celery, and mushroom until vegetables are soft and tender. Deglaze pan with white wine (or extra chicken broth if you would rather avoid cooking with wine). Add in the rest of the ingredients, stirring well to combine. *Note: If you are making this dish ahead of time, avoid adding the rice until right before you place the dish into the oven). Cover Dutch Oven and bake at 350 for 1-1.5 hours, until rice is soft and tender. Serve immediately and lap up your compliments. You deserve ’em 😉
Now, in pictures! 🙂
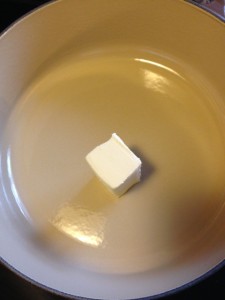
To start with, get out that beautiful Dutch Oven that looks so gorgeous on your stovetop. This beauty isn’t just another pretty face– she is a real workhorse, too. 😉 Go ahead and melt your butter on medium low heat– don’t make the mistake of turning a cast iron pan up higher and higher because you don’t feel that it’s getting hot. Like the beautiful, classy lady that she is, this beautiful Dutch Oven needs to heat up slowly– push her too hard, and she will definitely “snap.” 😉 Treat her right, and with love and care, and she will shine. There’s a life lesson there, somewhere 😉

Go ahead and slice your mushrooms. If you have a little more than 1.5 cups, don’t sweat it– the more, the merrier 🙂
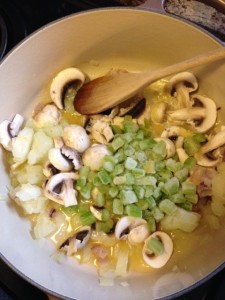
Throw your chopped onion, celery, and mushrooms into the Dutchie and allow them to start cooking down. Don’t rush them– the great flavors will be coaxed out on that medium high heat, leaving you with incredible, caramelized flavor.

Once the vegetables are tender and kind of see-through (the mushrooms will not be see-through, but will be soft and brown), add in your white wine. Stir the wine into the vegetables, being sure to grab all the brown cooked bits at the bottom of the pan. YUM. You are reaping incredible flavor, here! If you aren’t comfortable cooking with wine, you can substitute chicken broth for the wine. But I promise you, all the alcohol will evaporate out, leaving only amazing flavor behind. This dish is perfectly safe to serve to kids and to anyone who is driving 😉
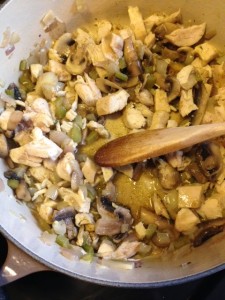
Throw in your cooked chicken pieces– I like to cut mine into smaller, bite-sized pieces. This is a great use for leftover rotisserie chicken– especially the scraps that no one really wants to eat, because they cling to the bones. When I have leftover chicken, I chop it up and freeze it, and then add it, frozen, to recipes. It’s a great way to save money and also throw together a meal in a hurry. Cheap and quick? Yes, please!

Add in the rest of your ingredients and stir. The beautiful part about using a Dutch Oven is that you can sauté, mix, mingle, and make the entire dish with this same pan. Take it right from the stovetop, mix in everything (add rice right before baking if you want to mix this up ahead of time and throw in the oven when you get home from work– if that’s the case, refrigerate the mixture in another container so that you don’t put a cold Dutch Oven into a hot oven– the quick temperature change makes the lady “snap,” remember? :), and place that luscious dish into the oven. Bake it for an hour to an hour and a half at 350 degrees. Each oven varies a little bit– basically, you just want the rice to be soft. After an hour, check a bite. If it’s good, pull the dish. If it’s still crunchy, with fluid left in the pan, give it another 15-20 minutes. Easy peasy. You can’t mess this up.
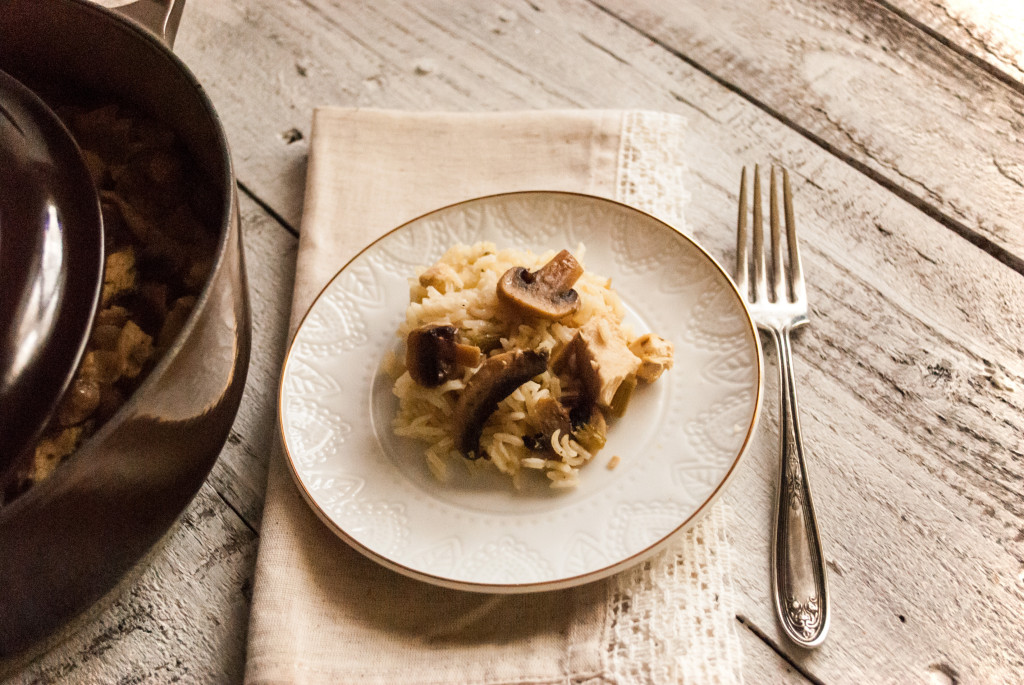
Change this up and throw in whatever vegetables or meat you have on hand. Add in extra spices and seasonings that you like. Make it ahead of time for a quick and tasty supper when you get home. Take a deep breath, and know that a gluten free, nutritious meal is going to be ready for you to set before your family. That’s a good feeling, isn’t it?
You did it. And I’m just so proud of you.

Disclosure: This post may contain affiliate links, which just means that we get a few pennies if you purchase through our link. I never recommend products that I don't personally use and love. Thanks!
