Photo by Jill Lang
I have a very nice little (OK . . . BIG) cookie cutter collection. I have enjoyed assembling it over time– a vintage cutter here, as I imagine the grandmotherly hands that used it to create Christmas cookies in years past, to random and interesting modern cutters (Le Creuset Dutch Oven shaped cutter, anyone?).
But, like many of you, I have limited space to store all those extra cutters that, honestly, I will probably use once and never use again.
When this happens, enter CREATIVITY! Today I’m going to show you a quick and easy trick for making just about any shape of cookie that you desire, without spending a fortune in cutters or turning your child’s bedroom into a storage space for all your excess metal.
What are we waiting for? Let’s do this!
If I had to pare down my cookie cutter collection, the cutters I would save would be the basic shapes. WHAT? You would save those boring, old, basic rectangles and circles? Yes. Definitely.
The reason I love these basic cutters is that they can, literally, be turned into anything. Let me show you what I mean.
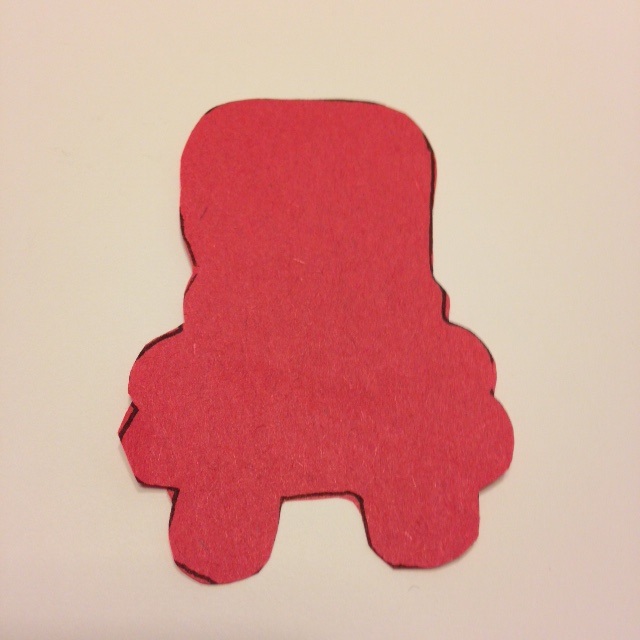
Remember all those doodles you used to do all over your notebooks, in high school? Well, now those skills will come in handy. Take your doodles and turn them into cookies. Today, I have minions on the brain. Let’s make some minions. First, trace the cookie cutter you want to use. That way, you know your doodle will fit inside the cookie.
While I’m making minions, I’m also thinking back to school. I have the yellow icing out– why not make some buses? Once you decide on a doodle you like, gently cut it out and trace on construction paper. This is a little thicker than notebook paper, so it holds up better.
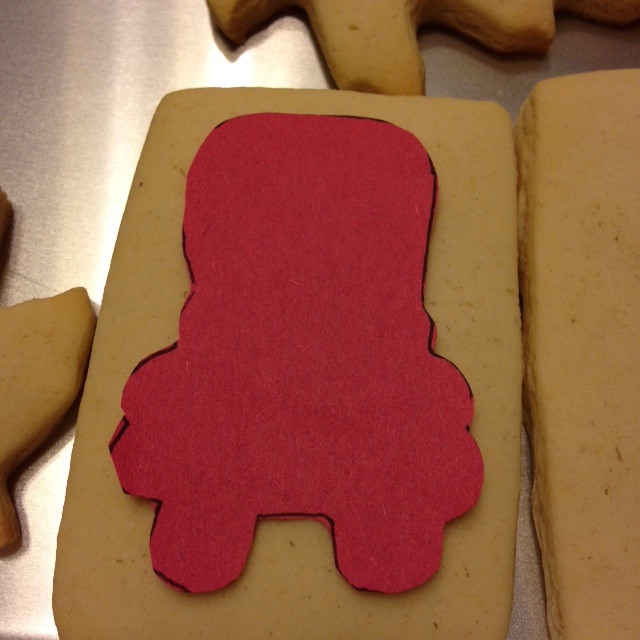
Place your traced outline on your bare cookie.
Enter your secret weapon: food writers. These little food-safe markers are great for anything from pupils on eyeballs to less shaky writing on cookies. They are also great for tracing your shapes, since the ink is really food coloring.
I generally use yellow to trace, for 2 reasons: (1) it’s the lightest color in the pack, and, therefore, easier to cover, and (2) I don’t use it very often for anything else, so I’d rather save the more “useful” colors for actual cookie trimming.
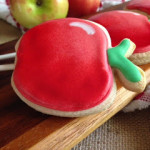
Once you have traced your shape, outline and flood it. You can read more about royal icing and how to get it the correct consistency for outlining and flooding
here.
When the outline dries, add a few finishing touches.
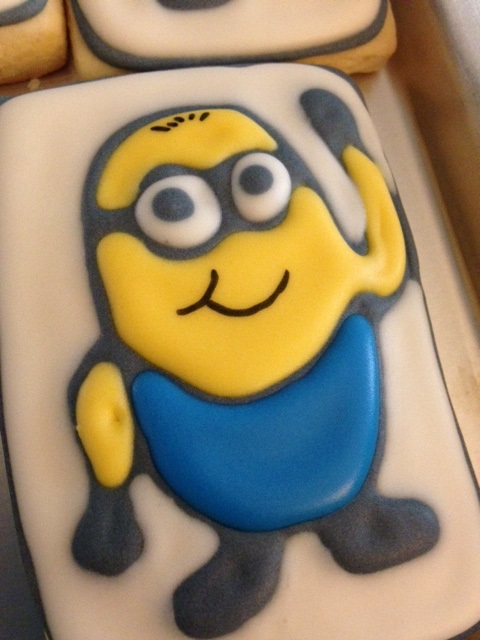
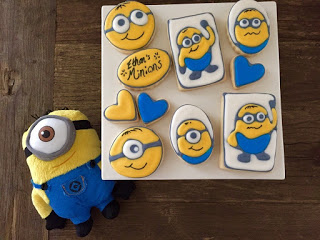
I used the same idea for these minions. Trace your outline in gray, and then fill in the correct colors.
Using your black food writer, add a few cute details.
Aww. He’s cute. Notice we didn’t need any special cutters– this is a regular rectangle.
Here is an example of a basic circle, also made into a minion face. It’s amazing what you can do with basic shapes, when you use a little imagination.
Photo by Jill Lang
You did it. And I’m just so proud of you.

Disclosure: This post may contain affiliate links, which just means that we get a few pennies if you purchase through our link. I never recommend products that I don't personally use and love. Thanks!