Today was a very bad day for me. It was Emilie and the “terrible, horrible, no good, very bad day.”
We were up all night every hour on the hour with baby girl, who dropped into a peaceful slumber the second the sun came up . . . just in time for our toddler to wake up and declare the world a gorgeous place and today the perfect time to break his all-time energy record. It was the day of the fall festival, and it rained. A poopy diaper leaked through the baby’s clothes and soaked me, and I had to pay $200 for computer repairs. And then, it really got bad. And then . . . it became the perfect storm.
For the past month, my iPhone has been acting up. I have wasted my precious Saturdays for the past month driving 2 hours to and from the Apple store, having phones replaced, replaced, replaced.
Today, on a soggy, rainy day . . . I made YET ANOTHER trek to the Apple store. I made my appointment, but still I had to wait. And wait. And wait. I waited almost an hour. I contemplated writing a novel.
Finally, it was my turn. The tech was rude and unhelpful. He kept badgering me and accusing me to the point where, on my 2 hours of sleep, I felt so overwhelmed that I broke down into tears. I left feeling beaten, exhausted, and frustrated.
I left thinking about pie.
Yes. You heard me. We’re going to make pie. I feel the need to murder some apples. 😉
What are we waiting for? Let’s do this!

Autumn Apple Pie (this is my own recipe creation– I just tweaked until I found what I liked, and you should feel free to tweak to your tastes, too! 🙂 Feel free to use and share, but please credit back here so no one steals my work. 🙂
Ingredients:
8 Granny Smith apples, room temperature
Splash lemon juice
2 tsp. vanilla
1/2 cup brown sugar
1/2 cup white sugar
1 tsp. cinnamon
3 tbsp. all purpose flour
3 tbsp. cornstarch
Crust for double pie
Peel and slice apples. Continually toss the apple slices in lemon juice as you cut them so that they don’t turn brown. When all the apples are sliced, add in the vanilla and toss the apples in the lemon juice and vanilla mixture. Add the sugars, cinnamon, flour, and cornstarch. Make sure that the dry ingredients get completely mixed through all of the apples. Pour the apple mixture into a prepared pie crust. Top your apples with the other crust and brush with milk. Sprinkle with coarse turbinado sugar, if desired. Bake at 350 degrees for 1 hour, or until crust is brown and apples are tender. Allow to cool before slicing if you don’t want the juices to run. Congratulate yourself on having the last word over the Apple and have a second piece. 😉
Now, in pictures. 🙂

Start out with room temperature apples. You know how, when you enter a gathering where everyone is quietly sipping drinks and struggling to make small talk, you feel the need to draw inward and not socialize? Cold things make people chilly. Cold things spoil the party. We want these apples to take their overcoats off and “get this partay started!” Make sure they are room temperature, and then peel/thinly slice them. Pour your lemon juice in the bowl and periodically stir the apples while you slice them. This will keep the apples from turning brown. When the apples are all finished slicing and dicing, add your vanilla and give ’em a good toss.
Add in your brown and white sugars, cinnamon, flour, and cornstarch. These late comers may be a little dry, but don’t worry . . . we’ll cheer them up in a minute. Stir really well– sometimes these dry ingredients tend to stick to the bottom of the bowl, and we want all the apples to have their fair share.
There we go! All nice and coated. Everyone needs a little sugar . . . spread that love around.
I am using a 9.5 inch deep pie dish. Deep dish is totally the way to go. Little pies almost always overflow, leaving that nasty, black, smoking goop at the bottom of your oven. Ewwww, (Interesting fact: did you know that oven repairmen receive more calls at Thanksgiving than during any other time of year? Apparently, most people only fire up their ovens at this time. What a shame! 🙁
Put your first pie crust in the pan (don’t grease pan) and smooth it up the sides. Pour your apple mixture into the crust and flatten and smooth the apples so they make a nice, orderly group. Oooh! Oooh! Can I be the line leader? Absolutely. Line up nicely, everyone.
Your top crust can be decorated, if you like. I like to take mini fall shapes and cut some maple/oak leaves or acorns into the top crust. Save the pieces you remove for added decoration, if you want. Alternatively, you can make a lattice top crust (very easy), or just cut a few slits.
Aww– aren’t they cute?
Place your top crust over the apples. See them peeking through? So cute.
Now– a little trick. In all kinds of baking, you can wash your crust with a variety of different things, and each of them will give you a different result. Basically . . .
1. Brushing with butter gives a very flavorful, deeply brown crust
2. Brushing with egg wash gives a golden, shiny crust, but it doesn’t taste as good
3. Brushing with milk is the best of both worlds, in my opinion– it makes the crust nice and brown (but not shiny), and tastes great. It also adds a softness and tenderness to the crust.
I take a few tablespoons of milk and get my basting brush ready for action!
Now . . . the crust!
Gently smoosh the top and bottom crusts together, kind of squashing them against the pie pan so that the apple stuff doesn’t ooze out during baking. I pinch the crust up into a mound and then form it. There are many things you can do to “pretty up” your pie crusts. I just do it the way my Mom does it, and the way she showed me. Basically, you hold your thumb and pointer finger about 1/2 inch apart and use your left hand pointer finger to “fit into” that space. You can see where I pressed it with my finger, but I had to take a picture, and I only have two hands, so you’ll have to use your imagination. 😉 What’s a girl to do? Anyway . . . crimp the crust all the way around.
Pretty, pretty.
Remember those cutouts you saved? Here comes their 5 minutes of fame. Dab a little milk on the crust and stick the cutouts to it. It’s as easy as that. Kind of put them wherever you have a bare spot. It really adds a new level of cuteness to have a 3D piecrust.
So pretty.
When all of your cutouts are situated, go ahead and lightly dab the entire crust with milk. Don’t drench it– just enough to moisten.
Sprinkle the moist crust with coarse sugar. I use turbinado natural sugar– it’s kind of a brown chunky sugar found in the baking aisle. The brown really looks nice against the crust when it finishes baking, and the sugar crystals give it a nice crunch and a little sparkle.
And what girl doesn’t love a little . . . sparkle?
Bake at 350 degrees for about an hour, turning pie halfway though baking. YES. ALWAYS put another pan under your pie, just in case it runs over. You don’t want that mess in your oven– trust me. Bleck. Nothing smells worse than burning sugar. We don’t want a hunk ‘a burnin’ sugar– we want a hunk ‘a burnin’ love!!!!
You will know the pie is done when the crust is golden and the apples are tender. You can gently put a sharp knife into the pie through one of your “peep holes” to check, if you want.
Now here’s the kicker . . . wait till it cools to slice it.
WHAT???? You want me to leave this shimmering, cinnamon-y plate of goodness, that is practically steaming and begging me to come and get it, and let it cool down? I have to strike while the iron is hot, here! How could you be so cruel????
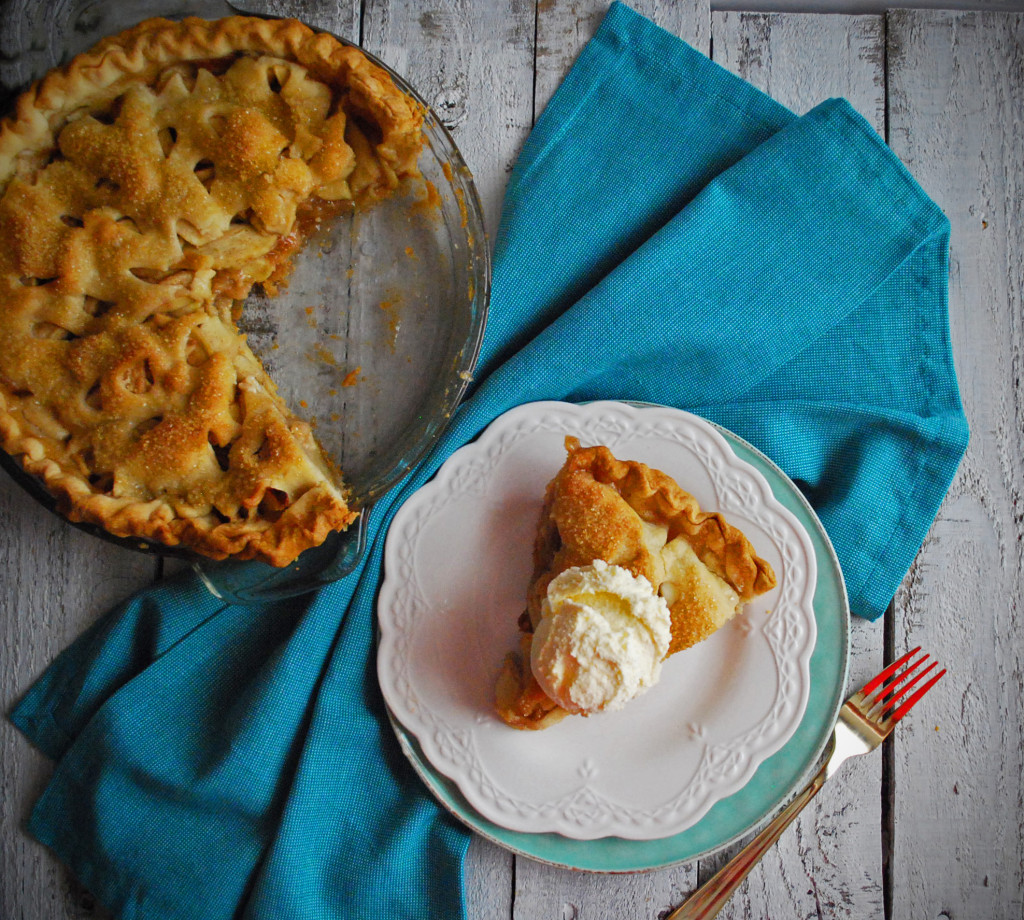
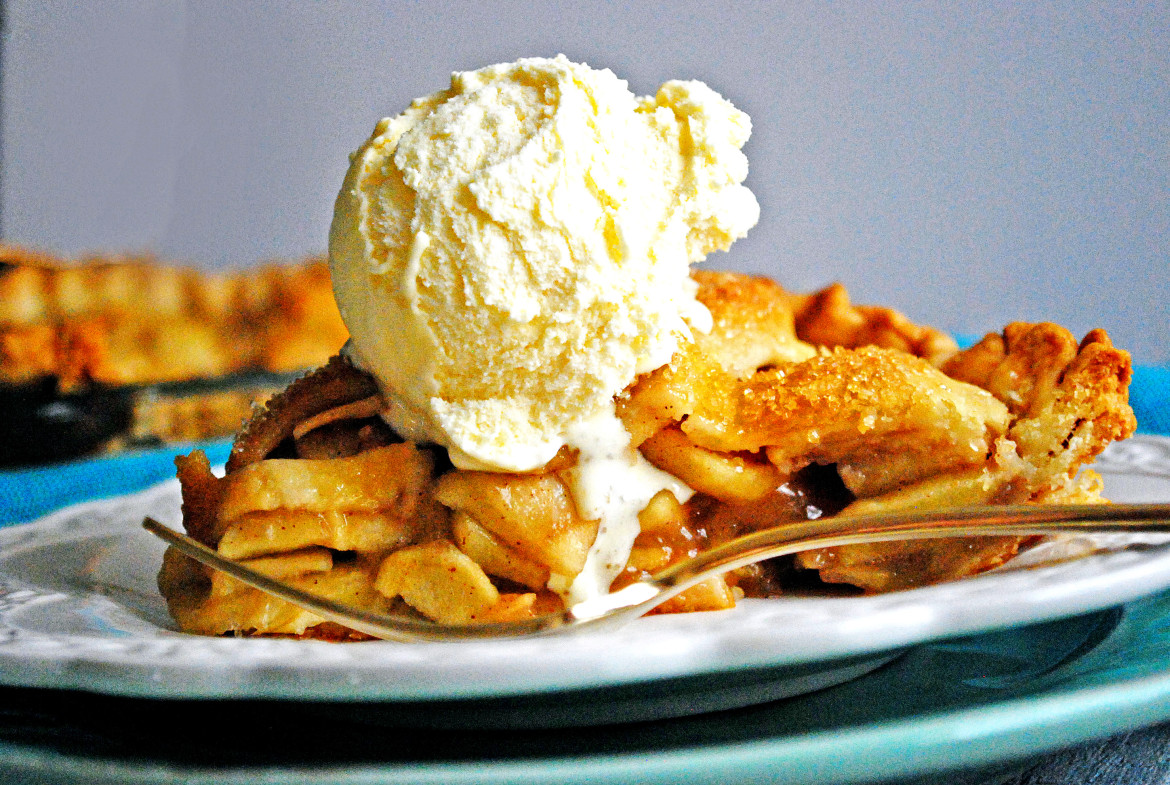
Well . . . you can dig right in, if you want, but your filling will run all over the place like water. It will also probably scald your mouth off. If you want that perfect, “take out a piece and it looks like something from a magazine and holds together perfectly, and Norman Rockwell should add me to his Thanksgiving meal portrait” thing, then you have to let it cool completely before cutting it.
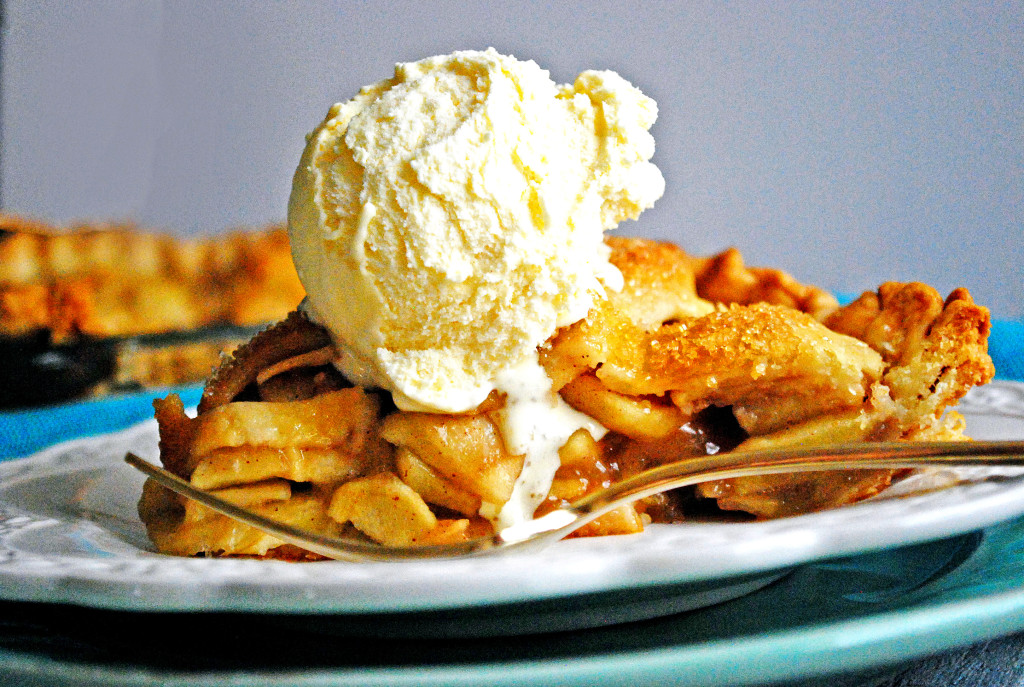
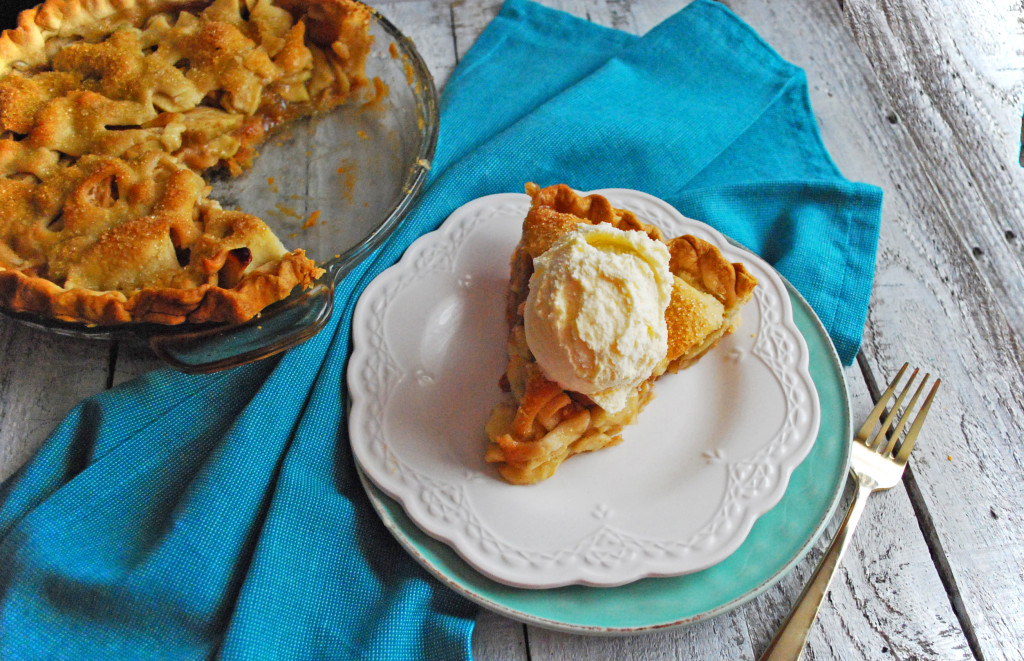
Yes. That means, if this is a Thanksgiving showstopper, it needs to be cool before slicing. You can even zap the pieces for 15 seconds in the microwave before serving if you want the vanilla ice cream to ooze lusciousness all over the plate . . . but don’t cut ’till cool.
Don’t try to rush it and put it in the fridge. Don’t say, “It’s a little warm, but that’s probably good enough.” Don’t be tempted.
Wait. Wait. Wait.
The best things in life are worth waiting for, and this pie is one of them.
And when you cut that first, perfect piece . . . you’ll see that I’m right.
You did it! And I’m just so proud of you. 🙂

Disclosure: This post may contain affiliate links, which just means that we get a few pennies if you purchase through our link. I never recommend products that I don't personally use and love. Thanks!





Pingback: No Churn Vanilla Bean Ice Cream – Cookies for England
Pingback: How to Make Puff Pastry – Cookies for England
Pingback: Cinnamon Crunch Bagels – Cookies for England