
Plaid is such a neat material. It has a rich and illustrious history . . . as far back as the 1600s, the Scottish clans were proudly weaving their own custom plaids and embellishing their family tartans to wear with them into battle (interesting fact– a true Scottish kilt contains over 8 yards of material! Goodness!). A fallen soldier could be easily identified by the plaid he wore when he fell. To this day, you can purchase the Stuart plaid– historical plaid of the Scottish kings for centuries. At one point, plaid was even outlawed in England, due to a Scottish rebellion. Something tells me that some rebel, red-headed Scotsman wore plaid underwear, just daring the authorities to enforce that crazy rule.
Plaid is the stuff of Catholic school outfits . . . the basis of winter flannel sheets and cozy fall shirts. It adorns scarves, socks, and even potato chip bags. It’s everywhere.
So why not on cookies?
I can’t see why cookies should miss out on all this plaid fun. Today I’m going to show you a really easy way to make a plaid pattern on your cookies. There are more complicated ways, for sure, and they probably look a little more authentic . . . but this easy way works just fine, and so that’s what we’re going to start with. Why put the cart before the horse, right?
What are we waiting for? Let’s do this!

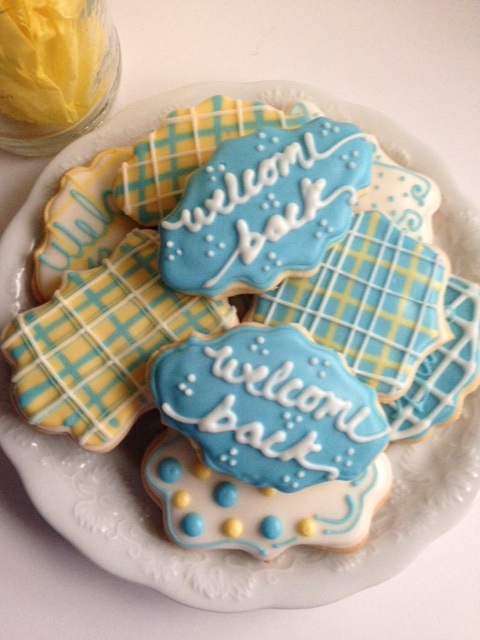
To begin, outline your chosen cookie shape. Today I’m going with a 3 color palette– yellow, blue, and white. Feel free to use any color you like. This is a really cute way to spiff up any cookies for any occasion, because it’s so easy to work in any color scheme.
Next, flood your cookie in light blue (or whatever color you choose). You don’t want to overflood the cookie, since you will be adding more icing in a minute. See how the lines aren’t smooth? This is a really thin coating of icing. I want to make sure I don’t “overflow the bathtub” when I add the yellow lines.
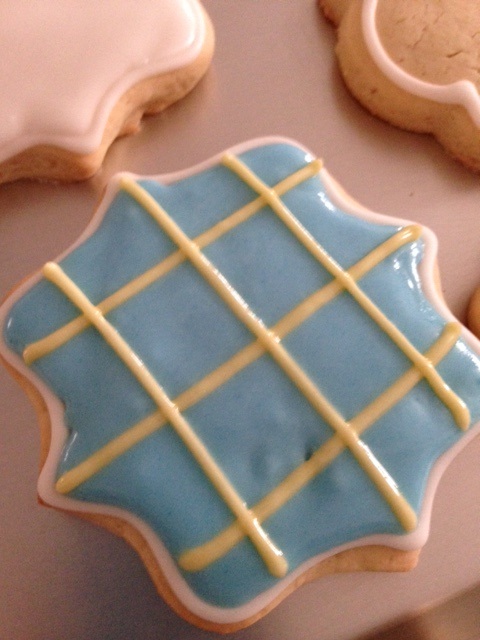
While the icing is still wet, add some basic lines in a third color– in my case, yellow. You want to work quickly, here. This technique is called “wet on wet,” because the icings can kind of sink into a single layer, white keeping the colors distinct. If you wait too long, the blue layer will dry, and the yellow won’t sink into it. Make sure you have all your colors nearby and ready so that you can quickly add the lines when your base color is ready.
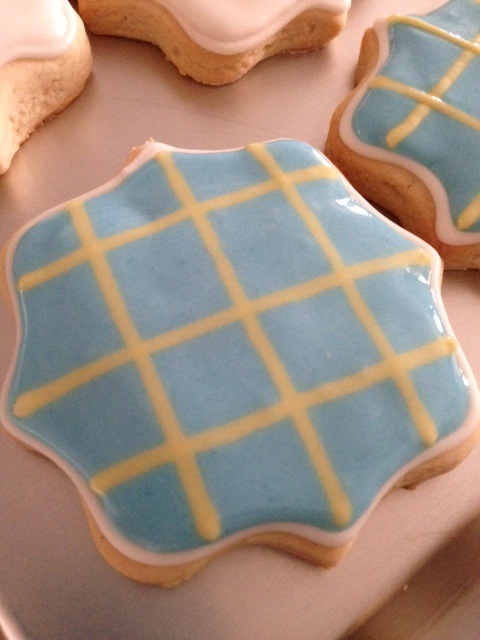
In 30 seconds or so, the two colors should melt together and form a smooth surface. This is neat, because it will dry as a single, smooth layer, which looks neat, especially when you add your next set of lines.
Let this wet layer dry for about 1/2 hour. At that point, go ahead and add some double lines (or single if you want) to the top of the cookie. These lines will not sink in, but remain on top for some 3D effect. I like a little bit of tall icing, but I prefer that not all the lines be piped. I don’t know. Just a preference. I think one line smooth and one line defined really looks nice.
But you could go ahead and outlaw my plaid if you don’t agree. 😉
You did it. And I’m just so proud of you.

Disclosure: This post may contain affiliate links, which just means that we get a few pennies if you purchase through our link. I never recommend products that I don't personally use and love. Thanks!


Would love to try these! Thanks for sharing.
Thanks for stopping by! Enjoy!
Looks good!