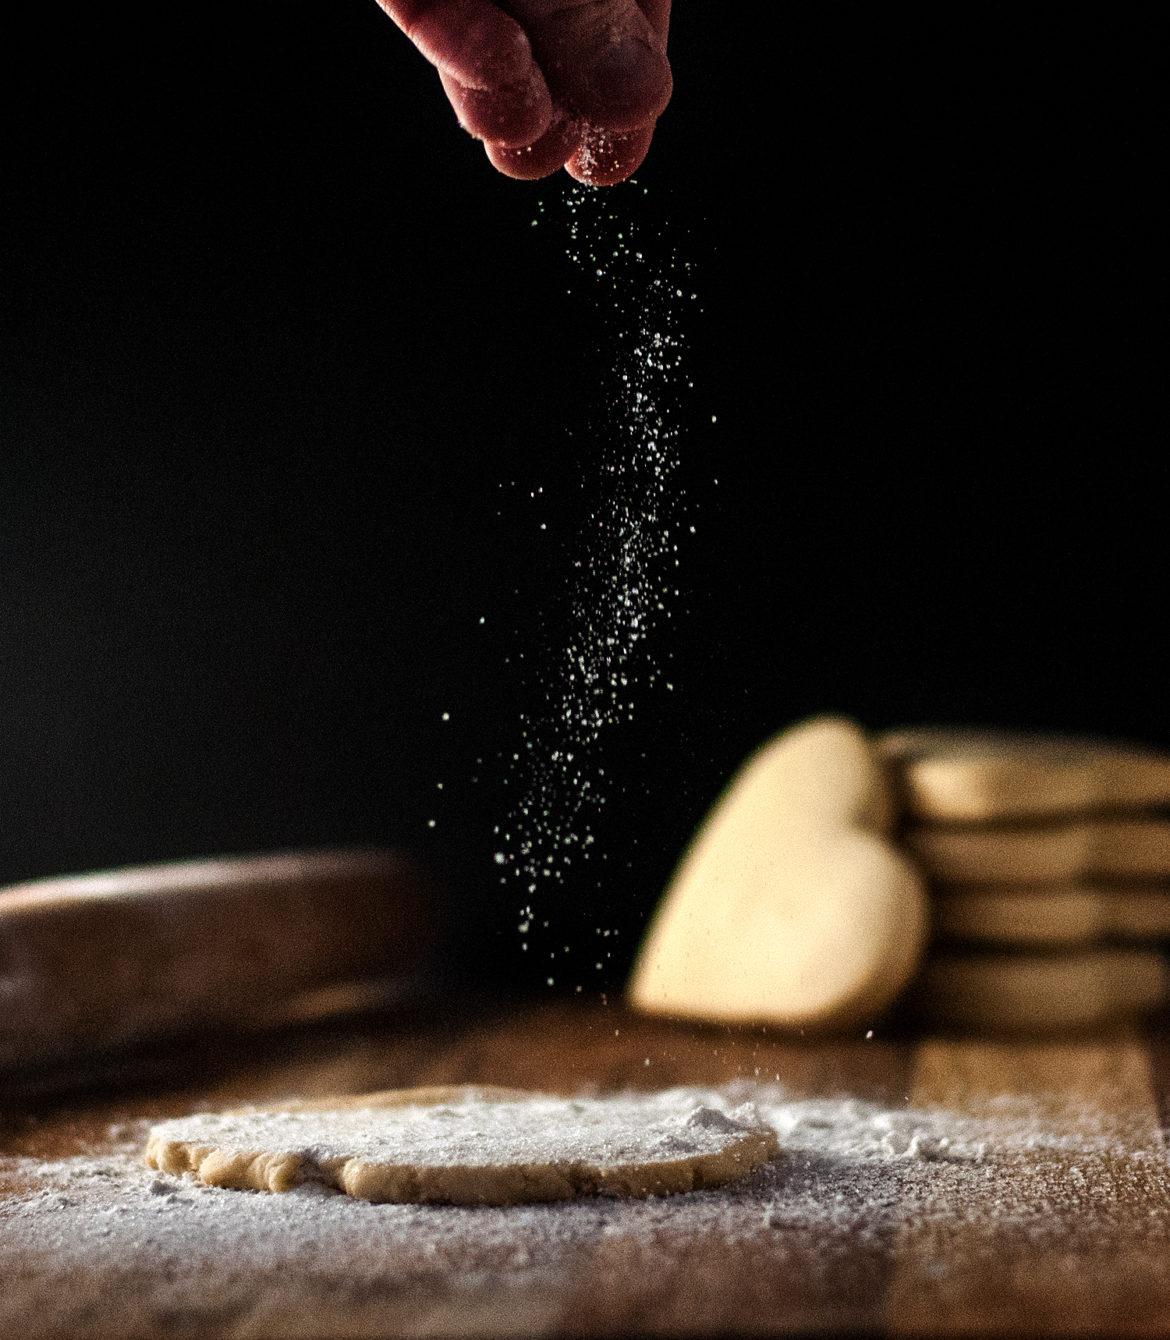
Once I had a turquoise tea–
It seemed the perfect color, to me.
And Turquoise Tea Cookies I made to share,
So please sit down. Your seat’s right there.
What are we waiting for? Let’s do this!
Turquoise Tea Cookies
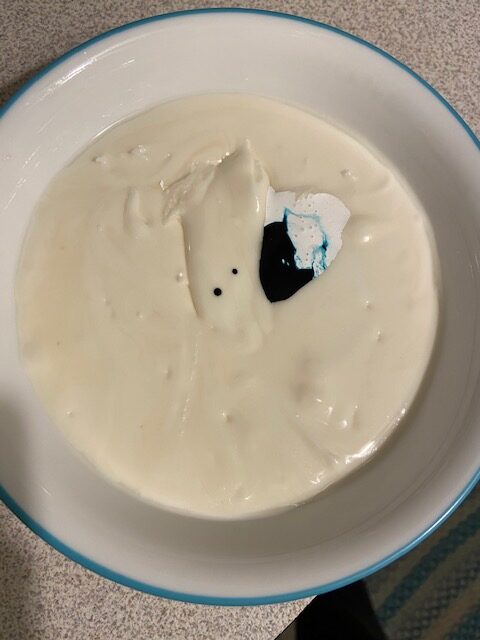
When I first started decorating sugar cookies, I never understood white food coloring. I mean . . . the icing is already white, right? Why does it need white coloring? Ahhhhh I’m so glad you asked.
First of all, white food coloring is a more “pure” white color– see the food coloring against the “bare” icing? You can definitely see that the icing is not as light in color, even though it looks white until you see it against the white coloring.
But I would say that even more important than the “whitening” aspect of white food coloring is its ability to make pastels of other colors. I used to think that to make pastels, I should just add “less” coloring. But in fact, when you add less coloring of say, hot pink, you just get “light hot pink.” You don’t get a soft pink. The softer, more pastel colors can be achieved only by adding the softening of the white food coloring. In this way you can have bright colors that are soft, rather than pale and watered down, but the same shade of fiery color. It sounds kind of hard to understand, so let me show you. I wanted a soft turquoise, but my turquoise coloring is very bright. I diluted it with white. Watch me stir! Bubble, bubble, toil and . . . cookies!
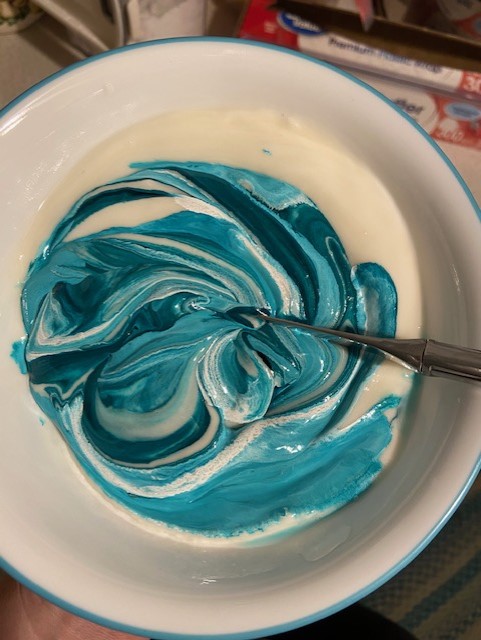
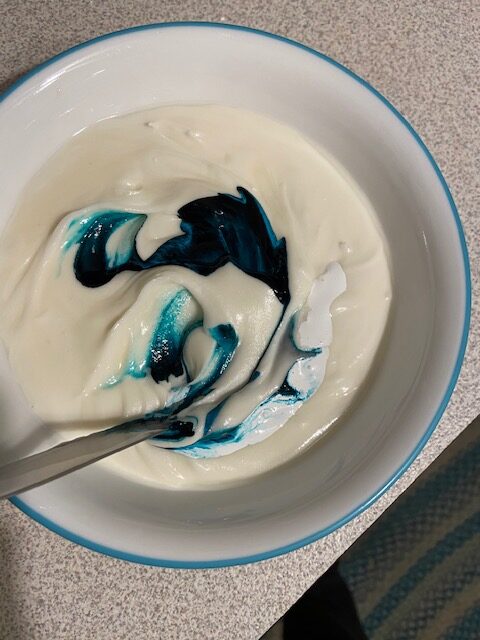
You can see in the swirls the color of the original turquoise. It’s quite bright. Let’s add a little more white, and then watch what happens to the color.
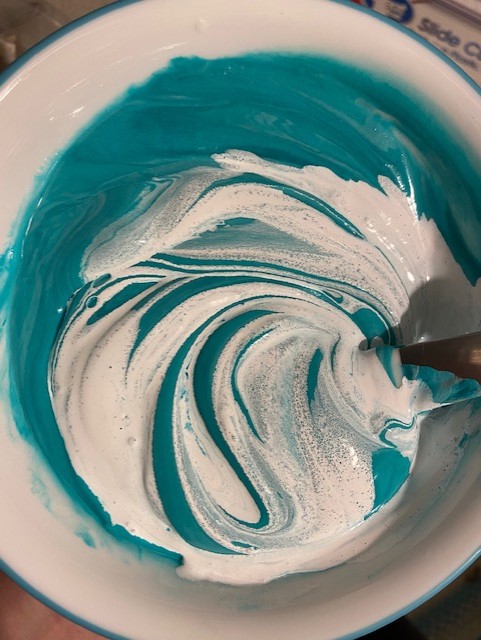
Awww. Look at it getting all soft and cuddly on us. Well, not literally ON us. Then we would be turquoise.
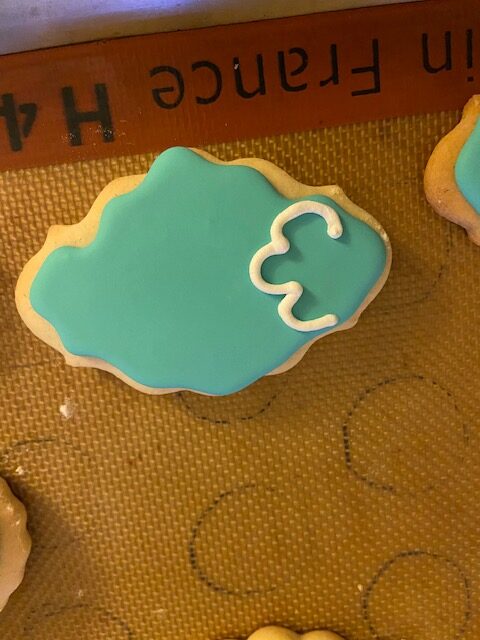
Once I got a shade of softer turquoise that I liked, I flooded my cookies and let them dry overnight. NOW it’s time for the fun part– the decorating! For this part I used (you guessed it!) white colored icing. I wanted the white to be extra crisp, so I put that strange white food coloring to work! 🙂 I want the icing to be thicker, also, than the turquoise icing– the white should be of decorating consistency, rather than flooding consistency. If you are new to royal icing and need a little help figuring out how to get the consistency right, check out my more detailed royal icing tutorial here.
Next, we are going to dress these ladies up by doing some royal icing brush embroidery. For this you will need a small paintbrush— one with soft bristles and a focused tip so that it doesn’t smear the icing.
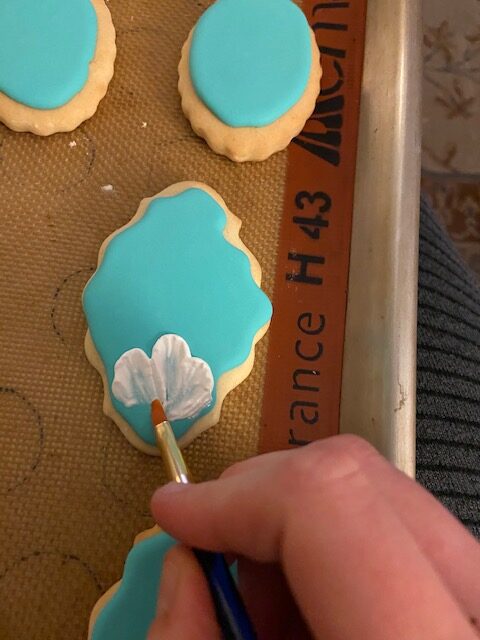
Start by making a line of icing in the shape of the outer petals. I used a Wilton tip 3 to make this icing line. Now the next part is a little tricky. You want your brush to be *just* moistened, but not at all wet. Confused yet? Basically, you want your brush just moist enough to drag the icing into a line of petals without tearing, but not so wet that it makes the icing liquefy. It may take a few dabs to get your moisture level just right, but eventually you will find the sweet spot.
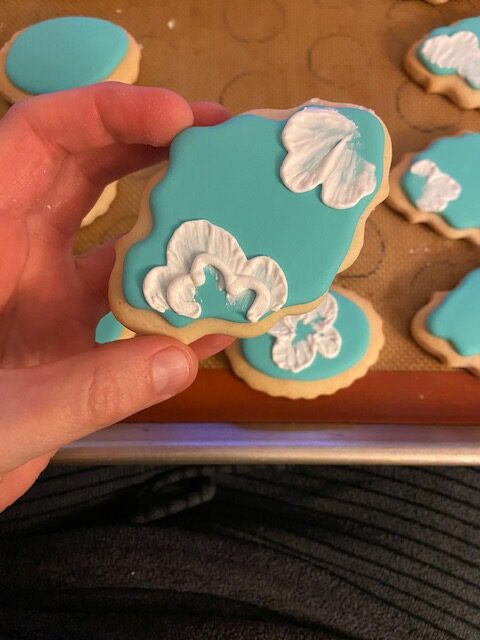
I personally have the best luck dipping my brush in water and then wiping it on a damp rag. That seems to get just enough of the water off without taking all the moisture out. I can use this amount of moisture for the entire line of icing before I have to redip my brush in the water.
Allow the first layer of “petals” to dry before starting the second (usually by the time I finish all the cookies’ first layers, the beginning cookies are dry enough to start the second layer). Then, of course, just go through the same thing again– drawing a line of thick royal icing, then using the barely damp paintbrush to “paint” down the icing into a petal shape.

Some of the larger flowers may need a third layer of petals, and the smaller ones may not. Basically just keep going until you cover up the entire flower area. The flowers don’t look very pretty yet, but don’t worry– we aren’t finished with their makeover yet.
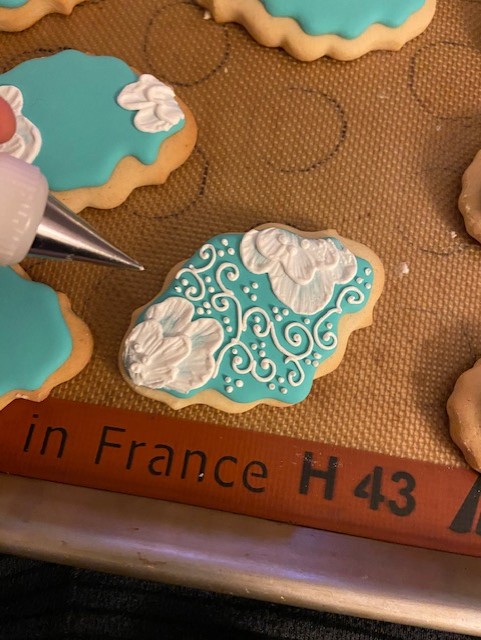
When you finish the petals, add a few pearls of icing to make the center of the flower. And now, your imagination becomes the star.
Ok, Ok. You are completely a star– not just your imagination. You’re welcome.
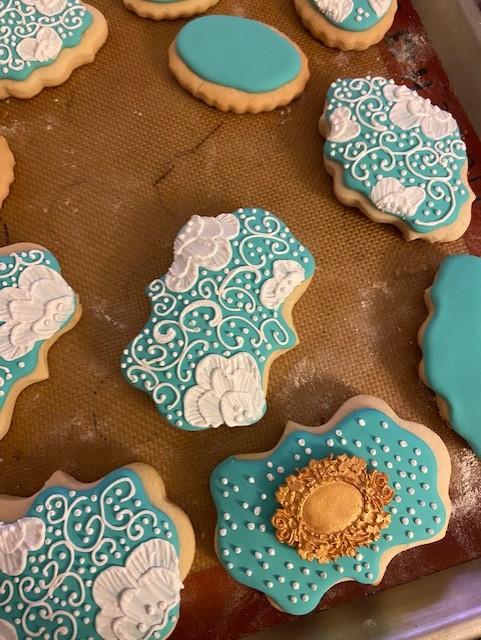
I did some fleur-de-lis type swirls and then a few series of dots. There really isn’t any way to do this wrong. Just relax and enjoy kind of “coloring” in the spaces and making lace out of icing. Pretty, isn’t it? Who needs adult coloring books when you can just pipe sugar shapes? Exactly. I knew you would feel the same way. Sugar trumps crayons every time. Plus you get cookies. You’re so smart. I love working with you.

You can make some nice little icing details on the edges too, if you like. The more piping you do, the more fancy the cookies look. Just be careful not to let the details run together by overpiping. The space between creates the lacy look, so don’t fill everything up completely.

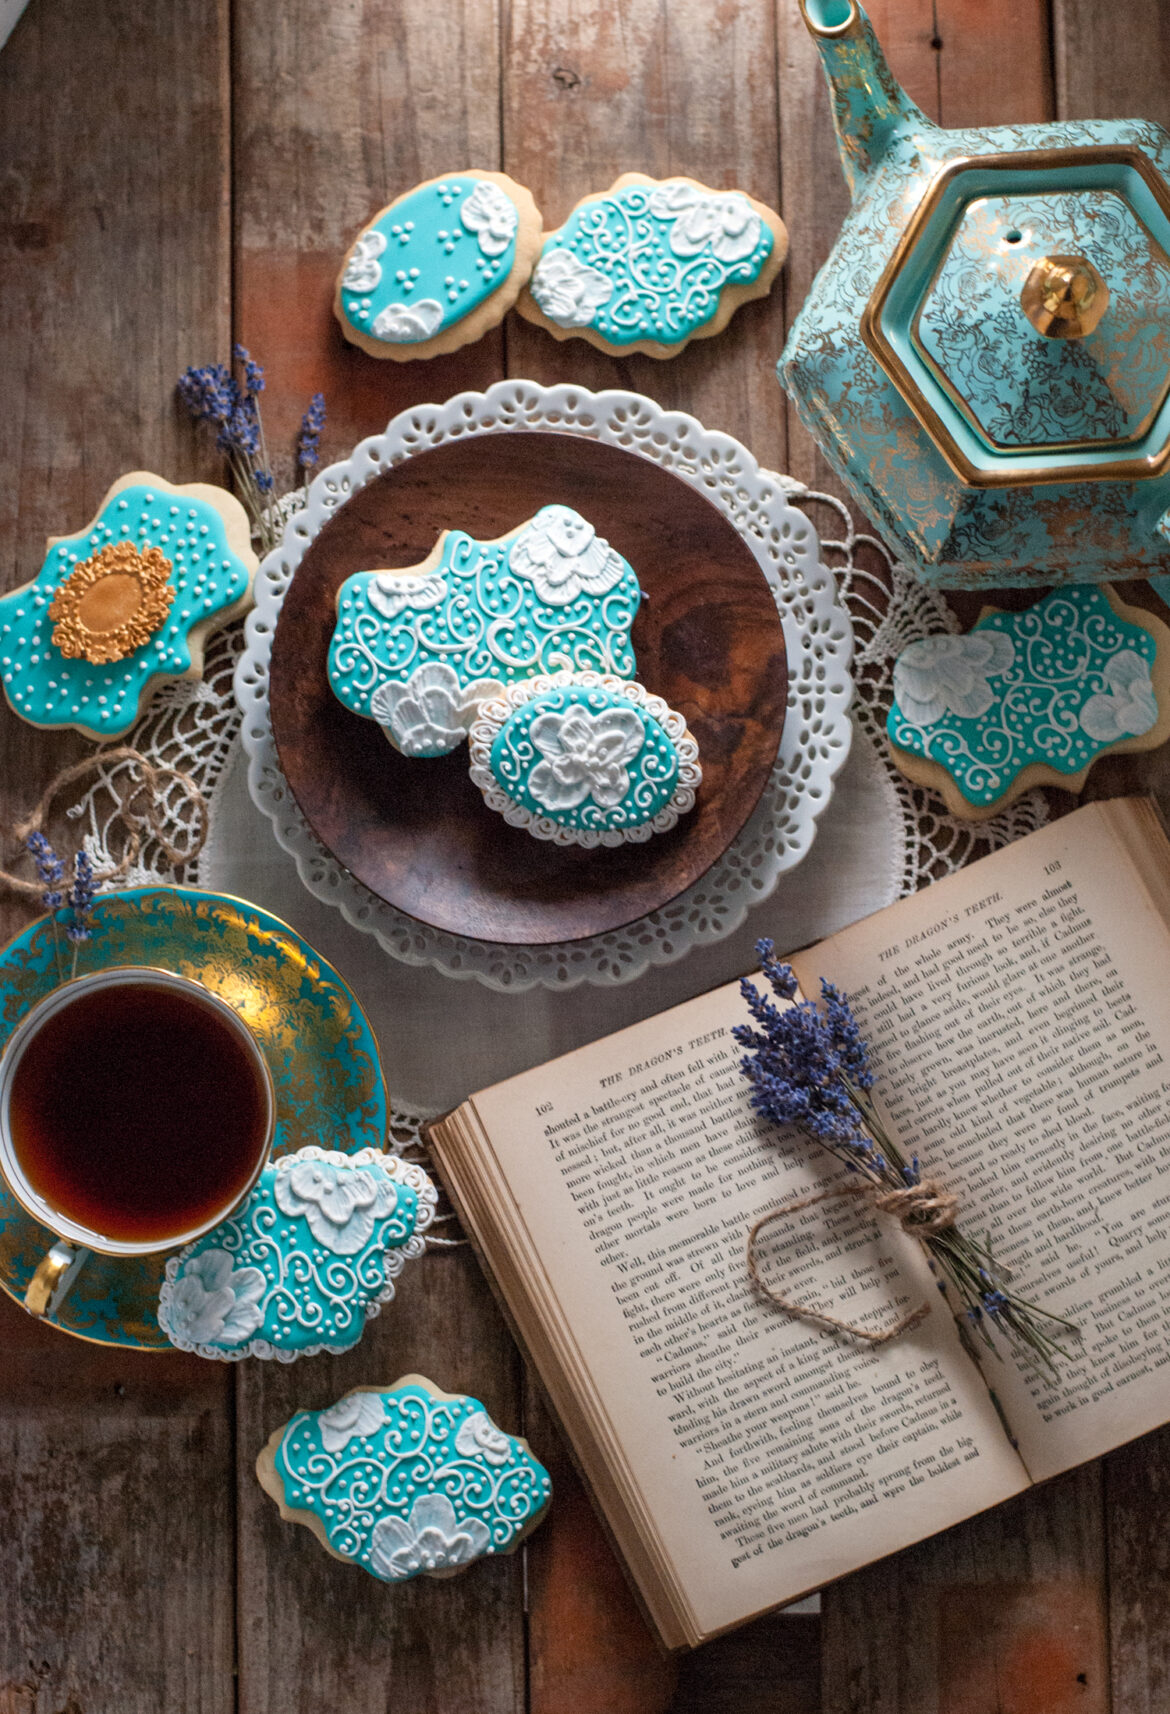
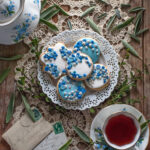
At that point let the cookies dry overnight. But of course, at that point, also plan yourself a pretty tea party. Invite your friends over and laugh and talk and have pretty cookies. Have some more cookies. Cookies with friends have no calories. I’m happy to let you know that secret.

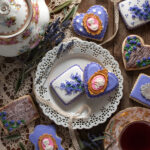
Sometimes it’s also nice to take some time for a little self care. Make yourself tea in a real china teacup, not your battered travel mug. Have an exquisitely beautiful cookie and read a book in the sunshine.

Make cookies to match your teapot. Pretend you are the queen.
Oh you ARE a queen. See? I knew it. I knew you were royalty, with cookies like this.
No wonder the cookies look up to you.

You did it. And I’m just so proud of you.

Disclosure: This post may contain affiliate links, which just means that we get a few pennies if you purchase through our link. I never recommend products that I don't personally use and love. Thanks!


These cookies are stunning. And your pictures are sooo gorgeous. You make me feel inspired to try this, you make it look so pretty. Lovely, just lovely❤️
You’re lovely.