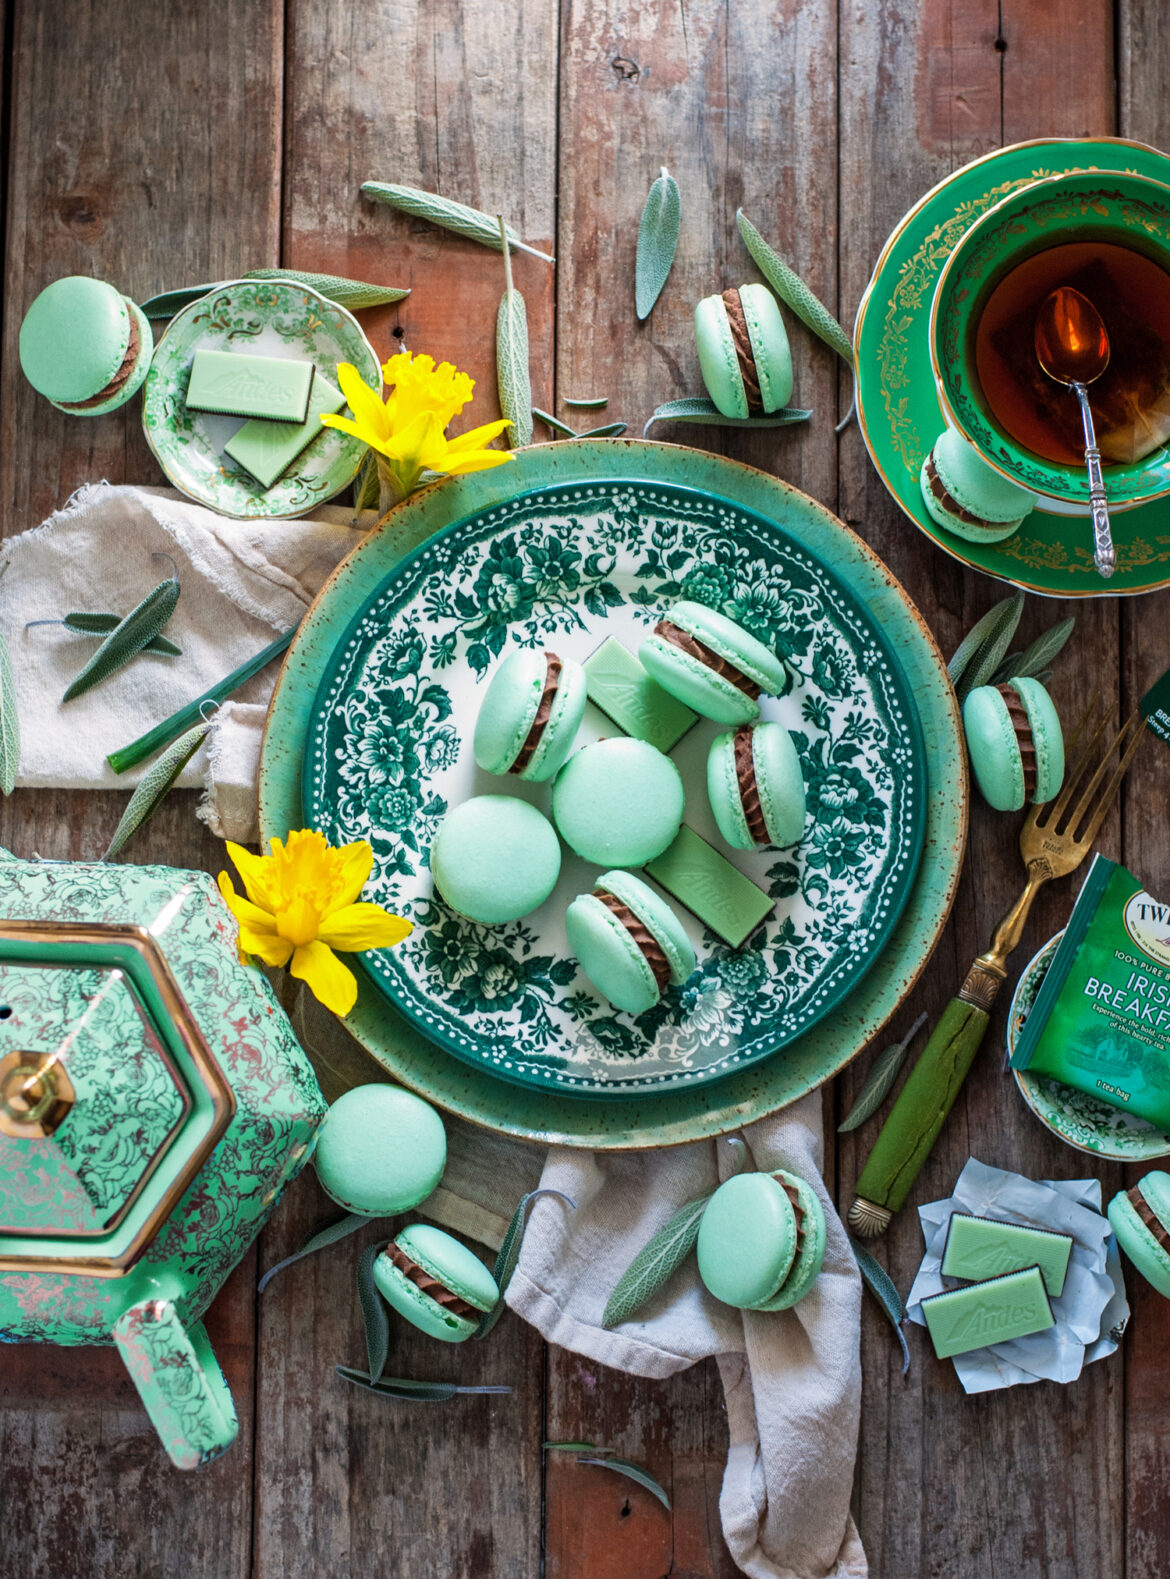
Ahhh, fair Andes mints– the mint candy that converted me to “Mint-ism” in the first place. With their soft, creamy, creme de menthe flavor, combined with delicious milk chocolate, there is really nothing not to love about these little green leprechauns. They are my favorite to use at this time of year.
Who says that the Irish never marry the French? Today, they will in Andes Mint French Macarons.
What are we waiting for? Let’s do this!
Andes Mint French Macarons
Macaron Ingredients:
100 g. egg whites
1/4 tsp. cream of tartar
50 g. white sugar
200 g. powdered sugar
110 g. almond flour
Leaf Green and White Food Coloring Gel, optional
Andes Mint Ganache Filling:
1/2 cup heavy cream
1 cup chopped Andes Mints chocolate candies
Directions:
Whip room temperature egg whites, cream of tartar, and white sugar with the whisk attachment of yourstand mixeruntil the whites reach stiff peak stage. Meanwhile, pulse your almond flour and powdered sugar in afood processor
until the mixture is well combined. Sift your almond flour/powdered sugar through a sieve and throw away the pieces that are too large to pass through the sieve. When the whites have whipped into stiff peaks, fold the almond/sugar mixture into the whites gradually and carefully until they reach proper “macaronage.” Place 2-3 drops of gel food coloring into the batter and swirl gently before carefully pouring into a piping bag. Pipe meringue circles onto asilpat
using a template, if desired, and slam the cookie sheets several times on the counter to dislodge air bubbles. Allow circles to dry for 20 minutes before baking at 300 degrees for 20 minutes, one sheet at a time, in the center of the oven (move oven racks, if necessary). Do not open the oven until the 20 minutes are up, and use an oven thermometer for best results. When your macarons are done they should feel “firm on their feet.” If the macaron shells are soft or crack when gently touched, bake for 2 more minutes and test again until they are firm on their feet. After baking, remove entire silpat to cooling rack and allow shells to cool, completely, before removing them from the silpat.
To make ganache filling, warm cream over low heat until it has small bubbles along the sides (but has not boiled). Stir in chocolate chips just until melted. You can also use the microwave, stirring after each 30 second heat. It should take roughly 1-1.5 minutes for the chips to be warm enough to melt when stirred. Allow warm ganache to chill in the refrigerator until it reaches the consistency of caramel sauce. Whip with the whisk attachment of your mixer until the ganache is fluffy and then chill again until it reaches a pipeable consistency. Fill cooled shells with circles of whipped ganache. Freeze finished macarons in an airtight container in a deep freezer. Remove from the freezer about an hour before serving.
Now, in pictures! ?
Ahhh, fair macaron. You are perhaps the most difficult, most maligned villain of the pastry world. And how did you get this dastardly reputation, I might ask? Well, I’m not one to pass blame, but I think it all started with egg whites. *thunder and lightning crash in the background*
In the old days (you know– before cable TV), chefs used to age their egg whites for weeks, sometimes, before making macarons. The idea was that the egg whites would liquefy and become one liquid during the aging process, instead of remaining clumps of individual egg white blobs. It was also thought that letting egg whites sit would dehydrate them slightly, making them easier to use (and not too wet). I’m sure that this technique worked to a point, but just imagine. You are trying to learn to make macarons. You wait 2 whole weeks, watching those egg whites like a hawk. Then you try and fail. Two more weeks to wait. A person could waste a lifetime using this method.
I use cartoned egg whites. I know, I know. Every book says “No, no this is a travesty!” I even had a chef friend who sneered at me for using “the easy way out,” but now she does it too, on the down low. Cartoned egg whites always work just fine for me.
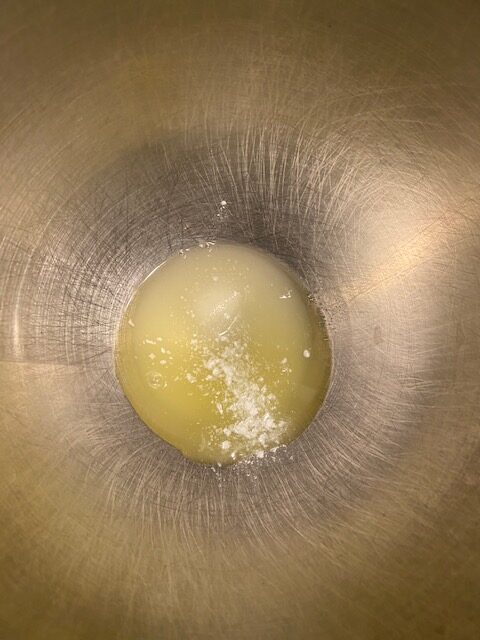
Put your egg whites, white sugar, and cream of tartar (this just helps stabilize the egg white) into the bowl of your stand mixer and use the whisk attachment to start whipping these babies into stiff peaks. More on that in a moment.
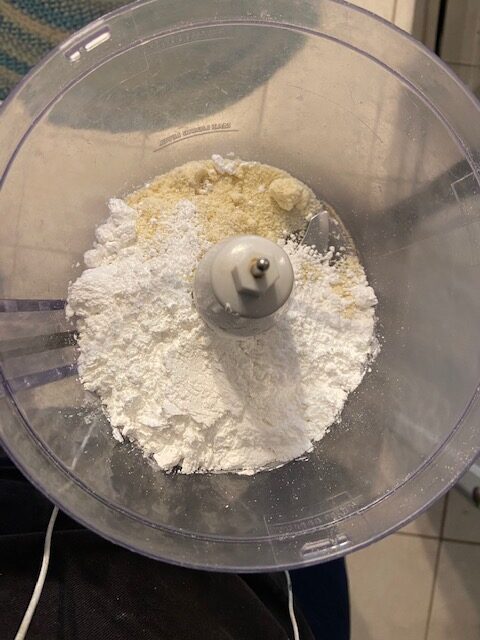
Another thing that used to trip me up in the beginning of my macaron making journey was all the little extra nonsense steps (nonsense, or so I thought). For instance, all the old recipe books say to blend together your almond flour and powdered sugar in the food processor.
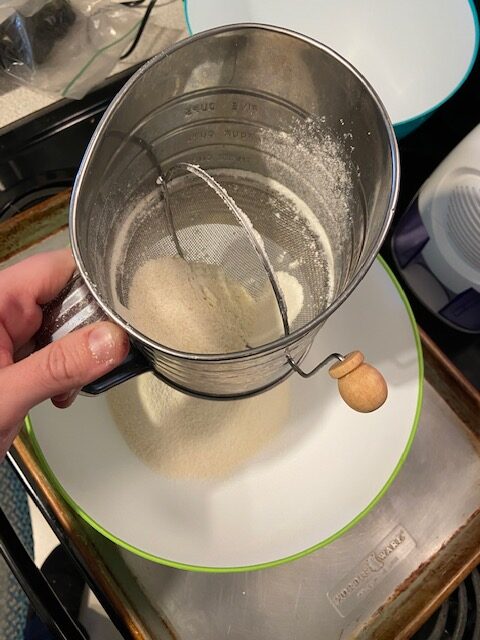
Then sift this mixture. Actually, Paris macaron master Pierre Herme sifts his mixture 3 times. Does anyone even HAVE a sifter anymore? I used to skip these steps, and I had so many problems. My macarons were uneven. My macarons had macaron acne. It was bad.
Don’t sneer at the French when it comes to pastry. They do perhaps everything well except for manners (and even that is improving, given my awesome experience on my recent trip to Paris). Trust them when it comes to dessert. Sift three times. It’s the macaron version of Proactiv.

Now let’s get back to those egg whites. While you were grinding your almond flour and powdered sugar together, and then dutifully sifting three times so that your girls can have a beautiful, smooth face, the mixer was going to bat for you. You want to stop whipping when the egg whites hold a peak when you pull the mixer out of the bowl. The little “egg white tail” should stand up fairly straight and not bend. And this description used to trip me up. People said “It shouldn’t bend,” so I would whip and whip until I broke the egg whites (liquid mess. No Proactiv will help at this point).
Your egg whites WILL bend at stiff peak if you dig the whisk around in the bowl and turn the whisk upside down. This is called the “Birds’ beak.” See how the peak is actually quite firm, holding the beak up and away from the whisk? It should be shiny and glossy and firm. Personally, though, I find it easier just to lift up the mixer head. If the egg white trail remaining in the bowl stays straight up, then you’re good to go. No need to dig around in the bowl and try to make birds’ beaks. What are we– Sesame Street? No big birds needed here. But I did want to clear that up, since sometimes people get confused when they hear “stiff peaks don’t bend.” I mean, these guys aren’t made out of iron. They will swoop over if you turn them upside down. But basically they are stiff and will stay straight when you first lift the mixing head out of the bowl.
Ahhhh now for the most difficult part . . . the part that has foiled would be macaron masters for decades. Le Macaronage. Macaronage is, at its heart, knocking *just* enough air out of your egg whites that they hunker down comfortably and don’t get bubbles of air inside them, but *not* so much air that they deflate like pancakes during baking. Not too much; not too little. Ruined if you stray a fraction of an inch in either direction. Simple, right?
Knowing the difference between “too much” and “too little” will be what sets apart the macaron master from the macaron mess. And sadly, the only way you can get it right is to practice so much that you know it by heart. Sigh. I know. Nothing good ever comes easy, does it?
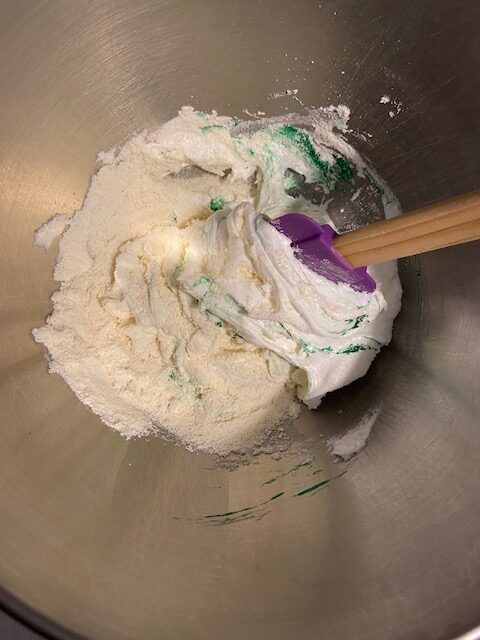
To begin with, add a few drops of your chosen color (I use Americolor gels), and then add the powdered sugar/almond flour mixture in 2-3 “adds.” Use a spatula to slowly mix the dry ingredients into the egg whites.
When you have your ingredients fairly well combined . . . take a deep breath. Here comes the macaronage. This step will make or break your macarons. So go slowly and carefully.
Use your spatula to kind of “smoosh” the batter against the side of the bowl. It will make kind of the sound that foam soap makes as it goes on your windshield at the car wash. It will be kind of a soft “thhhhhh” sound. When you get the batter all smooshed out, gently scrape it all back into the center and do it again.
So . . . how do you know when to stop? Why, I’m so glad you asked.
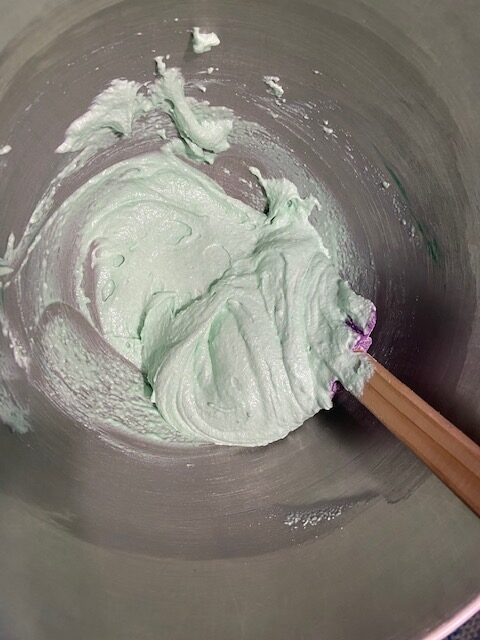
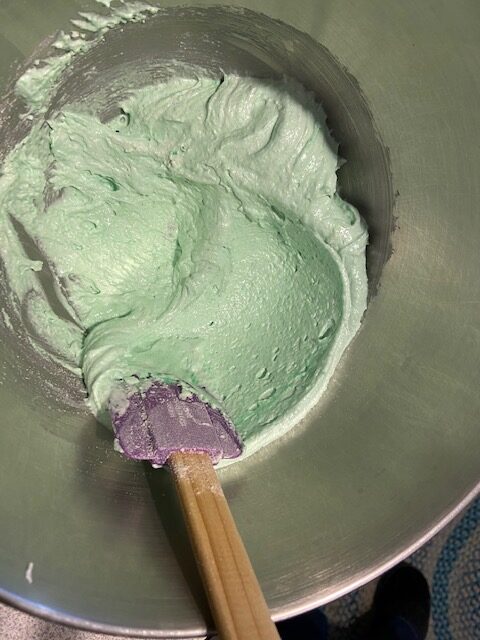
When you scrape the “smooshed” batter into the center of the bowl, it will start to look kind of soft and glossy. Watch very carefully now, because this is the spot where you are getting close to being done. You don’t want to overmix, and you don’t want to undermix. Keep a steady hand here. I’m going to show you how to know when you have done enough macaronage, and it’s safe to stop.
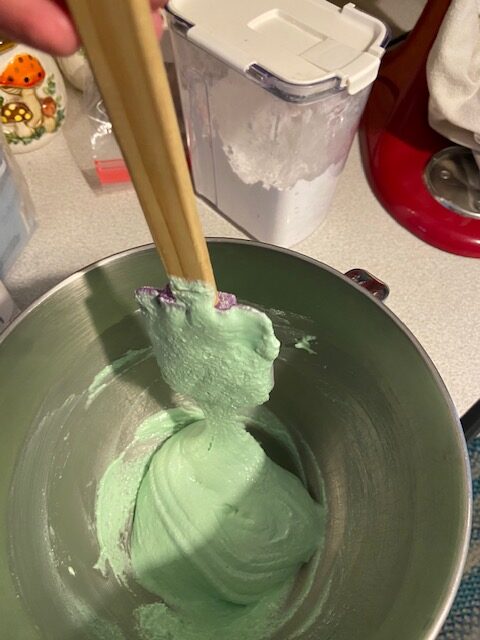
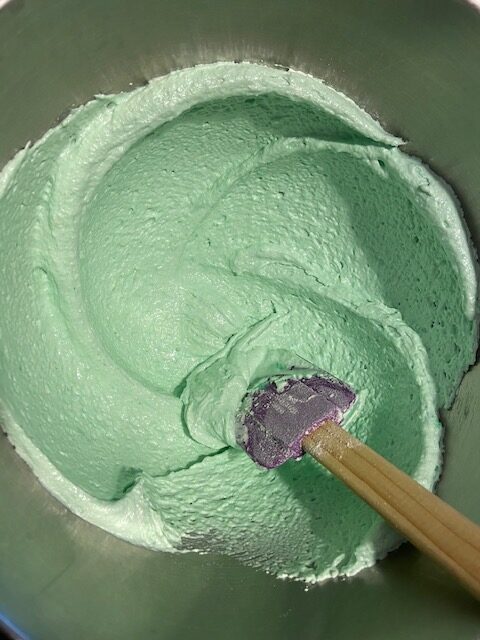
This. This right here is when you’re done. Your batter should flow, kind of like honey, off the spatula. When your batter is the consistency of honey, stop mixing. Again, this will take time to get exactly right. Even one too many or too few turns will mess it up. If you undermix, your macarons will have macaron nipples. Sorry– it’s true. They will be too stiff to settle down into smoothness.
If you overmix, the shells will be flat as pancakes. So stop when you get to honey consistency.
And if you’re freaking out and hyperventilating at this point, just remember this . . . your macarons will taste good no matter what they look like. I have eaten a lot of ugly macarons, and your tummy won’t know the difference. So keep practicing and eating cookies. Call it work. Eating cookies equals work. You’re a genius. I love working with you.
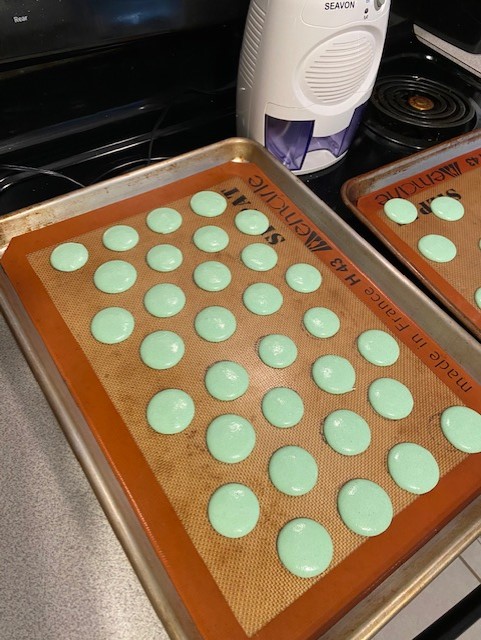
When your batter gets to the “honey” consistency, pipe your batter into circles on a silpat mat. Sometimes I use a circle template to pipe the circles fairly consistently, but after a while you can pretty much make them the same size without a template. Again, you just do it enough and your hands start to get the feel of it.
Since I live in muggy, buggy Virginia, I have learned to use a dehumidifier to cure my shells before they go into the oven. What? Cure the shells? Do they have a disease or something? Why are we curing them?!
Curing the shells just means that the shells will be tacky to the touch before you put them into the oven. If you throw them right into the oven right after you pipe them, then the tops won’t be dry, and the shells will crack when the meringue inside them expands because the tops won’t be strong enough to hold the expansion inside the cookie.
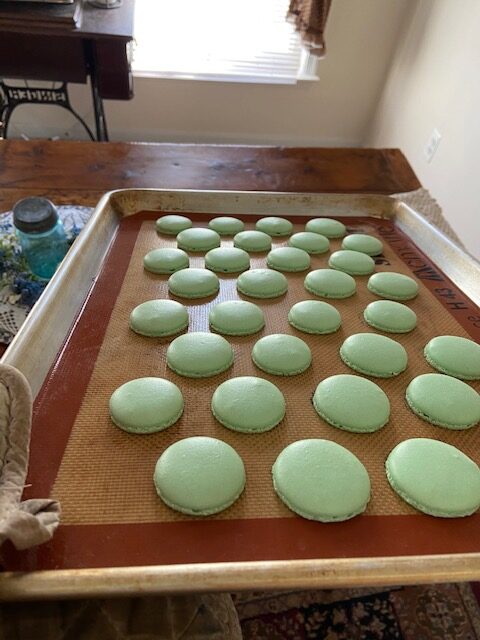
When you let them rest 20 minutes or so before baking the tops of the shells form that skin, and then they have a perfectly smooth top when they are finished baking. See? I knew you could do this. You’re so smart.
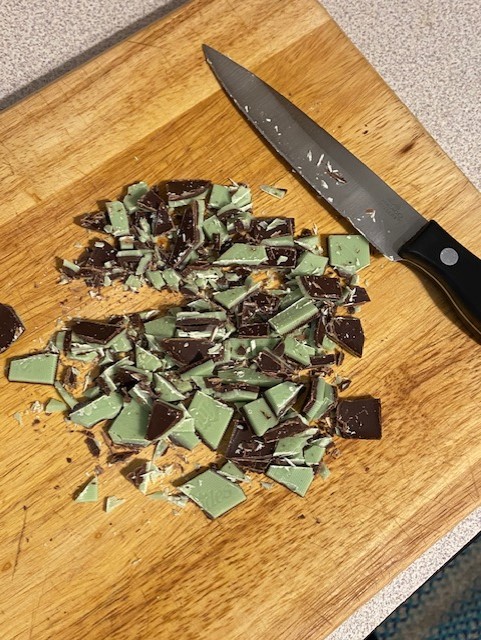
Bake your shells, and while they are doing their macaron thing, go ahead and get started on your filling. Roughly chop 1 cup of Andes mints. Come on. I know you’ve always wanted to do that. Feeeeeeel the powahhhh. Crunch, crunch, crunch. Oops. That one was a spoil of war. *pops one mint into mouth*
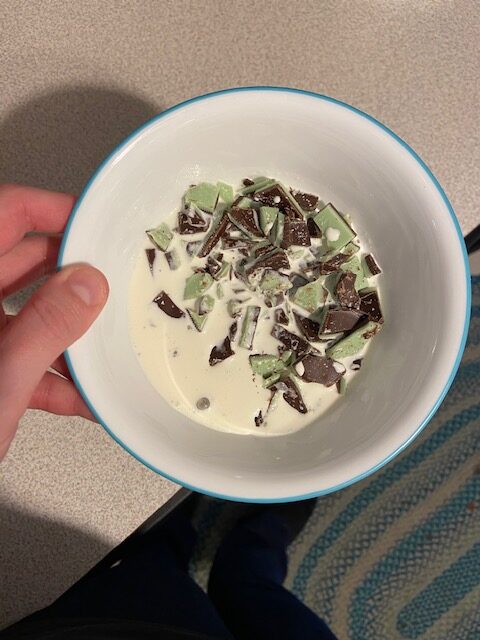
Add your heavy cream and heat the mixture in the microwave in 20 second increments, stirring after each heat. It won’t take much– you don’t want your ganache to be hot– just warm enough to melt the chocolate. Think “pleasantly warm.” You don’t want your cream to scald. The melting process usually takes me only 1-2 heats in the microwave to get the cream warm enough to melt the chocolate.
Just keep stirring; just keep stirring.
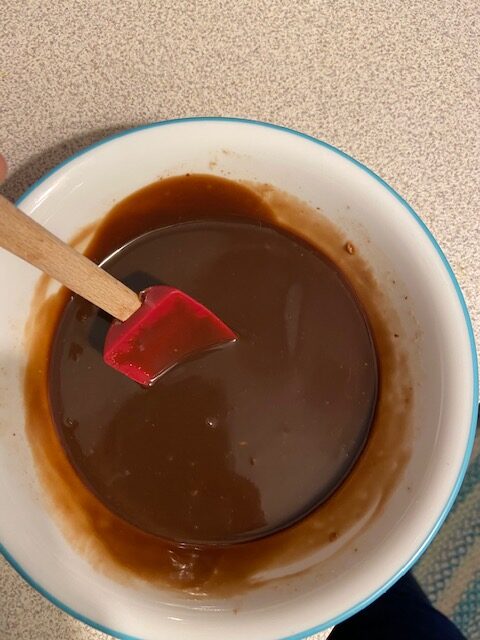
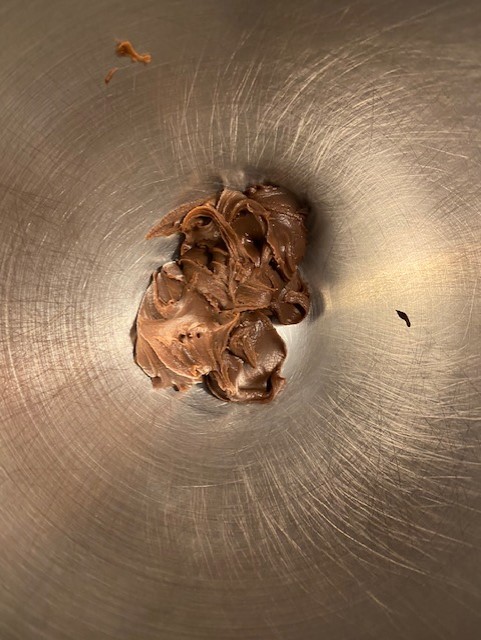
When your chocolate has melted together with the cream (again, this just has to be warm– it shouldn’t be hot), place your dish into the fridge. This step might seem counter-intuitive. I mean, didn’t we JUST heat this stuff up? Why are we cooling it down?
Well, we needed the mixture to be warm enough to melt the chocolate, but we didn’t get it too hot. That’s because we are going to whip the ganache, and our chocolate needs to be cool to do that.
I like to let the chocolate chill for 5 minutes or so, then stir. Five minutes, stir. When it gets to the consistency of cake icing, then you’re good for the next step.
Put your chilled ganache into the bowl of your stand mixer. Think deep, intelligent thoughts.
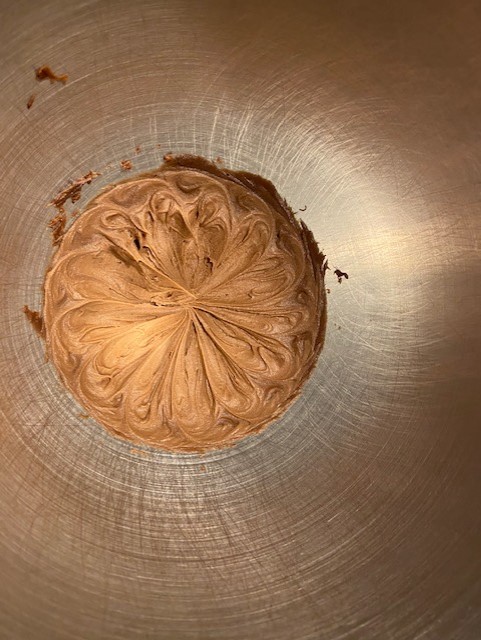
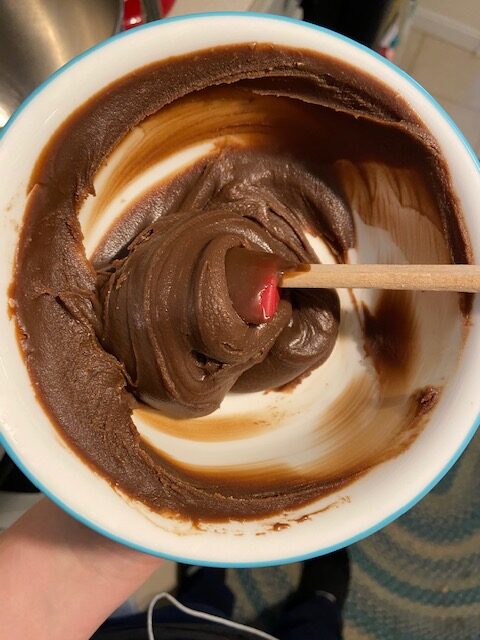
Use your whisk attachment to whip the ganache for a minute or so, until it turns lighter in color and gets a little bit fluffy, and, well . . . whipped.
(Hey. Did you hear the joke about the ganache husband? His wife was tough and he was whipped. *snort*). Ok sorry that’s not funny. Ok it was kind of funny.
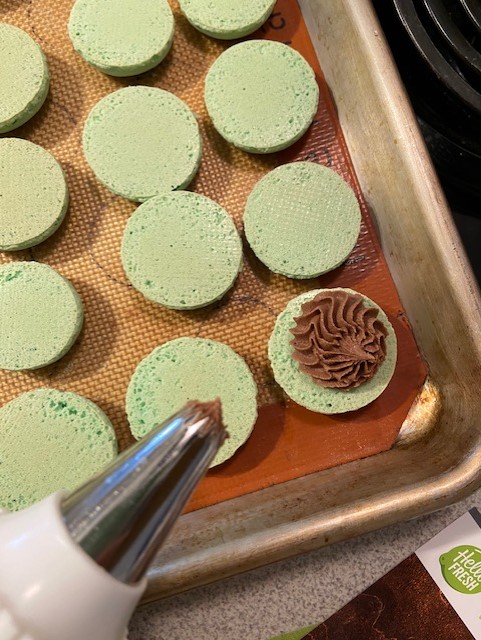
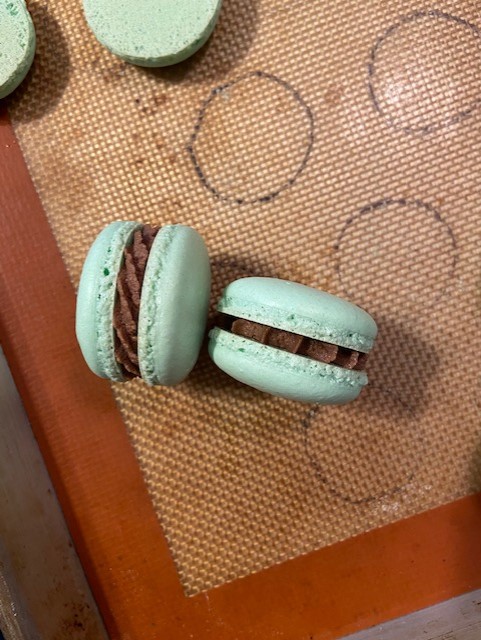
Use a cupcake tip to pipe pretty little circles of whipped ganache onto your macaron shells (one side only). Make sure that you leave a little “breathing room” around the outside of the shell, so that when you put the top shell on, the ganache will smoosh just to the edge and not overflow the sides. Nobody wants a macaron with its guts spilling out. Leave room for expansion.
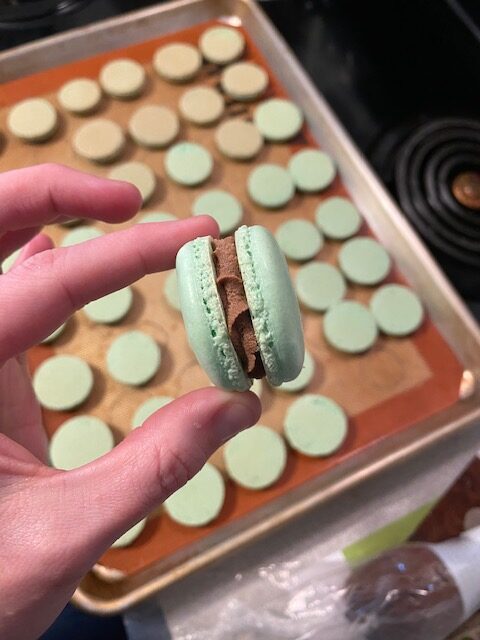
Take a similarly sized shell and gently twist it onto the “loaded” bottom shell. Voila. You did it. I knew you could. I never doubted you for a second. (Then again, after the way you whipped that ganache I wasn’t about to disagree with you on anything).
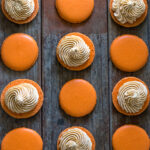
Just a small note while I’m thinking of it . . . I wanted to show you the difference between when you rotate your piping tip (left) vs. just put it down, squeeze the ganache, then back up. The differing piping technique makes a little difference in the finished macaron. This is not HGTV, but choosing your finishes is just one more service we offer. You’re welcome.

Put your finished macarons in a covered container in the fridge. Ideally, macarons should “cure” for 24 hours. This waiting time just gives the shells and the centers time to get acquainted and absorb the flavors of each other. A perfect macaron has an almost nougat-like consistency– it should not really have any “crunch” that you would get if you ate it right away.

Another great thing about letting the macarons in the fridge overnight is that the ganache hardens completely, which allows you to stack those macarons all nice and pretty, without their fillings getting gooey and running everywhere like politicians seeking office.

It also helps your beautiful little swirls to stay intact. You’re a genius. I love working with you.

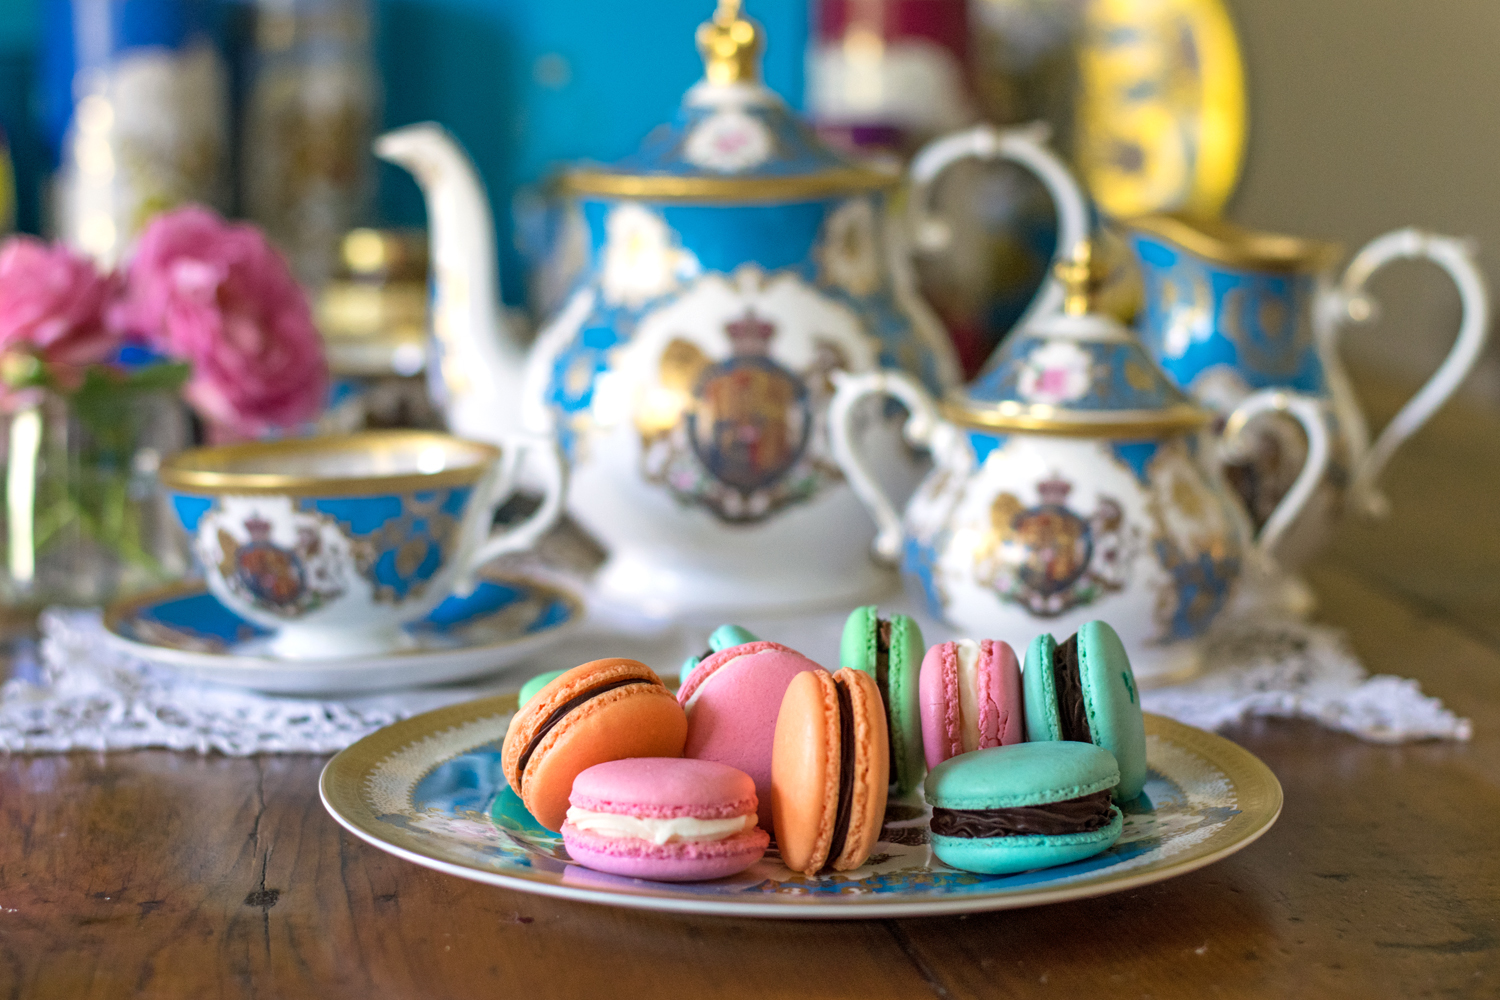
Also, in the event that you decide to throw a pretty spring tea for your girlfriends, your beautiful little macarons will even sit up prettily on the plate, making your entire spread look classy.

And thanks to you, no macaron acne to be found. They wanted me to tell you that they’re grateful. No one wants to attend girlfriend tea with acne on her pretty green face.
You did it. And I’m just so proud of you.

Disclosure: This post may contain affiliate links, which just means that we get a few pennies if you purchase through our link. I never recommend products that I don't personally use and love. Thanks!


I’m not only floored by how perfect your macrons are, but that photo layout is stunningly gorgeous. Mint and chocolate… I have to try and make these but I have always been afraid my macrons would flop.
Awww. Your words have made me blush and smile. You made my day! Give Macarons a try– if you need some help I’m right here to offer advice and troubleshoot! 🙂 You’ve got this! 🙂 –Emilie
I just love that you hoarded your mints from the Olive Garden then transformed them into beautiful little works of art. I wish I could come to tea at your place. Good job! So beautiful❤️☘️
haha I don’t like to waste!