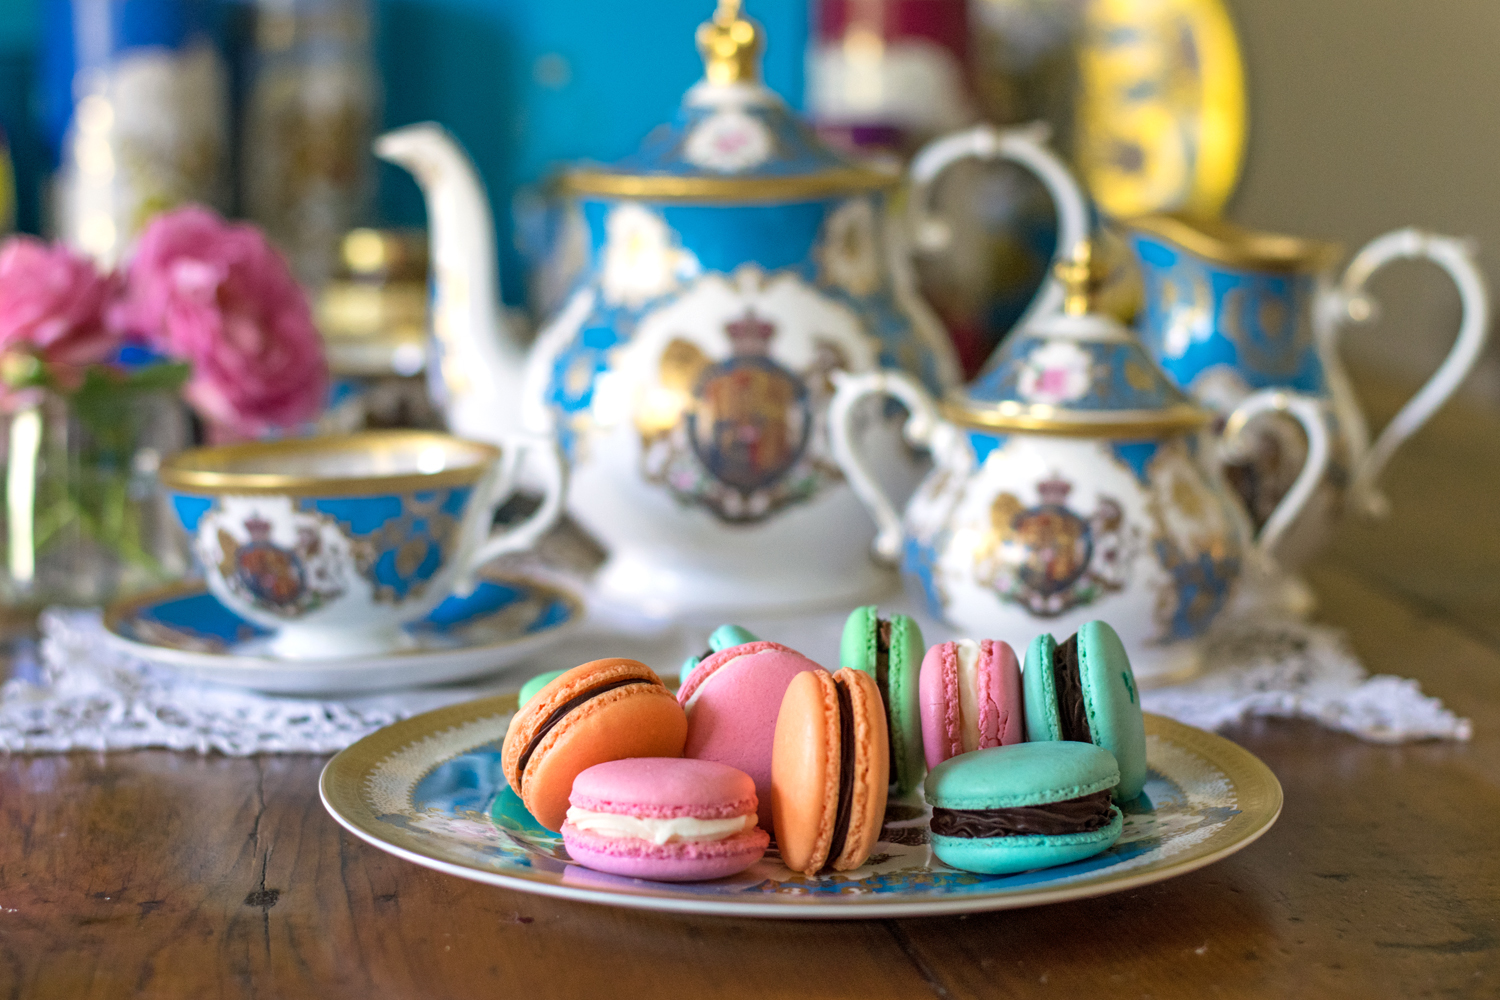
Wait. Camo cookies? No. CAMEO cookies. You know– those necklaces or brooches with the pretty little pink ovals with the lady’s face inside? The one your grandma wore to church on Sunday? Yes. These are the beautiful antique cameos of yesteryear. And an edible version makes a gorgeous cookie. So curl those pinkies and let’s have a fancy tea party!
What are we waiting for? Let’s do this!
Cameo Cookies
I thought, since we were at it, that we would make some matching reclaimed barnwood cookies too. It IS yesteryear, after all. You don’t mind, do you? Excellent. More cookies for you. I like the logic.
To make cookies that look like wood, you will need
- An advanced engineering degree
- A brain twice the size of the rest of humanity
- A death wish
- A sense of humor
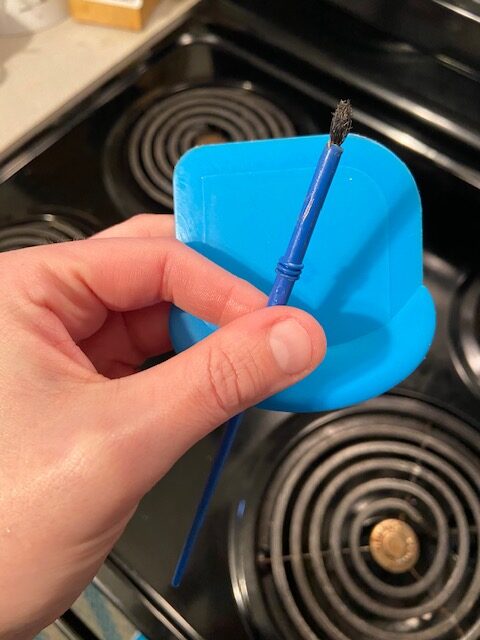
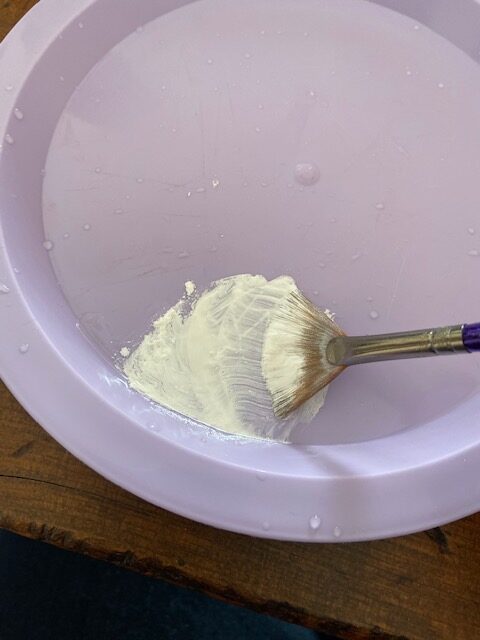
Actually, you won’t need any of those things, except perhaps the sense of humor. But your task will be made much easier if you have something to make thin lines with (I am using a cast iron pan scraper) and a cheapie paintbrush
that you have oh-so-carefully (not really) carved (aka, cut quickly with scissors) so that it has a little bit of a blunt, rough edge to the bristles. Basically make it look like your 5 year old cut this, and you’ll be in the right neighborhood. You’re welcome.
This is also a time where you can use up the week old royal icing that is almost not good for decorating anymore because it has those hard clumps of sugar in it. Yep. Perfect. Lumps equal wood grain. You’re so smart. I love working with you.
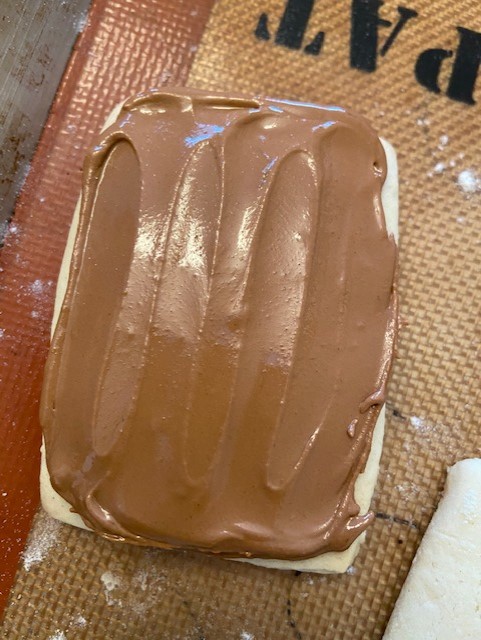
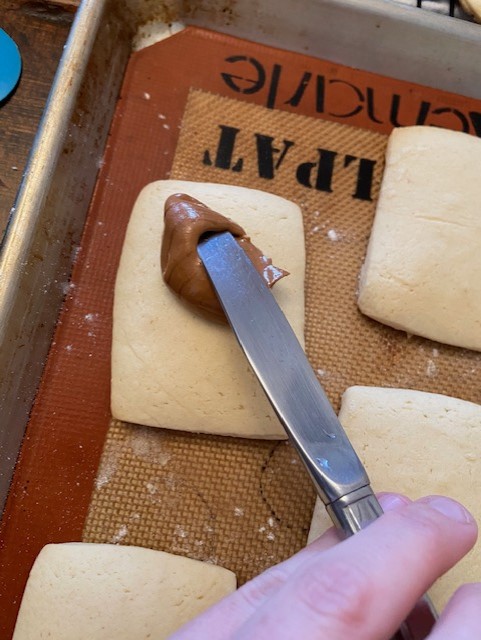
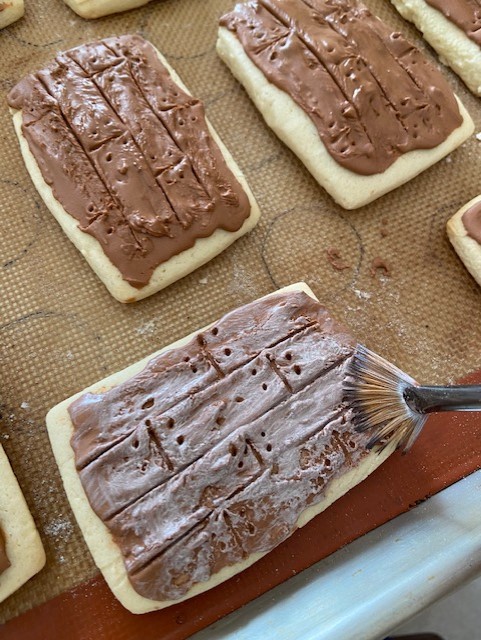
Spread some very thick brown royal icing on top of your cookie. It doesn’t have to be fancy, or perfectly straight. (Five year old cutting skills earlier . . . Icing doesn’t have to be straight. See? Anyone can do this).
Let your cookie dry for about 5 minutes until it “looks” dry. Of course, being the genius that you are, you know that royal icing is deceptive in that it forms a skin like ice on a lake, but there is still liquid icing lurking underneath. That’s what we are counting on.
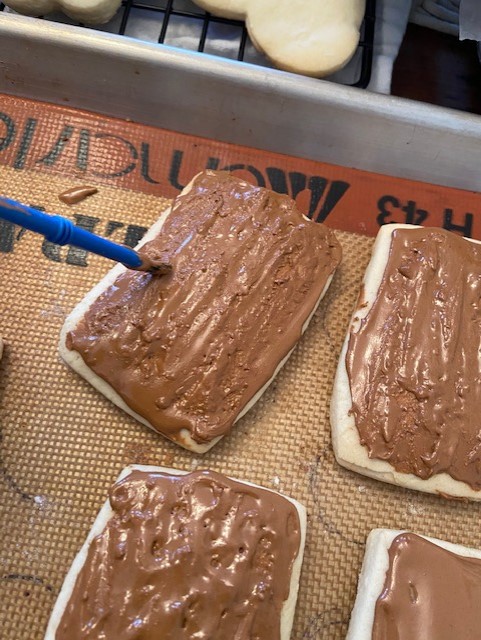
Take your big, bad cutoff paintbrush and gently rough up the surface of the cookie. You want the surface to be almost dry– so that your roughing up changes “stick” instead of fading back into smooth icing. If your icing starts to smooth out, wait a few more minutes for it to dry out a bit more and then mess with it again. There is no right or wrong way to do this– you basically just want some texture. I got the best results “pouncing” along the top of the cookie with the paintbrush when my icing was semi dry.
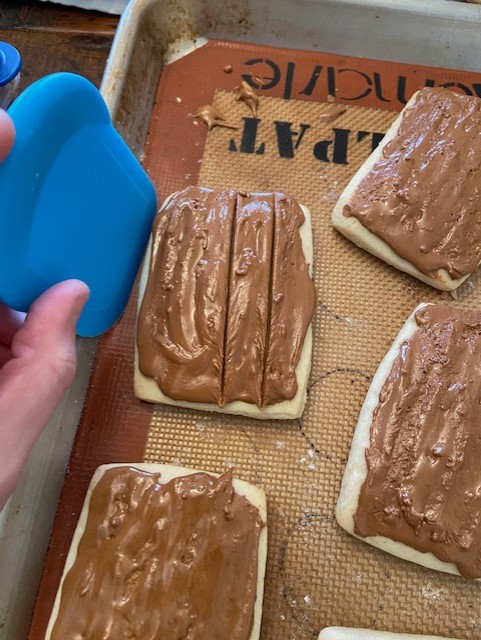
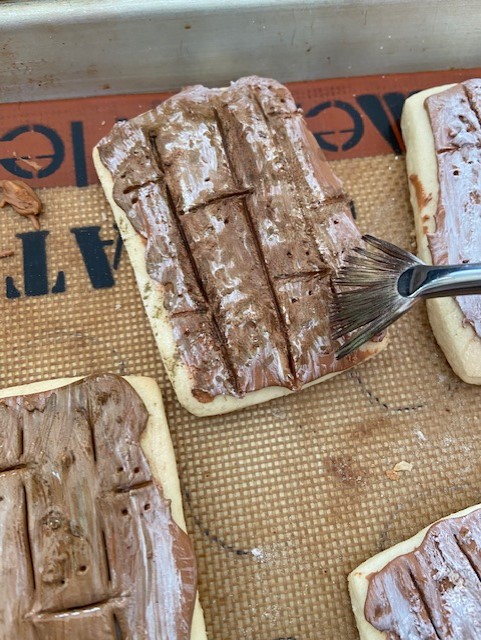
Let the cookie dry another few minutes. Basically, by the time you finish “roughing up” the entire batch the first ones should be dry enough for this next step. Take your scraping tool and gently place it down into the icing to make lines where you want your board lines to be. I did 4 “boards” per cookie, but of course you can make as many (or few) lines as you like.
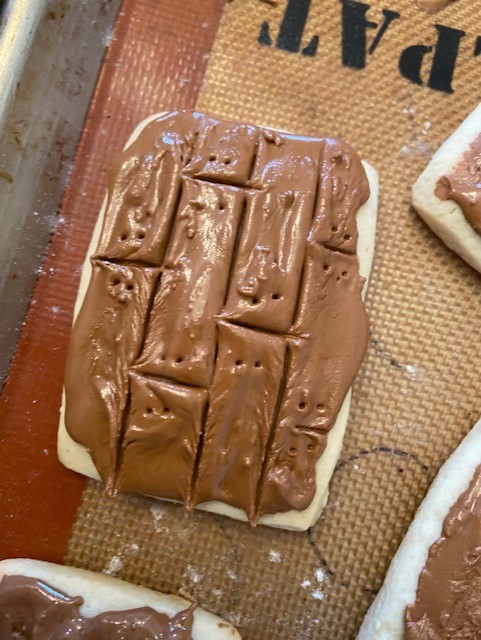
I used a toothpick to poke some “nail holes” against the end of each of my icing boards. Again, totally personal preference. You can leave this out if you like, but I thought it looked neat.
Let the cookies dry for several hours or overnight before you start the next step. That way you won’t destroy all that beautiful texture you worked so hard to create.
When your cookies are completely dry, get out some white gel coloring, some vodka, and a fan brush
. The vodka just helps to thin down your color so that you can apply it more like watercolors (not big blobs of paint– more of a “suggestion” of paint, as a worn out board would have). The vodka will evaporate in a few seconds, so no need to worry about the cookies tasting like alcohol. I like to mix one drop of food gel with about 3 drops of vodka. You may have to reapply the alcohol to your paint palette a few times as you paint– because it evaporates quickly during your painting.
It takes some experimentation to get the color level exactly right. You want just a hint of white– you don’t want to paint completely over the brown underneath. Sometimes I use the same brush for 2-3 cookies, and as I run out of color on my brush each cookie gets lighter. I love that they are all different and truly do look weathered, as if the paint has been there for years and worn away.
This part is personal preference as well, but when my white layer dried, I did the same trick with brown food coloring gel and kind of “darkened” the board lines and the spots that seemed too white. I just gently dabbed so that, again, I could see the other colors underneath. There is no right or wrong way to do this, and the more cookies you do the more you decide how much coloring you like best. Just experiment and add color slowly. Remember– you can always add more color if you want to, but you can’t take it off once it’s on there. Use a light touch.
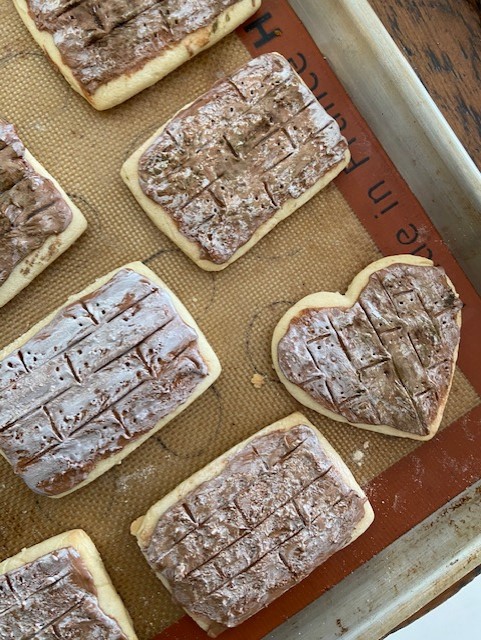
Voila. I loved the different “paint levels” of each cookie. I think my favorite turned out to be the heart. My eye was drawn to it, but I’m not sure if that was because of the color or because of the shape. 🙂 But it was my favorite.
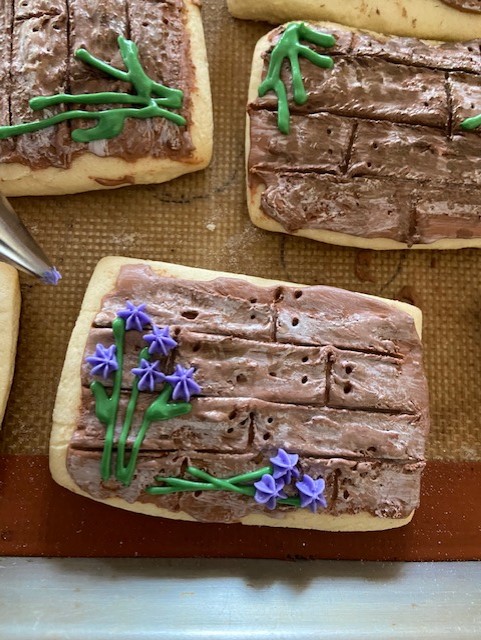
Let your cookies dry completely and then add some “shabby chic” flowers and leaves for decoration. I did some simple bouquets of wildflowers using a 2 tip for the “grass” and a small Wilton star tip
for the flowers.
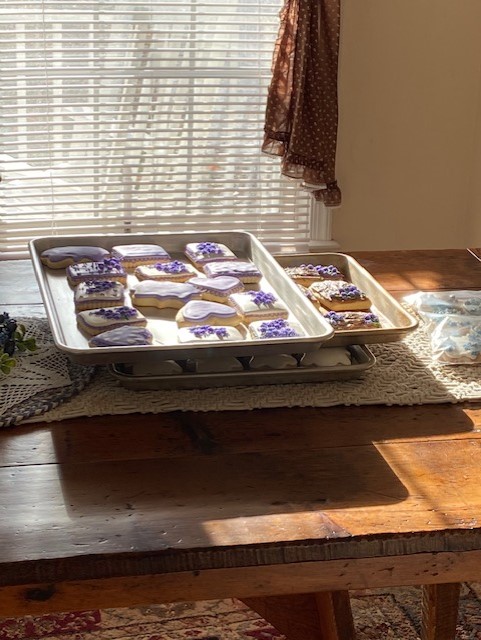
Let the cookies dry on your dining room table in the sunshine and feel like a baking goddess. You deserve it.
NOW, finally, let’s talk cameos. I was brand new to fondant molds until my dear friend Nancy introduced me to them. Fondant molds are kind of like the mascara of the baking world. They just make everything better– and it doesn’t take much to make a difference.
I am using these fondant frame molds. You will also need fondant
, obviously, and a paintbrush to apply cornstarch so that your fondant doesn’t stick to the mold.
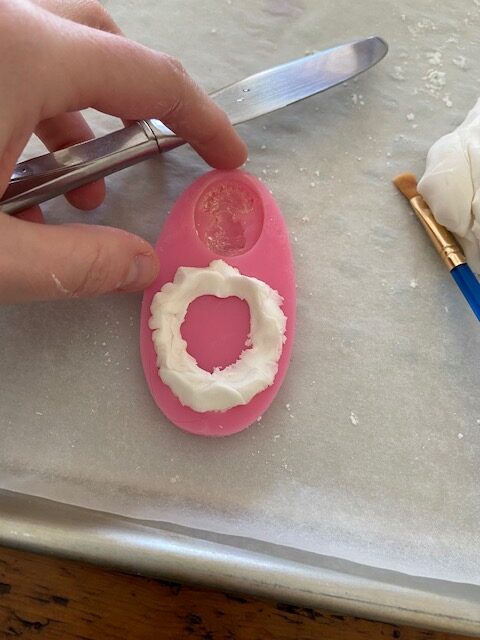
The key to using fondant molds successfully is making sure that you dust the mold super well with cornstarch before you start. Think of cornstarch as the baking spray on the cookie sheet. You need it. You just do. No sticking on my watch . . . er, molds.
Also, make sure that you don’t put too much fondant into your mold. Use a butter knife to gently scrape away all the extra from on top, then press the fondant completely flat against the mold.
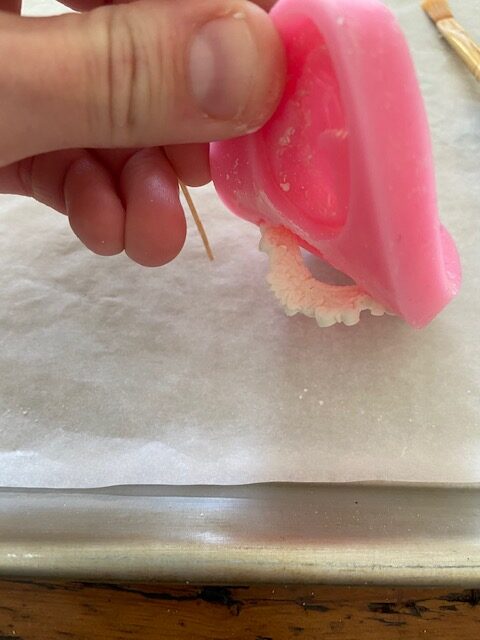
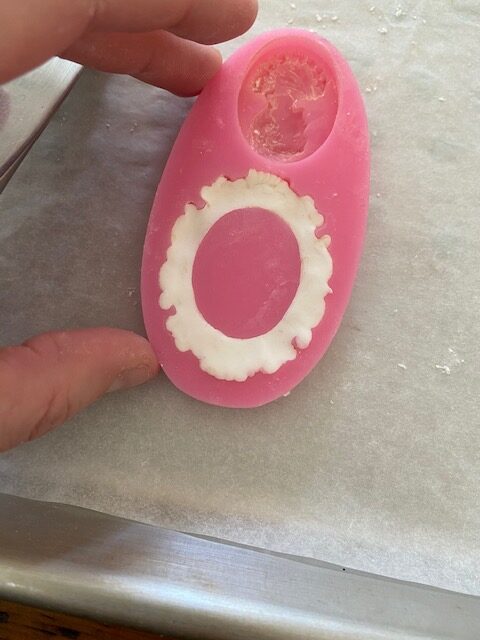
Pulling your creation out of the mold is not for the faint of heart, but no fear. Use a toothpick and super gently ease it out. If you mess up just re-apply cornstarch and mold it again. And you thought those play-dough skills would never come in handy. Tsk tsk. You’ve been training for this your entire life.
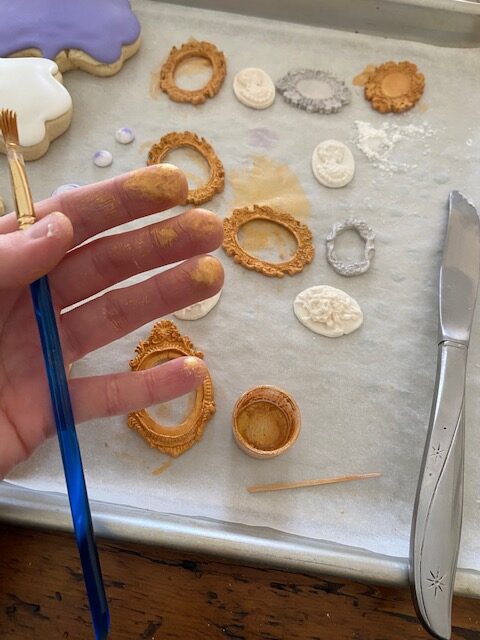
Let your fondant frames dry slightly so that they will not be as soft and damageable when you move them around. Note: if you are doing cameos, “fit” the head into the frame and test them for fit prior to letting the pieces dry. Once they are dry you won’t be able to move them around anymore without cracking them.
Once the frames are dry use some gold luster dust and vodka (again, the vodka is just a painting medium and will evaporate) to turn them into BLING BABY BLING!!!!!! Your fingers will probably turn gold as well. Midas has nothing on you, babe. You truly have . . . the golden touch!
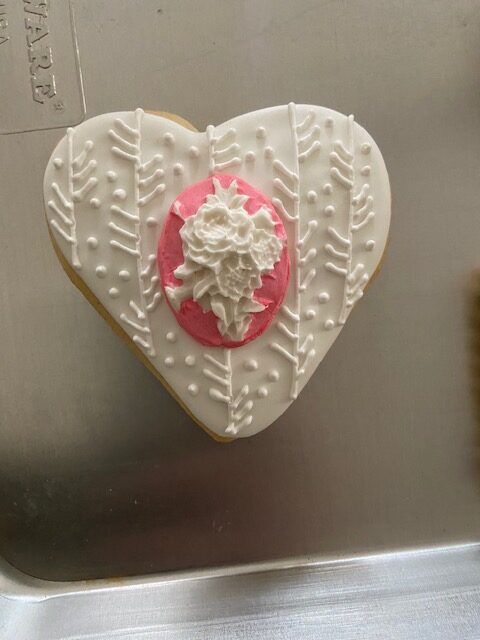
For the pink cameos I used one drop of pink food gel and one drop of white food gel, mixed with (you guessed it!) a drop of vodka. (See, bakers get a bad rap for going through so much alcohol, but we need it to work. Seriously!) I mixed the colors and used a paintbrush to paint the sides of each cameo, being careful to leave the protruding design white.
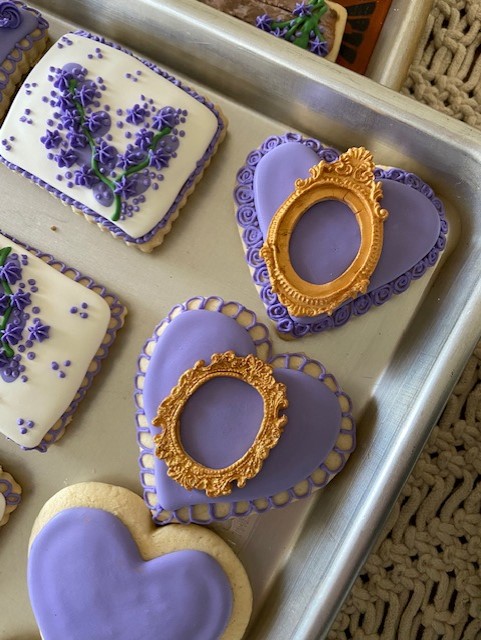
Use a little line of royal icing to stick your frames to your cookies. Mmmmmm. Gorgeous aren’t they? It’s like you are making edible crown jewels. I love it.
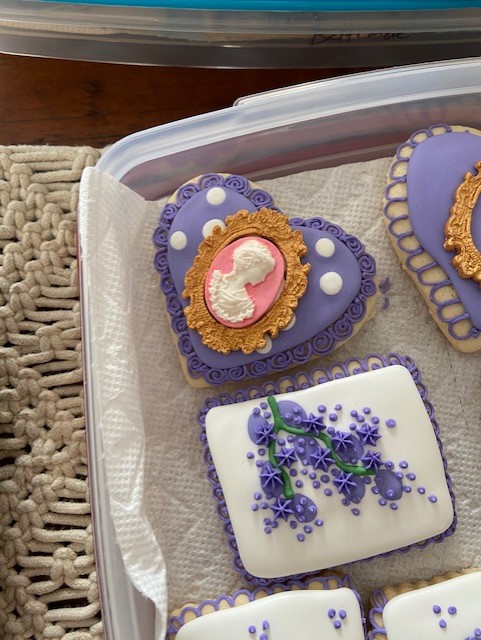
Put your heads in there. That sounds weird, but I mean . . . how else do you say it???? *awkward throat clearing* Kindly place your CAMEO HEADS in the centers of the frames, using royal icing to affix them to their appropriated destinations. There. You’re no fun.

Let the cookies dry overnight to make sure that everything is sticking where it’s supposed to. After all– the ladies are bedecked in a lot of bling. You don’t want said bling falling off, so let the hairspray, er . . . royal icing . . . do its job. The ladies will thank you.

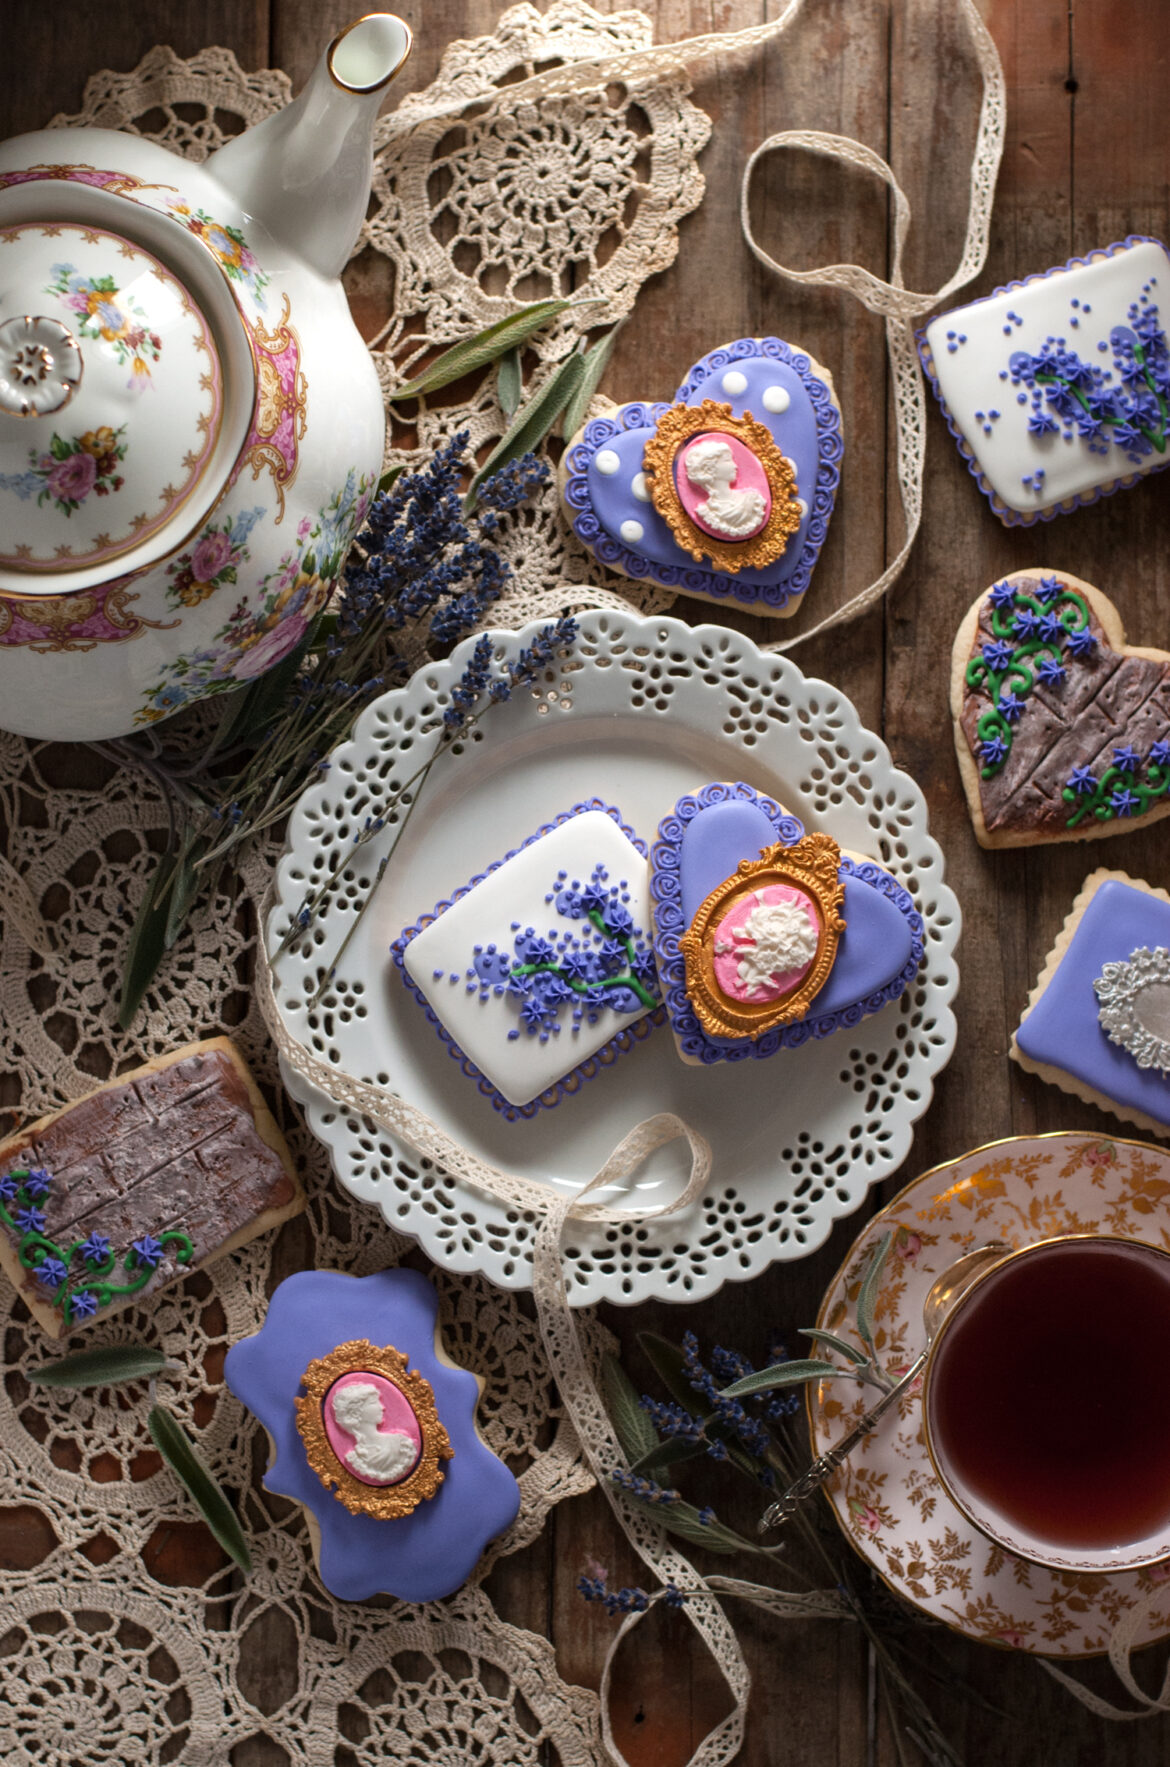
I mean, seriously. It doesn’t get much cuter than that. You will have to kill the person who tries to eat this cookie, because it’s so beautiful.

This is the plain sister of the fancy cookie up above. She isn’t married yet. I think she’s the heir to the throne. If you know of any good single cookies, let her know. Keep in mind that she’s a democrat, because she apparently leans left.

I wonder what cookies serve at their wedding. They couldn’t have cookies, or it would be, like . . . cookie cannibalism or something.

By the way– your rustic barnwood cookies turned out beautifully. They match so well with these royal bling cookies. You’re so talented. I love working with you.

Now there remains only one thing to do.

Eat one.

You did it. And I’m just so proud of you.

Disclosure: This post may contain affiliate links, which just means that we get a few pennies if you purchase through our link. I never recommend products that I don't personally use and love. Thanks!


You are an artist. These look too good to eat
Awww <3 Thank you <3