Yum
I love cooking with fresh herbs. But they can be so expensive, that I usually can’t use them. I couldn’t use them, that is, until I got myself an Aerogarden. It was on DEEEEEPPPP clearance at Walmart, and I thought I’d give it a try. It’s basically a little hydroponics garden that allows you to grow up to 7 herbs, inside the house, using nothing but water and nutrients. Oh man . . . it’s just great. I can snip a little of this and a little of that, tossing fresh herbs into recipes and mincing to my heart’s content. I don’t know how I survived without it. If you need a fun gift for the budding chef in your life, check out an Aerogarden here .
.
I recently found myself with a bumper crop of fresh dill. What’s a girl to do? When life hands you dill, make . . . dill pickles! These pickles are nice because you don’t have to “can” them– they take on that delicious, somewhat spicy taste, while they sit, happily, in your refrigerator. They keep for up to a month (if you can avoid eating them for that long!). They taste very similar to the Clausen dill pickles you can buy in the refrigerator section of the grocery store, and you can make them into spears, chips, or any shape you like, really. They are obliging and tasty. What’s not to love?
What are we waiting for? Let’s do this!
Refrigerator Dill Pickles
(adapted from Allrecipes.com)
Ingredients:
1 cup water
1/3 cup white vinegar
1 tsp. sugar
1 tsp. salt
1 cucumber
5 whole garlic cloves
2-3 bunches of fresh dill
Directions:
Bring water, vinegar, sugar, and salt to a boil for 1 minute. Remove brine from heat and allow it to cool. Fill a glass jar with fresh dill and garlic cloves. On top of spices, place the cucumbers in whatever shape you want your finished pickles to be (I used spears). Pour cooled brine over cucumbers and place lid tightly over jar. Allow cucumbers to pickle in the refrigerator for at least 3 days before eating. Pickles need to be refrigerated and will keep for roughly 1 month.
Now, in pictures! 🙂
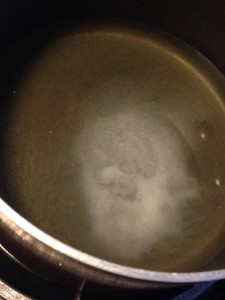
Start by making your brine (darling Clementine . . .). Bring your water, vinegar, sugar, and salt to a boil for 1 minute. Remove from the heat and allow brine to cool to room temperature before using.
Now, let’s talk garlic. The first time I tried to use fresh garlic, I got so disgusted I felt like throwing the whole thing away. The cloves cling tenaciously to their little papery skins. I spent almost an hour painstakingly peeling each little individual scrap of peeling off the cloves. Oh my goodness. It was torture. I couldn’t imagine how that labor intensive process could EVER make using fresh garlic worth it.
And then . . . I discovered the proper way to “peel” garlic, and it was so easy that I felt like smacking myself for taking so much time to peel it, by hand. So I’ll show you the quick way, first, and you can feel like a pro, without going through the “stupid” step that I had to learn, the hard way.
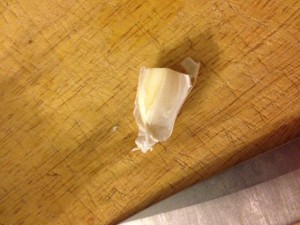
First, take a head of garlic and break it into individual cloves. You may have to cut a little of the stem off, in order to separate the cloves. Here is one single clove. I have cut a little off the “root” end of it, to make it easier to peel. Now . . . get ready for this, because you’re going to love it.
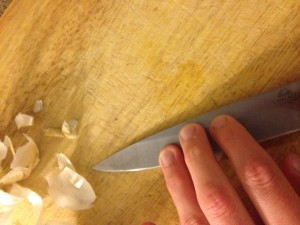
Take a knife and press it up against the garlic. Give it a good whack. Chefs whack this knife with the heel of their hand, but something about smacking a razor sharp blade makes me nervous, so I just push, hard, with my fingers. It works the same way.
Push until you hear a gentle “crack.”
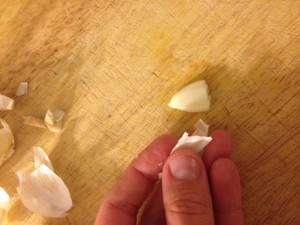
And the skin comes right off. It’s crazy. Crack and peel. Easy as that. It takes about 2 seconds. Man. When I think of peeling all that garlic the hard way . . . (grrrrrrr).
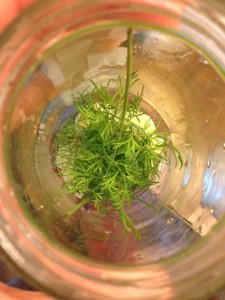
Get yourself a nice, clean jar. It doesn’t have to be a canning jar– I am using a washed out spaghetti sauce jar. It just needs to have an airtight lid. Place your 5 cloves of peeled garlic (no need to cut them up, first) and several nice bunches of dill into the bottom of the jar. If you want your pickles to have a little more heat, you can place a slice of hot pepper in the bottom, also.
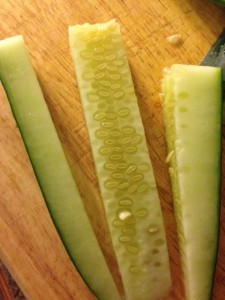
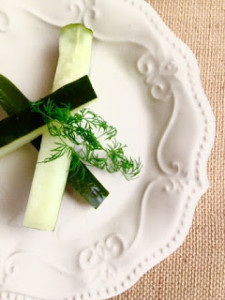
Now, make your pickle slices. I am using a regular cucumber for this– one jar will use about 1 cucumber. Cut your cucumber in half, through the center, so that you have 2 medium length pieces. Cut each piece into spears (divide into thirds, longwise, and then slice each third into 3, again, lengthwise). I cut out that really seedy part in the center, because it was squishy, and I hate squishy pickles. If you don’t care about that, leave the seeds in. It’s a free country.
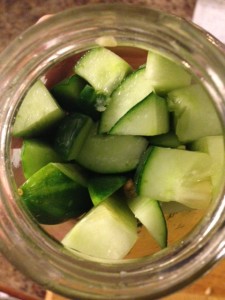
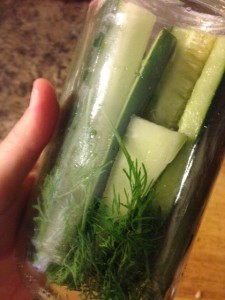
Stuff your cucumber spears into the jar, on top of the garlic and dill. Really pack those babies in there. Pretend you’re selling Manhattan real estate. Pack ’em in.
Nice.
Pour the cooled brine over your cucumbers and seasonings, up to the mouth of the jar with a little wiggle room to spare. Basically, just make sure your cucumbers are covered. Put the lid on your jar and place the jar into the fridge. Forget about it for at least a week. The longer the pickles sit, the better their flavor. Every few days, I shake the pickles up, so that the garlic and dill flavors permeate the cucumbers on top.
After about a week, test out your pickles. They should taste like really good dill pickles, with just a hint of heat. Mmm. Delicious. Make yourself a beautiful sandwich and serve one of these homemade pickle spears on the side. I bet no one will be able to guess that you made them, yourself.
You did it! And I’m just so proud of you.

Disclosure: This post may contain affiliate links, which just means that we get a few pennies if you purchase through our link. I never recommend products that I don't personally use and love. Thanks!
.
