Yum
I still remember the first time “quiche” crossed my radar. I was about 10 years old, and my Mom made it for supper. We kids eyed this strange dish with the utmost suspicion.
A few years later, I heard an old man say that he had tried something he pronounced “Quitch.” Oh-ho! A double identity alias, eh? My suspicion deepened.
Then I found out that this strange word that started with a “Q” actually sounded like “Keesh.” As Alice in Wonderland says, “Curiouser and curiouser!”
So I decided to give quiche another try. And another. Soon, it became one of my go-to dishes for a fancy breakfast, tea, or brunch. You just can’t go wrong with this gorgeous little pastry stuffed with eggs, cheese, and cream. You know what they say. If you can’t lick ’em, join ’em. And although it would be extremely bad manners to lick a quiche, you should definitely consider joining the quiche crowd. I made this quiche one day when I needed a special breakfast item, but it is easily customizable for any occasion with whatever you have on hand.
Sausage and Spinach Quiche
(brainchild of my own madness– feel free to share, but please link back here so no one steals my work 🙂
Ingredients:
4 tbsp. butter, divided
2 onions, thinly sliced
1/2 tsp. salt
1 tsp. cooking sherry or red wine
12 eggs, beaten
1 cup heavy cream
6 oz. shredded Gruyère cheese
1/2 cup shredded cheddar cheese
1 lb. breakfast sausage, cooked and crumbled
2 cups fresh spinach
Crust Ingredients:
3 cups all purpose flour
1/2 cup cold butter (1 stick)
1/2 cup shortening
1 cup shredded Swiss cheese
1 tbsp. fresh thyme
1/2 tsp. salt
1 cup icewater
Directions:
Start by making your crust. Mix your flour and salt together with a whisk. Cut in butter and shortening until mixture resembles coarse crumbs. Stir in Swiss cheese and minced thyme, including stem. Gradually stir in icewater with a butter knife until mixture comes together to form a ball. Wrap the dough ball in plastic wrap and refrigerate until firm (making the dough for the crust the night before is perfect).
To make the quiche, start by caramelizing the onions. In a small Dutch oven, melt 3 tbsp. butter and add the 2 thinly sliced onions and 1/2 tsp. salt. Cook the onions over medium high heat until they are golden brown and almost syrupy. Deglaze pan with sherry and allow alcohol to evaporate. Remove onions from pan and set aside. In same pan, melt remaining 1 tbsp. butter and wilt the spinach leaves in the hot butter mixture. When the leaves are completely wilted, take them off the heat and set them aside until you’re ready to add them. Cook sausage roll until finished, breaking up the large pieces with a wooden spoon. Beat eggs in a large bowl. Add in cream and stir to mix. Stir in carmelized onions, sausage crumbles, spinach, and cheeses. Fill tart pans with crust and fill with quiche mixture. Bake mini tarts at 375 for 20 minutes, or until golden brown and set in the center. A full quiche will take longer, so keep an eye on the crust and cover with foil if it starts to get too brown before the center is set.
Whew. This quiche has a lot of steps, but they aren’t hard. You can do it. I promise. Let’s take a look at the process in pictures.
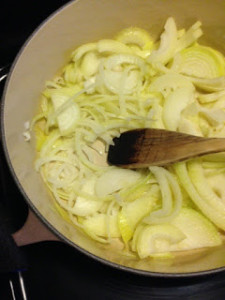
The first thing you want to do is caramelize your onions. This process can take a little while, so you might as well get that started. If you have a cast iron Dutch Oven, break that baby out . . . ask it to dance, because no one does this tasty tango more beautifully. Start with 3 tbsp. of butter. Melt the butter over medium high heat (I do 3.5 on my stove dial, and the cast iron drinks up that heat beautifully). Thinly slice 2 onions and sprinkle the 1/2 tsp. salt over the onions to get them to start giving up their juices.
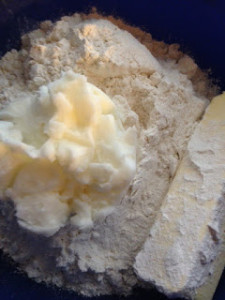
While the onions are merrily cooking away, start your crust. (Who are you calling Crusty??). Mix your flour and salt together, lightly, with a whisk, and then cut in your butter and shortening. Remember we were dancing? Mind if I–
Cut in? ha.
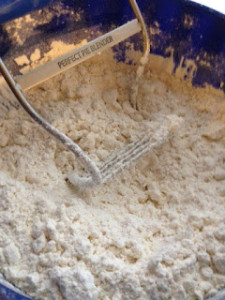
I love this pastry cutter from King Arthur Flour. You can buy one
here. This one is great because it is flat, rather than rounded, like the standard pastry cutters. It makes cutting in butter a cinch. When your pieces of butter are about the size of small peas, your mixture is ready.
Stir your onions. You will start to see this brown stuff on the bottom of the pan and think “My onions are burning! I must turn down the heat!!!!”
Don’t listen. Don’t you listen to that nonsense.
As long as your heat isn’t horrifyingly hot, and you keep it at medium heat (3ish), like I said, your onions will be great. This brown stuff is actually the natural sugars of the onion caramelizing. This brown smear is creating that gorgeous, almost syrupy onion that you are looking for. Keep stirring occasionally, but not constantly (the more time the onions have on the brown spots, the more golden they become), and scrape up the brown stuff as you go. The golden years of the onion are the tastiest!
Now, back to the crust. I told you . . . this quiche isn’t hard– it just has a lot of steps. If you’re a mom, you already know how to multitask, so this will be no problem at all, for you.
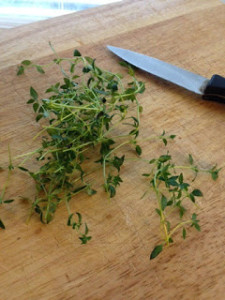
Grab yourself some fresh thyme. I used about a handful, because that’s what I had growing, at the time. If you don’t like thyme, you can leave this out, or you can also substitute 1/2 tsp. dried thyme. Just chop these herbs up. They will add a nice little zest to our crust. Throw those babies into the crumb mixture we just made with our pastry cutter and stir to mix them in.
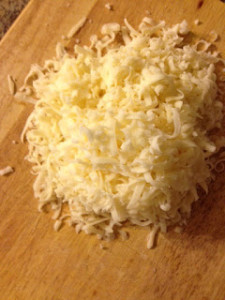
Now, shred some CHEEEEESSEEEEEE. No wonder quiche is so good. Mmmmm. Shred yourself 1 cup (OK . . . a heaping cup) of Swiss cheese. You can substitute another kind of cheese, if you like, but Swiss has a nice nuttiness that really brings out the flavors in this quiche. Throw that cheese into the crumb/herb mixture and stir.
Go back and stir your onions, again. They are starting to get a lot of brown on the pan, now. Lots of people pull their onions off the heat at this point, but these are not true caramelized onions. These are what chefs call “blonde onions.” They are still too light. We want ALLLL the flavor, and to get that, we need more color. At this point, add your cooking sherry or red wine (water or chicken broth work, too, since you just need a squidge) and deglaze the pan. Deglazing just means that you stir in the liquid and use the boiling steam it creates to scrape the brown stuff off the bottom and bring all that flavor back into your onions. Mmmm. Smell it. Amazing, huh? Keep a close eye on your onions, now, because they’re almost done. We don’t want them to burn, after all that hard work.

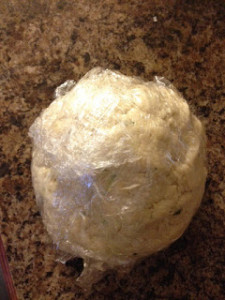
Let’s finish up our dough for the crust. Take a wooden spoon and start adding your icewater to the dough. Try not to touch the dough with your hands– we want it to stay cold. Keep stirring and adding water until you have a nice dough that sticks together in a ball without crumbling and falling apart.
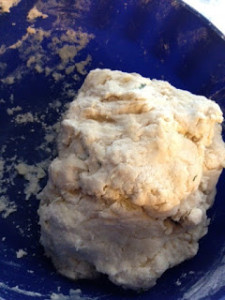
Form it into a ball and wrap the ball in plastic wrap. Throw it in the fridge (well . . . don’t literally throw it) until it gets nice and firm. If you are short on time, you can put it in the freezer for 1/2 hour or so, rather than an hour or 2 in the fridge.
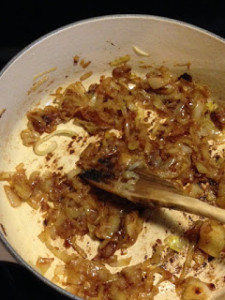
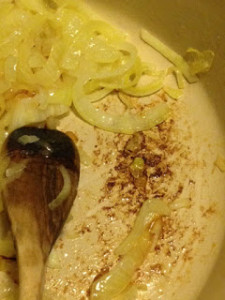
Look at those gorgeous onions! They have a deep brown color, the sherry has deglazed the brown flavor from the bottom, and they are almost syrupy. They are perfect. Pull them from the heat until you’re ready to use them.
After the dough has chilled firmly enough to be “rollable,” go ahead and take it out of the refrigerator or freezer and unwrap it. Yay! Time for presents? Unwrap!!! I will show you how to form the crust in a second . . . but, first, let’s do the filling so that we can go right from crust to filling it.
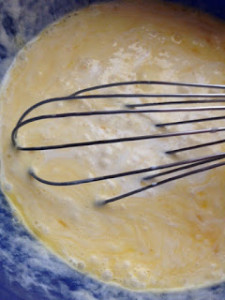
Beat your 12 eggs in a bowl until they are nice and scrambled, with no whole yolks. Add in your heavy cream and stir to combine.
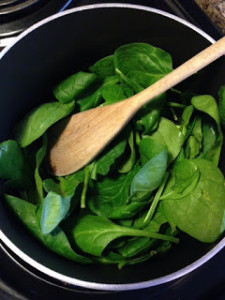
Meanwhile, in a separate pan, melt your remaining tbsp. of butter and put in your fresh spinach leaves. They will cook down quickly– keep an eye on them and give them a stir every minute or so, while you work on the filling and crust.
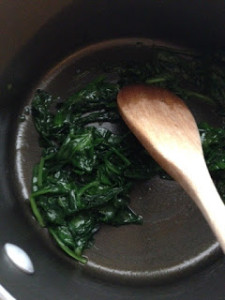
See? I told you it wouldn’t take long. When the leaves are wilted and cooked down like this, pull them from the heat. You will add them in a minute.
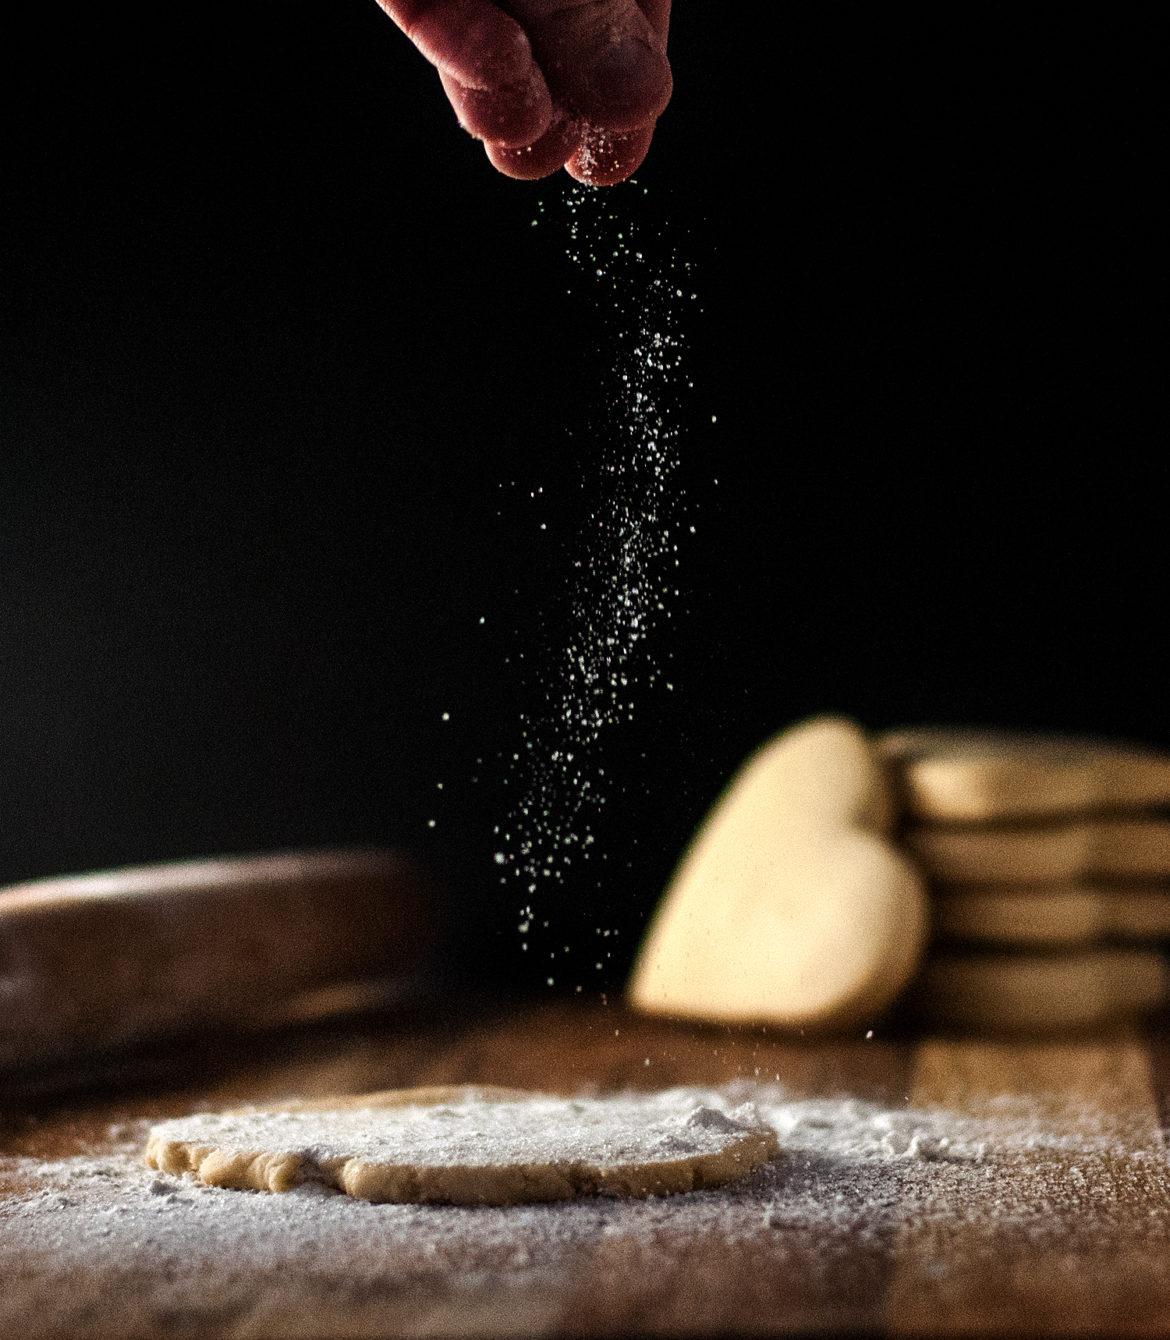
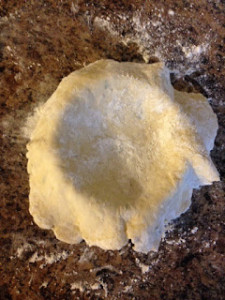
Roll out your crust, lightly flouring your surface to keep it from sticking. This quiche recipe is enough for 2 regular pie pan sized quiches, or 8-10 mini quiches. Today, I am making mini quiches. They freeze beautifully and can be pulled out of the freezer for a quick and impressive breakfast when you have company. If you are doing mini quiches, don’t roll your entire dough ball out– just grab a walnut sized amount and roll that out, using just what you need for each individual quiche. The fewer times you roll out the same dough, the better, since re-rolling makes the crust tough.
And no one likes tough crust. Bleck.
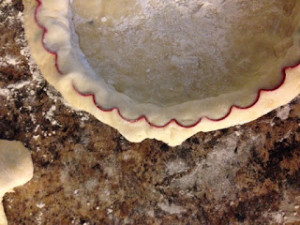
The great thing about tart pans is that you can just press the crust down, on the metal rim, and it is automatically trimmed. Presto. Done. Squish the crust against the sides and bottom and pull away the excess crust from the top.
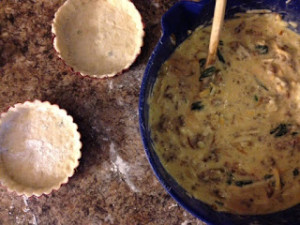
To finish the crust, stir in your cooked and crumbled sausage, cooked spinach, shredded cheeses, and caramelized onions. Mmm. Doesn’t that look awesome!
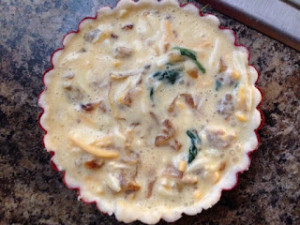
Place about 1/2 cup of the egg mixture into your prepared crust. Bake at 375 for roughly 20 minutes, until the center is set and the top is golden brown. Word to the wise . . . don’t overfill the crusts, and be sure to bake them on a cookie sheet, just in case they run over a little bit. It’s much easier to clean up a cookie sheet than clean a burned oven. Yuck.
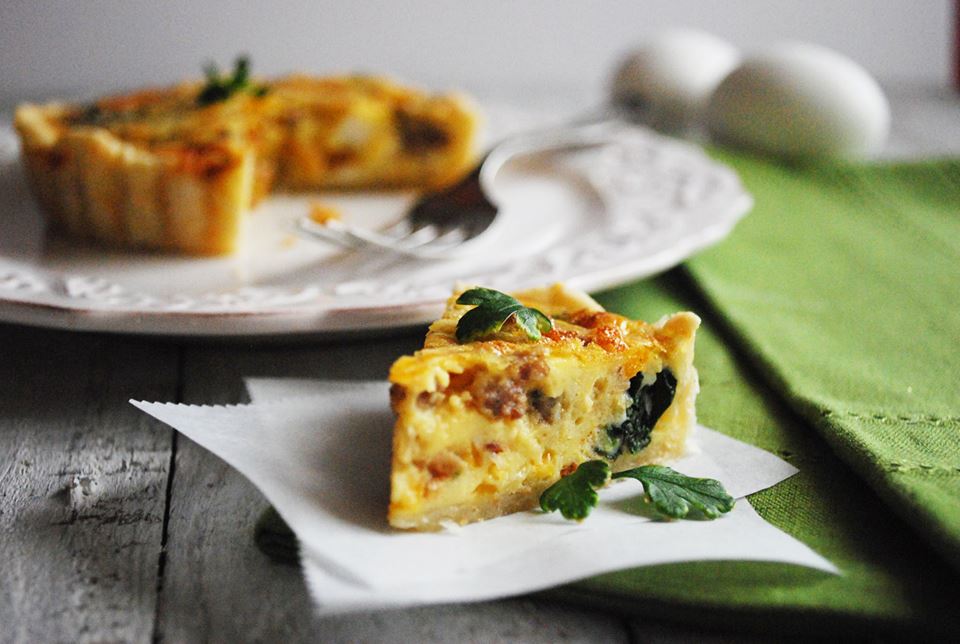
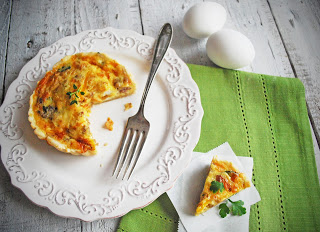
Allow the quiches to sit for 5 minutes or so, after they come out of the oven, so that the egg can settle and hold together. If you have pans with removable bottoms, pop them out and serve. Alternatively, you can cool them, out of their pans, on cooling racks. Wrap them in plastic wrap and place in freezer bags, when they’re cool, and they will keep for several months. When you’re ready to serve them, just put them in a 325 degree oven, from frozen, and heat for 10-15 minutes until they’re hot, again.
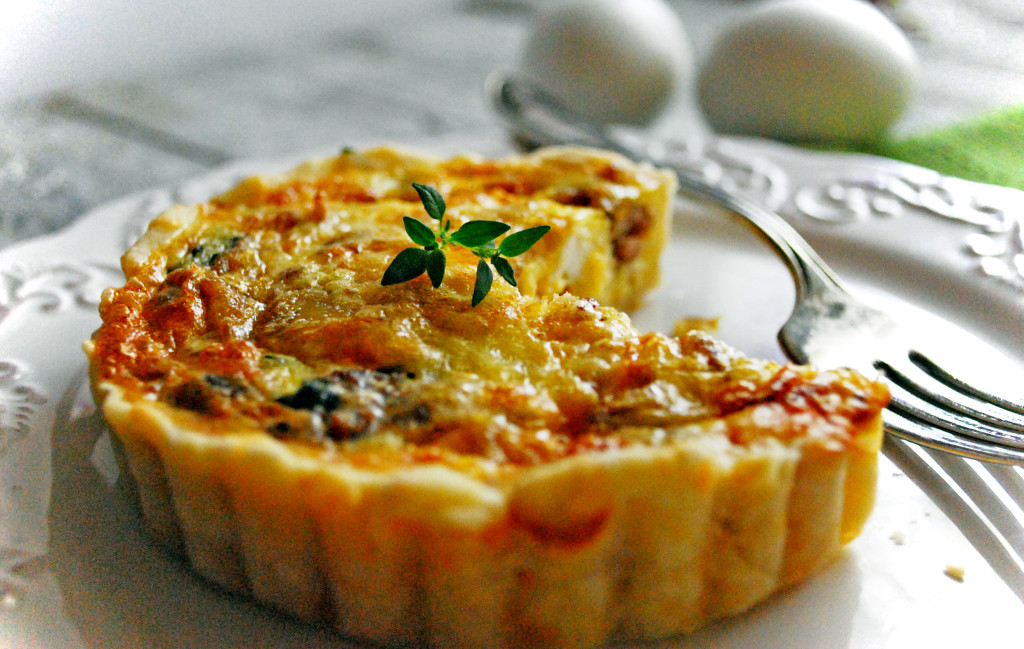
Garnish the finished quiches with a sprig of fresh thyme, if you like . . . it just looks so pretty.
These quiches are great because they make enough to store for another time, and they are so easy to customize to your own favorite tastes. These make a delicious end to your Christmas or Easter ham, as well as the New Year’s cheese plate that you had left over. You can also use a variety of herbs, or just leave the herbs out. Quiche is the happy little guy that just wants you to be happy.
I think you just won the breakfast of the year award.
Because you did it. And I’m just so proud of you.

Disclosure: This post may contain affiliate links, which just means that we get a few pennies if you purchase through our link. I never recommend products that I don't personally use and love. Thanks!


The Gruyere doesn’t make the quiche greasy like other cheeses often do. Thank you for sharing this recipe with us. An adopted and instant tradition to our Christmas morning celebration.
So glad you liked it, Mary! It’s one of my favorites, too! 🙂 Thanks for stopping by!