Yum
If you have a friend who’s good and true,
I’ll give you a tip– here’s what you do.
Make them a treat better than any you knew . . .
A treat that is luscious and berry blue!
What are we waiting for? Let’s do this!
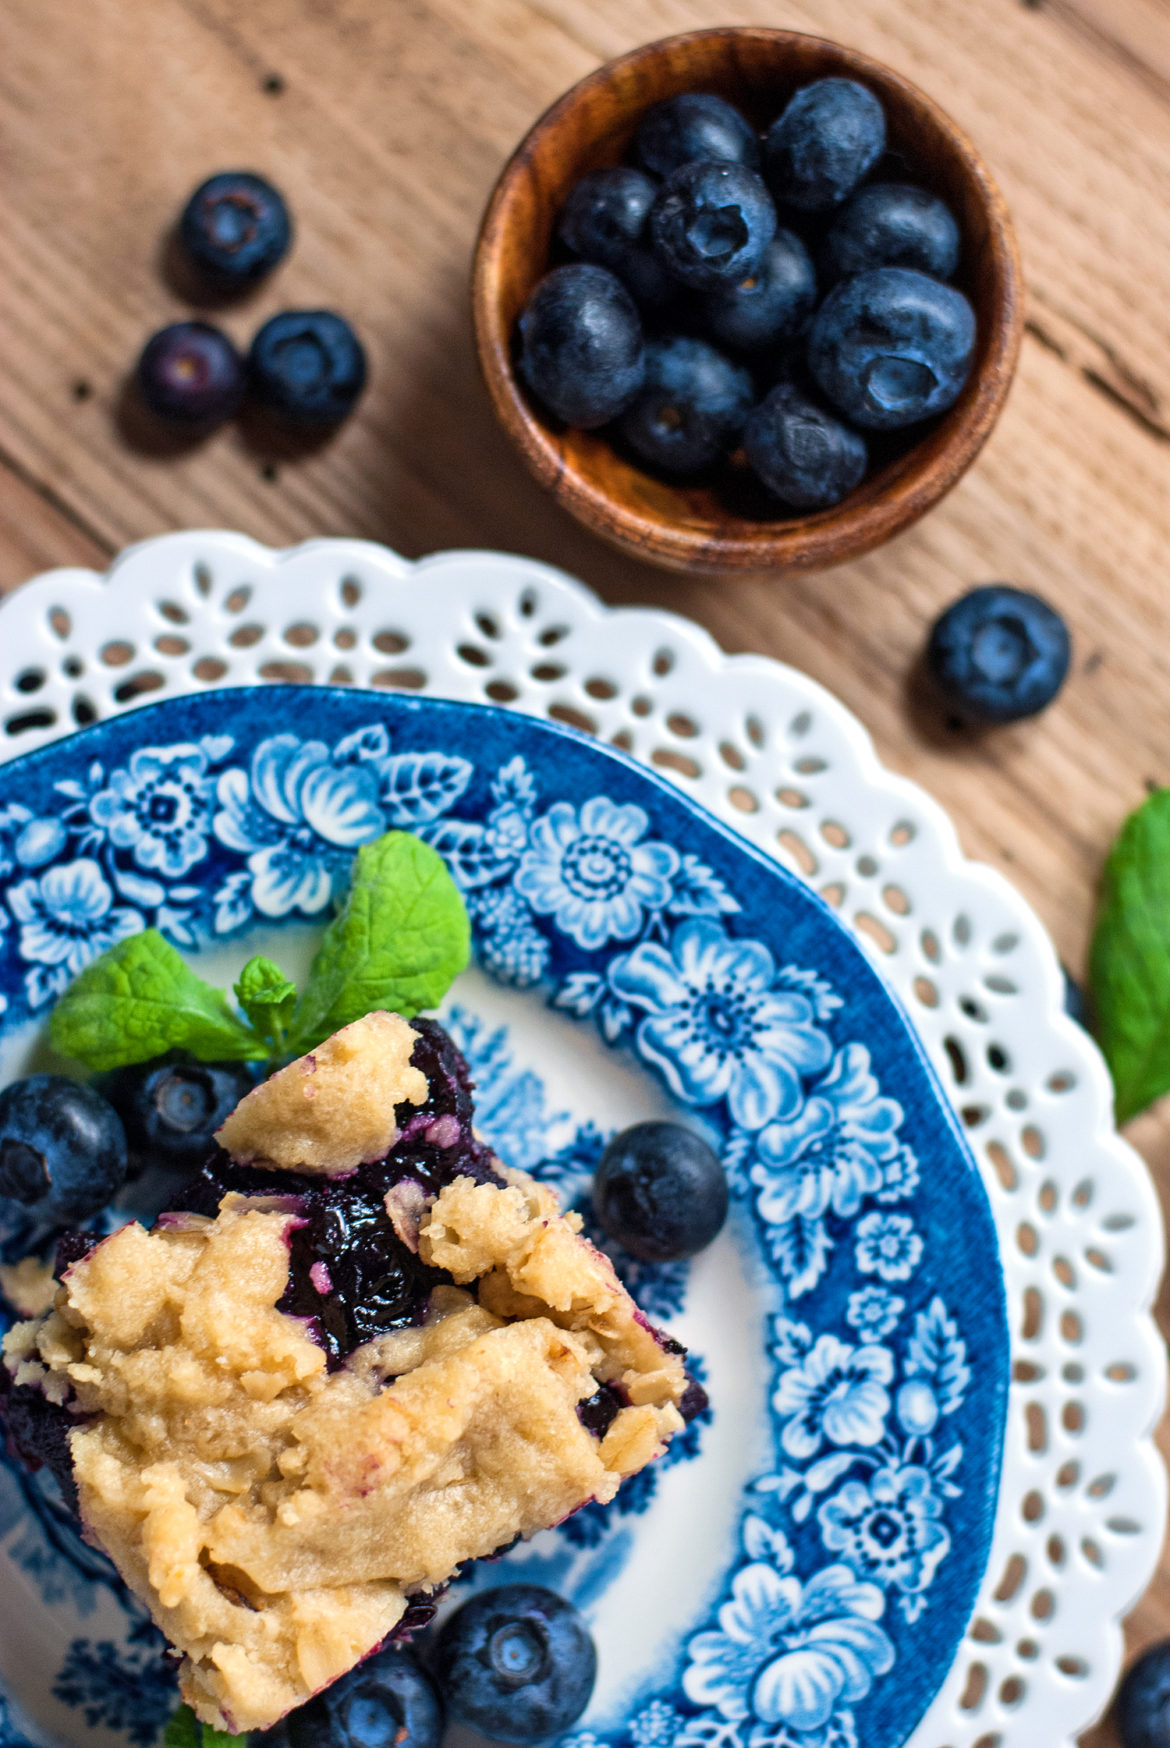
Blueberry Crumb Bars
Ingredients:
4 cups blueberries, fresh or frozen
2/3 cup white sugar
Juice of 1 lemon
1/4 tsp. cornstarch + enough water to make it a milky liquid
Base and Topping Ingredients (batter is divided and used for both):
2 cups butter or margarine, softened
1/2 cup white sugar
1/2 cup brown sugar
1/4 cup flour
Additional Ingredients Added to Topping after Base Batter is Removed:
1/2 cup old fashioned oats
1/2 cup turbinado sugar (find this here)
Directions:
Bring blueberries, sugar, and lemon juice to a simmer until mixture is bubbling. Stir in milky cornstarch liquid and stir for 30 seconds-1 minute until mixture thickens enough to leave a “line” in the pan when you draw a spoon through it. Remove mixture from heat and set aside to cool.
In the bowl of a stand mixer cream softened butter and sugars until light and fluffy. Add in flour and mix well. Remove half the batter at this point and press it (moistening fingers lightly with water helps the dough from sticking to you) into a greased, foil lined 11×7 pan. Bake the “naked” crust at 350 degrees for 18-20 minutes, or until the edges have just started to brown (the center will not be brown). Remove pan from oven and spread blueberry mixture overtop of the parbaked crust. In remaining batter stir in oatmeal and turbinado sugar and use fingers to spread small clumps of batter overtop blueberry layer. It helps to “squeeze” a small handful and drop it where you want the batter to go. Bake the bars at 350 degrees for 25-30 minutes longer, until the top is lightly browned and the berry mixture is bubbling. Allow to cool completely before lifting foil out of pan and cutting bars. I find that chilling the bars helps, also, to make them easier to cut. 🙂
Now, in pictures! 🙂
To begin with, the great thing about this recipe is that you can use either fresh or frozen blueberries. This means that you can make them when blueberries are on sale in the summer, or in the dead of winter when you get the “blues.” You’re welcome.
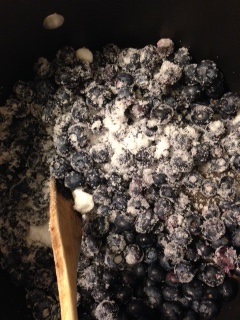
Start out by combining your berries, sugar, and lemon juice in a large pan. The lemon juice won’t make the sauce tart– it kind of balances the sweetness a little bit and gives your recipe (essentially homemade blueberry pie filling) some depth of flavor. Some people like to add a pinch of cinnamon to blueberry filling, but that’s never been my cup of tea, so I don’t add it. But this is a free country. Add it if you want to. I won’t tell the blueberry police. 😉
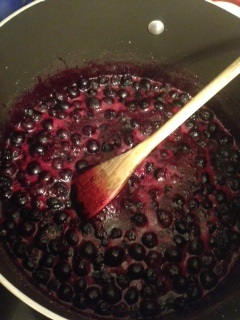
Allow the berries to come to a simmer, stirring every so often so all the sugar gets mixed in evenly. When the mixture is bubbling and has a little purple foam on top, it’s time to add the thickener.
Cornstarch is a funny animal. If you add it, as powder, to something, it will clump up and stick to the bottom of the pan and ruin your recipe. Mean cornstarch.
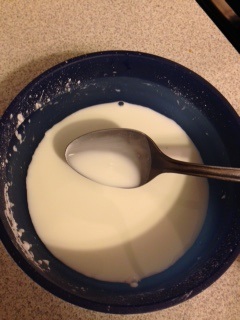
But if you add a little water to it in a separate bowl BEFORE adding to your recipe, it will thicken like a dream, with no clumps. Nice cornstarch.
So mix a few tbsp. of water to your cornstarch and stir until you get a fluid that kind of looks like whole milk. Keep stirring and then dump it all at once into your bubbling berry mixture.
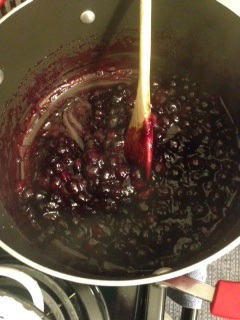
For me it usually takes 30 seconds-1 minute for the berry juice to thicken up to be the consistency of pie filling. Just keep stirring and make sure that the cornstarch gets incorporated into the whole batch. When your mixture is thick enough to leave a line in the pan by drawing your spoon through it, turn off the stove and remove the pan from the heat. Your blueberry pie filling can take a chill pill while we work on the dough so that when we’re ready for it it’s not boiling hot, but just pleasantly warm.
Now, let’s get started on our crust and topping shortbread. To begin with, remember my “motto” for great cookies? I’ve said it before, and I’ll say it again . . . (drum roll . . .)
Cold Ingredients are the Enemy of Good Cookies
Anytime you make cookies, with very few exceptions, it’s best to set your butter and eggs (and any other cold ingredients) out on the counter for about 30 minutes before you’re ready to make your recipe. We do this because softened butter is much easier to whip and cream, which means that you will have lighter, fluffier baked goods. You’re welcome. (I wish I could whip myself up nice and light some days. haha).
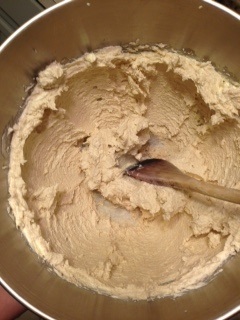
Start out slowly and mix together your sugars and softened butter or margarine. Gradually increase the speed and whip until the mixture lightens in color and becomes kind of “fluffy” or puffy looking.
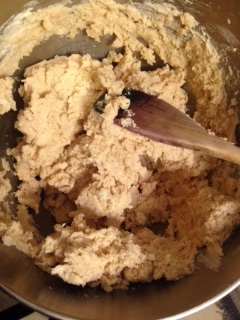
Next, stir in your flour. Oh, OK. Use your mixer. Be a spoil-sport. (I used my mixer too. haha).
When I make bar cookies, I like to line my pan with foil and spray the foil with cooking spray. That way, when the cookies are done, you can cool them and then lift the whole ‘shebang out of the pan to cut the bars evenly. For this recipe, btw, I am using an 11×7 pan.
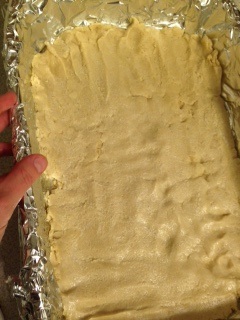
After I get the foil liner sprayed with cooking spray, I dip my fingers in a little water and smoosh half the shortbread batter into the pan. Use your moistened fingers to smooth the dough evenly over the pan– the water helps to keep the dough from sticking to your fingers. Stick this “naked” crust into a 350 degree oven while you get the other ingredients ready.
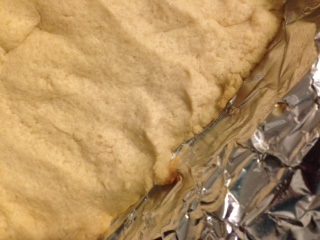
After roughly 18-20 minutes, your crust should look like this– not at all brown on top, but JUST starting to get a teensy bit brown on the edges. Yep. It’s ready. Parbaking the crust just makes sure that we don’t cut into raw dough in the center after baking, because these bars are so thick. We are just giving the crust a head start. 😉
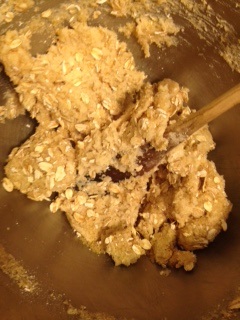
To finish the remaining batter, go ahead and stir the oatmeal and turbinado sugar into the other half of the shortbread mixture you used for the crust, earlier. This “jazzed up crust” will become your topping. Don’t you just love recipes that dirty fewer dishes with minimum effort? Me too. haha.
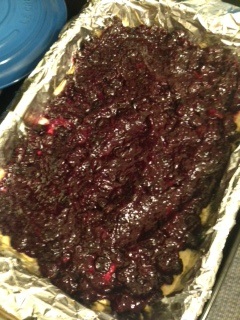
When the crust is finished parbaking, spread your blueberry topping over the top. MMMMMmmm. I’m not telling you what to do, but I would lick the bowl that your blueberry mixture comes from. Seriously. It’s DEEEEEEELicous.
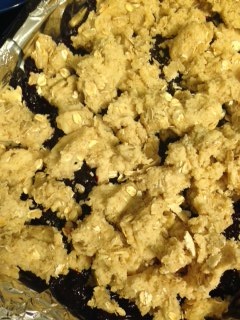
Now we have to put our oatmeal/crumb mixture on top of the blueberry stuff. This part can be tricky, because the berries are soft and the topping is harder, so you can’t just smooth the topping with a spoon. I had the best luck moistening my hands with water, grabbing walnut-sized clumps in my hands, and dropping little squeezed clumps of topping overtop of the blueberries, filling in the gaps as needed with smaller pieces.

Bake the topped bars for another 25-30 minutes, at the same 350 degrees, until the top is just starting to get golden brown. It won’t be super dark– just a kiss of gold like you had on the edge of the crust before you added the blueberry again. Don’t let them get as dark as a senior citizen on a Florida beach. Yes. I’m sorry for that mental image I just created. I’m sure your eyeballs are bleeding. My apologies. haha.

When the bars are done, take them from the oven and let them cool. If I have time I like to chill the bars in the fridge (after they have cooled to room temperature) to make them even easier to cut when you’re ready.

And then, when they are nice and CHILL (Chill baby, chill!), lift the whole ‘shebang, foil and all, out of your pan. Fold the foil sides down and cut the bars on a cutting board with a sharp knife.

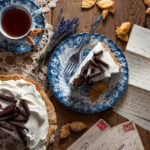
You can put the finished bars it an airtight container in the freezer, between layers of parchment paper. That way when you have friends drop in, you can break a few of these babies out, and voila . . . you have a perfect, pretty little snack to serve with coffee and chit chat.
But don’t forget to have at least one of these finished beauties for yourself. Or you can do what I do– “sharpen the corners” and eat those pieces. Didn’t you know that the edges you cut off when you’re cutting the bars don’t count as calories? I’m pretty sure that’s a law somewhere in Iceland or something. 😉
You did it. And I’m just so proud of you.

Disclosure: This post may contain affiliate links, which just means that we get a few pennies if you purchase through our link. I never recommend products that I don't personally use and love. Thanks!