Yum
I adore bundt pans. I adore bundt cakes. I always have. There is something so lovely and gratifying about a perfect, geometric pound cake. Recently, a sweet friend sent me a new bundt pan, and I adore it! To “break in” that pan, I created this recipe that reminds me of my friend– sweet and reliable. And maybe, just maybe . . . just a “teensy” bit spicy. 😉
What are we waiting for? Let’s do this!
Blood Orange Pound Cake
Ingredients:
1/2 cup butter, softened
1 1/2 cups white sugar
3 eggs, room temperature
1/8 tsp. baking soda
1/4 tsp. salt
1 1/2 cups all purpose flour
1/2 cup buttermilk, room temperature
2 tsp. vanilla extract
1/2 tsp. orange extract
1/2 tsp. cardamom
Juice and zest of 1 blood orange
Directions:
Cream softened butter and sugar together until creamy– this process takes 4-5 minutes. Once the crumbs have come together into a creamy mixture, add the room temperature eggs, one by one, beating after each egg. Yes, this is a pain. Yes, you need to do it. Once all the eggs are added, mix in the baking soda, salt, and cardamom. This next part is a pain, too, but you really need to do it– add in a little flour (I do about 1/3 of it) and mix slowly. Add in a little buttermilk (about 1/3) and mix slowly. Keep alternating flour and buttermilk, mixing just until combined after each addition. Add in extracts, orange juice and zest, and just mix.
Pour batter into a buttered/lightly floured bundt pan (I am using this one here) and bake at 325 for roughly 60-70 minutes, until cake is golden brown and springs back lightly when touched. A toothpick inserted into the center can have moist crumbs, but there shouldn’t be any liquid batter. Allow finished cake to sit for a few minutes in the pan before inverting onto a cooling rack to finish cooling. When the cake is cool, dust with powdered sugar and serve.
Now, in pictures! ?

Maybe you’ve tried making bundt cake before. Maybe you’ve tried it and had sweet little bricks for your trouble. Perhaps your cake wasn’t that delicious, dense yet lightly moist bit of loveliness that pound cakes should be. You despaired and bought Sara Lee as a backup. No more, my friends. From now on, you will be able to make pound cake the way it was meant to be– with that deliriously rich, moist consistency and a taste that is citrus kissed with a teeny bit of spice.
The key to a light, yet moist pound cake, is beating your softened butter and sugar for A LONG TIME. Usually, for recipes like Perfect Chocolate Chip Cookies, I will beat the butter for, say, a minute or so. Maybe less. I just stop when I see everything getting creamy. With pound cake, you are dealing with a whole different animal.
At first, when you start whipping the butter and sugar, it will seem like they aren’t going to come together. You will have kind of crumbs that don’t want to form into a single unit. But that’s the secret– the longer you whip this mixture, the more “married” the two entities become. It seriously takes almost 5 minutes on the clock of mixing, and then finally your crumbs will form into a delightfully creamy mixture. Don’t stop mixing until you see that. Whipping all those air bubbles into your butter by mixing for several minutes is what keeps the pound cake from joining the masons guild and becoming a brick. Trust me. Beat for 4-5 minutes, until you have a light, creamy mixture.
Another secret of good pound cake is keeping your balance. Don’t add all the eggs at once, for example. Add them one by one, beating in after each egg. Yes, it’s a pain. But your finished cake will be perfect, and you will thank me. Good pound cake is worth the fuss. 😉

Once all the eggs are added, mix in the baking soda, salt, and cardamom.
This next part is a pain, too, but you really need to do it– add in a little flour (I do about 1/3 of it) and mix slowly. Add in a little buttermilk (about 1/3) and mix slowly. Keep alternating flour and buttermilk, mixing just until combined after each addition. Alternating the wet and dry ingredients just helps the mixture not to break. Have you ever been making a baked good, and you added the egg, and somehow all of a sudden there was a layer of oily wet stuff and a layer of solid that wouldn’t mix? Your emulsion broke. Yes, it can be fixed, usually by adding flour, but it’s better to alternate the wet and dry ingredients so that they can mix into the recipe and never “break” or separate into wet and dry. Just trust me. Alternate flour and room temperature buttermilk. 😉

Now let’s have some ZESTY conversation. The zest is the colored part of the peeling on citrus fruits. But you don’t want the white part– that is called the pith, and it’s bitter. To avoid grabbing the pith, as you may accidentally do when you use a grater, it helps to use a micro grater (like this one here). The micro grater just grabs the zest and doesn’t get low enough to grab the bitter pith. It’s worth spending 7 bucks to get perfect zest without bitterness. Your bundt cakes will thank you. 😉

Add your extracts (vanilla and orange), orange juice and orange zest to the batter and mix just until combined. Think deep thoughts. Dream about the delicious cake that is coming your way SOON. This might be a good time to get a pot of coffee or tea going, too. But that’s just my humble opinion. 😉

Now let’s talk cake pans. I am using a bundt pan. And bundts can be a little tempermental about “letting go of the relationship,” cake wise, when the cake is done, if you don’t prepare them properly ahead of time. Just using cooking spray won’t work, for bundt pans. Take a paper towel and some softened butter. Rub butter into all the cracks and crevices, and then use a flour duster
to LIGHTLY dust with flour over the butter. Tap the pan over the trash can to get rid of any excess flour. You don’t want clumps of flour on your finished cake tips, or your cake will have odd white marks on it when it’s done. Butter, then lightly flour with a duster. Your cake will slip out like a dream every time.
Bake your cake at 325 for roughly 60-70 minutes, until it is golden brown and springs back lightly when you press it with your finger. Bundt cakes will still have a few moist crumbs when you try the toothpick test– that doesn’t mean they aren’t finished baking. It just means that they are moist, and moist pound cake is good! 🙂 If you see any liquid batter, give it 5-7 more minutes, but as long as the cake is set in the center and a toothpick reveals no liquid, then it should be good to go! 🙂
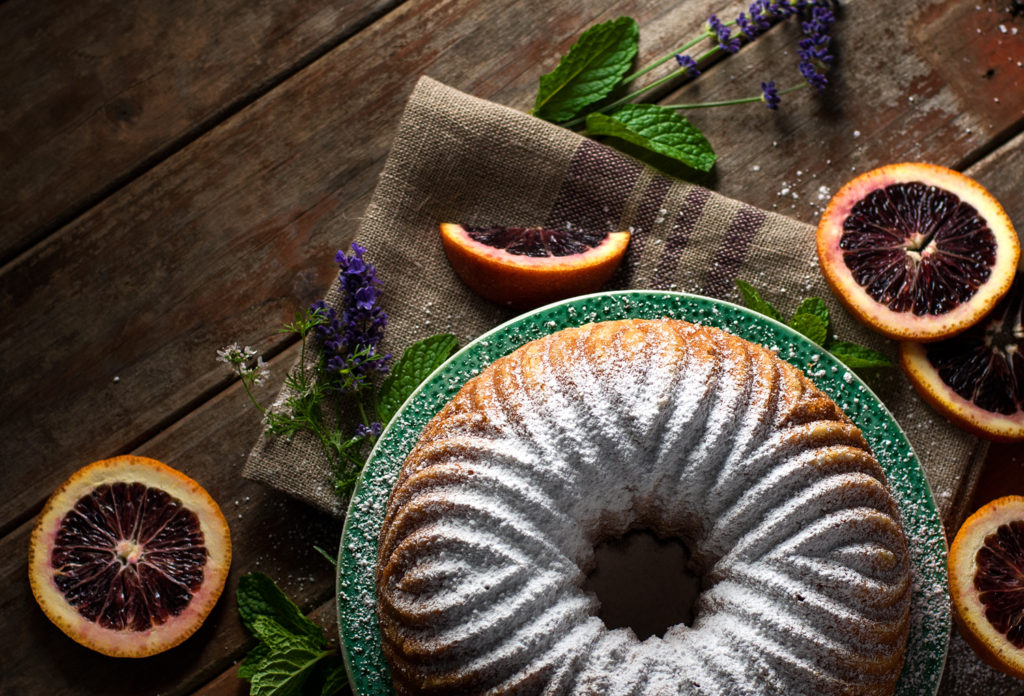
Let your cake sit for a few minutes in the pan, and then lightly run a butter knife along the center and the sides where you can. I know the pattern makes it difficult but you’re basically just loosening– don’t feel badly if you can’t reach every crevice. Don’t destroy the cake trying to get your knife down into every crack and cranny. Flip it over onto a cooling rack and invert the cake. With any luck, your butter and flour trick went to bat for you, and you will have a gorgeous, design-embedded masterpiece.
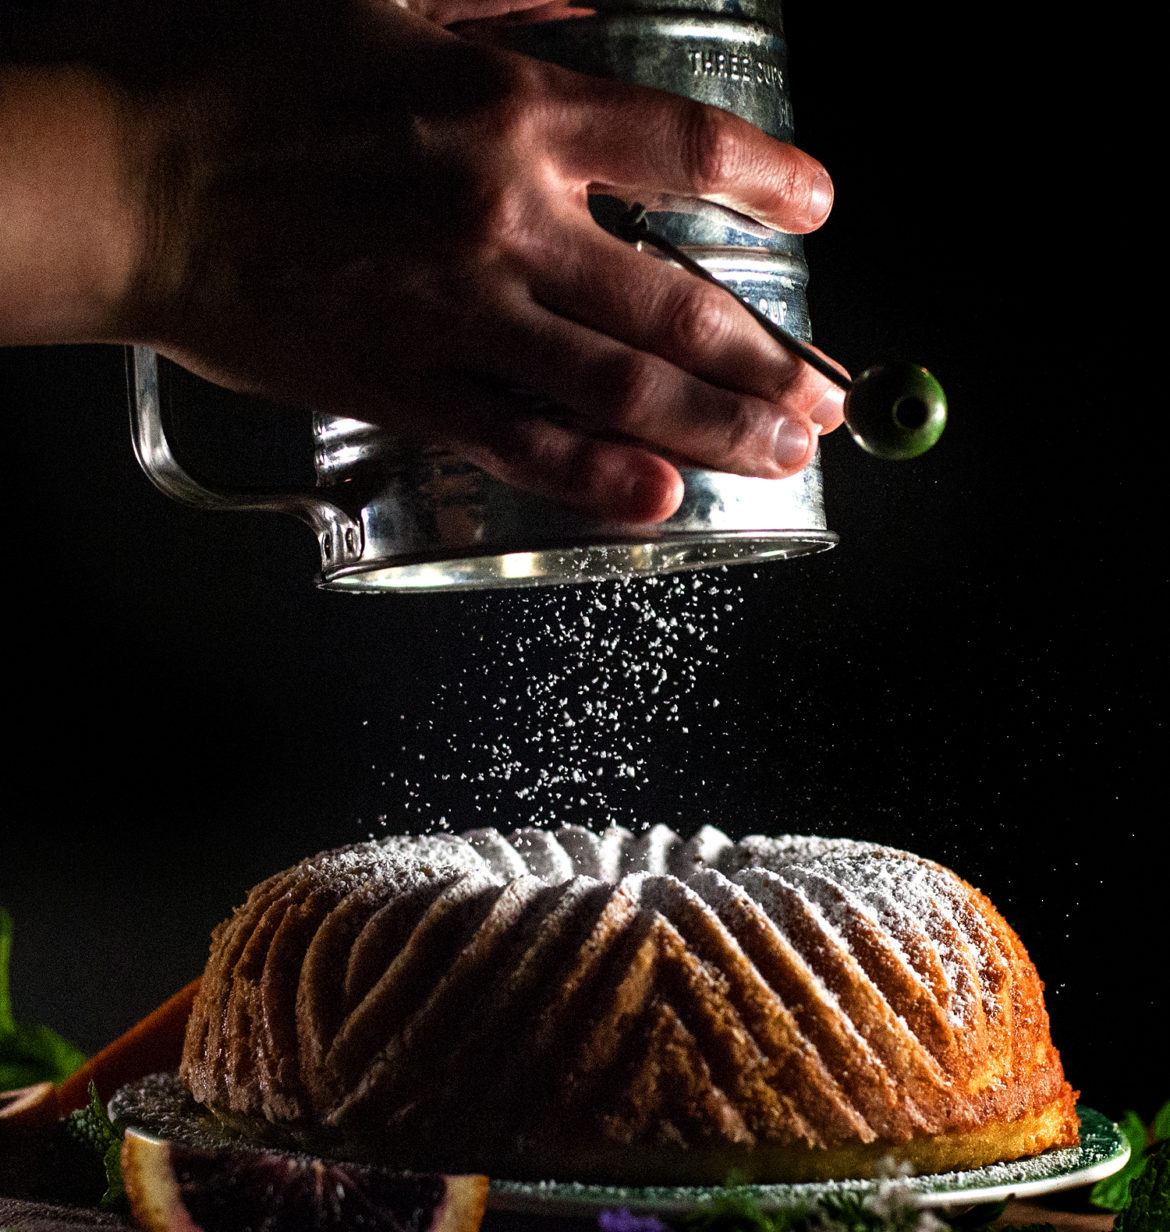
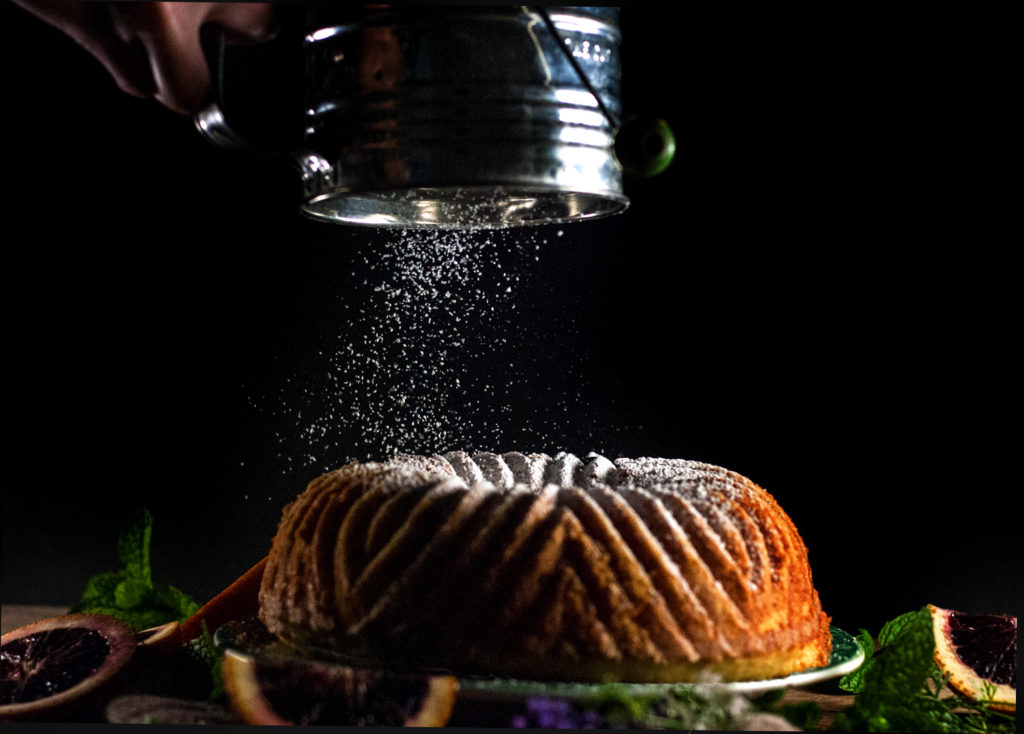
Originally, I thought about glazing this beauty, but since glaze tends to cover up intricate designs, I opted for powdered sugar, instead. Remember that handy dandy flour duster you used to flour your pan? Yep! You can use it again for a light dusting of powdered sugar. I love when kitchen gadgets have many uses. Why can’t politicians be so useful?!? haha.
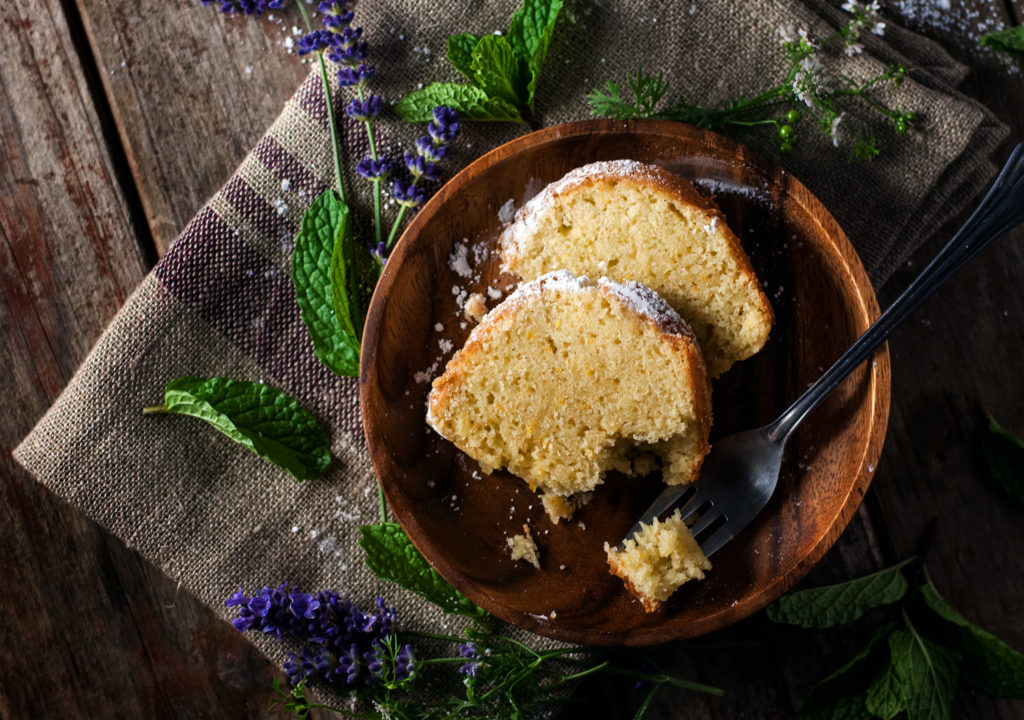
Pour yourself a steaming cup of coffee or tea, and a nice generous slab of citrus, spice-kissed loveliness. Go sit on your porch and read that book you’re always meaning to start. Write an actual letter. Like, on paper. 😉 Call your Grandma. Savor every moment.
You did it. And I’m just so proud of you.

Disclosure: This post may contain affiliate links, which just means that we get a few pennies if you purchase through our link. I never recommend products that I don't personally use and love. Thanks!
