Yum
What is it about coconut cream pie that makes you close your eyes and dream gorgeous, billowing dreams of spring? Is it the luxurious richness of the custard? The pillowy clouds of freshly whipped cream on top? Maybe it’s the crunchy, caramelized loveliness of the coconut? Whatever it is, this pie is a spring classic for a reason. Channel some warm tropical dreams and give this beauty a try, today. Hey I’m not promising anything, but bribing the Easter bunny can’t hurt. That’s all I’m going to say.
What are we waiting for? Let’s do this!
Coconut Cream Pie
(adapted from Allrecipes.com)
Ingredients:
9″ deep blind baked pie crust
1 1/2 can coconut milk (roughly 1 can)
1 1/2 cups heavy cream
2 eggs, well beaten
3/4 cup white sugar
1/4 tsp. salt
1 tsp. toasted coconut extract
1 cup toasted coconut (plus extra for garnish, if desired)
1/2 cup cornstarch, mixed with enough water to make a milky liquid
Whipped Cream Ingredients:
1 envelope unflavored gelatin (I used Knox)
2 cups heavy cream
1/2 cup powdered sugar
1 tsp. vanilla
Directions:
Begin by blind baking your pie crust. Arrange your crust in a 9″ deep pie plate and decorate edges, if desired. Pierce crust on the bottom and sides with a fork and line with parchment paper. Fill with beans (I used pinto but any dried bean will work) and bake at 375 degrees for 20 minutes. Remove crust from the oven and gently lift parchment and beans out and place them in an oven safe bowl to cool down (you can use these beans again and again for blind baking crusts). Return the crust to the oven (without beans) and bake for another 20 minutes, until just slightly browned. Remove from oven and allow crust to cool.
To make coconut filling, combine coconut milk, cream, beaten eggs, white sugar, salt, and toasted coconut extract in a large saucepan until very hot, but not boiling. Mix cornstarch with just enough water to make a milky liquid and add all at once to coconut mixture. Whisk over heat until mixture thickens (1-2 minutes) and remove from heat. Stir in toasted coconut and pour into prepared pie shell. Cover with plastic wrap (press wrap against coconut layer to avoid this layer forming a skin) and chill in the refrigerator until cool.
To make cream layer, start by sprinkling unflavored gelatin over 1/4 cup cold water in a small saucepan. Allow to sit for 1 minute until liquid has become a gummy solid. Heat over low heat for a few minutes, just until gelatin is completely dissolved. When gelatin is dissolved remove from heat and let cool for 5 minutes. During the last few minutes of gelatin cooling, combine your heavy cream, powdered sugar, and vanilla in the bowl of your stand mixer. Use the whisk attachment to whip the mixture until frothy and slightly thickened. With the whisk still going, gently drizzle the gelatin mixture down the side of the bowl until completely combined. Increase the speed to high and whip until the mixture holds soft peaks. Place cream on top of the cooled coconut pie, being sure to push cream all the way to the edges. Top with extra toasted coconut and refrigerate until serving.
Whew that sounds complicated, but it’s really not. It’s just a lot of steps. 🙂 Let’s take a look at the process in pictures. 🙂

You know that expression, “The blind leading the blind?” Yeah. Well, we are about to blind bake a pie crust. Don’t freak out. You won’t even need sunglasses.
Blind baking a crust just means that we will bake the crust empty– a shell, if you will. This kind of crust is perfect for no bake pies. You can have your shell all ready, and then when your filling is done you just pour into the crust and refrigerate the whole ‘shebang. Learning to blind bake a crust will make your lemon meringue, chocolate silk, peanut butter pie . . . all your no bake loveliness dreams come true.
First of all, you need a pie crust recipe for a single, 9″ deep pie plate. This recipe is the one I use for pie crust– just the classic Crisco recipe. Why mess with perfection. Place your crust into the pie plate and decorate the edges, if you want to. Use a fork to prick the crust all over the sides and bottom. This will just keep your crust from getting huge air bubbles in the oven.

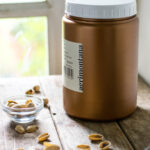
Now this part is pretty cool. Take a piece of parchment paper and put it inside the empty pie crust. Fill the parchment with beans. Are you SERIOUS???? Yep. You can use rice, dry beans, pie weights . . . I’m using pinto beans. And I’ve baked many a pie crust with these same beans. Just cool them off and reuse until they fall to dust after like, 10 years. You’re welcome.
Gently press the beans all the way to the sides. Make sure your parchment isn’t folded over, but that the filling presses right up against the crust. The beans will help your crust to stay in place and not slither down while baking.

Bake your naked crust (“NAKED????” SHRIEK!!!!) at 375 for about 20 minutes. Take your crust out of the oven. Gently lift your parchment paper full of beans (You’re full of beans!!!) out of the crust, and place the beans into a heat safe bowl to cool down.
Now, this crust will probably not be very brown– maybe a squidge on the edges. The bottom may look a little damp. That’s ok. It’s not done yet. But after 20 minutes, the sides have baked enough to be stable and hold their own without slithering down in the heat of the oven, without support. So pop that baby back into the oven (without beans), and let it bake another 20 minutes or so until it’s just starting to get nice and brown.

There you go. *Just* brown. And because you were a good little student and pricked the crust before you baked it, you don’t have any huge major bubbles. You’re so smart. I love working with you.

While the crust cools, let’s get started on our filling. In a large saucepan combine your can of coconut milk, heavy cream, beaten eggs, sugar, salt, and toasted coconut extract. I usually find this extract at the craft store (Like Michaels or A.C. Moore). Don’t forget your coupon! 😀 Mix those ingredients together, whisking occasionally, until they are barely bubbling around the edges. You might see a little steam when you lift your whisk out. You want your mixture to be hot, but not boiling. *Note: Sometimes I add a squidge of yellow food coloring to give the pie a more “custard” look, but it’s not necessary. I did add some food coloring to this one, but I was busy and added a little too much, and it ended up looking darker than a senior citizen on a FL beach. But I digress.
At that point, mix your cornstarch with just enough water, in a separate bowl, to make what almost looks like whole milk. Just keep stirring until all the cornstarch lets go of the bottom of the bowl, and mixes in and plays nicely with the other kids. Then add the cornstarch slurry (the name for that milky liquid. Is that a weird word or what?) all at once to the hot coconut mixture. Whisk for about 1-2 minutes over the heat until your mixture thickens up almost like soft set pudding. Take your pan off the heat and stir in your toasted coconut. Pour the beautiful loveliness into the pre-baked pie shell that you so cleverly made earlier.

Speaking of toasted coconut, how DO you toast it? Well I’m so glad you asked. I use an old aluminum pan and dump a thin layer of coconut in there– just enough to cover the bottom of the pan. You don’t want the pan super full. You might have to do 2 batches, but you want all the coconut to basically be touching the bottom of the pan so it gets nice and, well . . . toasty. Don’t overcrowd.
I just toast my coconut while the crust is baking. Use the same oven. I let the coconut bake for about 5 minutes, then I take it out and stir it. Three more minutes. Stir. I keep going at about 2 minute intervals, stirring, until my coconut looks like this– some white still, but some definitely caramel colored pieces. If you have any dark brown or black pieces, it’s too toasty (AKA, burned). So try to pull it out before you get to the point of, um . . . incinerated loveliness.
Pour your filling into your prepared pie shell, and allow the pie to cool before adding your whipped cream layer. A little trick is to place a piece of plastic wrap over your hot coconut filling. You don’t even have to cover the crust part. Just put the plastic right up onto the coconut. The plastic coating just keeps it from forming a “skin” as it cools. Let the pie cool off in the fridge (Or sitting on the freezer in the garage if it’s as cold as your house as it’s been at mine). The pie doesn’t have to be completely cold– room temperature is fine to add the next layer. Basically, you just don’t want it to be so hot that it melts your cream layer, which is coming up next. Don’t go away, folks.
A note on said cream, now you mention it. I have made this pie without unflavored gelatin. And if you’re going to eat it pretty quickly, that works. But the thing about “real” whipped cream is that it doesn’t have stabilizers like store-bought whipped cream does. So after a few days, if you don’t stabilize your whipped cream, it will start to separate (AKA, deflated foamy stuff on top, and a little puddle of yucky sticky milk stuff on the bottom of the pie plate, making your crust soggy). SOOOOO. I use a little unflavored gelatin to stabilize my cream layer.
You can just follow the directions on your gelatin container, but I use the regular old Knox brand, and here’s how I do it. Take a small saucepan and pour 1/4 cup room temperature water into it. Sprinkle 1 envelope of unflavored gelatin over the water. Wait 1-2 minutes, until the mixture has changed from dusty water to, well, this gummy, gelatin-esque mixture. When you move the pot it will kind of jiggle. At that point, put your saucepan on the stove on medium low heat, until it start to liquify. Stir until you see all the grainy stuff dissolved. It doesn’t have to boil– just dissolve. It will become clear like water. At that point, take it off the heat and let your gelatin mixture cool for about 5 minutes.
While your gelatin is cooling, go ahead and start your cream. A classic whipped cream recipe that I use often is what I’m doing here. Combine 1 pint (2 cups) of heavy whipping cream, 1/2 cup powdered sugar, and a splash of vanilla (or the coconut extract, again, if you want this pie REALLY coconut-y. Is that a word? It should be). Personally, I like coconut pie and vanilla cream for the classic combo, but go your way and be free on that one.
Use the whisk attachment on your stand mixer to whip this cream mixture until it’s frothy and slightly thickened. At that point, drizzle your gelatin mixture down the side of the bowl, with the whisk running. Using the side of the bowl just helps you to avoid splashes while the mixer is going. When the gelatin is all mixed in, set your mixer to medium high speed and beat for another minute or so, until the mixture looks like, well, whipped cream. Which is exactly what it is. You should be able to remove the whisk from the bowl and see the cream holding soft peaks.
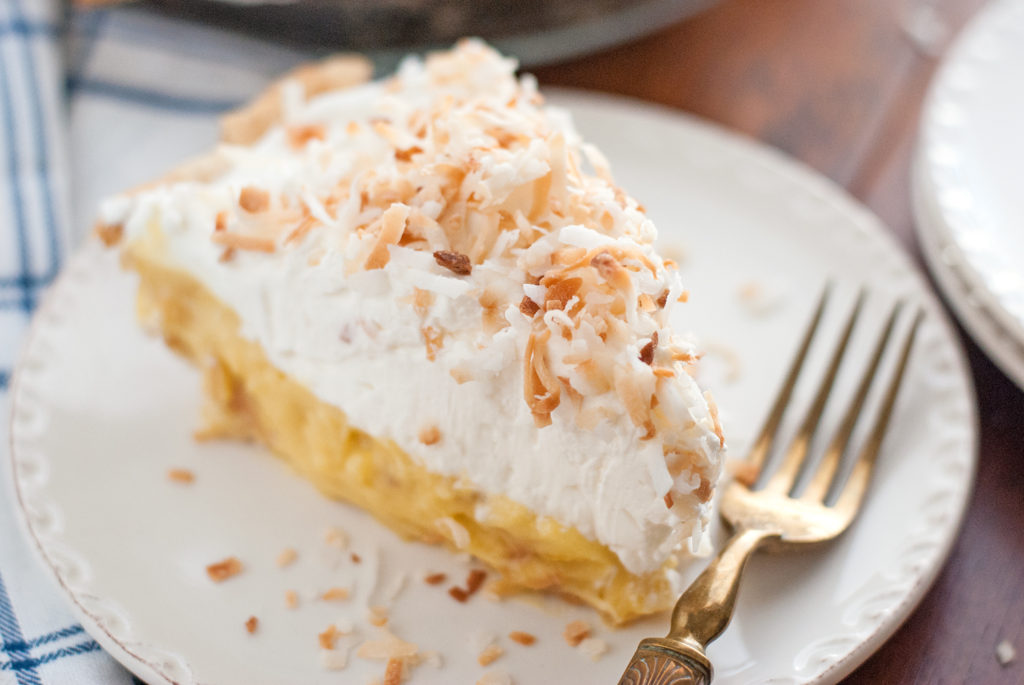
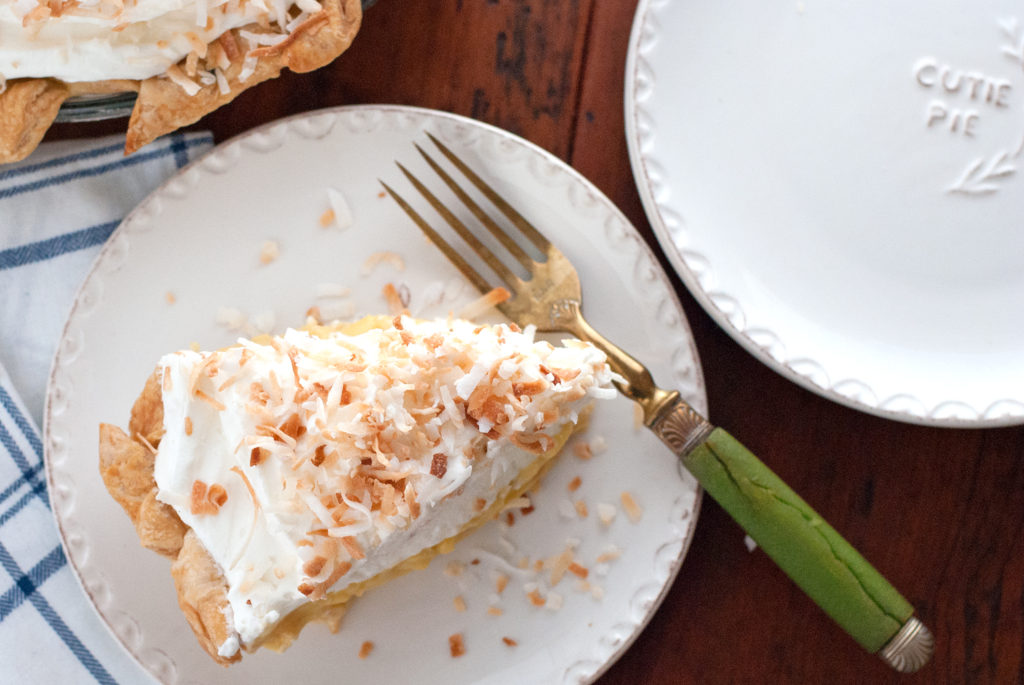
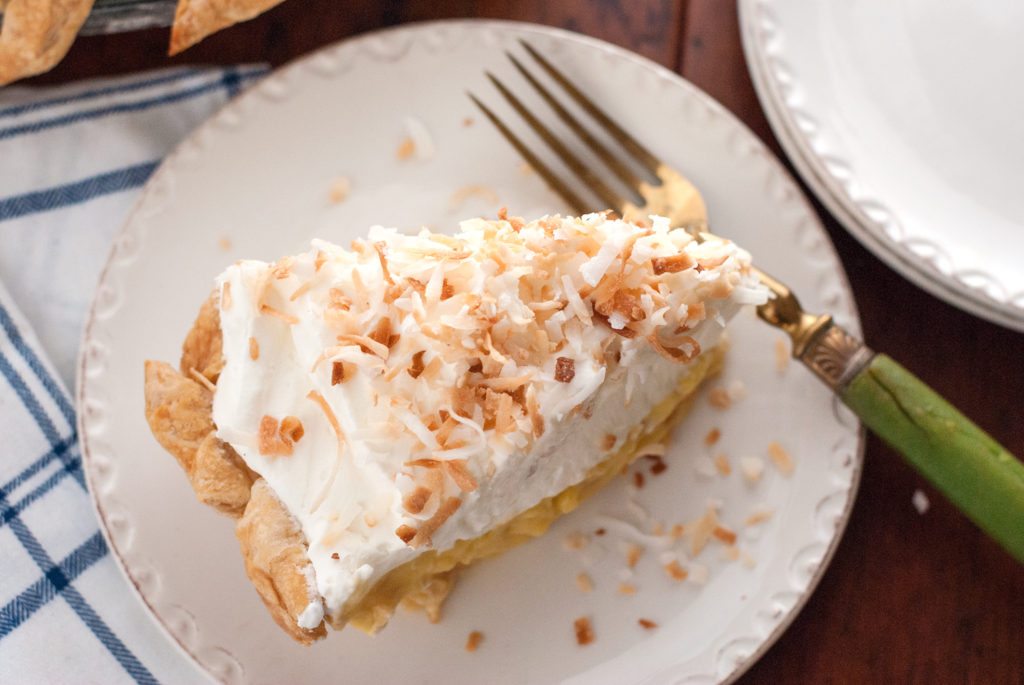
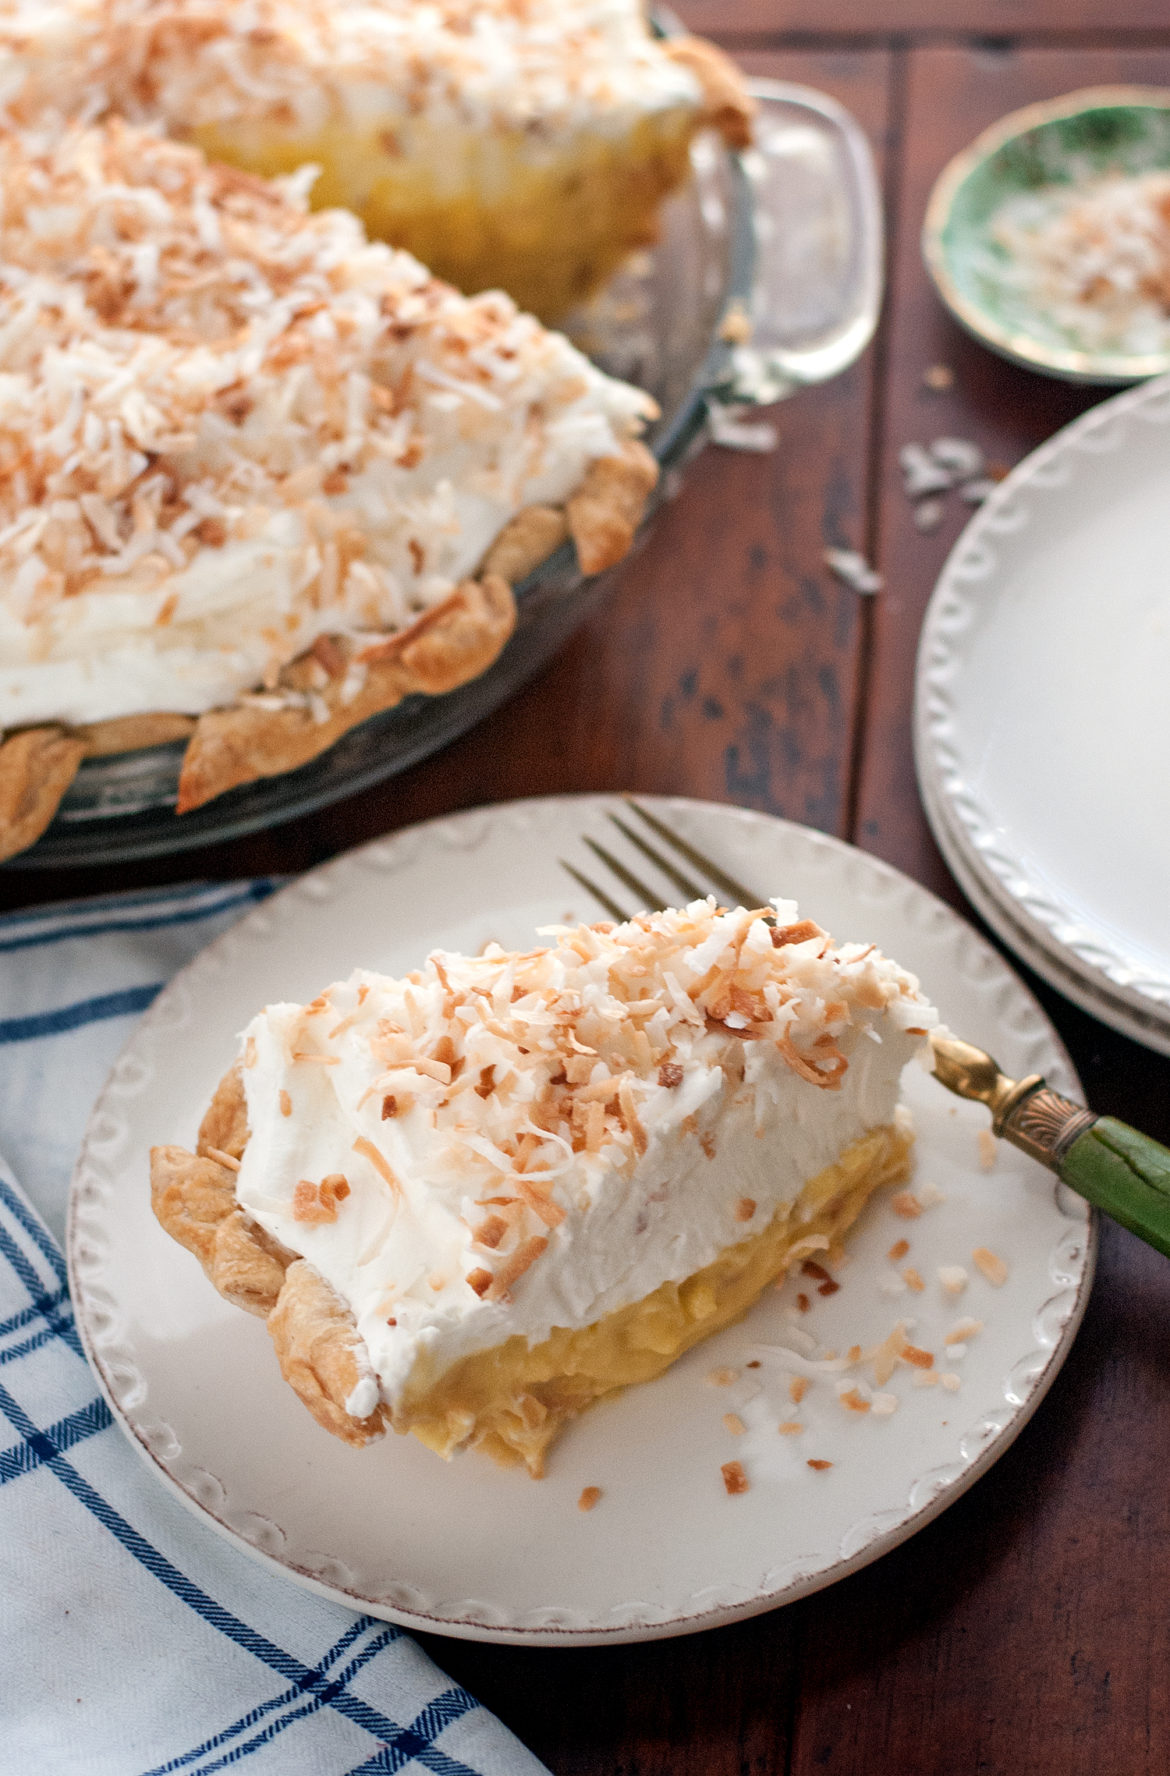
Gently scoop your whipped cream onto the coconut layer (remove your plastic wrap first! haha). Make sure your get the cream layer all the way to the edge of the crust, to seal in the coconut. Top your whipped cream with some toasted coconut if you like. Cover loosely and refrigerate until completely chilled (overnight is best). At that point, what goes on in the kitchen, stays in the kitchen. *looks over shoulder guiltily and quietly gets second piece.
Because you did it. And I’m just so proud of you.

Disclosure: This post may contain affiliate links, which just means that we get a few pennies if you purchase through our link. I never recommend products that I don't personally use and love. Thanks!



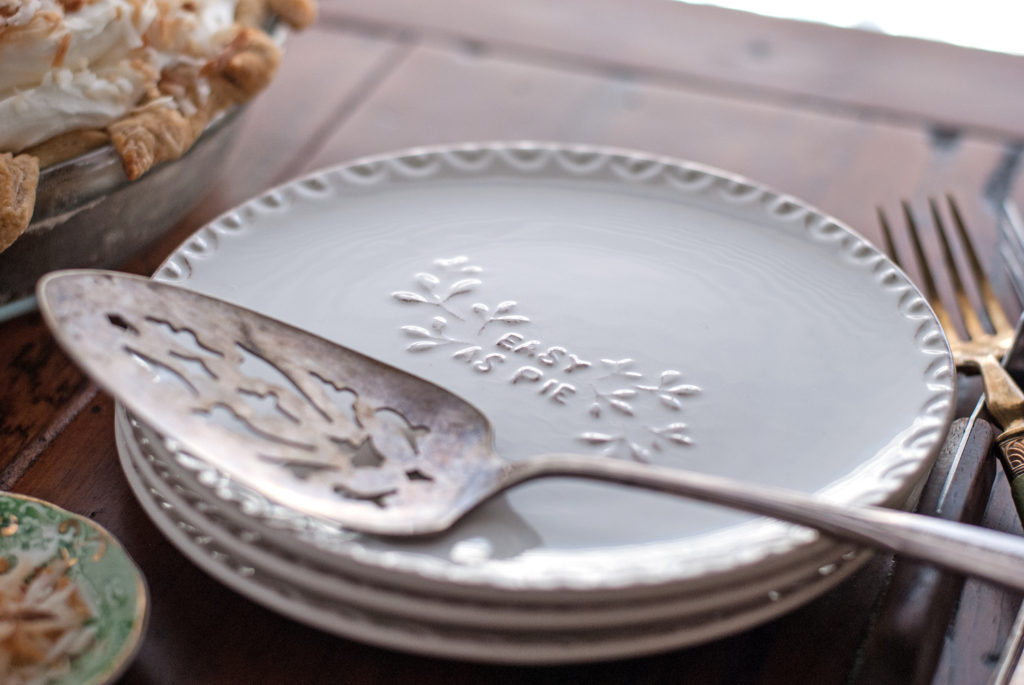
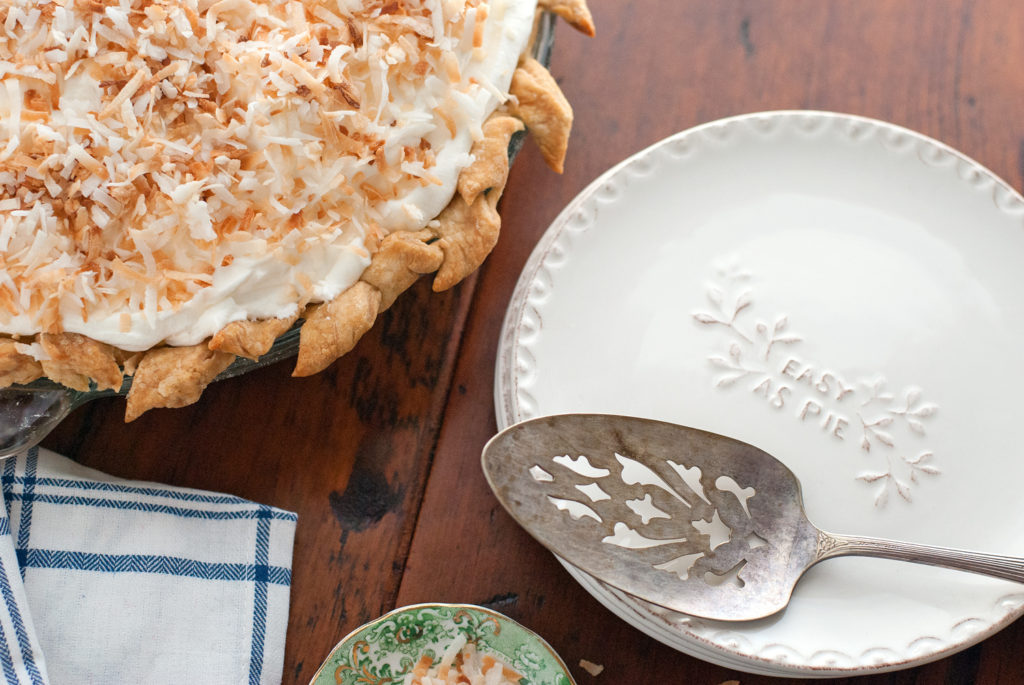
Coconut cream pie looks amazing and I am going to try it! Quick question – where did you get the cute plates you are serving the pie on?
Hi there Joli! 🙂 Thanks so much for the kind words. I’m trying to remember where I got those plates. I think it might have been Corelle last year after Thanksgiving. I remember thinking “How cute are those?!?” haha. Thanks for stopping by!