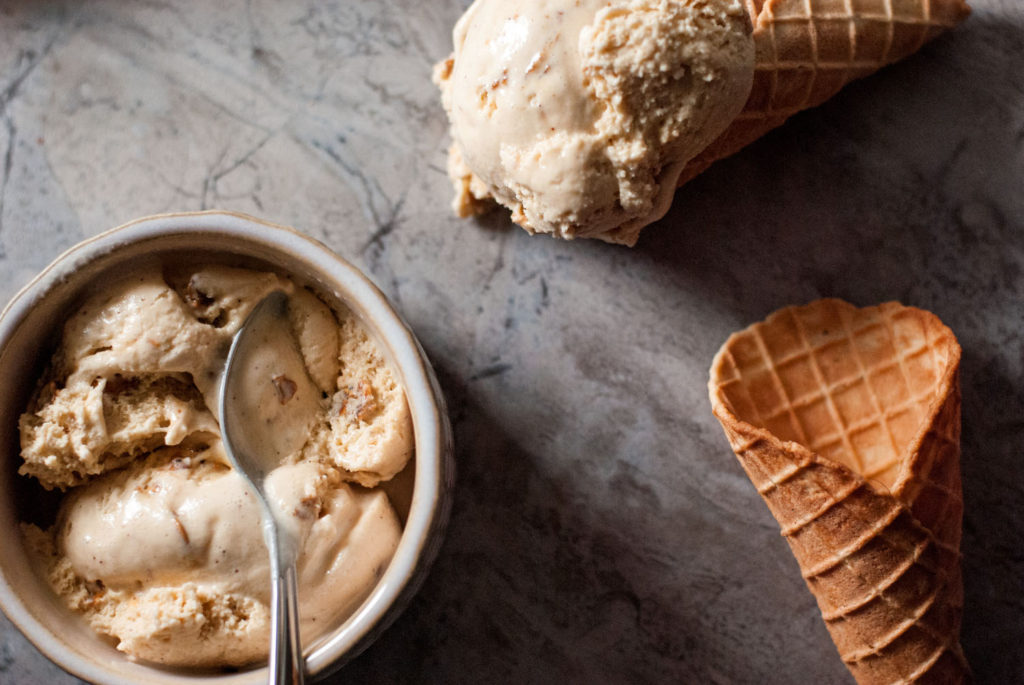
Have you ever tried a homemade waffle cone? I recently got an ice cream machine, and I have been LOVING it. I can make sorbet, sherbet, ice cream, frozen yogurt gelato . . . ahhhh it’s bliss. And friends, nothing is better than divine, creamy homemade ice cream, unless it’s that ice cream served in a freshly made, still warm waffle cone.
Trust me. It’s bliss.
What are we waiting for? Let’s do this!
Homemade Waffle Cones
Ingredients:
5 egg whites
1 cup white sugar
1 tsp. vanilla extract
1/4 tsp. salt
1 1/3 cup flour
4 tbsp. butter or margarine, melted
Directions:
Whisk together all ingredients until smooth. Bake 2-3 tbsp. servings in a waffle cone maker for 2 minutes, or until desired crispness. Immediately roll finished waffle around cone mold and allow to cool before removing cones. These are best eaten the day they are made, but can be stored in an airtight container for several days, or in the freezer for up to several weeks.
Now, in pictures! 🙂
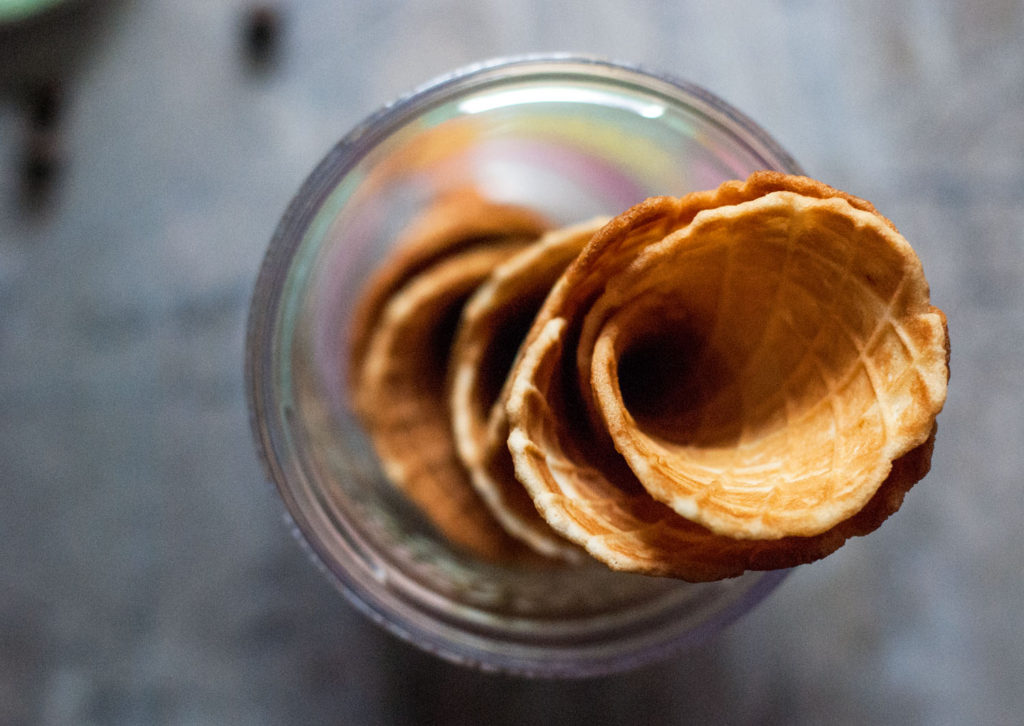
The best thing about homemade ice cream is that you can make it any way you want. I have tried low fat, low sugar varieties . . . gelatos and sorbets infused with fresh, beautiful summer fruit. I have used many kinds of ice cream machines over the years, including the “add ice and salt and crank” variety, the “freeze this forever in your freezer, bemoaning the lack of space” variety, and finally, the cadillac of ice cream makers . . . the compressor variety. This baby is one of the best kitchen gadgets I have ever received– you can literally plug it in, no pre-freezing required, and have homemade ice cream in half an hour. I’ve never had so much fun in the kitchen. I’ve turned everything into ice cream– including things that have no business being ice cream, but are just fun to see “Hmmmmm I wonder how THAT would turn out frozen.” (FYI you CAN freeze bananas, avocados, and even protein shakes as ice cream. You’re welcome.)
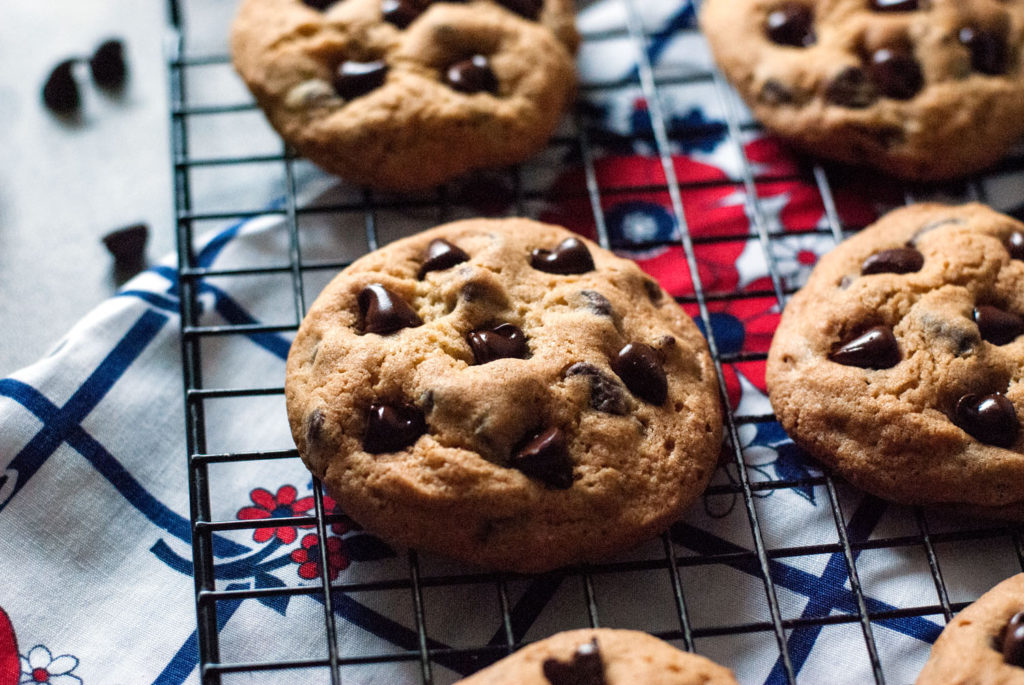
Speaking of ice cream, the creation of it spawns a whole bunch of interesting experiments. Make some chocolate chip cookies and create your own ice cream sandwiches. I made teeny little cookies with my cookie scoop, and they were just adorable for golf ball sized ice cream sandwiches for my kids. Homemade cookies, stuffed with homemade ice cream, and rolled in chopped up leftover halloween candy. Um, YAAAASSSSSS PUUULEASEEEEE.

So anyway back to the cones. (Yes, the process is so easy that I’m filibustering trying to use up some time).
Mix all your ingredients together in a bowl, whisking until the lumps are gone. The great thing is that many ice cream recipes take 5 egg yolks, and this cone recipe takes 5 egg whites. Um . . . I’m pretty sure that this is a heaven sent, meant to be, combo.
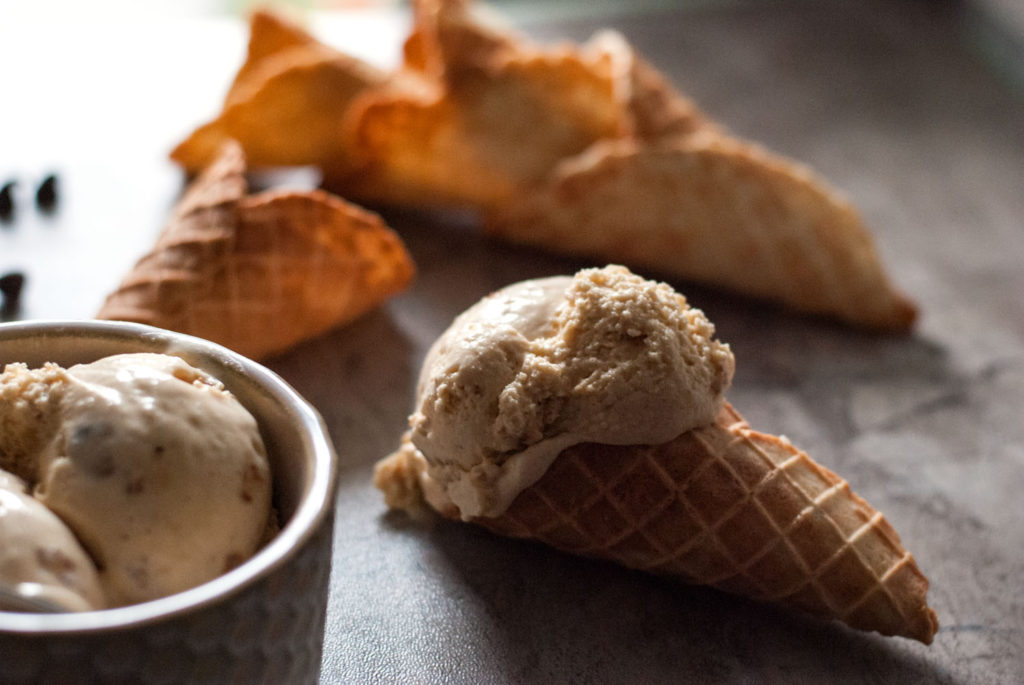
The first time I made cones it took me a few “mistakes” to get it right. Your batter is runny, so it helps to use a cookie scoop to evenly portion them, so the cones are all roughly the same size. I found that 2 minutes was the perfect baking time for my cones– not so light that they weren’t crispy, but not so dark that they were burned.
Let your batter cook for 2 minutes (more or less, depending on your preference). But look out because the next part is crazy fast, and you might burn your fingers a little bit the first few times until you get the hang of it. Grab a fork, and the moment the cone maker opens, whisk that flat little waffle out onto a dishtowel. Wrap it around your cone mold (the cone maker will come with one), trying to make sure the bottom of the waffle is wound in a tight coil so that ice cream won’t drip out of the finished cone. Wrap it up tightly and quickly (the more quickly you work the less it will burn your fingers), and let the towel rest overtop to hold it in place so that the cone doesn’t unroll from the mold before it completely cools and hardens.

I find that it works well to let one cone “rest” just about as long as it takes the next cone to bake. Then off with the old, on with the new! You can dip the ends of your finished cones in chocolate and roll them in sprinkles, crushed nuts– anything you want, really. Or you can just enjoy them plain (with or without ice cream). They are DEEEEELICIOUS!
And just so you know– the more cones you make, the more ice cream you can eat. 🙂
You did it. And I’m just so proud of you.

Disclosure: This post may contain affiliate links, which just means that we get a few pennies if you purchase through our link. I never recommend products that I don't personally use and love. Thanks!
