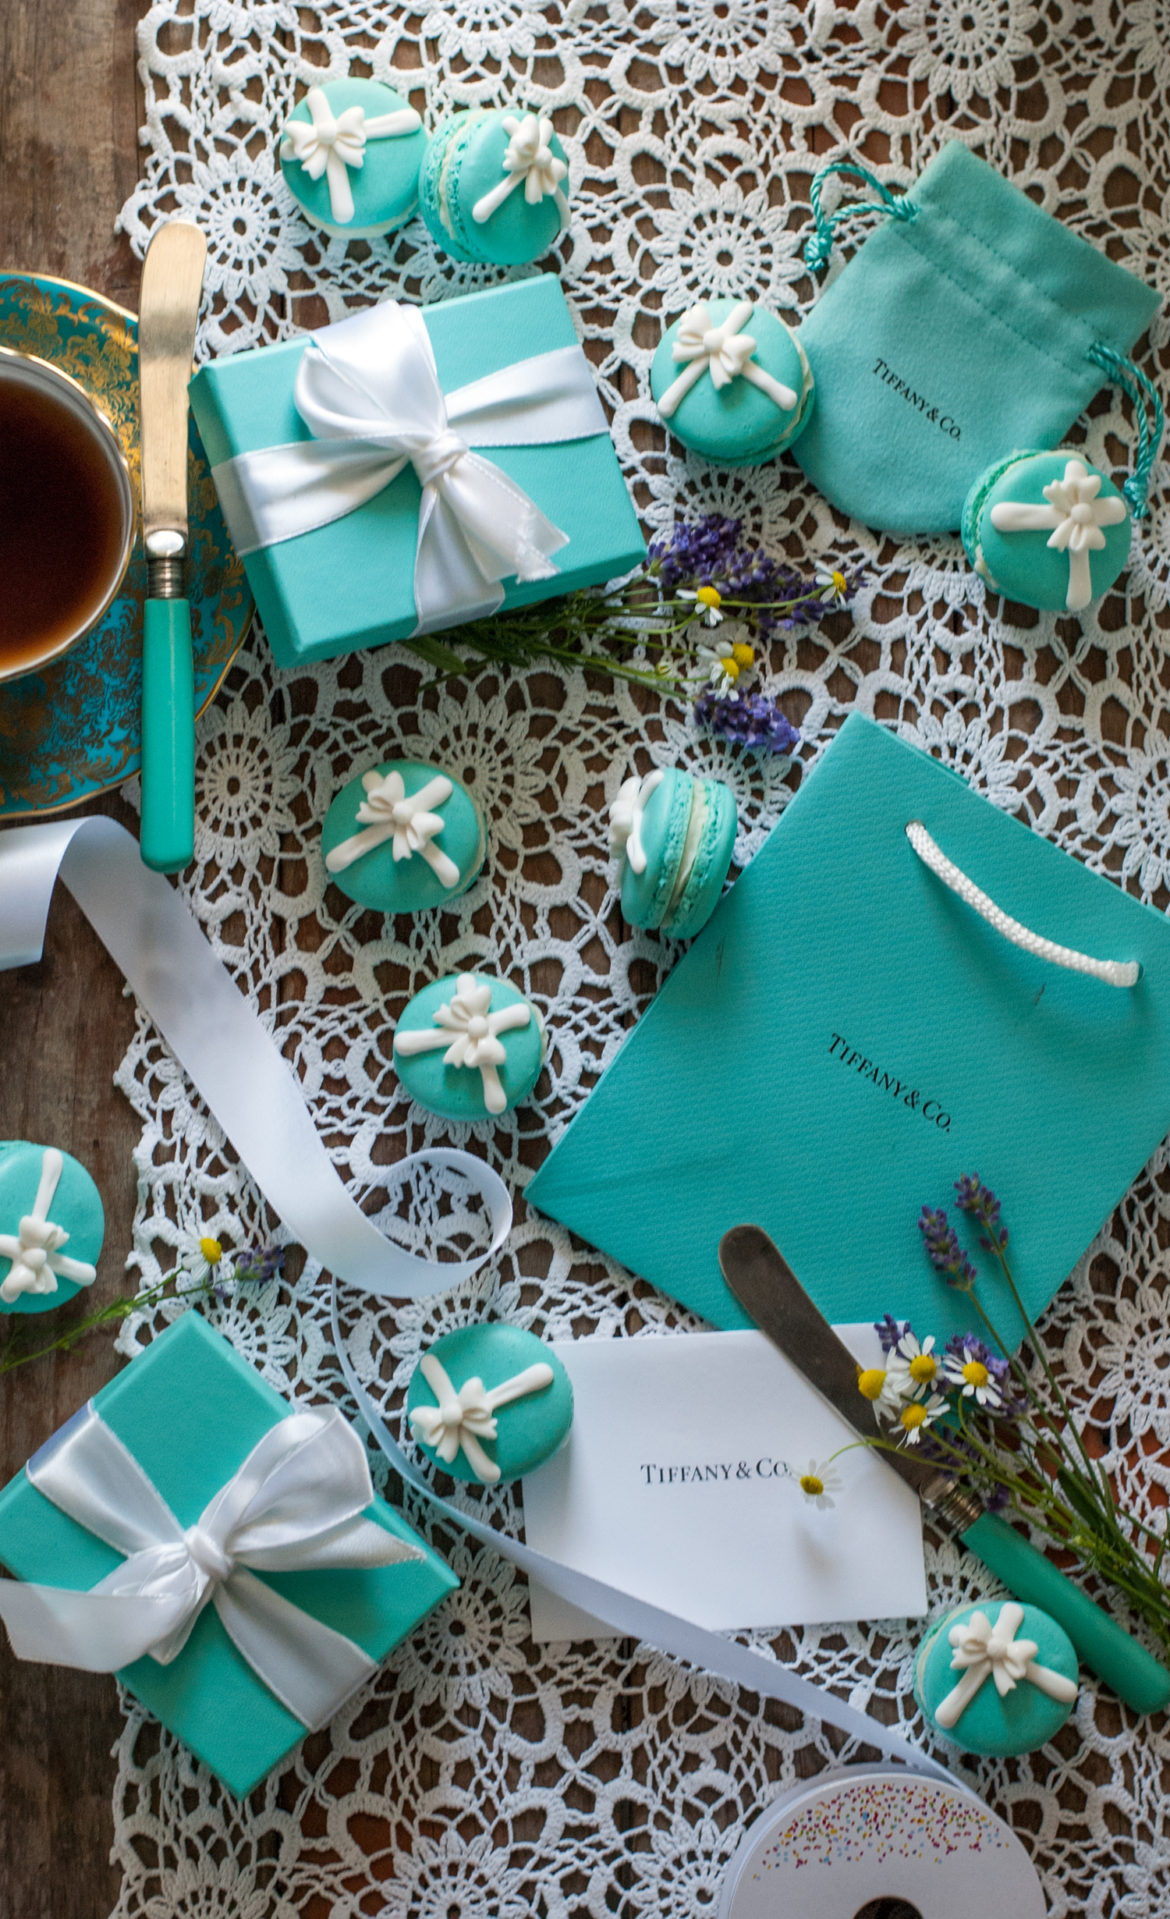
If there is something more elegant than a pristine Tiffany & Co. box perfectly serenaded by a soft, satin ribbon, then I don’t know what it is. When a good friend of mine told me that her favorite movie was “Breakfast at Tiffany’s” I knew exactly what I wanted to do. These Tiffany & Co. French Macarons would be perfect for any occasion– from a bridal or baby shower to just a fun “let’s spend some time together” tea with the girls. But no matter who your lucky gift recipient is . . . be sure to keep at least a few for yourself. They are as cute as they are delicious!
What are we waiting for? Let’s do this!
Tiffany & Co. French Macarons
Macaron Ingredients:
100 g. egg whites
1/4 tsp. cream of tartar
50 g. white sugar
200 g. powdered sugar
110 g. almond flour
White Chocolate Ganache Filling:
1/3 cup heavy cream
1 cup white chocolate chips
Directions:
Whip room temperature egg whites, cream of tartar, and white sugar with the whisk attachment of yourstand mixeruntil the whites reach stiff peak stage. Meanwhile, pulse your almond flour and powdered sugar in afood processor
until the mixture is well combined. Sift your almond flour/powdered sugar through a sieve and throw away the pieces that are too large to pass through the sieve. When the whites have whipped into stiff peaks, fold the almond/sugar mixture into the whites gradually and carefully until they reach proper “macaronage.” Place 2-3 drops of gel food coloring into the batter and swirl gently before carefully pouring into a piping bag. Pipe meringue circles onto a silpat
using a template, if desired, and slam the cookie sheets several times on the counter to dislodge air bubbles. Allow circles to dry for 20 minutes before baking at 300 degrees for 20 minutes, one sheet at a time, in the center of the oven (move oven racks, if necessary). Do not open the oven until the 20 minutes are up, and use an oven thermometer for best results. When your macarons are done they should feel “firm on their feet.” If the macaron shells are soft or crack when gently touched, bake for 2 more minutes and test again until they are firm on their feet. After baking, remove entire silpat to cooling rack and allow shells to cool, completely, before removing them from the silpat.
To make ganache filling, warm cream over low heat, until it has small bubbles along the sides (but has not boiled). Stir in white chocolate chips just until melted. You can also use the microwave, stirring after each 30 second heat. It should take roughly 1.5 minutes for the chips to be warm enough to melt when stirred. Allow warm ganache to chill in the refrigerator until it reaches the consistency of caramel sauce. Whip with the whisk attachment of your mixer until the ganache is fluffy and then chill again until it reaches a pipeable consistency. Fill cooled shells with whipped ganache and chill finished macarons in an airtight container in the refrigerator overnight. Filled shells are perfect after 24 hours of curing but may be stored several days in the refrigerator or up to a month in the freezer.
Now, in pictures

To begin with, just for fun, I made 2 kinds of macarons today– the French method macs (which you see reflected in the directions, above), and Italian macarons, which use a heated sugar syrup (like you see here). French is the quicker way, but it’s harder to get right. Italian takes longer and uses more dishes, but the shells are less prone to difficulty, in my opinion. If you’re wondering what the heck the difference is, you can check out my more detailed Italian vs. French macarons post. I will also show you what the difference was between these two batches when they were finished baking. But first, just gaze in rapture at that Mauviel copper sugar pot. It’s a thing of beauty, my friends. Sigh. I love it. Every serious candy maker should have one. There is just nothing like it for sugar work.

Once you have made about a million macarons, because you are OCD and wanted to see how the French vs. the Italian ones looked in the end (read: everyone in the world please come eat macarons at my house. I can feed the entire army and have enough for everyone to have seconds) . . . you need to pipe out the little guys on silpat mats and let them dry. Since it is muggy and humid here in Virginia (85% humidity today), I am using a little tabletop dehumidifier. I had terrible trouble getting my macaron shells to dry before I started using this, but now they dry like a charm, form that pretty little shell, and puff up like champs in the oven for me without budgeting an entire day for drying time. This is mostly a decorating tutorial, since we have made macarons so much lately. But if you are new to macaron making please check out my more detailed post about making them here.

Here are my shells, all pretty and baked. Sigh. This sight will never get old– those beautiful little discs smiling at me when I open the oven. Never. Gets. Old.

For your pleasure, here are the different batches– French macarons are on the left, and Italian macarons are on the right. French macarons are not as tall and have a more ruffly foot. Italian macarons are taller, with a smoother shell and a less ruffly (more in line with the top of the shell) foot. Both are delicious. Eh . . . “Potato, Pahtahto.” But it’s cool to compare them. Personally I think French look prettier filled– nicely rounded. When Italians made this cookie originally they just ate the shells individually. French added the filling. You can kind of see why. Both are beautiful, but French look great with a little extra filling while the Italian look ok standing on their own two (one?) feet.

Shells for days, my friends. For DAYS. You can freeze the shells for months and have them when you get the craving for a certain filling. Plus, it’s easier to freeze just the shells than the entire filled macarons because they don’t take up as much room in the freezer that way. Coming from a person whose entire freezer is full of macarons, you can take my word on this. Um . . . is anyone hungry? *throws macarons at you*

My friend Nancy, whose favorite movie is “Breakfast at Tiffany’s,” is one of the kindest and most generous souls you could ever meet. So even while I was planning these macarons in her honor she thought of me and sent me some gorgeous Tiffany and Co. boxes to use in the photos, as well as these silicone fondant molds so I could decorate the pretties even more GORGEOUSLY. Um, yes. You all need a friend like this in your lives.
This was my first time using fondant and fondant molds, but she talked me through it, and now I’m hooked!

Using her instructions I used a paintbrush to dust the molds lightly with cornstarch before I started. She also told me to keep the fondant covered (I used a piece of plastic wrap and just took out what I needed as I went then covered the rest of it up to keep it from drying out). You press a little bit of fondant into your dusted mold, squish it down, use a toothpick or knife to scrape off the excess, then carefully bend the mold so that your shape can pop out. Voila. Adorable little bows, just waiting to adorn my Tiffany and Co. macarons. You can make these fondant decorations ahead of time and store them in an airtight container if you want– that way you can just grab and decorate the next time you bake.

I used Royal Icing for my “ribbon,” mainly because I had some hanging around, and also because it dries hard and was a great way to stick my bow to the macaron.

I tried a few different bow placements . . .

But in the end I decided that top left was my favorite. I made a few other kinds too so that there would be a nice variety. The bows were so adorable and really dressed these babies up. It was like dressing up tiny little cookies for Prom. So fun. I felt my inner little princess coming out. I wonder who would ask a Macaron to Prom. Maybe an Opera cake. The tux seems to work . . . hehe.

Save about half of your shells and don’t decorate them, so that you have plain shells for the bottoms. If you have a bow on both top and bottom, the little gals won’t be able to sit down. haha. So use a plain shell for the bottom and a decorated shell for your top. I used a whipped white chocolate ganache ring and then filled the centers with Nutella and a few with salted caramel. You can also use jam, fruit curd, or anything you like really. Just make sure that you have something solid like buttercream or whipped chocolate ganache for the outer ring so that it will solidify when chilled and keep your “guts” inside the cookie. If you use just jam or something similar, then it will ooze out when people try to eat it. If you love it, put a ring on it. 😉

Um, yes. Absolutely freaking adorable. I just want to reach out and pinch its chubby little macaron cheeeeeeekkkkksssssssss. *heart eyes*
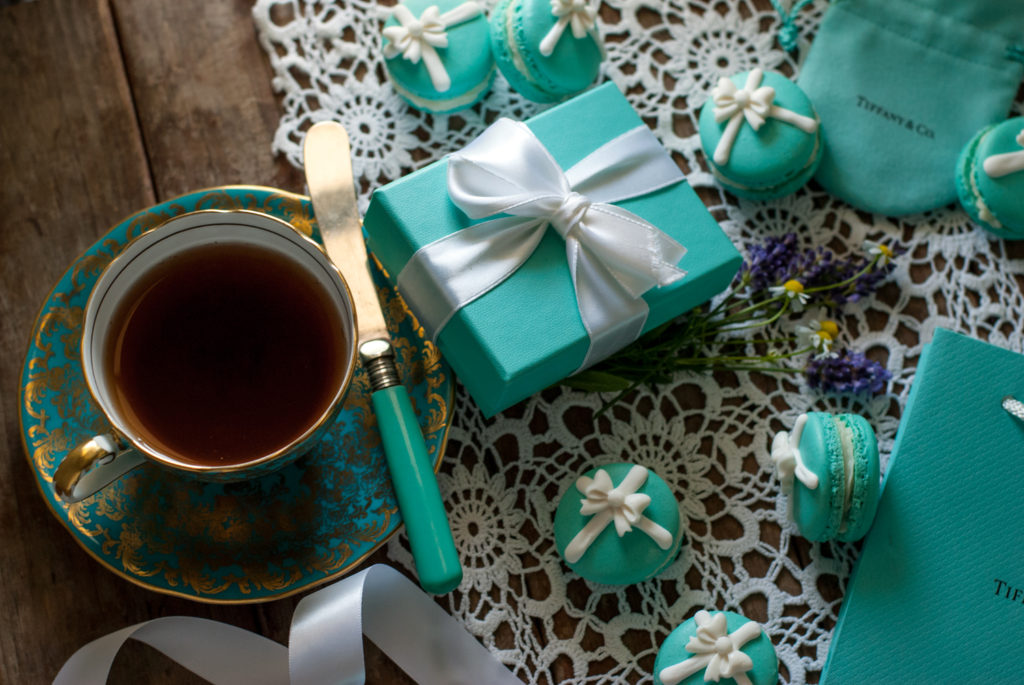
When you get your macarons filled cover them with plastic wrap and let them chill out (literally) in the fridge for about 24 hours or overnight. You don’t absolutely have to do this, but the “melding” takes place during this time– the shell loses some of its rigidity and soaks up the flavors of the semi-liquid filling, creating one perfect, nougat-ey bite of blissful perfection.
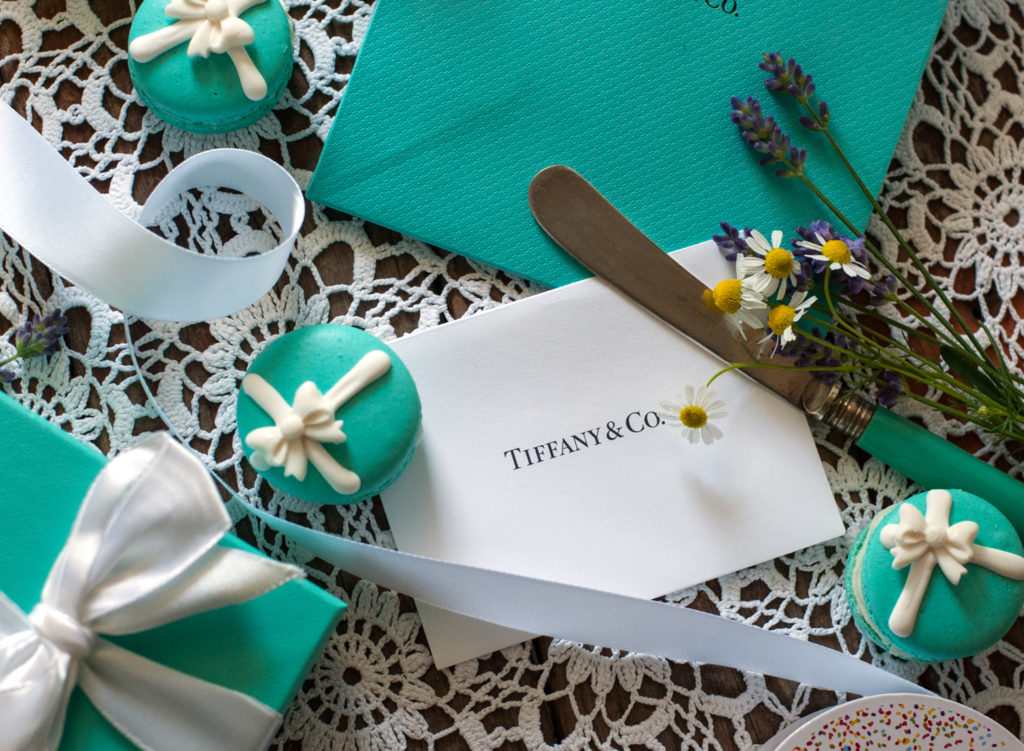
You can also freeze these little beauties, but since they contain fondant and royal icing, let them thaw at room temperature, uncovered, or the icing will break down with the condensation inside the plastic covering.

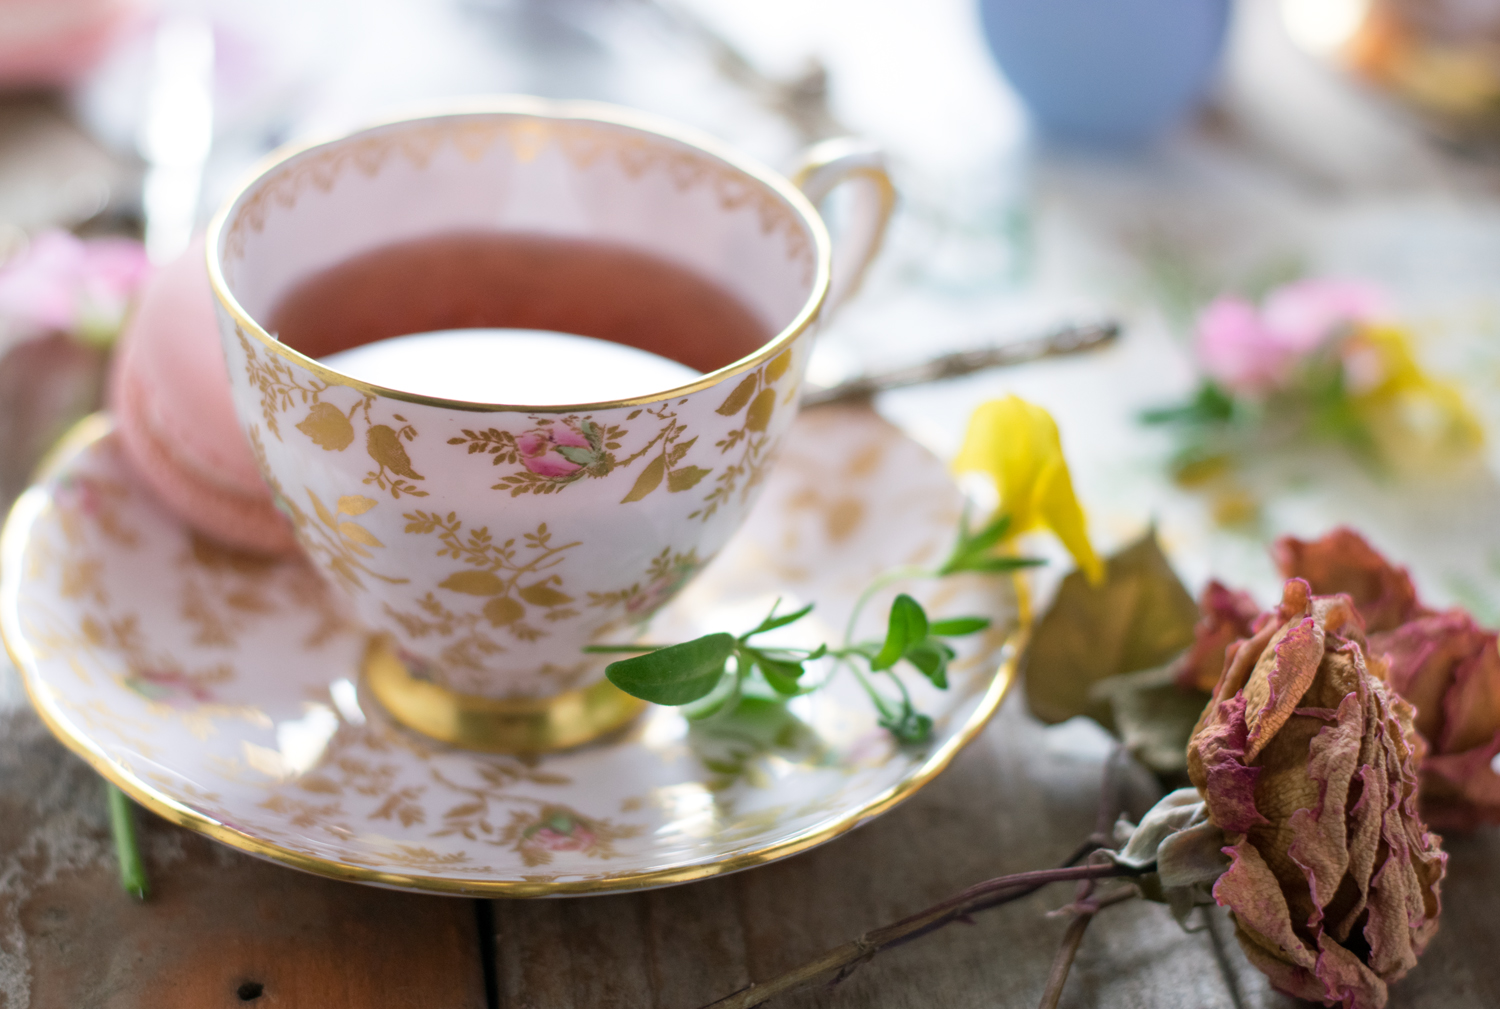
I strongly suggest making a glorious “Breakfast at Tiffany’s” tea party. Serve croissants and let the girls wear pearls and sip tea from china teacups. Extend your little fingers as you sip and pretend to be Audrey Hepburn. Laugh and have fun. Just enjoy your time together.
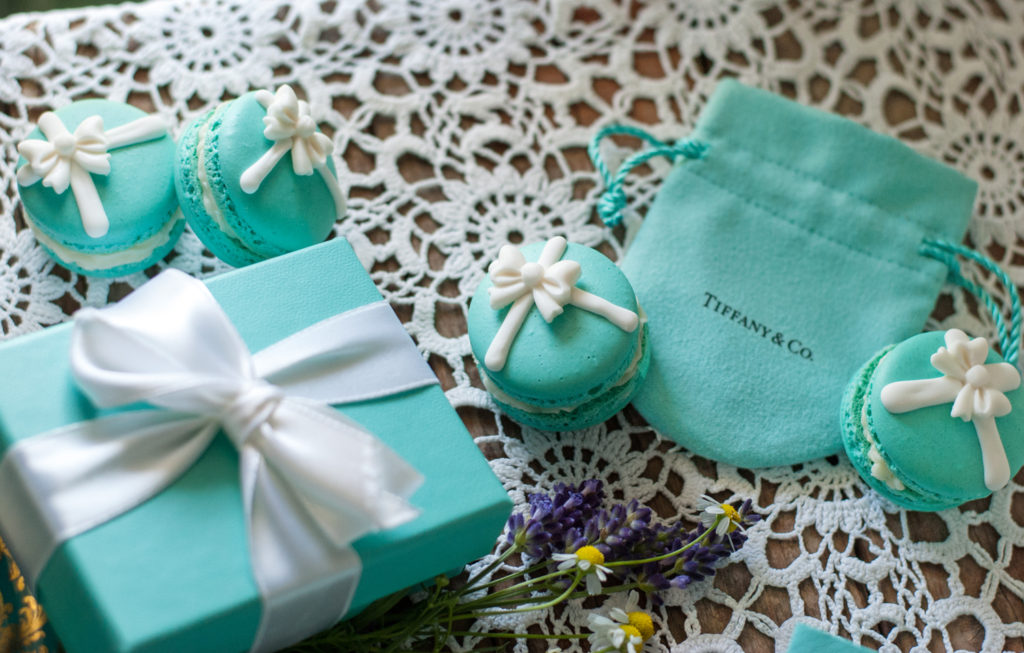
Honestly, life is too short not to savor the people that you love and find little ways to spoil them every single day.
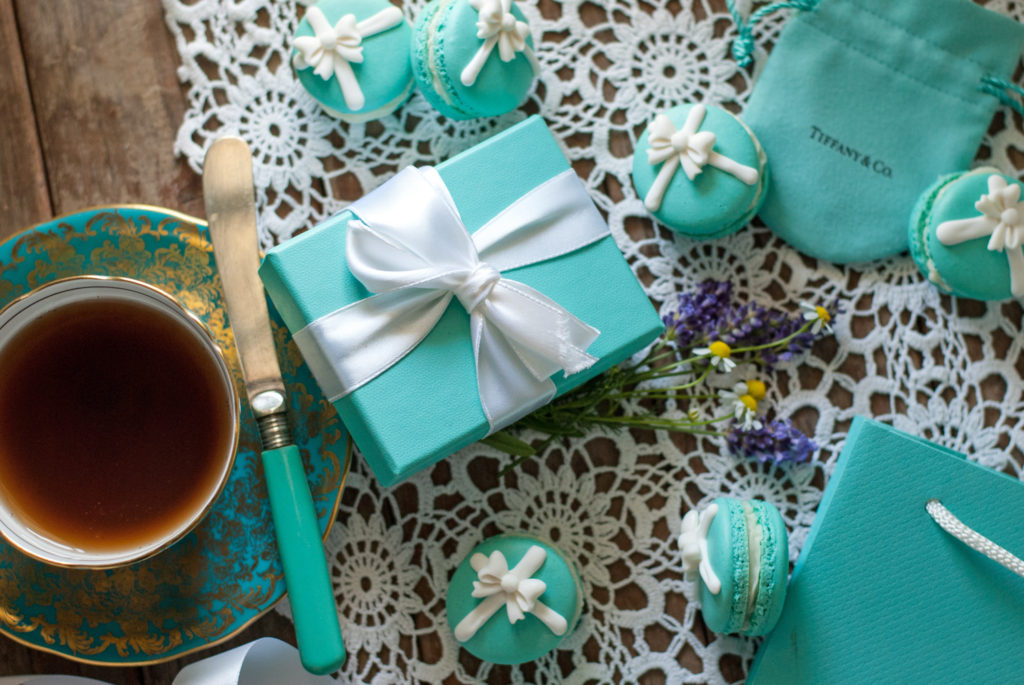
You did it. And I’m just so proud of you.

Disclosure: This post may contain affiliate links, which just means that we get a few pennies if you purchase through our link. I never recommend products that I don't personally use and love. Thanks!
