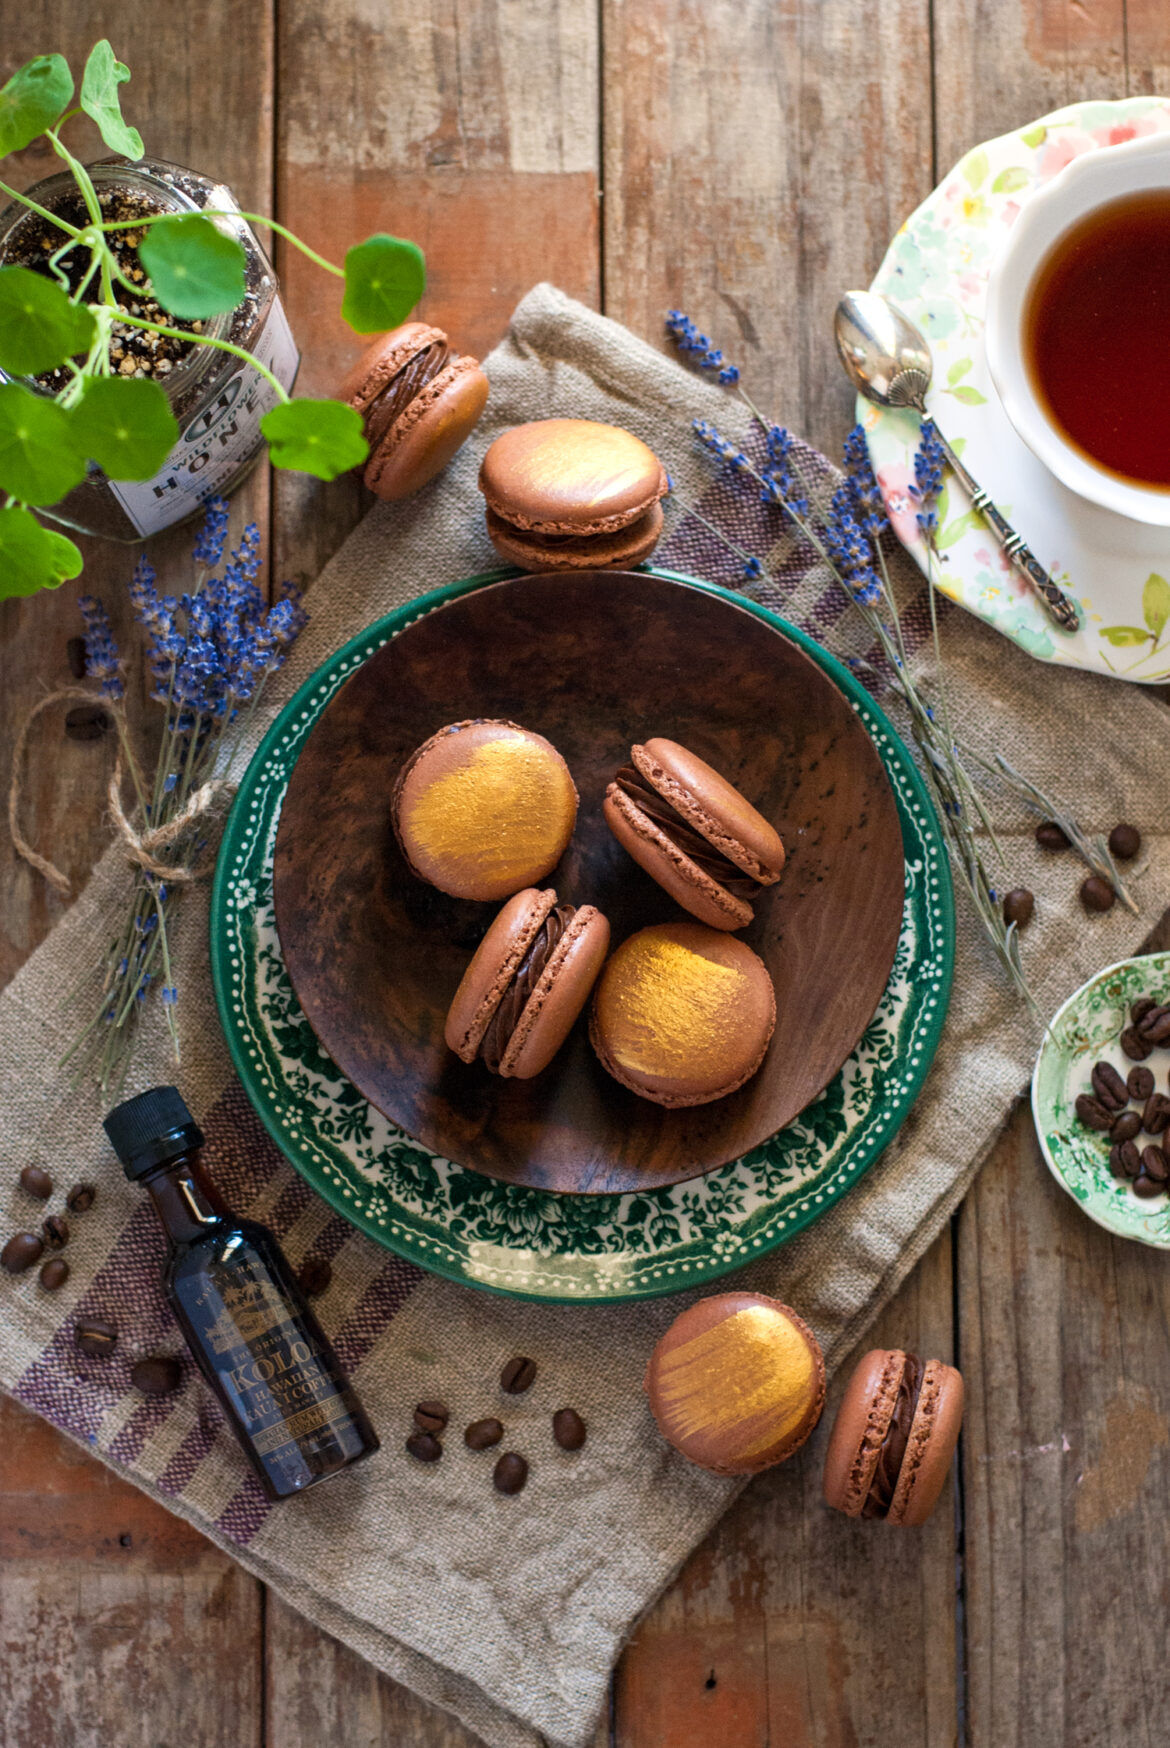
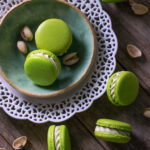
Someone asked me the other day to make Coffee Rum French Macarons. “Wait. There is coffee flavored rum?” said I.
“Yes and it would be great in French macarons,” said she.
And she was right.
What are we waiting for? Let’s do this!
Coffee Rum French Macarons
Macaron Ingredients:
100 g. egg whites
1/4 tsp. cream of tartar
50 g. white sugar
200 g. powdered sugar
110 g. almond flour
5 g. cocoa powder
Coffee Rum Ganache Filling:
1/2 cup semi-sweet chocolate chips
1/4 cup heavy cream (*note: replace the amount of cream with your desired amount of coffee flavored rum (I used KÅloa Rum)– 1 tsp. rum will give just a hint of rum flavor, while up to 2 tbsp. will give a strong rum flavor. Alternatively, you can leave out the rum if you prefer “virgin” macarons 🙂
1 tsp. espresso powder
Directions:
Whip room temperature egg whites, cream of tartar, and white sugar with the whisk attachment of yourstand mixeruntil the whites reach stiff peak stage. Meanwhile, pulse your almond flour and powdered sugar in afood processor
until the mixture is well combined. Whisk in cocoa powder. Sift your almond flour/powdered sugar mixture through a sieve and throw away the pieces that are too large to pass through the sieve. When the whites have whipped into stiff peaks, fold the almond/sugar mixture into the whites gradually and carefully until they reach proper “macaronage.” Place 2-3 drops of gel food coloring into the batter and swirl gently before carefully pouring into a piping bag. Pipe meringue circles onto a silpat
using a template, if desired, and slam the cookie sheets several times on the counter to dislodge air bubbles. Allow circles to dry for 20 minutes before baking at 300 degrees for 20 minutes, one sheet at a time, in the center of the oven (move oven racks, if necessary). Do not open the oven until the 20 minutes are up, and use an oven thermometer for best results. When your macarons are done they should feel “firm on their feet.” If the macaron shells are soft or crack when gently touched, bake for 2 more minutes and test again until they are firm on their feet. After baking, remove entire silpat to cooling rack and allow shells to cool, completely, before removing them from the silpat.
To make ganache filling, mix ingredients in a microwave safe bowl. Heat in 20 second increments just until the chocolate melts (do not let mixture get too hot– 2 “heats” should be close to enough). Allow warm ganache to chill in the refrigerator until it reaches the consistency of cake icing. Whip chilled ganache with the whisk attachment of your mixer until the ganache is fluffy and a consistency that can be piped easily. Fill cooled shells with circles of whipped ganache. Cover finished macarons with plastic wrap and allow them to to chill in the refrigerator for at least 24 hours until you are ready to serve them.
Now, in pictures! ?
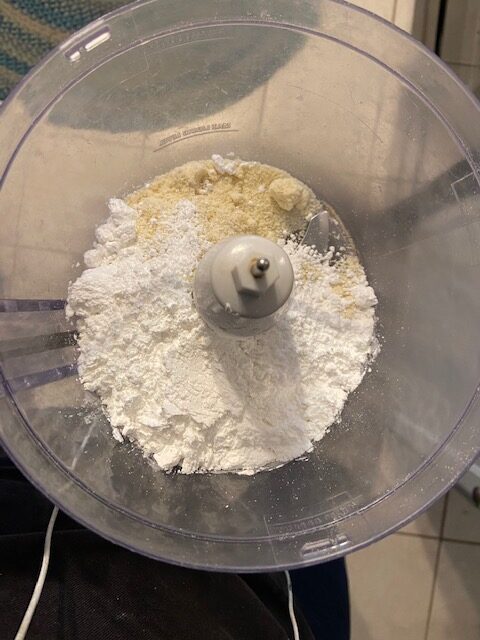
We make a lot of macarons around here. And since you are star pupils I know that you have seen many macaron tutorials. So let me just run through the basics in case you are new, but I won’t talk about every detail in case you are old (Well, I mean OLD in the best possible way. Experienced? Yes. That’s better). If you are new to making macarons, check out my much more detailed tutorial here.
Otherwise, let’s carry on. You’re a genius– you don’t need training wheels. *haughty harrumph*
Go ahead and pulse your almond flour and powdered sugar together in the food processor before whisking in your cocoa and sifting everything three times. Say WHAT??? Yes. Do these steps. I have tried cheating the system and it messes up your macarons. Pulse. Sift thrice. Stay nice.
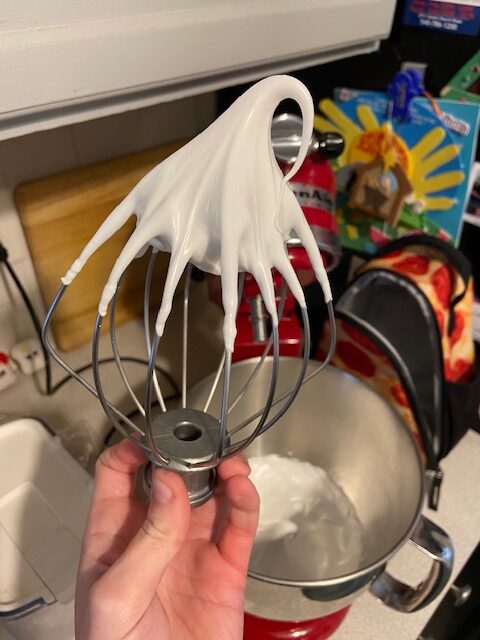
Next, whip your egg whites, cream of tartar, and white sugar in the bowl of your stand mixer until you have achieved the shiny “birds beak” of stiff peak egg white bliss. Ahhhh. It’s blissful.
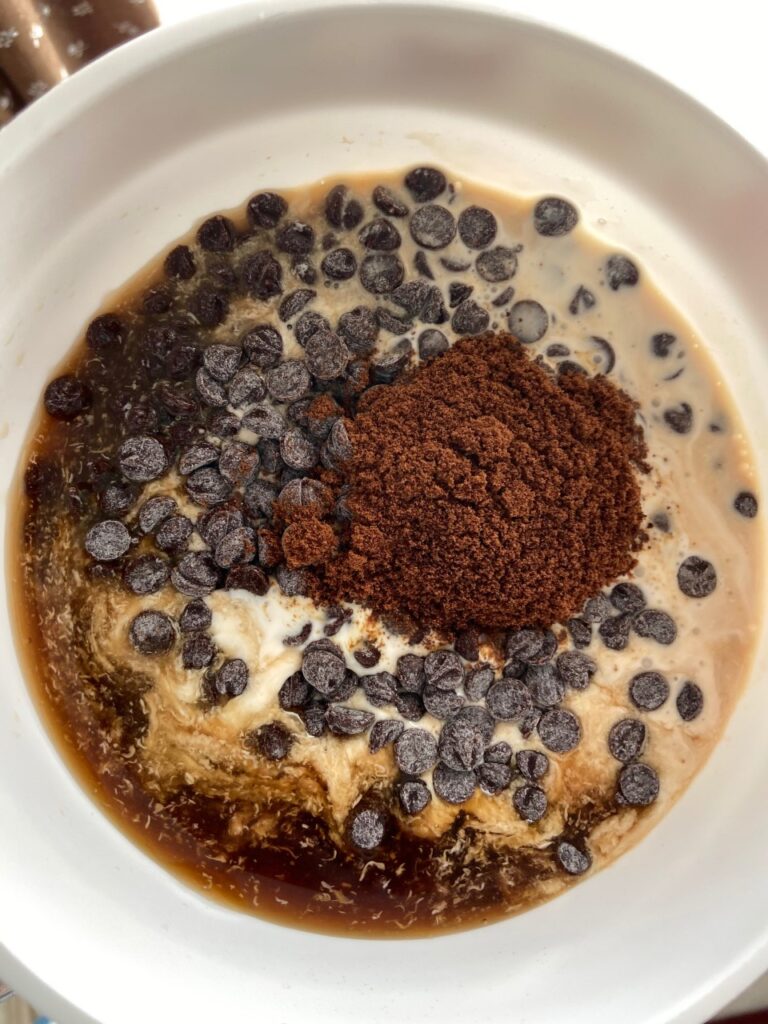
Goodness what is THAT monstrosity? Why I’m so glad you asked.
This is the time when we are busily baking our macaron shells and, not wanting to waste time (due to our baking genius), we start on the boozy ganache filling so that the shells will be ready to pick a nice matching shell and settle down when they finish college . . . I mean, uh, baking.
Start out by putting your chocolate chips, cream, rum, and espresso powder into a microwave safe bowl. We don’t want this mixture to be hot– just warm enough to melt the chocolate. Microwave this in 20 second increments just until the chocolate can be stirred into the liquid. It takes me 1-2 “heats” to melt the chocolate. Keep stirring and the chocolate will slowly melt into the ganache. You do NOT want this mixture to be hot or curdled. Just warm. Think warm. Warm hugs. Warm people. Warm ganache.
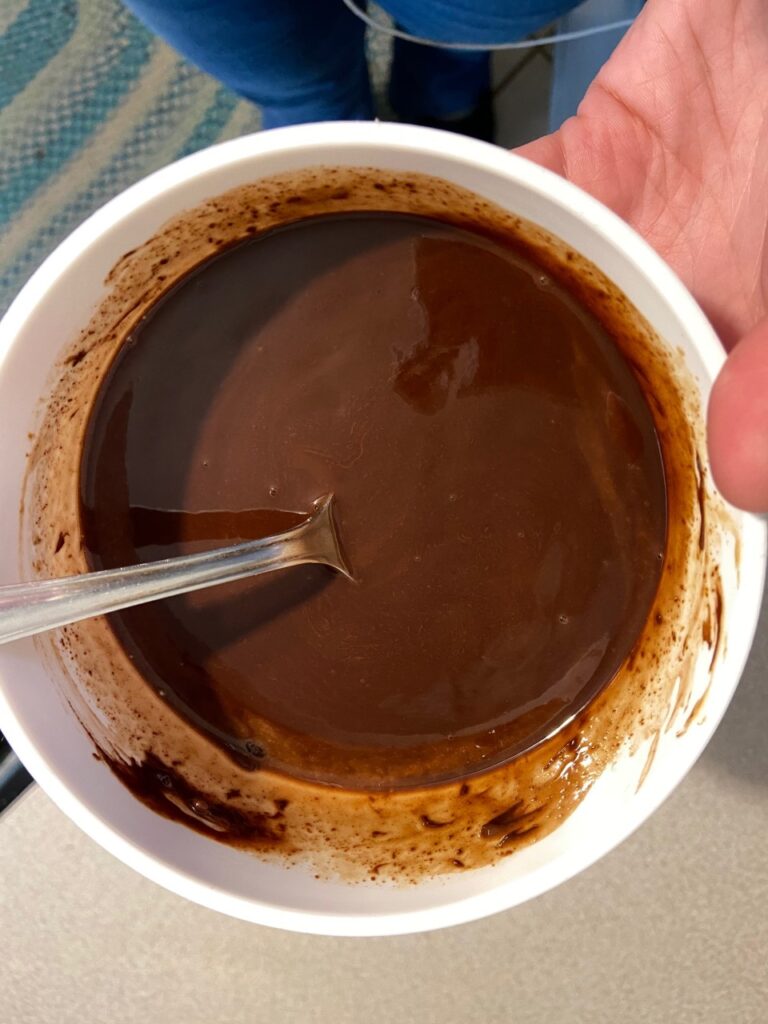
Perfect. I knew you could do this. You’re a genius. I love working with you.
By the way. I was so focused on your perfection that I forgot to mention why we put espresso powder in here. Espresso powder is kind of like, super saturated coffee flavor. But it has a hidden talent. It also does part time makeovers for chocolate. Yes. Espresso powder makes chocolate SHINE. Even a little bit makes chocolate flavor really pop. In this case espresso powder is pulling a double shift. It highlights the coffee flavor in the rum, and it also polishes the chocolate and adds mascara. How’s that for multitasking.
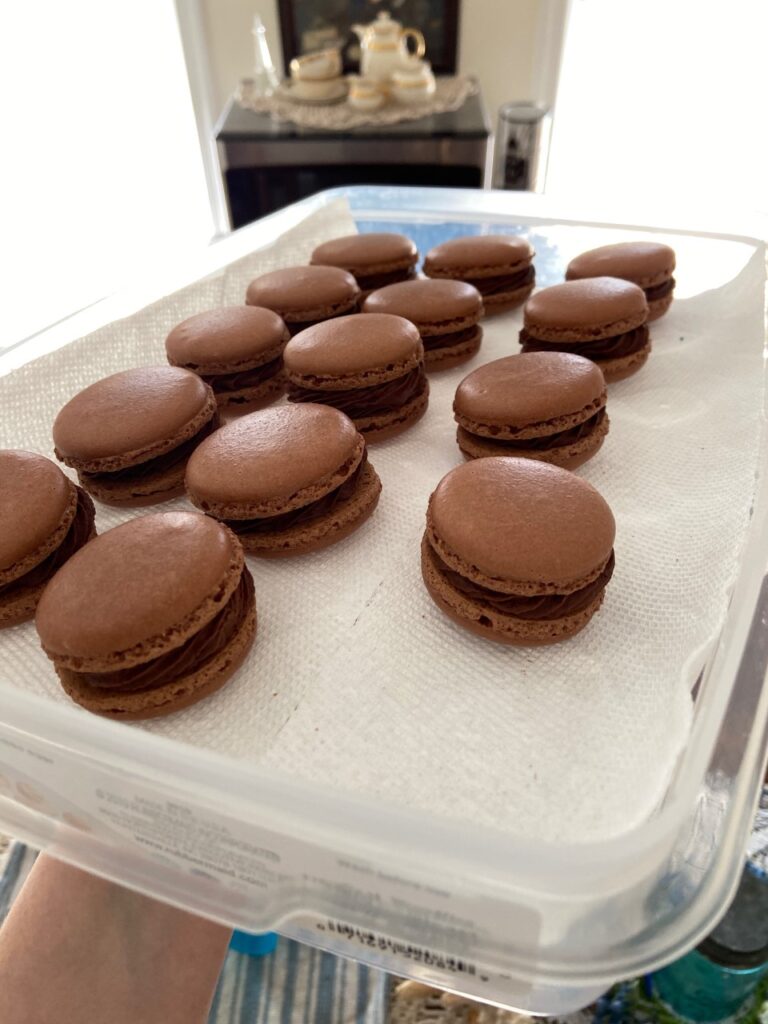
Let your ganache chill in the fridge for 5-10 minutes, stirring every few minutes, until it is the consistency of cake icing. Remember we didn’t want our ganache to be hot? This is why. We needed to *just* melt the chocolate, but ultimately our ganache needs to be thick enough to be whipped. Get it to be cake icing consistency. Then hit it with the whisk attachment on your mixer. Voila. Perfect piping consistency.
Go ahead and use a cupcake piping tip to swirl some of this rum coffee chocolate deliciousness onto a shell. Marry that shell to another shell. But don’t worry too much about shell compatibility. Their union won’t last long. After all, their first date is going to be . . . wait for it . . . the last supper. Hehe. 😉
Gently turn your shells (don’t “squish” them down) on top of the bottom “loaded shell” to make a macaron. Put these ladies in the fridge, covered with plastic wrap, for an hour or so until the ganache hardens enough that you can decorate them.
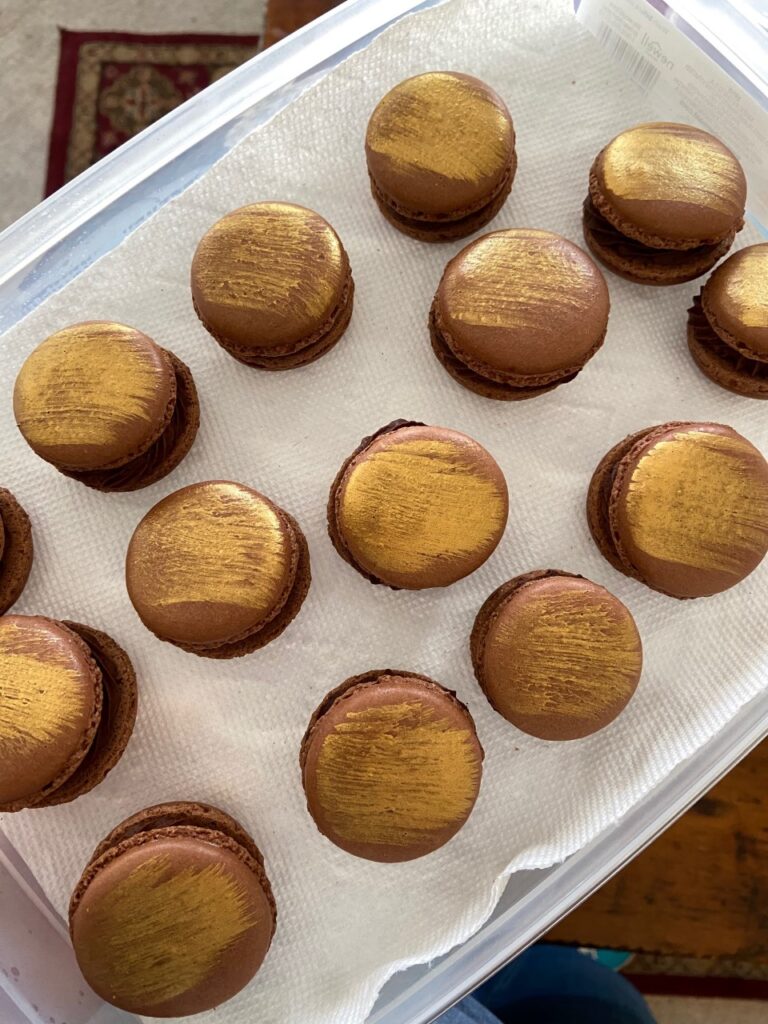
I used a fan brush and some gold luster dust
to decorate these little gals. You can use a drop or two of vodka (which evaporates after decorating) to make the luster dust “paintable.” Gold makes everything better. Husbands, take note. When things need improvement, apply gold. And diamonds. Liberally and often.
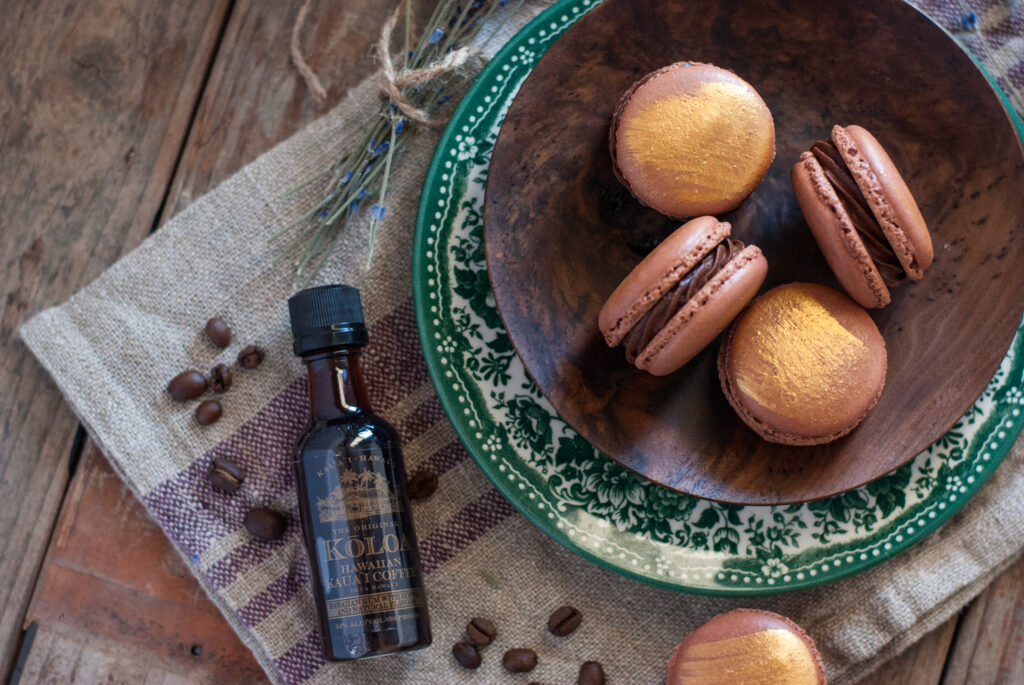
As we have mentioned before (and you remember from other posts since you are a genius with a photographic memory), macarons should NOT be eaten immediately. Yes. This dessert is a procrastinator’s dream.
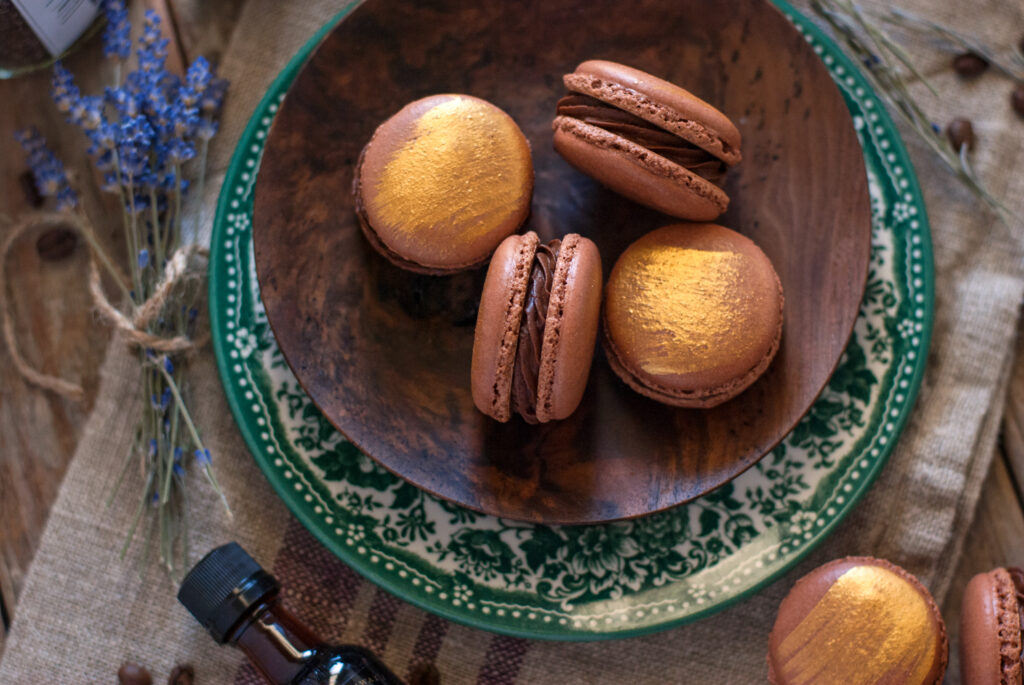
The reason French macarons need to “rest” at least 24 hours is so that the filling and the shell can kind of “become one bite.” A perfect macaron should not have crunch or be crisp. It should be the perfect “nougaty” bite. Surprisingly almost all macaron shells are plain (or have minimal flavoring). Their die hard flavor comes from how their absorb their filling, becoming flavored and softer as they sit. See? Who says marriage doesn’t take compromise.
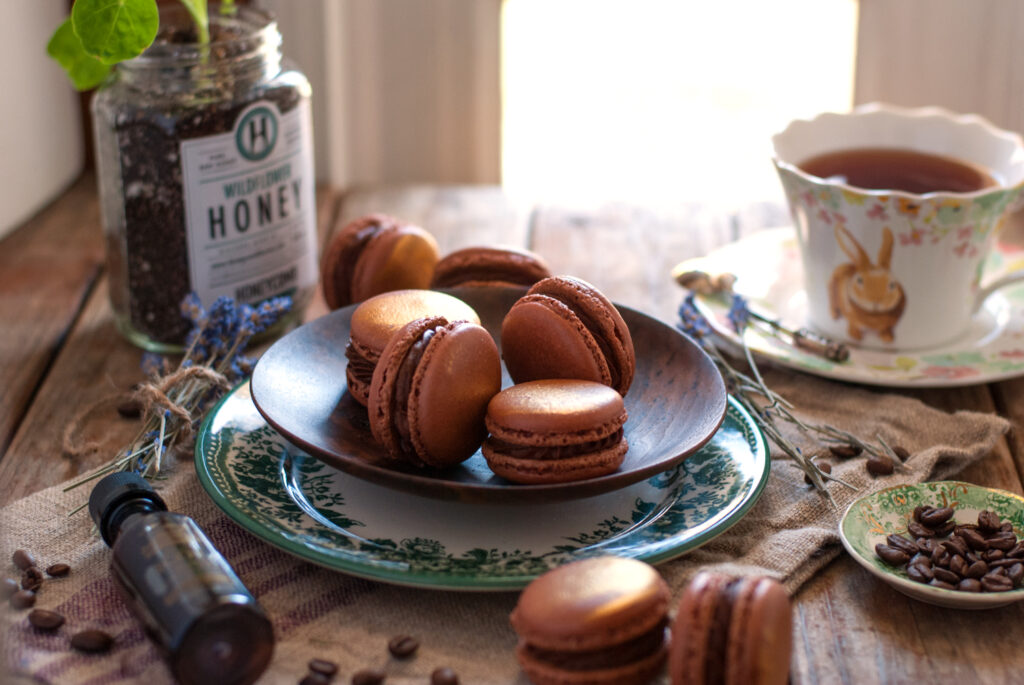
Keep your macarons in the fridge until you’re ready to serve them. You can take them out of the chill about an hour before “the last supper.” hehe. Of course you can eat them straight out of the fridge also.
Oh. That’s cold.
See what I did there? *snicker*
You did it. And I’m just so proud of you.

Disclosure: This post may contain affiliate links, which just means that we get a few pennies if you purchase through our link. I never recommend products that I don't personally use and love. Thanks!
