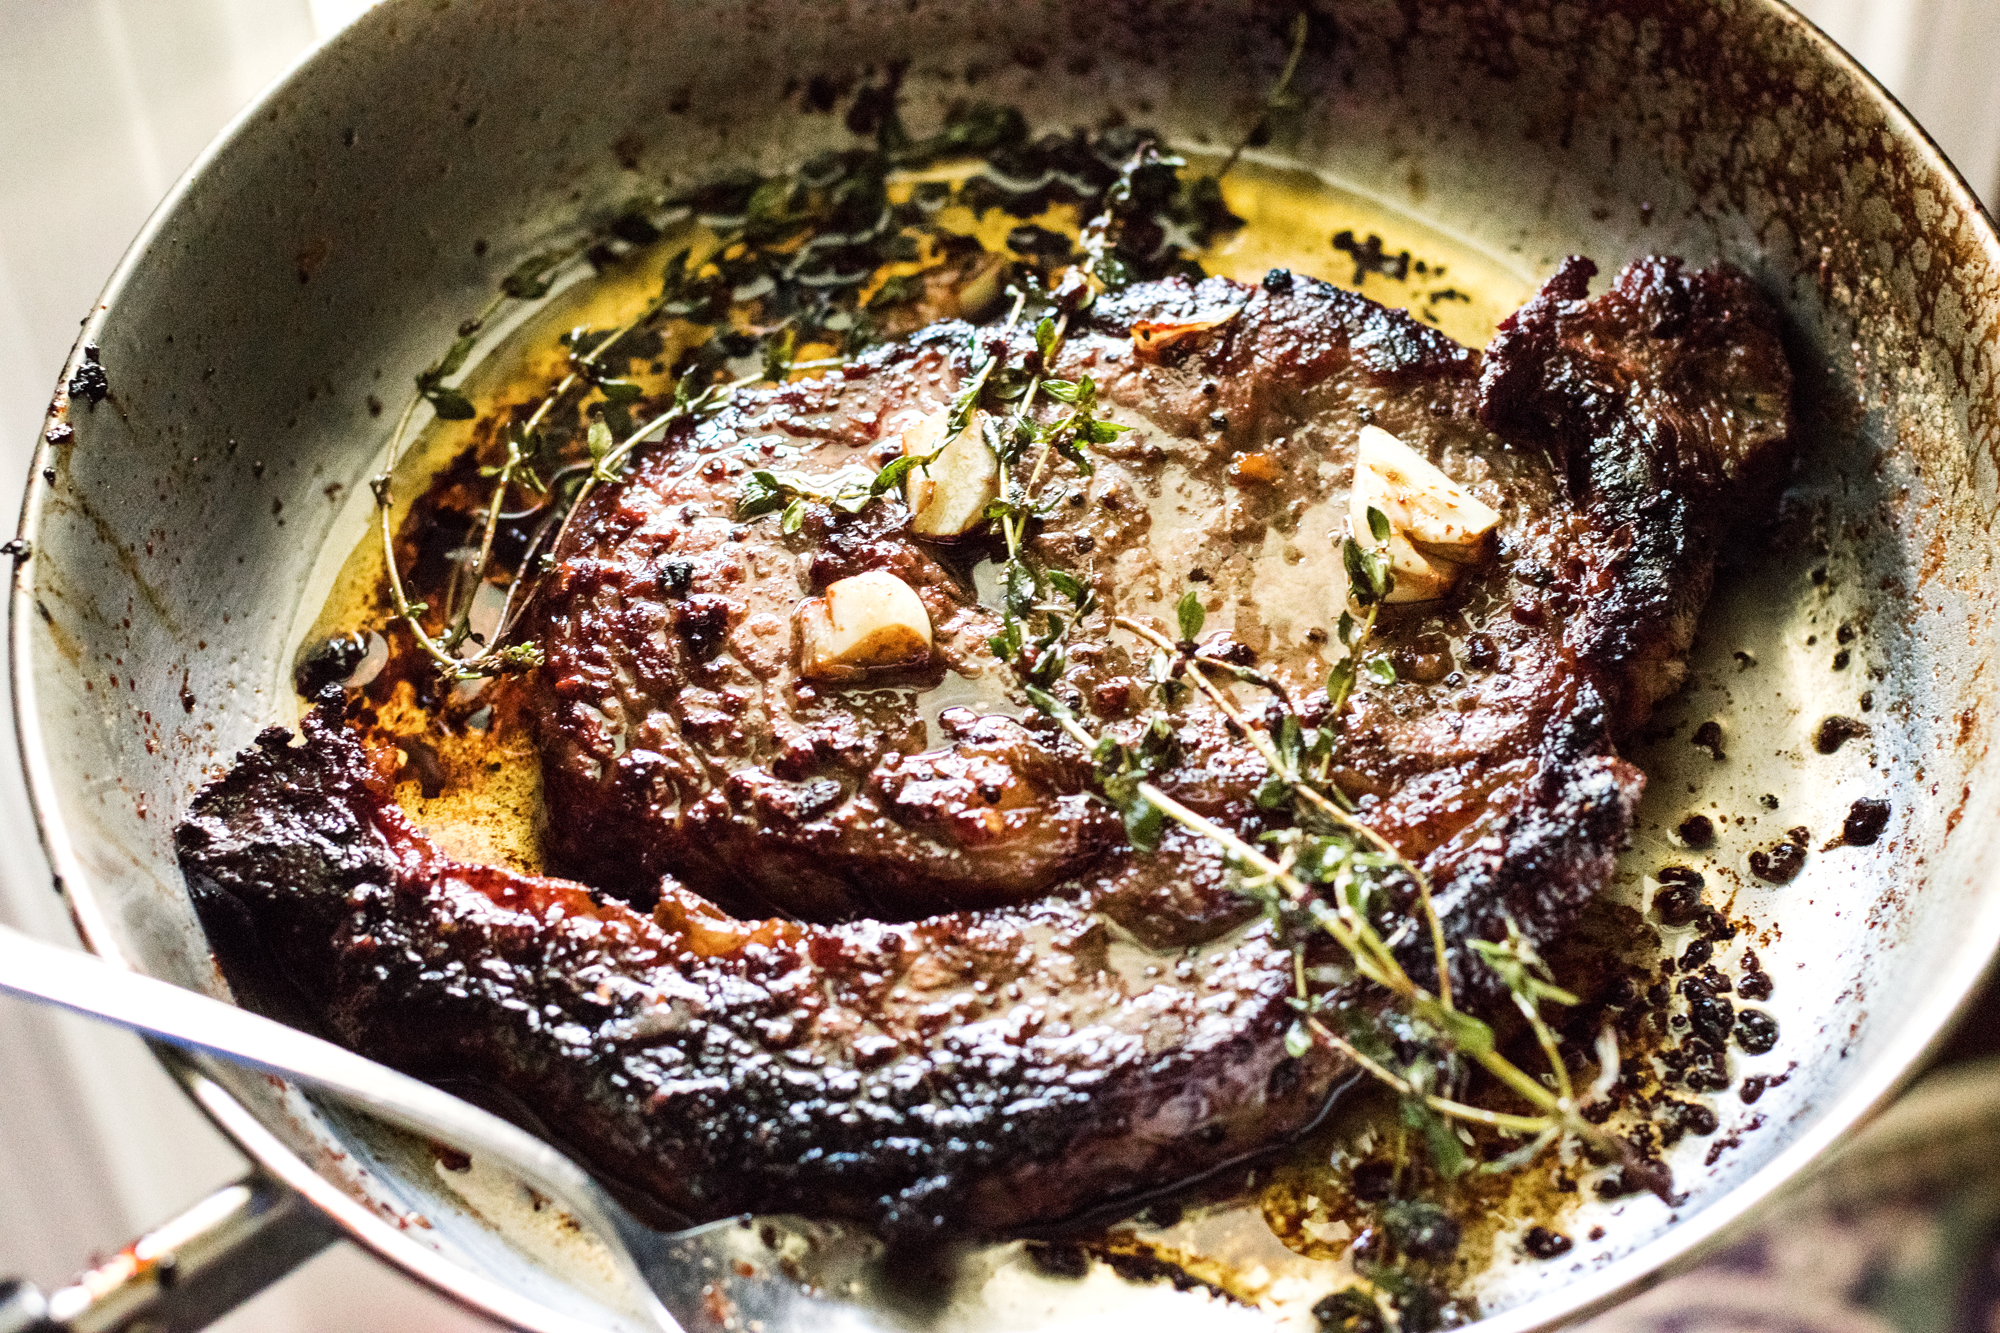
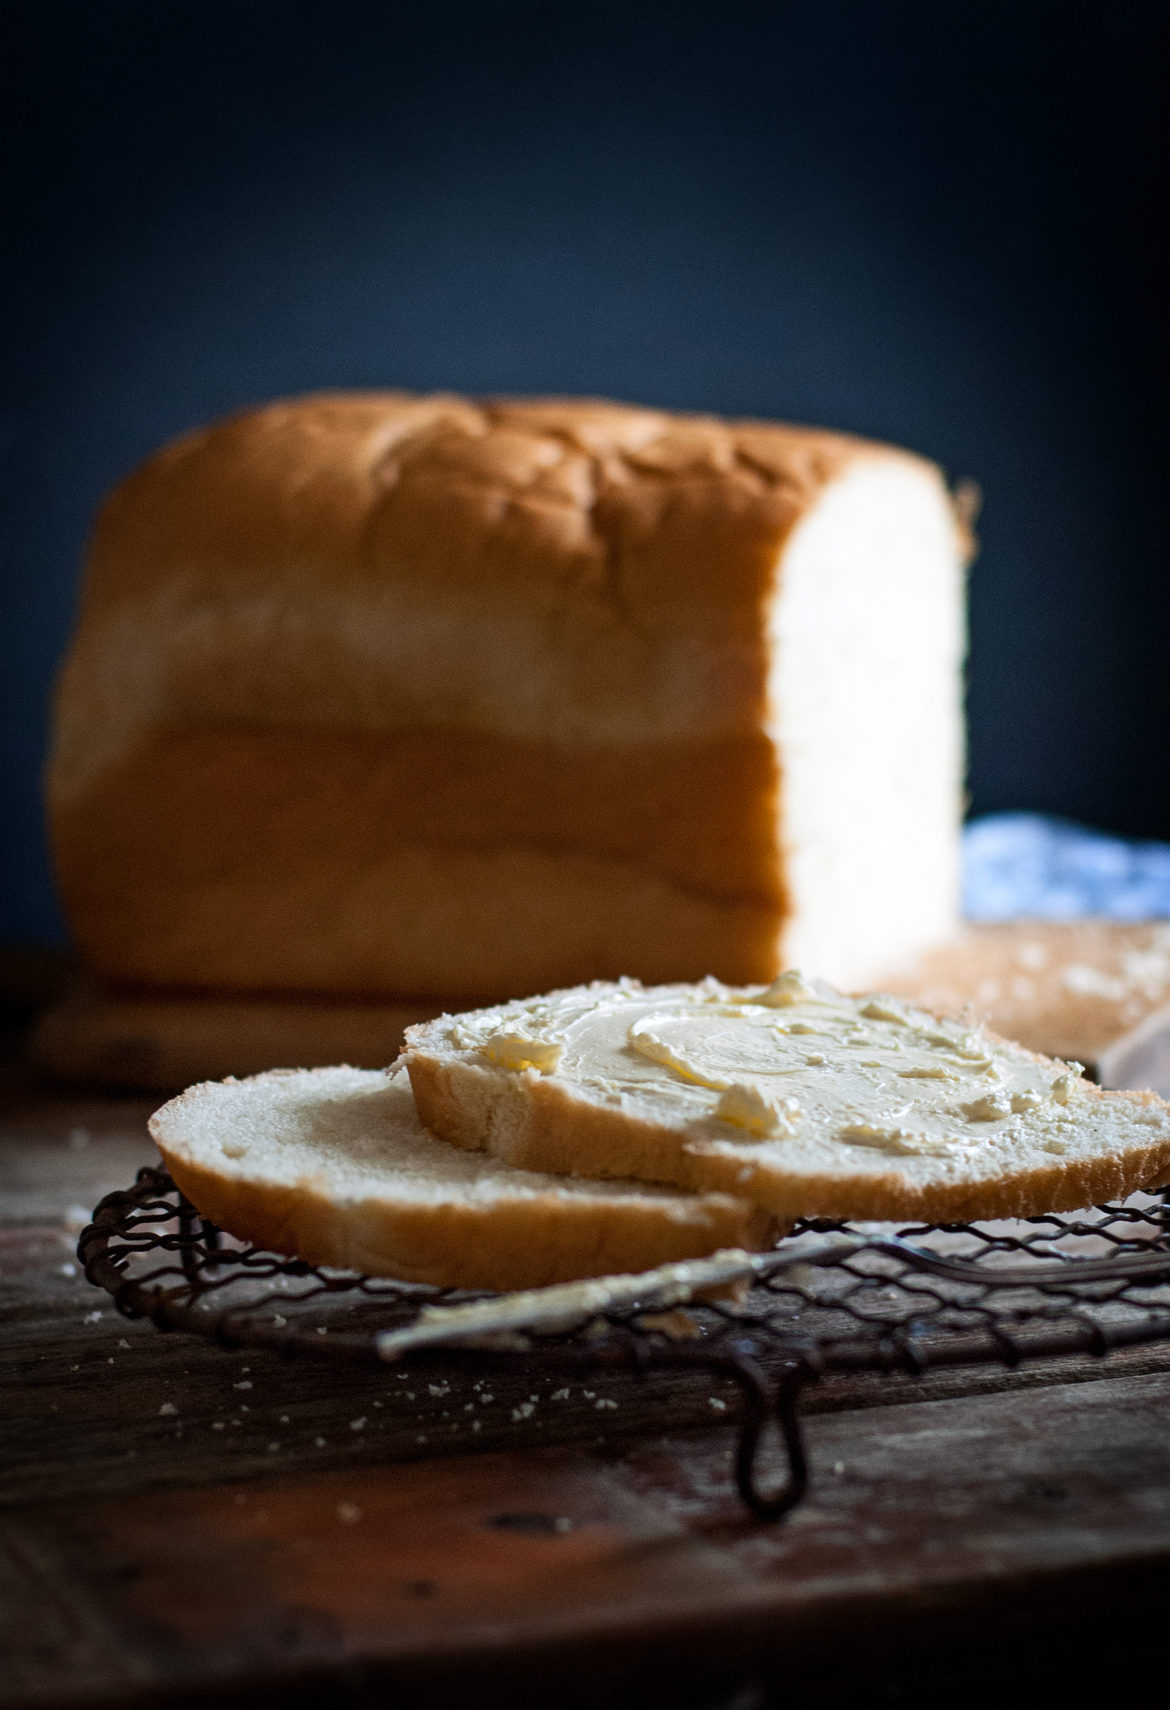
Yum
There is perhaps no recipe more mystifyingly simple, yet more difficult to master, than simple white bread. When I first started baking, there were 3 things that I desperately wanted to learn how to make: biscuits, pie crust, and a simple loaf of white bread. I went through many failures before I finally got the knack of it. And you can, too! And once you taste a sandwich made from homemade bread instead of store bought, you will be spoiled for all time. 😉
What are we waiting for? Let’s do this!
White Sandwich Bread
(Developed from many recipes I have tried over the years)
Ingredients:
1.5 cups warm milk
1/4 cup white sugar
3 tbsp. vegetable oil
2 tsp. instant yeast
1.5 tsp. salt
3-4 cups all purpose flour
Directions:
Add warm milk, sugar, oil, and yeast together in a bowl. Whisk together and gradually whisk flour and salt into liquid to form a shaggy dough. Switch to a wooden spoon and add in enough flour to form a soft dough. Dump dough onto a floured silpat and knead 5-7 minutes until it has the feel and touch of a human earlobe (weird, but it works). Place in an oiled bowl and spray the top with cooking spray. Cover with a towel and let rise in a warm place about 1.5 hours. When dough has doubled in size, gently dump onto your silpat
, again, and form into a loaf. Place into greased 8.5×4.5 inch loaf pans
and allow to crest about 1″ above your loaf pan. Preheat your oven to 375 while your bread is rising in the pan, so that when it is ready, you can just pop it in the oven without having to wait for preheating. Gently slash the tops with a sharp knife (to prevent air bubbles) and bake 10-12 minutes until golden. Cover with foil and continue to bake until center temperature reaches 200 degrees. Invert on cooling racks and brush with melted butter, if desired.
Now in pictures! 🙂

My mom used to say that her grandma made bread when she was had a bad day. There is something so cathartic about the development of dough– of pushing and pulling it– of kneading and folding it. You see it go from a bowl of ingredients to a delicious, yeasty smelling loaf. And you can’t help but feel better afterward. No wonder great grandma found it healing. 😉
Start out by whisking the warm milk, sugar, oil, and instant yeast (does not need to be proofed) together in a bowl. The milk should just be comfortably warm– about body temperature.

Start to slowly whisk in a little bit of the flour, and then the salt. You have to have a little flour in there before you add the salt, just so that it is a buffer of protection against the yeast. (Yeast won’t play ball if there is too much salt). I add maybe 1/2 cup of flour, then all of the salt, then a little more flour little by little until the dough is almost too stiff to whisk.

When your shaggy dough is too thick to whisk anymore, switch over to a wooden spoon and add a little more flour until you get a soft dough. Dump the dough onto a floured silpat mat and knead it– kind of smooshing it down, then pushing and pulling and rolling together. Just kind of constantly smoosh and move it, adding a little more flour as you go to keep it from sticking. After about 5 minutes, you will get a nice soft dough. It should not be super sticky or super dry– kind of tacky. That’s why the flour estimates in most bread recipes are given as ranges– you never “quite” know how much. Just add it little by little until you have a soft, slightly sticky dough. That’s enough.

Spray a bowl with cooking spray and plop that dough ball in there. Mist the top with cooking spray, again, and then cover it up, put it in a warm place, and read it a bedtime story. Well, you don’t have to read it a story. But do let it sleep, warm and tucked in nice and snug, for 1-1.5 hours, until it is about doubled in size and very puffy.

Now what do we have here? I’ll tell you. When I first started making bread, I was mystified because my loaves were rising correctly, but they never got more than 2 or so inches tall, total. I was baffled how people got these beautiful, crowning loaves towering above their pans. Then I figured it out.
The pan on the left is 9×5 inches. The pan on the right is 8.5×4.5 inches. Um, does it really make that much of a difference? Well, honestly, yes it does. The loaf pan on the right is the push up bra of the bread world. It will take what you’ve got and make it look Ohhhhhhh so much better. Use the smaller loaf pan. Trust me.

After about 1.5 hours, our bread dough is nice and puffy and HUGE. Excellent. Now it’s time to shape our loaves.

Use your silpat again– nothing sticks to those babies. Using greased hands (I just spritz with cooking spray), gently flatten your circle and fold over one side. You don’t want flour at this point, because we want the loaf to completely stick together inside.

Then fold over the other side, kind of like an envelope.

Roll the envelope up. This is forming a nice, smooth surface of your loaf.

Tuck under the edges to make it nice and smooth all over.

And plop that sucker into a greased 8.5×4.5″ loaf pan. Use your hand to press it down so that it fits into all sides. Cover it up, again, because it needs to rise another 1/2 hour or so. During this time, preheat your oven to 375 degrees. That way when the dough is ready, you can pop it right into the oven, and it won’t risk overproofing while you wait for the oven to heat. Plus, letting bread rise on top of the oven while it preheats gives it a nice little “spring.” Don’t put your loaf pans over the back vent, but otherwise it’s nice and toasty. 🙂

After half an hour, check your loaves. The literal “rule of thumb” is that your bread should be about 1″ above the top of the pan– just about on thumb knuckle. At that point, it’s ready.

Use a super sharp knife to very carefully score the top of the bread a few times. I didn’t use to do this, and often my loaves had big holes in the center. Scoring the top just allows the air to escape. You want to “just” skim the surface with the knife, not gouge in there. If the knife is super sharp, it will create teeny little cuts in it without deflating the loaf. You can also use fork prints if you want, but slashing seems to work better at alleviating that “hole in the center” syndrome.

Voila. Mind if I cut in?

Bake your bread for about 15 minutes at 375 (use an oven thermometer to make sure your oven isn’t lying to you), and when the surface is brown enough, cover it loosely with foil and put back in the oven again. I usually rotate the pans at this point, too, to ensure even baking, and then bake for about 20-30 more minutes, until an oven thermometer inserted into the center registers 200 degrees. Taking the temperature is how you know it won’t be gooey in the center. Yuck. I usually just flip the bread over and hold it in one hot-gloved hand while I take the temperature with the other hand. That way you don’t have weird pinpricks in the top of your bread.
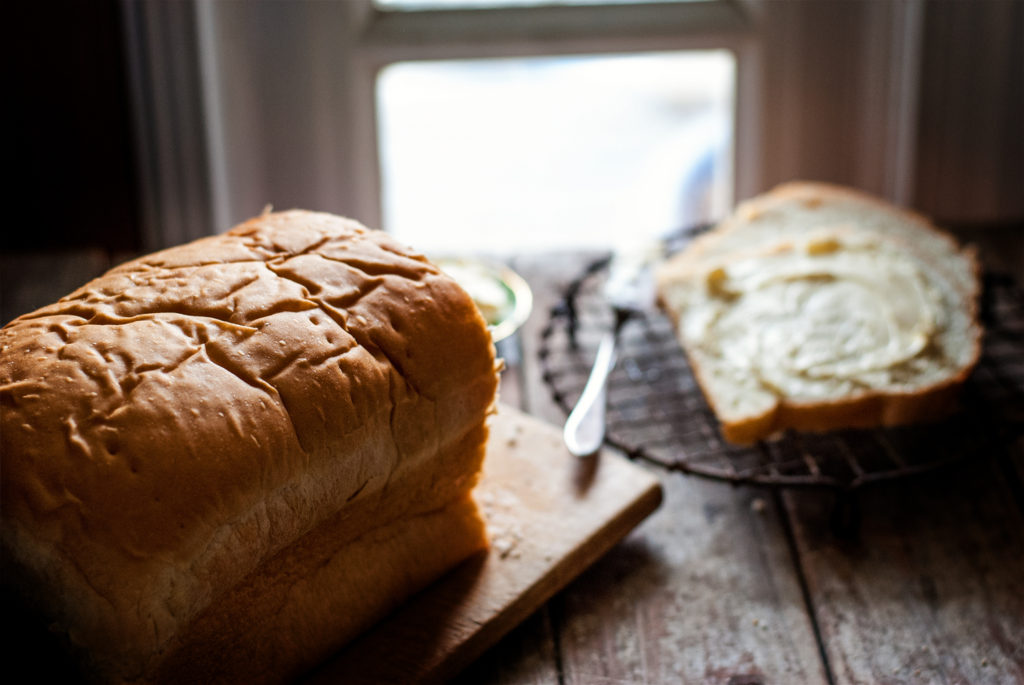
When the loaves have reached 200 degrees, go ahead and put them on cooling racks to finish cooling down.
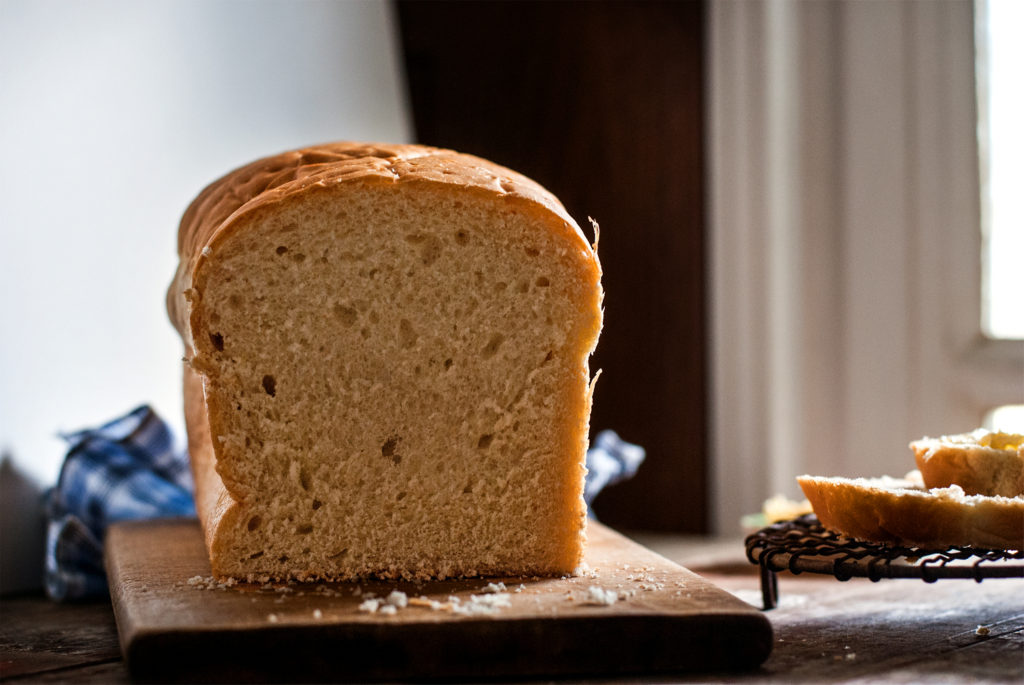
At this point I love to brush the tops with warm, melted butter. The bread will kind of “drink” up the butter, and the crust will become luxuriously soft and delicious. Oh, and it will smell ahhhhhmazing too. I can see why this is considered therapy. Bread therapy? Sign me up. Oh I do hope they offer cups of melted butter at break time. 😉
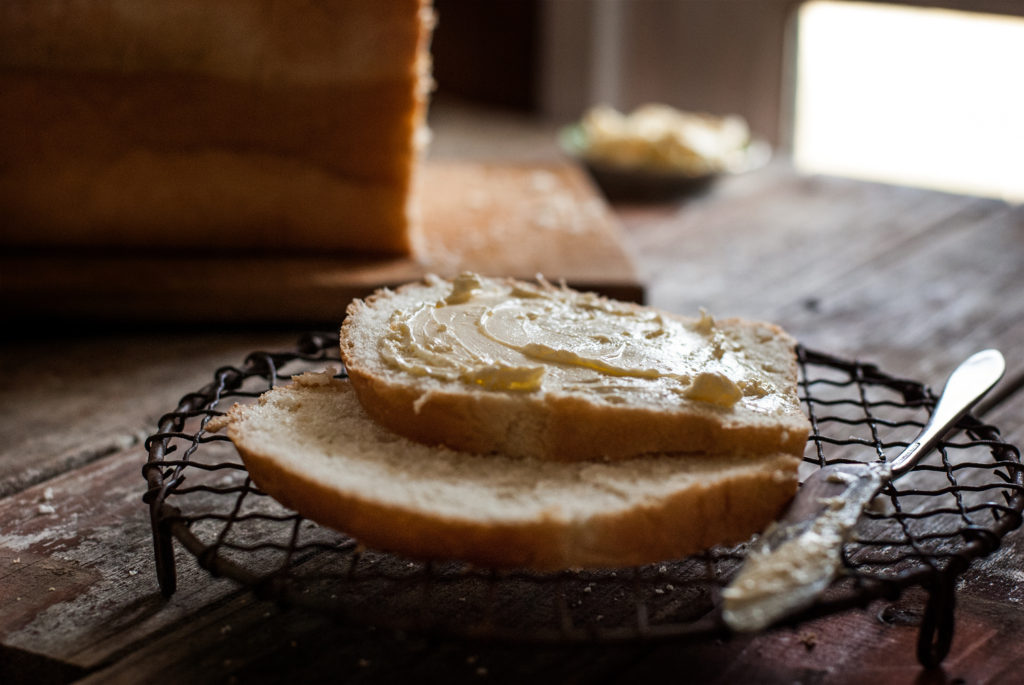
Some schools of thought say that you shouldn’t cut into a warm loaf of bread. You should let the center finish baking. Wellllllll here’s what I think about that.
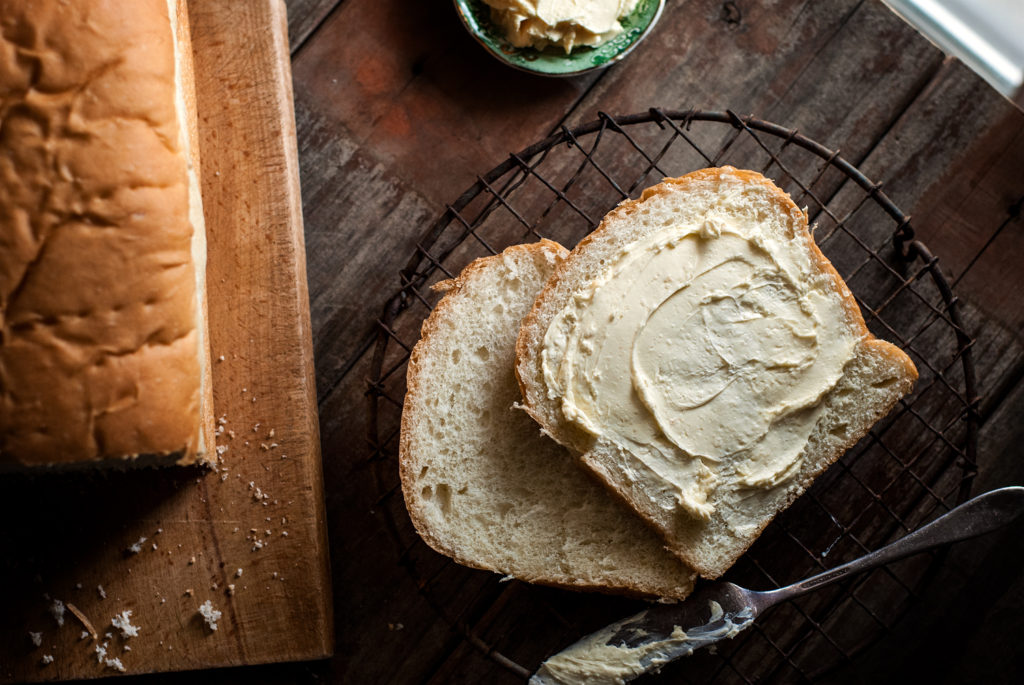
Have you ever had a slice of bread warm from the oven with butter melting into gooey loveliness and sinking into it as fast as you can slather it on?
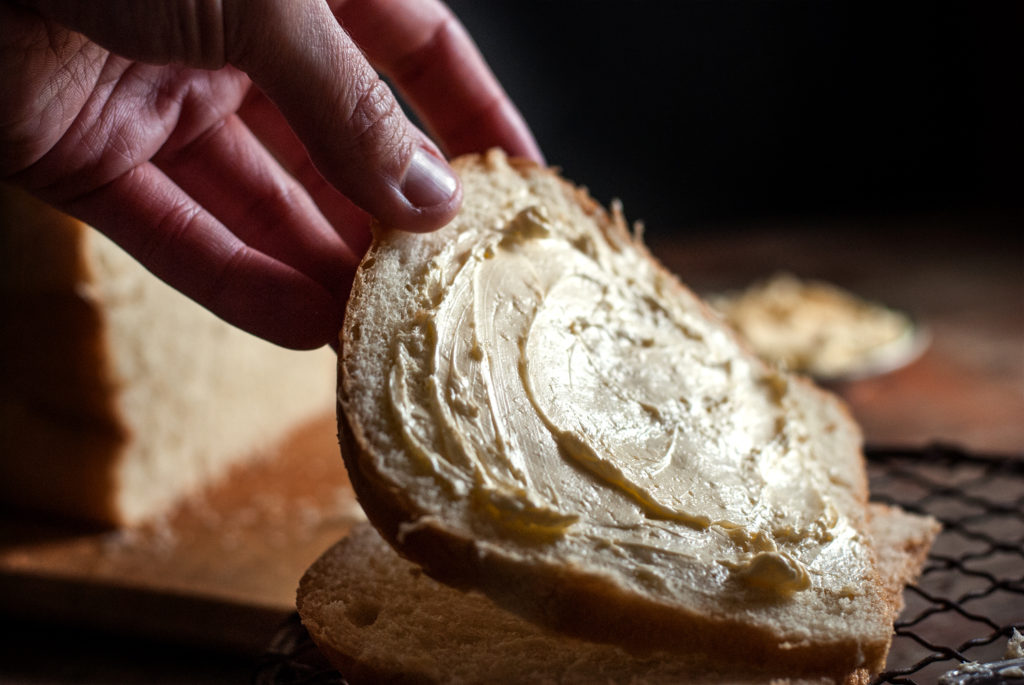
Darling how can you ASK???? haha. Please cut me another slice? Pretty please? 🙂 It’s the closest thing to heaven.
You did it. And I’m just so proud of you!

Disclosure: This post may contain affiliate links, which just means that we get a few pennies if you purchase through our link. I never recommend products that I don't personally use and love. Thanks!
