Once upon a time there was a girl who dreamed of springtime, while she gazed out at the snow-covered lawn outside her window. When she saw the very first blade of grass pushing up through the snow she decided to celebrate this glorious promise of warmth by making glorious little pastel French Macarons. Then it snowed again (sigh), and she made some more macarons. She made them with sweet little strawberries and mint chocolate and salted caramel with gorgeous Fleur de Sel salt from France. She looked out the window and dreamed again of spring.
And right about then (just as it ACTUALLY turned spring), she turned around and realized she had egg yolks coming out her ears (well, not literally coming out her ears), and so she decided to make ice cream. And since she had just gotten some AMMMMMAZING coffee from small-batch artisan coffee roaster Coffee on the Porch in Maine, she decided that it really was a match made in heaven to make coffee ice cream, which has always been one of her favorites.
And my friends . . . she was not disappointed.
What are we waiting for? Let’s do this!
Coffee Ice Cream
(lightly adapted from David Lebovitz’ The Perfect Scoop).
Ingredients:
1.5 cups whole milk
3/4 cup white sugar
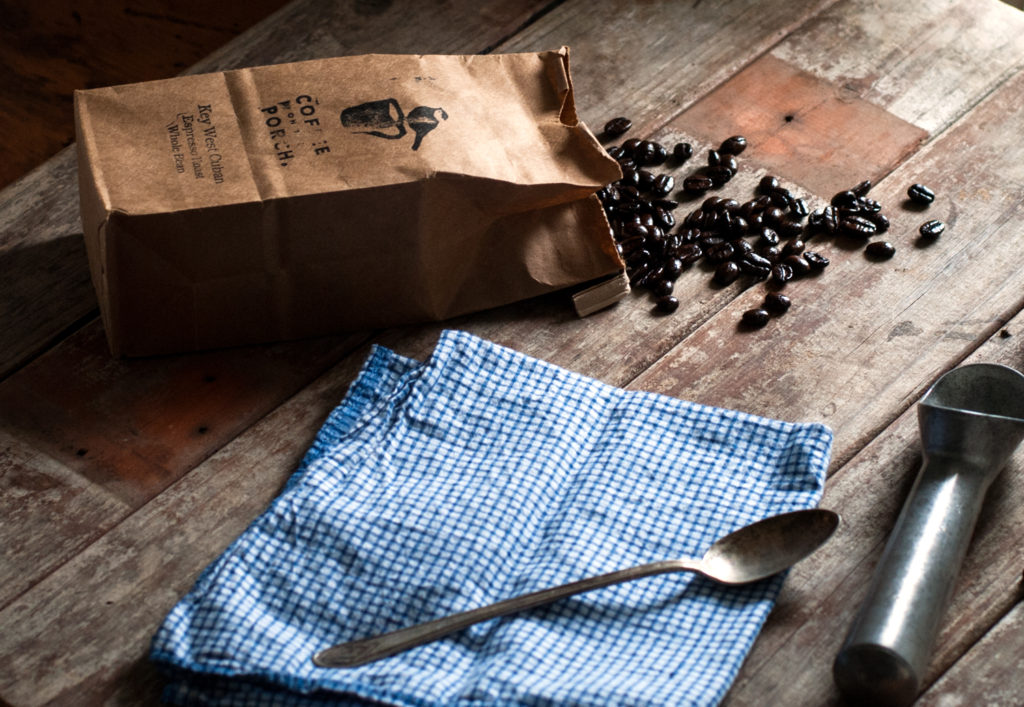
1.5 cups whole, dark roasted coffee beans (my coffee of choice for this is Coffee On the Porch’s blend, Key West Cuban)
Pinch salt
1.5 cups heavy cream (divided)
5 egg yolks
1/2 tsp. vanilla extract
1 tsp. espresso powder
Directions:
Heat milk, sugar, coffee beans, salt, and 1/2 cup of the heavy cream (reserve the remaining 1 cup for later) in a medium saucepan until warm. Turn off the heat, cover the pan, and allow the beans to soak in the milk for 1 hour.
Strain the beans out of the milk mixture and reheat milk mixture until very warm but not boiling. Whisk egg yolks in a separate bowl and slowly drizzle warm milk into eggs, whisking continually so that the eggs do not scramble. When the hot milk has been added completely to the eggs, return the mixture to the saucepan and heat until the mixture thickens slightly and coats the spatula (roughly 160-165 degrees if you want to use a candy thermometer to measure the temperature).
While the milk/egg mixture heats, pour the remaining cup of cream into a bowl and place a fine mesh strainer overtop, waiting for the milk to be thick enough to coat the back of a spatula. When the milk is slightly thickened, pour the milk/egg mixture through the fine mesh strainer into the cream. Stir in vanilla and espresso powder. Cover bowl with plastic wrap and refrigerate until completely chilled. Churn in ice cream maker according to manufacturer’s directions.
Once you make your own ice cream, you’ll never look back. 🙂 Let’s take a look at the process in pictures. 🙂

I really think that of all the kitchen gadgets I have, my ice cream machine is my favorite. It was one of those perfect “I don’t really need this and for some reason that’s what makes it so compellingly cool to have” things that I treated myself to one year. And after I tried fresh strawberry sorbet that I made from perfect, sun ripened local fruit from the farmer’s market, and decadent chocolate ice cream made from some of the divine chocolate I brought back from Paris . . . I knew that my little ice cream machine was OHHH so worth it. The beautiful thing about a compressor ice cream machine is that you can make as many batches as you like, back to back, with no bowl freezing required. Not having to freeze the bowl also means . . . Ta-Daaaaahhh!!! . . . more room for ice cream in the freezer. You’re so smart. I love working with you.
To begin with, we want to infuse our custard with tons of deeeeelicious coffee flavor, so let’s do that first. Heat your milk, sugar, coffee beans, salt, and 1/2 cup of the cream (keep the remaining cup for later– I’ll get to that in a minute) in a medium saucepan. You don’t want this mixture to be boiling hot– just nice and warm– almost like you would make “hot chocolate” for a child. Just pleasantly warm but not hot. When you get to this point turn off the heat, cover the saucepan, and let those glorious little coffee beans sit there in their milky hot tub bliss, gabbing with the gals, for an hour. During that time they will infuse glorious coffee loveliness into the cream, which will in turn make your ice cream taste amazing. So you can go watch Netflix while the coffee beans steep, and still officially be “cooking,” thereby technically working, thereby a genius.

You can tell just by looking at these coffee beans that they are fresh. They are super shiny, gleaming with the oils of fresh roasting. It pays to get quality coffee for this, and maybe the best coffee I’ve ever had came from Coffee on the Porch, a small, artisan roasting company in Maine headed by Dan Dishner– a teacher by day and coffee aficionado by night. I loved all the varieties that I tried, but my favorite was Key West Cuban, so that is what I chose to make my ice cream today. Gahhhhh it was fabulous.
You don’t need to grind your coffee beans for this project, and you also don’t want to reuse the beans after using them here. We want all their delicious coffee goodness to infuse into our cream, so if we do this right it won’t be worth reusing them afterward because we will have captured the flag. Uh . . . I mean, captured the flavor. I’m sorry– I’m just looking at those luscious beans, glistening there in their little milk bath and, um . . . I can’t really think right now. I’m sorry. 😉

After your coffee beans have enjoyed their spa for an hour, go ahead and strain the beans out of the mixture. The milk should be a beautiful coffee color and smell amazing. Dispose of the beans (or put them around your hydrangea bush to get nice, blue flowers, which turn blue only in super acidic soil and change to pink if the soil is more alkaline– did you know that? Your hydrangeas like their morning coffee just like you do. No wonder I like hydrangeas so much).

Bring the “coffee milk” back up to toasty warm, again. Do NOT boil it. You want this mixture to be nice and warm, with perhaps a teeny curl of steam when you lift the spoon out of the pan after stirring.

Meanwhile, whisk your egg yolks together in a separate bowl. Leave that whisk in there, because in a second you’re going to be whisking for your life.

Speaking of milk (I know we weren’t, but I need to say something about it so pretend we were, mmkay?). . . we don’t want it to get too hot. You are looking for about 160-165 degrees, if you are measuring with a candy thermometer. Basically we want the mixture to thicken up slightly– enough that it coats the spoon a little bit. Don’t let it get too hot or your cream will curdle and you’ll have to start over, which means waiting longer for ice cream. Nah. Let’s not do that. Nobody likes to wait for ice cream (*shakes head vigorously*). I knew you were a genius. See? We agree on everything. I like you already.

Now forgive me, but this part goes super fast so I didn’t actually get a picture until I was finished (but I posed the pan there afterward so you could see what I was doing).
Whisking your eggs quickly and constantly, slowly drizzle in your hot milk. Whisking keeps the temperature from “shocking” the eggs and cooking them. It kind of incorporates everything together at once, raising the temperature more slowly instead of shocking the cold ingredients. If you don’t whisk, then voila, you have scrambled eggs for breakfast. It can be kind of tricky to pour hot liquid with one hand and whisk with the other, but don’t worry. If you can keep a toddler busy with just the contents of your purse for 3 hours, then you can do this. I believe in you completely. You’ve got this.

After you’ve drizzled your hot milk into the eggs (and whisked like the PRO that you are!), go ahead and pour the mixture through your fine mesh strainer into that cup of cold cream that you kept back like a hoarding Scrooge at Christmastime. You’ll be glad you saved it, because the cold cream will cool down your hot milk/egg mixture which, again, translates to ice cream in your bowl faster. You’re welcome.
The purpose of straining the egg mixture is to catch any little bits of egg that may have accidentally cooked during the “frantic whisking” process. Try as we might, we usually miss just a few little bits that insist on cooking, in spite of our best efforts. Don’t worry. The strainer takes it alllllll away and makes everything super duper smooth.

Whisk in your vanilla extract and espresso powder here. Um, seriously. Yum. I can’t ever resist tasting at this point, and guess what? It tastes like melted ice cream, which is of course exactly what it is.

Cover the bowl with some plastic wrap. Press the plastic right down onto the surface of the cream so that you don’t get a yucky “dried skin” when the cream cools. Place the whole ‘shebang in the fridge to chill completely. If you put this warm ice cream base in your ice cream freezer now it will get ice crystals in it from the condensation, and ironically, no one likes icy ice cream. Be patient a bit longer my darlings. We are almost there.
When your ice cream base is completely chilled go ahead and run it through your ice cream maker. I have this ice cream machine, here, and I tell you what . . . it brings me such joy. Every time I use it I can just pour something interesting in there, decide if I want light, airy ice cream or more dense, creamy gelato . . . I push a button and presto. In half an hour I have perfect ice cream– no ice, salt, or endless cranking required. I can also know exactly what I put in there (nothing I can’t pronounce), and use fresh, perfectly ripe, local fruits. Sigh. It was love at first bite. Throw in some homemade waffle cones and you have bliss, my friends. Bliss.
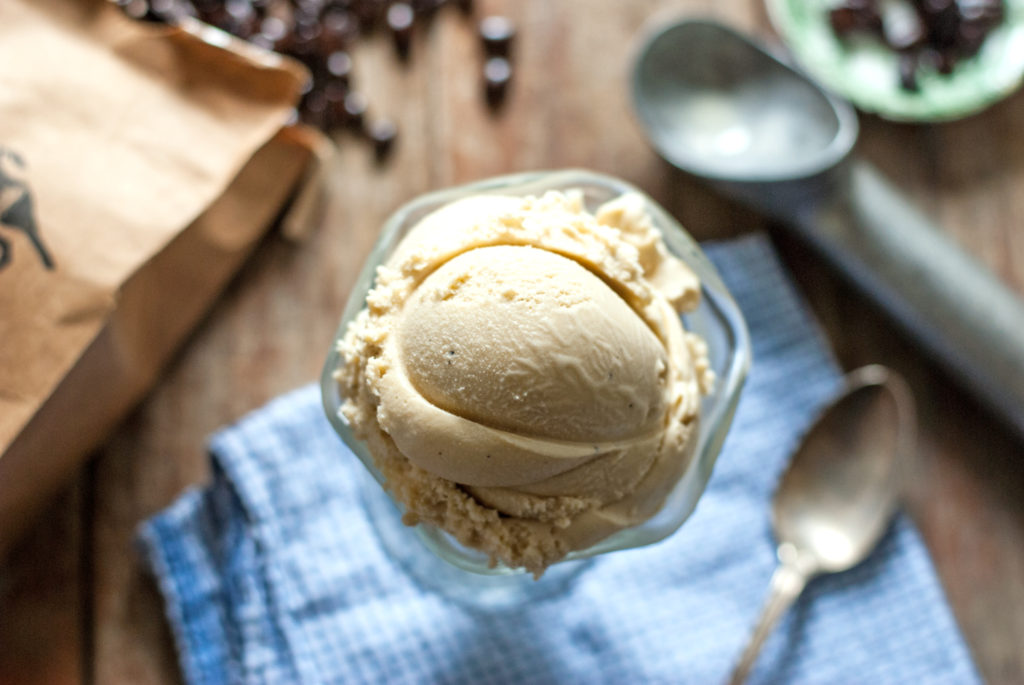
Since homemade ice cream doesn’t have all the gums and preservatives it will be softer and melt a little more quickly than commercial ice creams. You can eat it right out of the ice cream freezer if you like (just dig in a spoon!), and it will be the consistency of soft serve (yep. Skip the soft serve machine and just use this. Perfect soft serve right out of the gate!). If you prefer your ice cream a little harder I recommend freezing it for a few hours before eating. I use the Sumo ice cream containers. They fit perfectly on the door of the freezer and have a little “air compartment” around the main food compartment to protect from freezing and defrosting (and thereby reducing ice crystals). If you are going to be making frozen desserts with any regularity you definitely need a few of these babies. Each container perfectly holds one batch of homemade ice cream. It’s awesome.
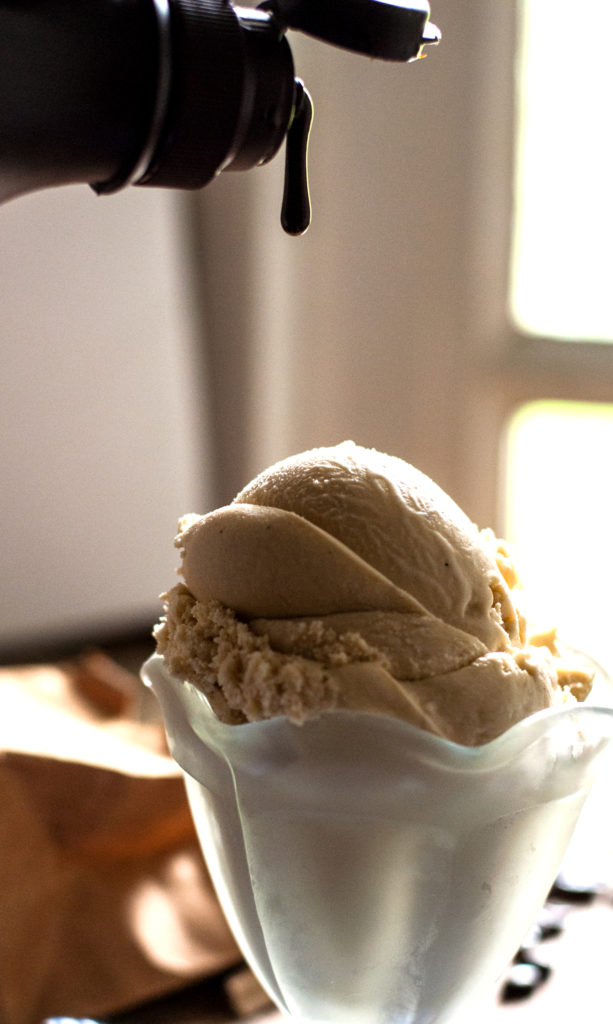
Oooohhhhh now for the fun part . . . the TOPPINGS. Going . . .
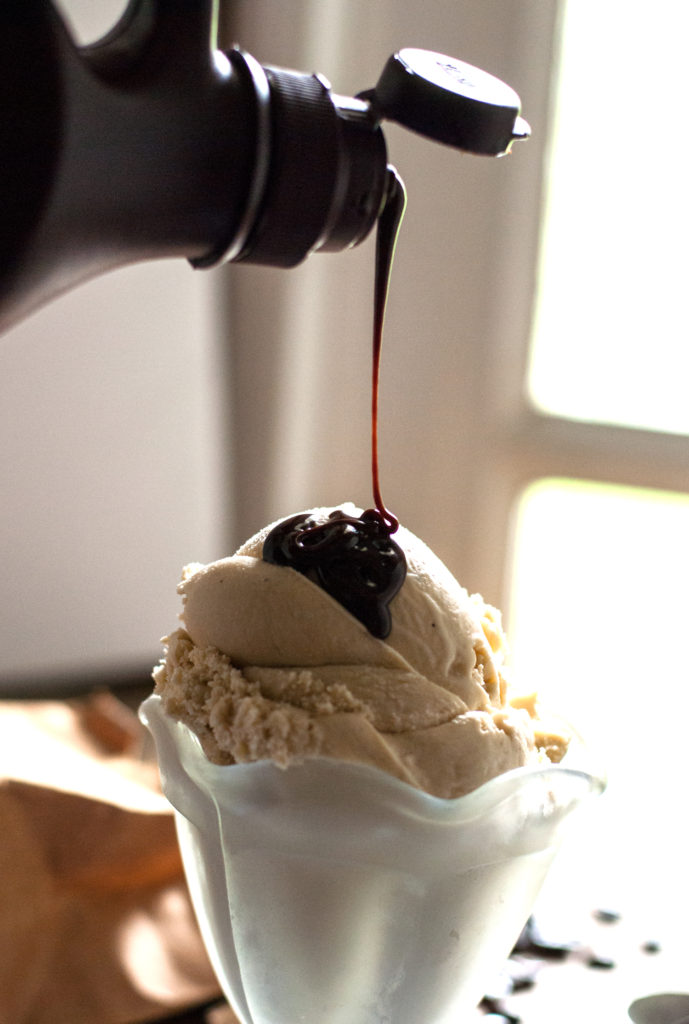
Going . . .
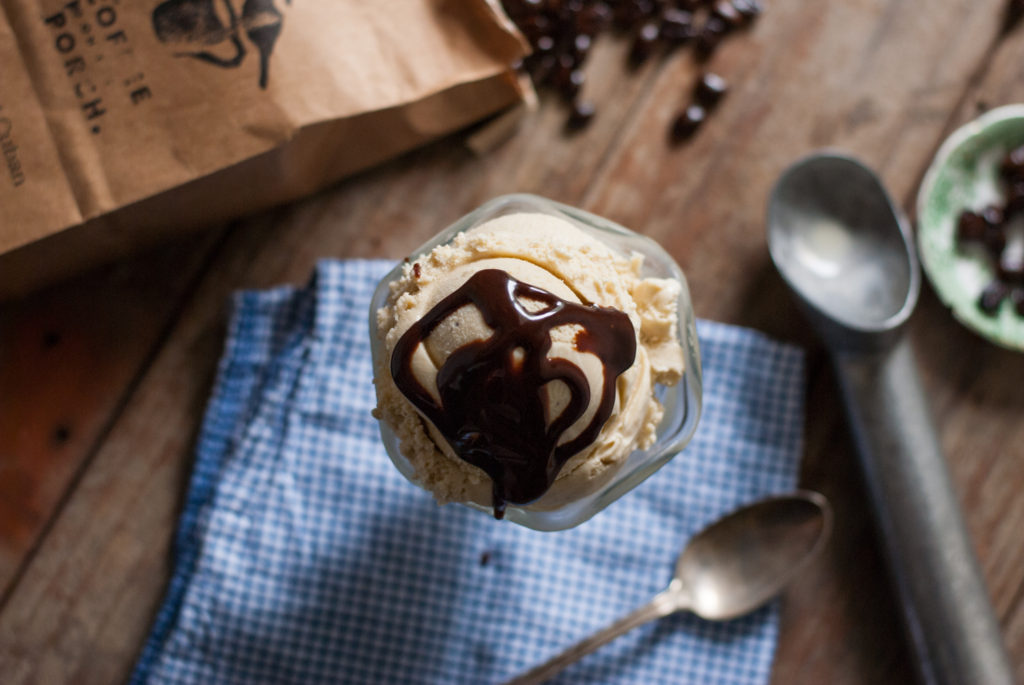
GONE!!! If there is a combination better than chocolate and coffee, then I don’t know what it is.
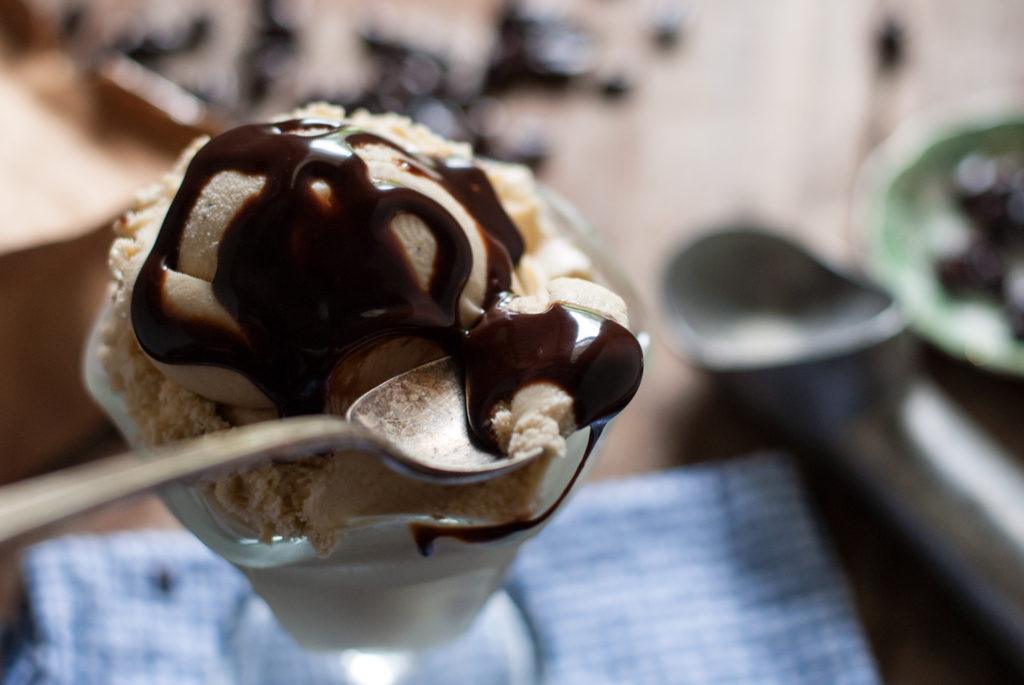
I’m sorry. Did you say something? I was on cloud nine. Come on in– the water’s fine. Look at that I made a rhyme. I’d say eat some ice cream– it’s just about time.
You did it. And I’m just so proud of you.

Disclosure: This post may contain affiliate links, which just means that we get a few pennies if you purchase through our link. I never recommend products that I don't personally use and love. Thanks!
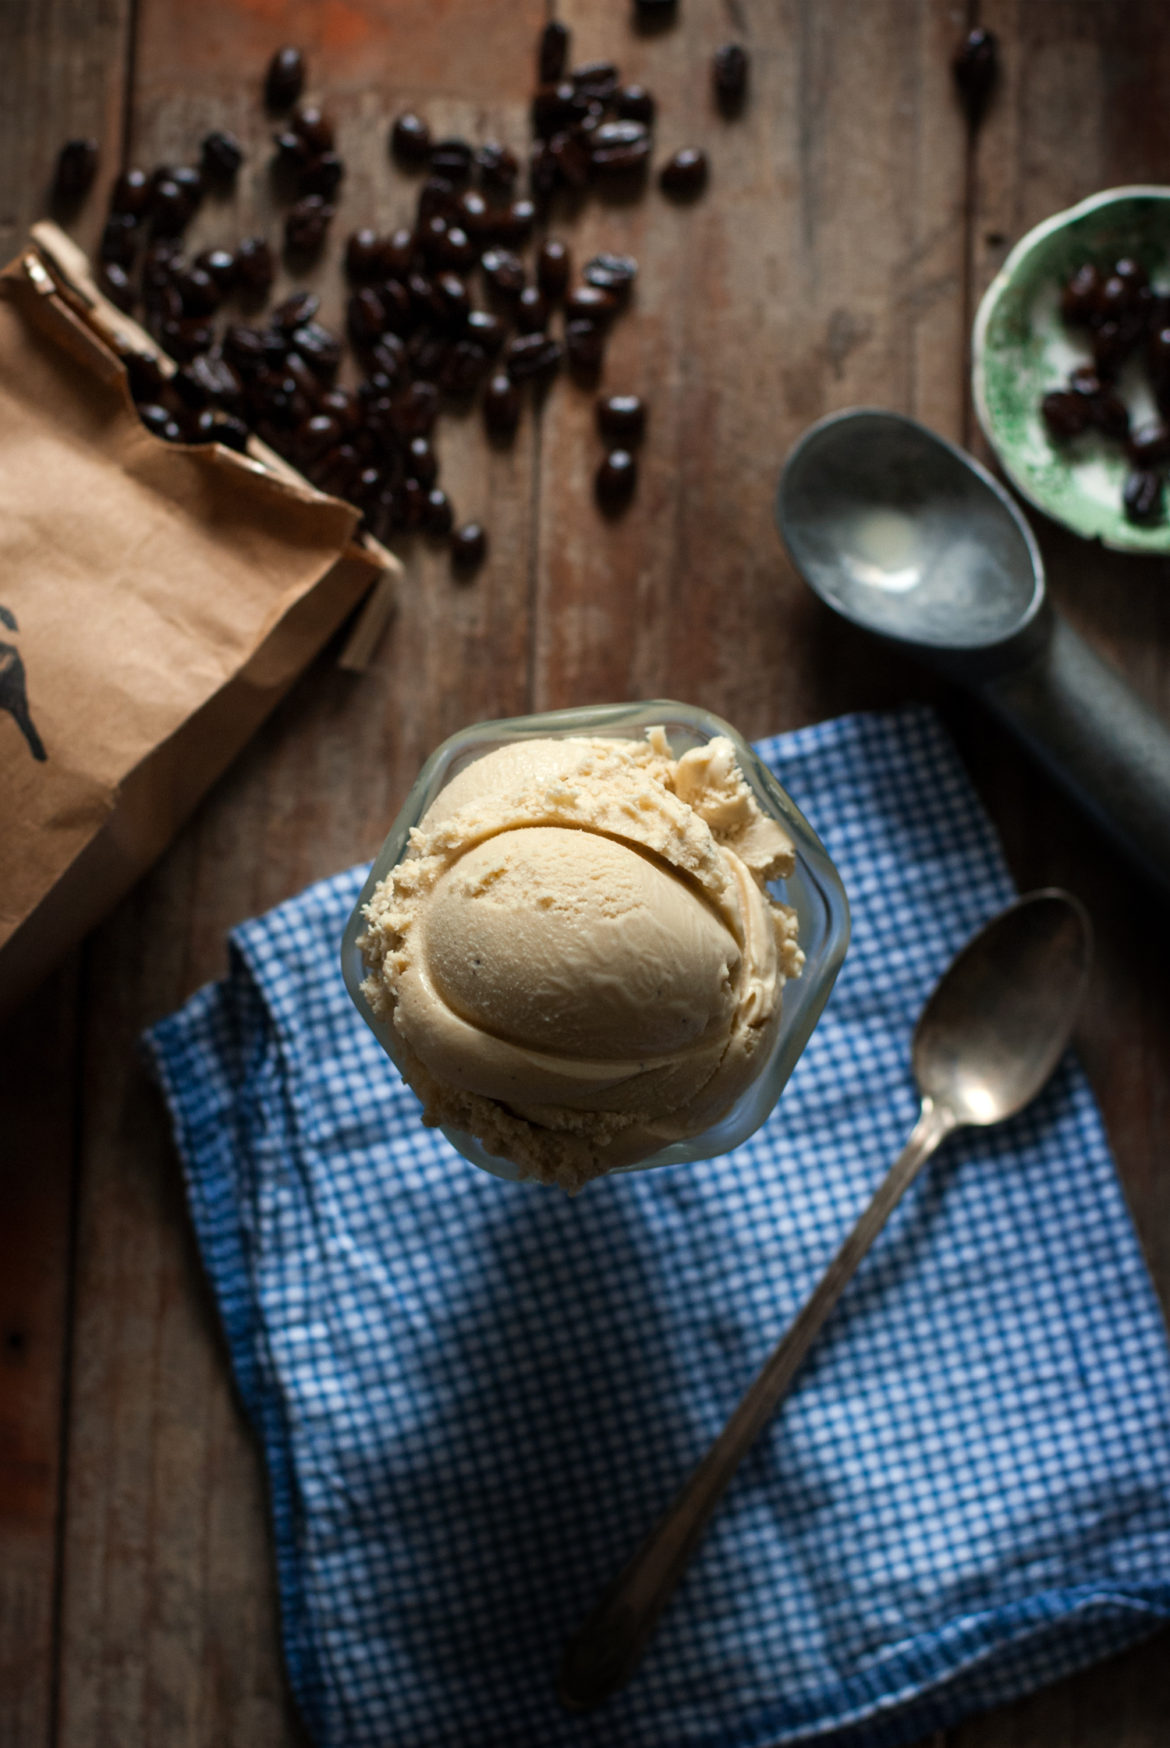



My mouth is watering. Must. Try. This.
You will love it!!!! 🙂