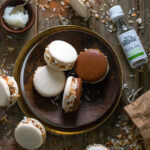
Labor Day was made for family get togethers, barbecues, and apple pie. And if you are lucky enough to have homemade apple pie at your gathering, then your pie needs to be set up on a blind date with Cinnamon Stick Gelato. Trust me. It’s a match made in heaven.
What are we waiting for? Let’s do this!
Cinnamon Stick Gelato
(Very lightly adapted from David Lebovitz’ The Perfect Scoop)
Ingredients:
1 cup heavy cream
1/2 cup half and half or whole milk
Pinch salt
6 tbsp. white sugar
10 cinnamon sticks, whole
3 egg yolks (reserve whites for some homemade waffle cones! 🙂
Directions:
Heat the cream, half and half (or milk), salt, white sugar, and cinnamon sticks together in a medium saucepan until they are very warm, but not hot or bubbling. Turn off the heat, cover the pan, and allow the mixture to steep for 1 hour. After an hour bring the mixture back to very warm, remove the cinnamon sticks (using a fine mesh strainer is easiest), and gently drizzle very warm milk mixture into the egg yolks, whisking constantly so that the eggs don’t scramble. Return egg/milk mixture to pan and stir constantly over heat until mixture slightly thickens and coats the back of your spoon when you stir. Remove from heat, cover with plastic wrap in a heat safe bowl and chill in the refrigerator completely before churning in your ice cream maker (this is the one I have
, and I think it may be the best thing I’ve ever bought 😉 with gelato paddle attachment.
Now, in pictures! 🙂

If you have any interest at all in making your own ice cream, I cannot recommend highly enough the ice cream god, David Lebovitz’, book The Perfect Scoop. It is one of my most frequently used cookbooks, and I pull it out and thumb through it many times, just to ooh and ahh over the gorgeous photos and amazing flavor combos.
The main difference between ice cream and gelato is that gelato has a higher milk to eggs ratio than ice cream (higher egg content gives you more of a custard). It is also churned with a different paddle at a slower speed, allowing the mixture to freeze without as much air (and be creamier and have a heavier, silkier mouthfeel). This cinnamon gelato recipe is one of my favorites in the book, but I have changed it up slightly mainly because this adapted recipe makes just the right size for 2 or 3 servings, instead of 6-7 servings. Once you see how easy it is to make your own ice cream, you will never, ever look back.
Stop that. You’re looking back. No looking back.
Start out by mixing your cream, half and half (or whole milk), salt, sugar, and cinnamon sticks together in a medium saucepan. Whisk the mixture frequently as it heats– you don’t want it to boil or curdle. The mixture should be pleasantly “nice and warm”– like what you would want in a warm bath. Turn the heat off, cover the pan, and allow it to steep for 1 hour. During this time the cinnamon will infuse into the milk base, and you will have amazing cinnamon flavor without the yucky “dusty” feeling of cinnamon powder. I added a few drops of copper food coloring to make it more “cinnamony,” but you don’t have to do that if you don’t want to.
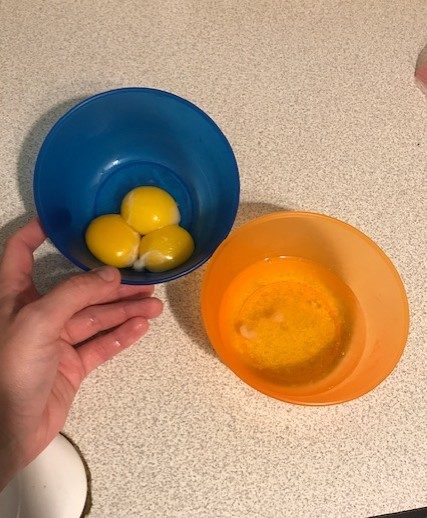
While your cinnamon sticks are steeping (“While you were steeping . . .”), go ahead and separate your eggs. I know a lot of people throw out the egg whites when a recipe calls for only yolks. But oh my goodness please don’t throw those beautiful little guys away! You can make so many things with leftover egg whites . . . things like French Macarons. Things like WAFFLE CONES. Yes. Homemade waffle cones are a revelation. You’ll never go back to the store bought kind of those, either, after you taste one fresh, crisp, and warm right from the press.
When your ice cream base has rested for 1 hour, take the cinnamon sticks out and re-warm the cream to nice and warm. Then, while whisking constantly, gently pour your warm cream into your egg yolks. Whisking the entire time keeps your eggs from cooking and curdling. No one wants scrambled egg ice cream. Return the liquid to your saucepan and heat it, stirring constantly, until it thickens slightly and coats the back of your spoon (like melted ice cream, which is of course exactly what it is). You don’t want to overcook the base. Just see that the liquid is thick enough to cling to the spoon and you’re good. It doesn’t have to be thick like gravy. Just enough to cling to the back of your spoon and not immediately drip off. Chill this base in the fridge with a piece of plastic wrap overtop of the actual cream to keep a skin from forming. We don’t want to churn it until our ice cream base is cool. If you churn warm cream the ice cream will have ice crystals in it. Ewww. This isn’t Frozen and we aren’t Elsa. No icy ice cream. Let it cool first.

So while the base is “chillin’,” go ahead and make those waffle cones! When I smell these cones baking, it’s like I am transported back to the county fair as a kid. The cones are tasty enough that you can just munch them, crisp and warm, without even any ice cream. So make a few extras to eat, and put aside a few waffle bowls or cones for your gelato when it’s finished churning. You’re so smart. I love working with you.
So if you spring for an ice cream machine, spring for the waffle cone maker too. You’ll be so glad you did, and family get togethers will be better for all eternity because you are the cool hostess now. The kids love decorating their own cones and dipping them in chocolate, sprinkles, crushed nuts . . . trust me. Once you taste a warm, crispy cone right from the press you’ll never be satisfied with the cold, stale ones from the store again.

There are many kinds of ice cream makers out there. Yes, I am that annoying person who read literally every Amazon review of every single type of ice cream machine before I made my purchase. In my humble opinion the best of the bunch is this Cuisinart compressor model. This is a “plug in and forget about it” model. You don’t have to use precious freezer space to freeze the bowl (which defeats the purpose if you want back to back batches. You have to wait for the bowl to re-freeze). This little guy is perhaps my favorite “just for fun” kitchen appliance ever. I have made ice cream out of everything– from protein shakes to avocados. It’s just so fun I can’t even tell you. You deserve it. Go get one.
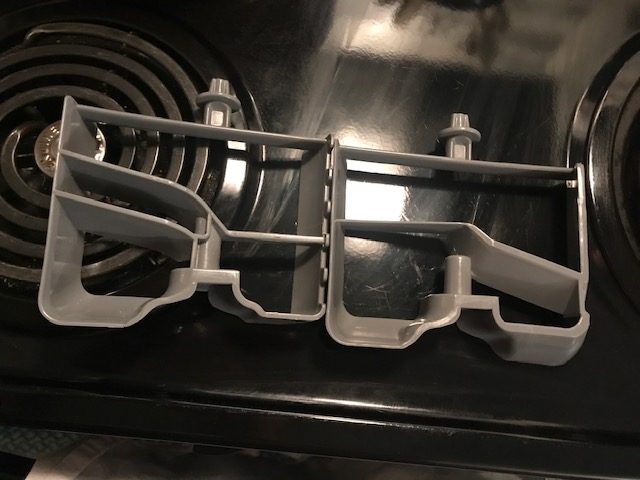
Another reason I love my Cuisinart is that it already comes with the 2 different paddles. The one on the right is for ice cream and the one on the left is for gelato. The gelato paddle is the one we are using today. There are more “barriers” in this one so that the product doesn’t get as much air churned into it, making your finished gelato silkier and more dense than ice cream. It will also scoop a lot more silkily and have a luxurious feel in your mouth. Told you. I’m obsessed with ice cream.
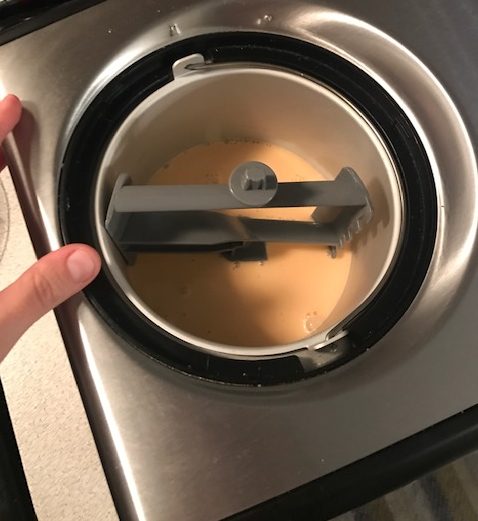
I like to turn my ice cream maker on about 15 minutes before I start churning, mainly because it gives everything a chance to get nice and cold, which in turn translates to getting ice cream faster. 🙂 You want to make sure that your gelato base is already chilled in the fridge before you pour it into your ice cream machine. If you pour warm creme anglaise into the ice cream machine, then your finished product will have ice crystals in it and not be as smooth. And come on. We are nothing if not SMOOOOOOTH.
I never fill my ice cream machine more than halfway full because ice cream expands as it freezes. Luckily this recipe is just the right amount for half a container of gelato. Gelato also doesn’t rise as much as ice cream does, due to not having as much air incorporated into it. So gently pour your base into the container and lock on the lid. I can smell greatness. It’s definitely about to happen up in here, fam.

Another great thing about this machine is that you don’t have to know exactly how long it will take to churn your gelato. Some machines keep churning and grinding even when the ice cream is finished, and you end up with butter if you take your eyes off of it for a few minutes. Others might not keep the ice cream cold if you forget you are making it (AKA the “frozen bowl” types of makers). And if you get busy with something else, goodbye ice cream. Not the Cuisinart. See why I love this thing?
The Big C will churn your gelato to perfection, and when it’s done, it stops churning and keeps your precious concoction cold. It doesn’t matter if it slips your mind you are making ice cream. It doesn’t matter if you forget it’s there. Sweet Cuisinart will be there, patiently waiting for you without complaint. Perfect ice cream and gelato every single time. I’m telling you– I’m in love with this little guy. If he were human I’d probably marry him. Of course at our wedding we would serve ice cream cake.

You can keep your finished gelato in whatever container you like, but again, if you really want to do the “ice cream experience” right, spring for a couple Sumo ice cream containers. Have you ever opened up ice cream and it has that yucky, crystalized layer of gross stuff on top? Yeeeeckkkkk. These containers have an insulation layer around the actual ice cream holder so that your product is spared the constant shifting in temperature that takes place in your freezer. It won’t defrost when your freezer does (which makes it “sweat” and form those ice crystals when things get cold again). You worked hard on this gelato. Keep it creamy and luscious. I like to throw one of these Sumos into the freezer when I’m churning the gelato so that it will be all chilly and ready to hold my baby when everything is done churning. See? I knew you’d agree with me. You know, you really are terribly easy to get along with. No wonder I like you so much.
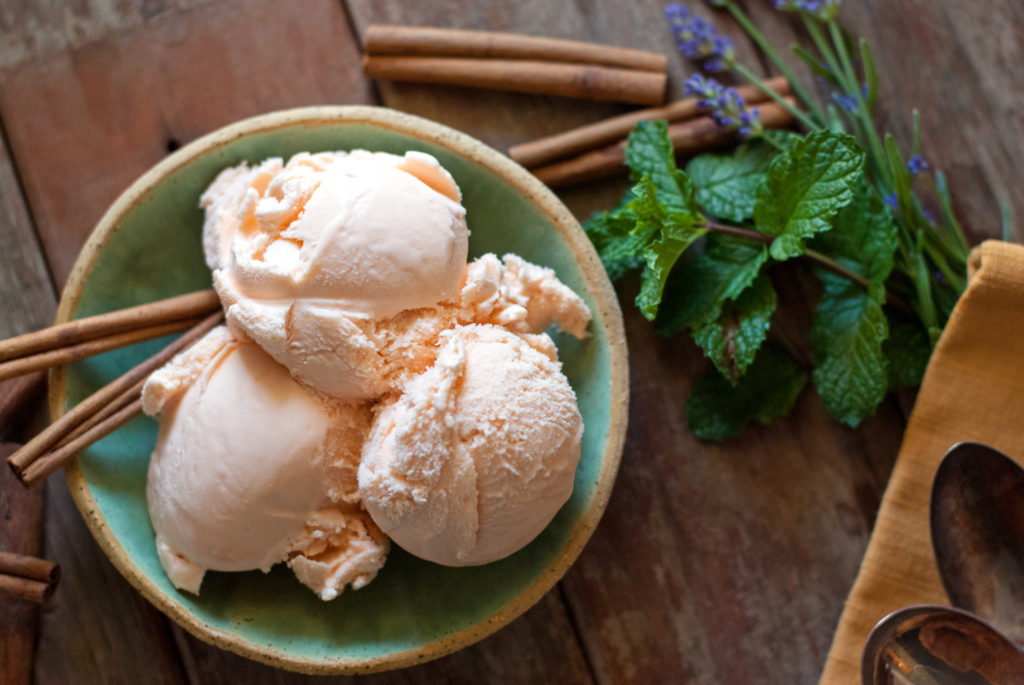
When your gelato is finished in the Cuisinart it will have the consistency of soft serve– maybe a squidge harder. But I find that your gelato will be more like the consistency of ice cream we buy at the store if you let it freeze for a few hours before serving. Pop it into your little Sumo container and let it freeze overnight. And then . . .

Oh my goodness. Just look at that satiny, soft, luscious loveliness. Seriously. Can you see the little hearts coming out of my eyes and hitting the screen? You have divine cinnamon flavor without the obnoxious “dust” from cinnamon powder. You have rich, dense, creamy gelato right from your own freezer, and you know exactly what went into it, with no weird ingredients that you can’t pronounce.
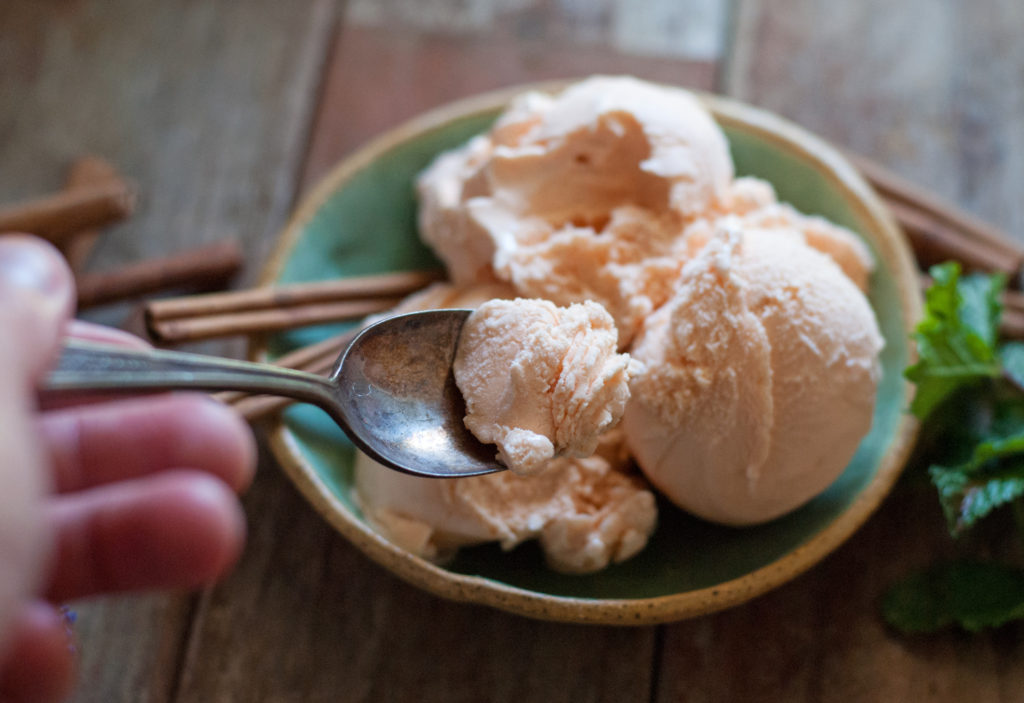
Oh my goodness. *sounds of slurping in the background* I’m sorry. I know it’s rude to eat while talking, but it’s sooooo good . . . come on I will have only one spoonful . . . *sounds of my digging in the cupboard for a bowl . . . or, you know . . . a casserole dish . . .*
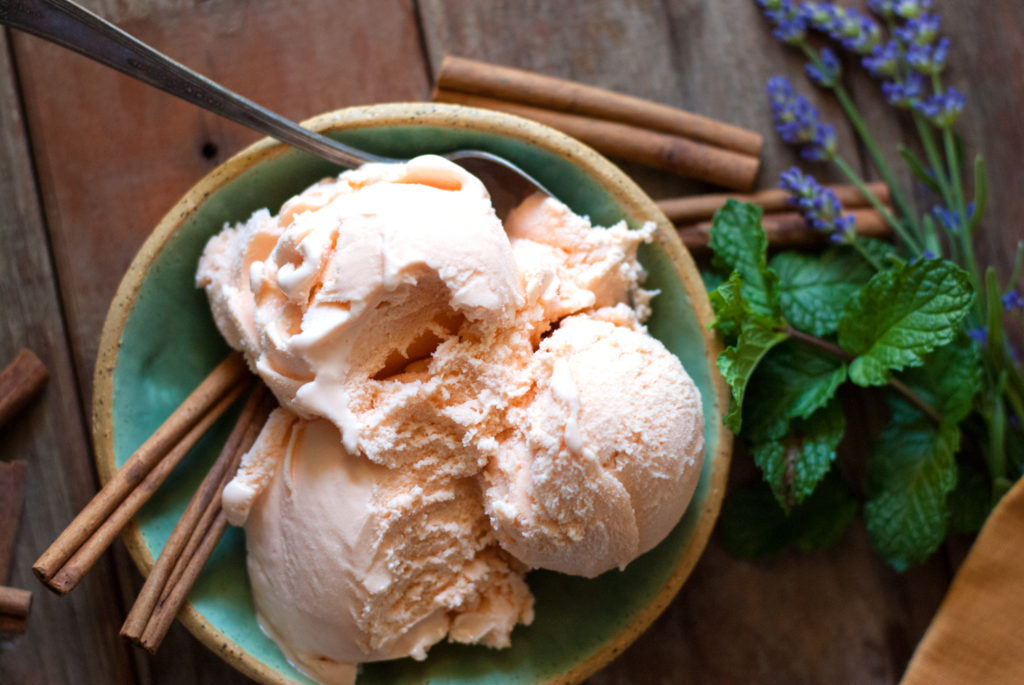
Don’t forget to leave a little bit of creamy, cinnamon heaven for your apple pie. But keep in mind that you do have a machine, after all, in case you run out. You’re so smart.
You did it. And I’m just so proud of you.

Disclosure: This post may contain affiliate links, which just means that we get a few pennies if you purchase through our link. I never recommend products that I don't personally use and love. Thanks!


