

It’s a normal Saturday. I am out early, getting groceries, and I have to pass the Dragon’s Lair . . . the most dangerous spot in town . . . the Krispy Kreme store.
There it is . . . glistening in the early morning fog . . . its “Hot and Fresh” sign shining like a beacon in the darkness. Ooooh . . . there is just nothing like a fresh Krispy Kreme doughnut. They are light as air– almost melting in your mouth in a swirl of feathery lightness and tantalizingly sweetness. Saturdays just don’t get any better than that.
Until now, that is.
Because, now, you can make these little beauties, at home.
(*whispers* . . . Anytime . . . you . . . want . . .)
I’ve even made these ahead and frozen them, so I can have an amazing treat breakfast, for, say, Christmas, with just about zero effort. You need to be out there, watching the kids open presents, and not in the kitchen! Between these and the more cake style donuts (a la Dunkin Donuts) we made here the other day, you ought to have plenty of ammo in your special holiday breakfast arsenal.
Oh my goodness. What are we waiting for? Let’s do this!
Homemade Krispy Kreme Donuts
(adapted from a basic doughnut recipe)
Ingredients:
4 1/2 tsp. instant yeast (or 2 packets regular, active dry yeast)
1/4 cup warm water
1 1/2 cups warm milk
1/2 cup white sugar
1 tsp. salt
2 eggs, room temperature
1/3 cup shortening
5 cups all purpose flour
Glaze Ingredients:
1/3 cup melted butter
2 cups powdered sugar
1 1/2 tsp. vanilla
2-3 tbsp. warm water
Directions:
Mix warm water, warm milk, sugar, and instant yeast together in a bowl. Whisk to combine. If using active dry yeast, add a proofing step to your preparation. Add eggs, shortening, and 1/2 cup flour. Whisk well. Add salt and whisk again. Add enough flour to form a stiff batter. Knead dough, adding flour as necessary, until you have a soft dough that feels like a human earlobe. Place dough in greased bowl and mist top with cooking spray. Cover and allow to rise for 1-1.5 hours, until doubled in size. When dough has risen, roll it out and cut out your doughnut shapes. Place doughnuts on a silpat lined baking sheet and cover with a kitchen towel. Allow doughnuts to rise for roughly 40 minutes, until quite puffy. Fry in 350 degree oil, roughly 1 minute per side, until done. Immediately dip in glaze and allow to dry on a drying rack.
For glaze, simply combine ingredients and whisk until smooth.
Now, in pictures! 🙂

First, realize that doughnuts are a yeast dough. This means that you need to have some advanced planning, here. Yeast dough isn’t hard, per sa . . . but it is kind of time consuming. I’ll explain how to circumvent this time waiting thing, here, in a minute. And who likes to wait, right? This is America, after all. We like our breakfast, and we like it fast.
To begin the dough, mix your warm water, warm milk, sugar, and instant yeast together in a bowl. Instant yeast is different from the yeast that you buy at the grocery store (and infinitely superior, in my opinion). You can get my favorite instant yeast here . In a nutshell, instant yeast can be added, directly, to the recipe (straight out of the freezer, actually, where it can keep for up to 5 years), whereas active dry and rapid rise yeasts (the kinds you find at the grocery store) require a 5 minute “proofing” step. I am using instant yeast, so I don’t need to proof my yeast– just plunk that stuff right in. 🙂

Whisk your ingredients together so that they are well combined. A little whisking makes everything come together just right. Man. I wish I could whisk myself in the morning and make everything just come together. ha.

Go ahead and add your eggs, shortening, and 1/2 cup flour. You just want a little flour to make sure the yeast is kind of “cushioned” before you add the salt. Salt and yeast are like an ex husband and wife at their child’s wedding– both have to be there, but you want to keep them out of each others’ way as much as possible, if you want everything to run smoothly 😉

Whisk these ingredients together, and then add your salt and whisk again. Go ahead and add enough flour to form a stiff batter. It may or may not take the entire amount– all flour portions are relative, since bread is entirely dependent on the weather and humidity in your kitchen.

Once you get a nice, stiff batter (still able to be whisked, but almost too stiff for that), go ahead and switch to a wooden spoon. Stir in the flour, slowly, until your batter becomes a soft dough. At this point, pour your dough onto a floured silpat and knead, adding flour little by little, until you have a soft dough approximately the “feel” of a human earlobe. It’s so weird, but that really is what the dough feels like when it’s ready.

Place your dough ball into a greased bowl and mist the top lightly with cooking spray. Cover the bowl with a towel and allow the dough to rise in a warm place for 1-1.5 hours (depending on how warm your kitchen is– dough rises more slowly when it’s chilly) until it is nice and puffy and almost doubled in size.

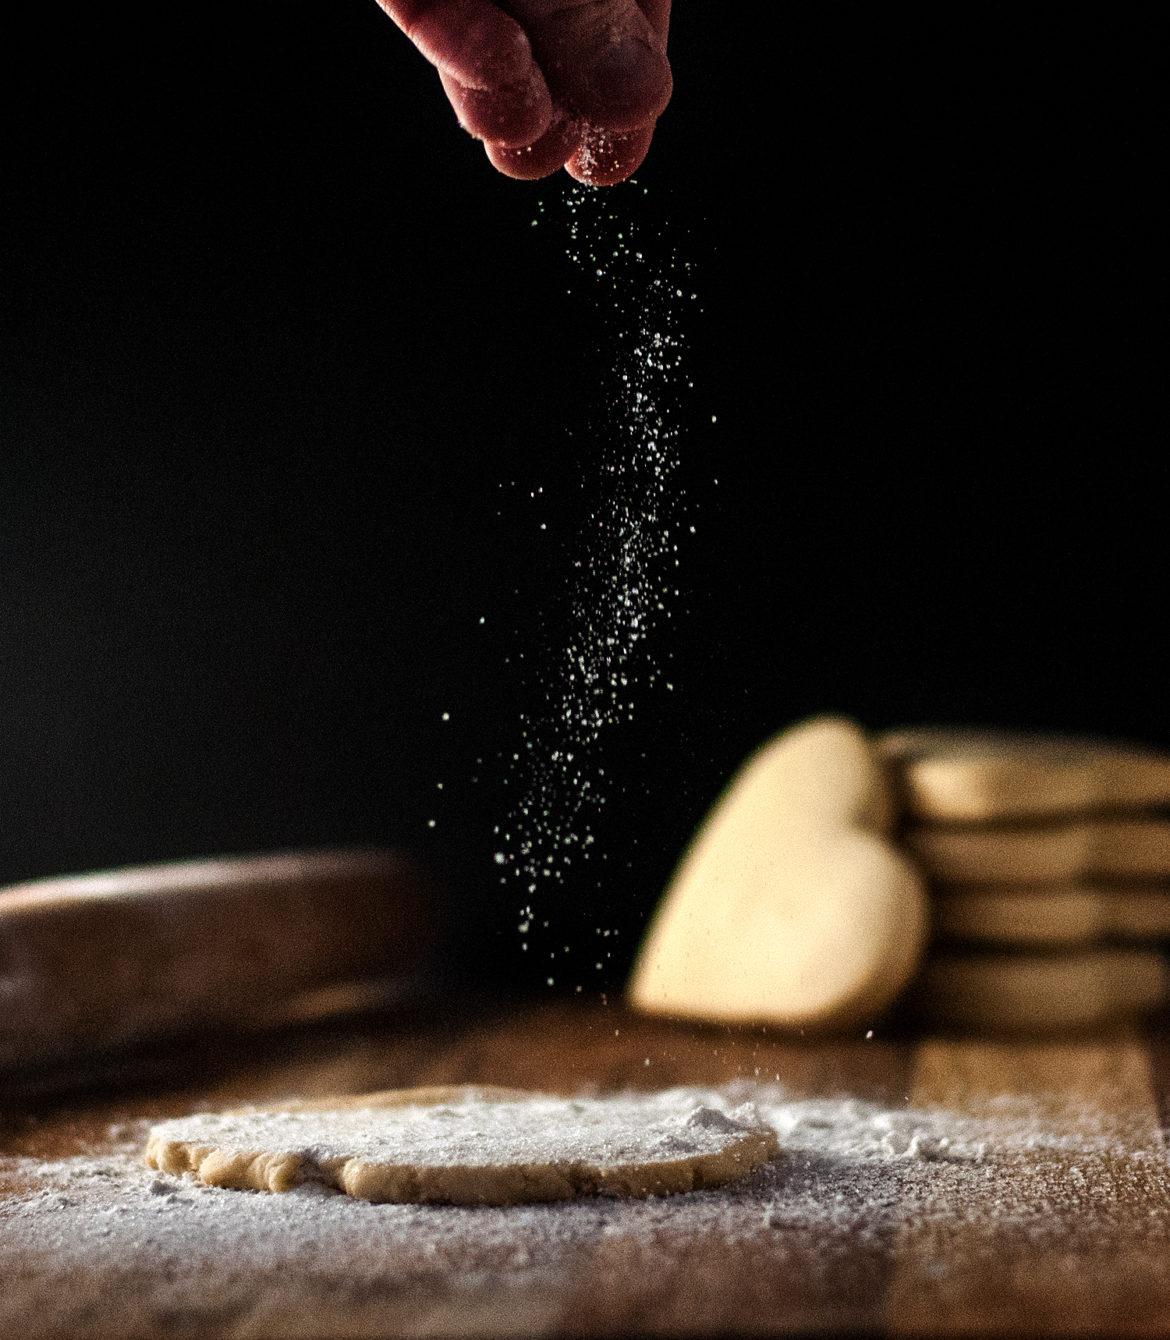
Once it has doubled in size, roll your dough out on a lightly floured silpat until it is about 3/4″ thick. Oooh . . . these babies are going to taste SO good.

Now, go ahead and cut out your doughnut shapes. I chose to do standard doughnuts and doughnut holes, but you can easily make any shape you like . . . hearts for Valentine’s day, Christmas trees for Christmas morning breakfast, or anything you want, really. Your initials? No problem. Bowties for the arrival of a baby boy? Awesome. New Moms need a little sweet pick me up. Birthday balloon doughnuts covered with sweet sprinkles for your little princess? The possibilities are endless!
Once you cut out your shapes, place them on a silpat (no flour or cooking spray required), leaving a little space in between each doughnut for the extra space they will need when they rise for the second time. Cover them with a towel and allow them to rise for 35-40 minutes, until they are nice and puffy.
*Note: If you want to freeze some of your doughnuts, this is where you do it. After you have cut out your shapes, freeze them on a silpat-lined cookie sheet until they are solid. (A silpat is an awesome invention that can go right from freezer to oven, and back again. NOTHING sticks to it– the messiest casserole or pie spillover wipes right off. Get one here ). At that point, you can remove them from the cooking sheet and freeze them in a gallon freezer bag until you’re ready to use them. This is a great way to circumvent the “I have to wait an hour and a half?!?!?!” conundrum the next time you want doughnuts. The recipe makes about 16 doughnuts and 16 doughnut holes, so you can either make half a recipe, or freeze half of your doughnuts for another time– you might as well freeze some, since you’re doing all the work, anyway. It’s also great because you can make just 2 doughnuts, for a special “date breakfast” with your spouse (top them, fresh, with whipped cream and fresh strawberries), or throw together homemade doughnuts the next morning when your child comes home from school and casually mentions at 10 PM that, “Oh . . . I forgot I need to take a dozen cookies of some kind for school tomorrow. Night Mom!”
When you want to make the frozen doughnuts, get them out and place them on a silpat-lined baking sheet, about 5-6 hours before you want them, and cover them with a kitchen towel. The frozen doughnuts will thaw and rise much more slowly than regular doughnuts, so if you want them for breakfast, let them thaw, covered with the towel, in the fridge, overnight. You’ll have doughnuts ready to go in the morning! 🙂 You Supermom, you! No one will ever believe you didn’t even know you needed these things until 10:00 last night 😉

I’m not freezing any of these, so while they are rising for 40 minutes, I start my doughnut glaze. In a medium saucepan, melt your butter on medium low heat.

When the butter is melted, add in your powdered sugar. Just mix it together the best you can . . . it won’t really mix well until you add the vanilla and water.

Turn your heat to warm (the lowest you can go), and add in your vanilla and 1 tbsp. of water. At this point, it’s your decision how much water to add– if you like your doughnuts thickly glazed, you really don’t need to add any more water. If you want your glaze to be a thinner layer, like Krispy Kreme’s, add a little more water until you get it thinner, but still thick enough to coat the back of your spoon. Whisk the mixture if you are unable to stir out the lumps. Keep the burner on a super low setting to keep the glaze liquid (the butter will start to solidify if you don’t keep it warm).

Now, start your oil heating. Use a cast iron skillet or Dutch Oven if you have it– the even heat that these pieces lend to the doughnuts makes sure that they are evenly cooked and SCRUMPTIOUS! I am using peanut oil, but you can use any type of flavorless oil that you like. Get the oil heated to 325 degrees– or, if you don’t have a candy thermometer, just make sure that the oil is shimmering and foams lightly when a doughnut is placed in it (you can sacrifice a doughnut hole to test the oil, when you think it’s ready . . . and you might as well eat it . . . all in the name of science, of course 😉 On my stove, 3.5 is the perfect dial setting for frying.
By this point, the rising doughnuts are probably nice and puffy. Go ahead and place them, carefully, 1 or 2 at a time, into the oil. Watch carefully– they don’t take long, at all, to fry in this oil. If this is your first time making doughnuts, I recommend frying just 1 at a time, since they go so quickly. If you overcrowd your pan, you risk burning these doughnuts. And we can’t have burned, wasted doughnuts! Yuck! Start with 1 at a time and add more at a time as you get better. Yes, yes . . . you may have to practice making doughnuts for a long time. And eat them. Poor thing . . . you martyr . . . sacrificing yourself for science. Hehe.

When the doughnuts are lightly brown at the edges (about 1 minute of cooking time), go ahead and flip them over and let them cook for about 45 seconds on the other side. The second side doesn’t take as long, since the first side kind of cooks through the middle.

When the doughnuts are done, dip them into the glaze with tongs. Ooooh . . . that’s looking very “Krispy Kreme-y,” isn’t it? And it totally tastes like it, too. Seriously. Bite into one of these babies, fresh, and you will swear you have a little Krispy Kreme fairy standing right beside you, granting wishes as fast as they come out of the glaze.
Are there Krispy Kremes in heaven? There must be. It couldn’t be heaven without them.

The doughnuts that don’t get “experimentally” tasted (AKA, devoured as soon as they are glazed), can dry on a cooling rack over a silpat lined baking sheet. You can even double glaze them, if you want– it’s up to you. Toss sprinkles on there, if you want. Use chocolate glaze, if you’d rather (more on that from our original cake doughnut recipe here). Let the kids pick their own toppings . . . be creative! What a fun way to have a special treat, as a family, for Christmas or Thanksgiving morning breakfast! Kids love to help with the cooking– just don’t let them near the hot oil 😉

And there you have it . . . piping hot, fresh doughnuts. You have made a beautiful, special holiday breakfast, and you didn’t miss one second of family time. Your kids are happy and loving the treat they “helped” to make, and you feel like a million bucks.
And you should. Because you did it. And I’m just so proud of you.

Disclosure: This post may contain affiliate links, which just means that we get a few pennies if you purchase through our link. I never recommend products that I don't personally use and love. Thanks!


This is my first time doing these it was easy making the dough my kids can’t wait till they are ready to eat I love to bake I will try any thing once but this right here I think I will try over and over again
Aww that makes me so happy! I’m glad you enjoyed them and I hope you and the kiddos have lots of fun making them again and again! 🙂 — Emilie
Give 'em a try, Nina! My eyes rolled back in my head . . . they were that good! 🙂 Hope you enjoy them!
OH DEAR GOD! I am in so much trouble now…