
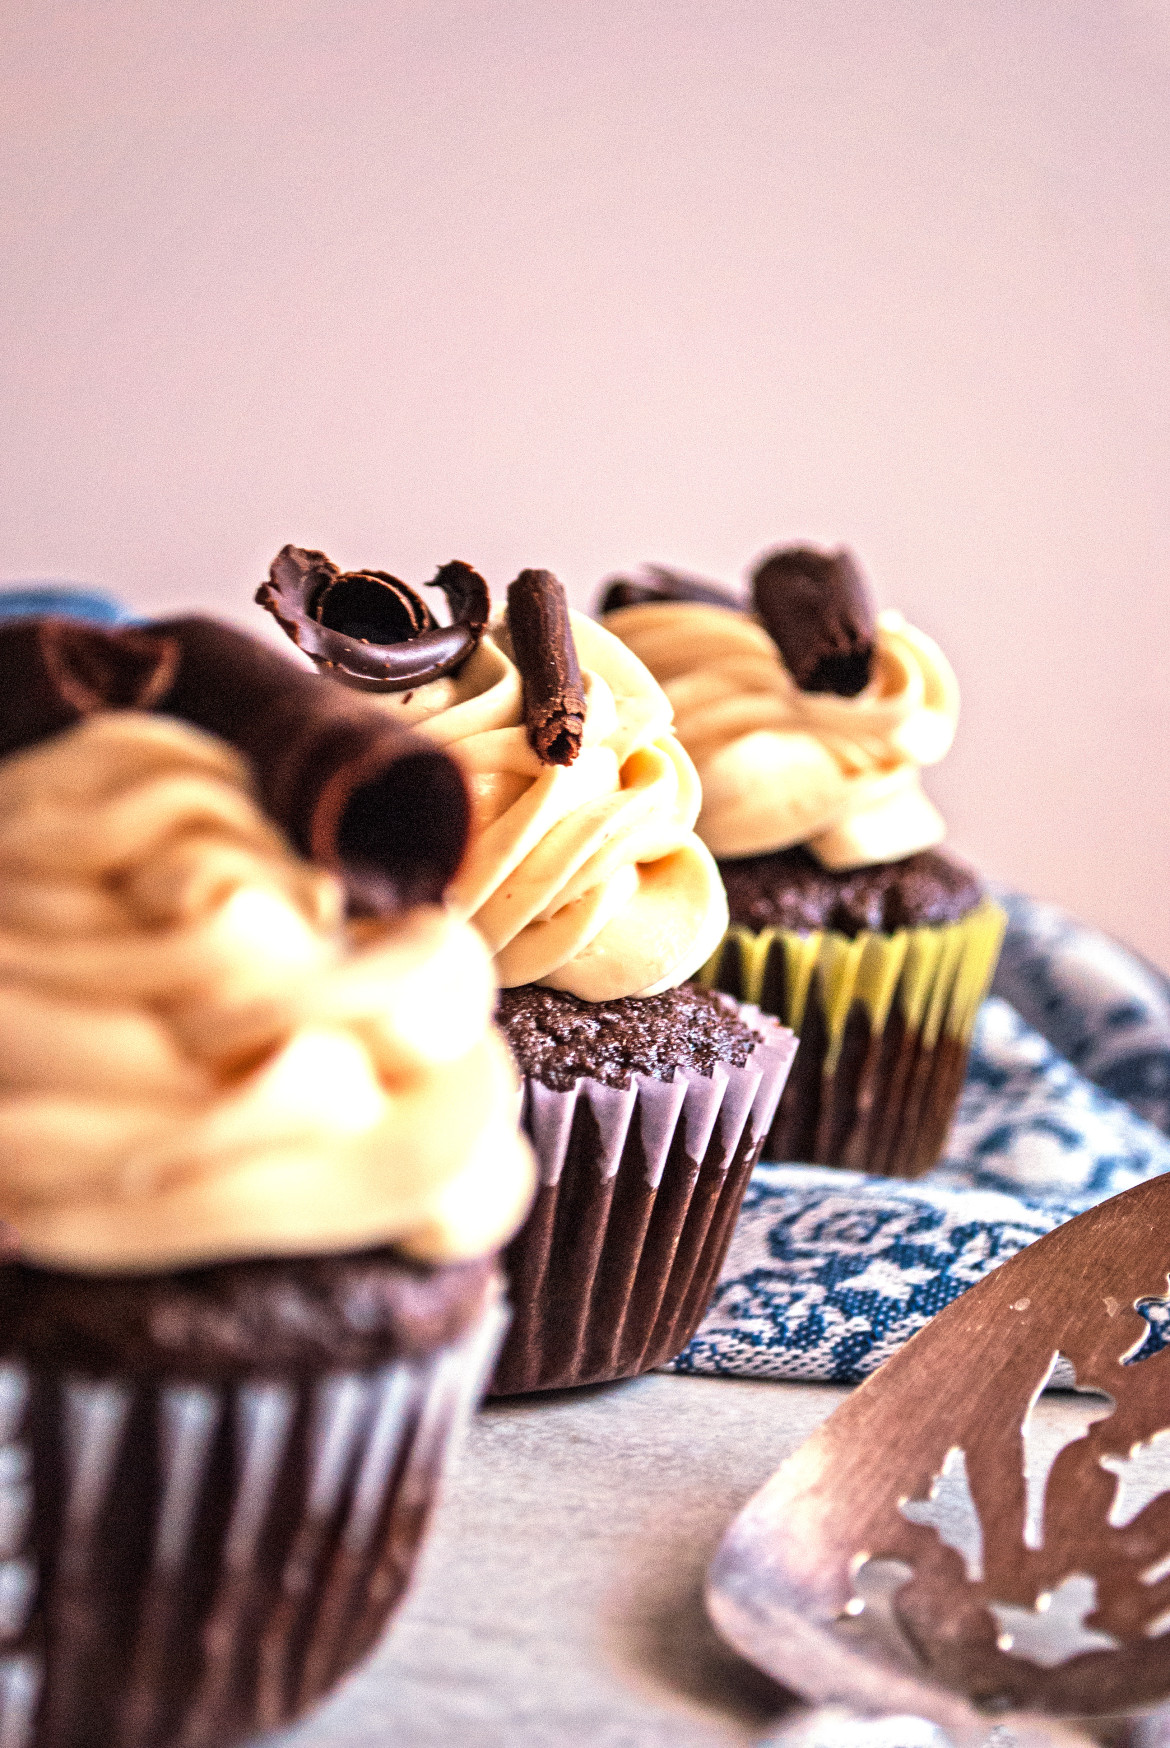
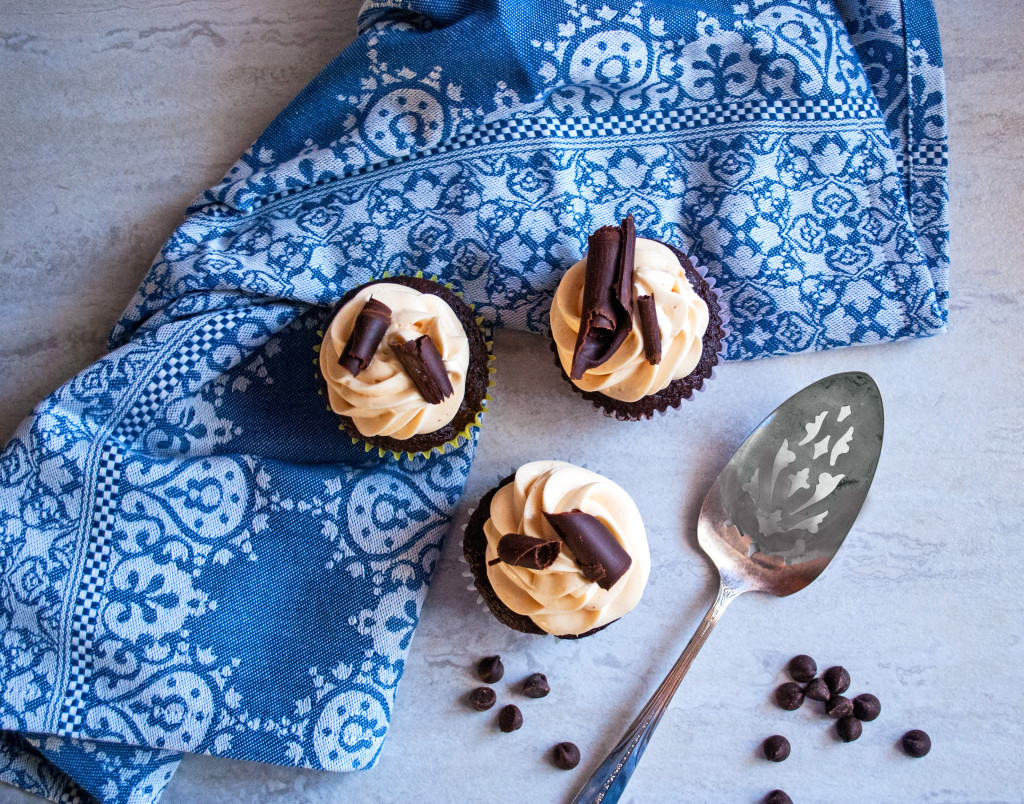
I once stopped at a fancy bakery, taking a deep sigh before I reverently approached the bakery case. Inside that glass jewel box glistened treasures of every kind– flaky baklava, fruit-adorned tarts, and powdered-sugar kissed Napoleons. But the thing that drew my eye was a single, sinful, peanut butter cupcake decorated with decadent, seductive chocolate curls. I stared at those curls, thinking, “Wow. Those things really take that cupcake up a notch.” And so my sorry cupcake decorating skills went from “OK. I have a cake mix and I will smear bought icing on top and hope to cover the mess with sprinkles” to “A simple piping tip and some easy chocolate curls can turn my cupcakes into something that looks like it came out of a professional bake shop.” The best part? Chocolate (or any flavor, really) curls are so easy to make, and you can make them ahead, when you have leftover chocolate from another project (like when you’re dipping chocolate covered pretzels at 11:00 at night and wondering why in the world you volunteered to bring 300 pretzels to your kids’ Christmas parties at school), freeze them in a container, and whisk them out at a moment’s notice, when your desserts need a little fancy-schmancy. After all– even a dessert likes to dress up, sometimes.
What are we waiting for? Let’s do this!
How to Make Chocolate Curls
Ingredients:
1/2 cup semi-sweet chocolate chips
Directions: Melt chocolate chips in the microwave, stirring after each 30 second increments until chocolate is melted and smooth. Spread chocolate in a thin layer over a metal cookie sheet, and place cookie sheet in the refrigerator for 1-2 minutes, just until chocolate is set, but still warm enough to roll. Use a bench scraper to scrape the chocolate, moving finished curls to a plate using a toothpick, and refrigerate until firm.
Now, in pictures! 🙂
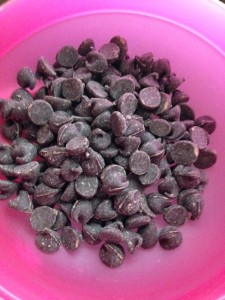
Chocolate curls are so easy to make– if you can microwave, you can make ’em! 🙂 Start by putting 1/2 cup of your favorite chocolate chips into a microwave safe bowl, and then (this is the difficult part . . . it is very mystical, and you need a degree in rocket science to do it) . . . TURN THE MICROWAVE ON. 😉 Seriously. This is as hard as it gets. Melt the chocolate in 30 second increments, stirring well after each 30 second session,
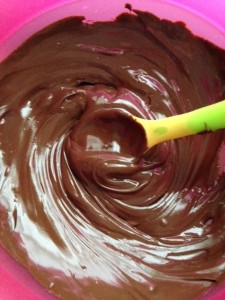
Ohhhh yeah, baby. That’s what we’re looking for– gloriously smooth, silky chocolate. Stir everything around so that all the chocolate pieces are melted and smooth. I wish I could just stir myself and make all the lumps and wrinkles go away. haha.
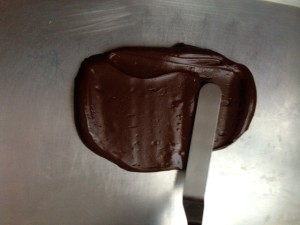
If you have an offset spatula, use that to smear the chocolate nice and thinly over a metal cookie sheet. A regular butter knife will work fine, too, but the spatula makes it easier to get it smooth because you have a little more “wiggle room” for your fingers and don’t have to smoosh the knife totally flat on the sheet to get the chocolate thin enough. I picked up a cheapie offset spatula for about 5 bucks here.
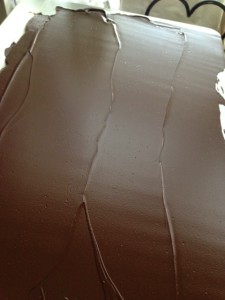
It’s impossible to get the chocolate completely smooth unless you have a HUGE offset spatula, but just do the best you can and get it as thin and as smooth as you can. It should be about the thickness of a toothpick. Put the cookie sheet into the fridge, but don’t let it in there too long– you just want it to get cold enough that it’s “set,” but still warm enough to be moldable. I usually put mine in the fridge for 1-2 minutes and then test it. If the chocolate is too brittle, I let it warm a little on the counter before rolling the curls, and if it’s so warm that the chocolate smears instead of curling, I pop it in the fridge for another 40 seconds or so. Getting the chocolate the right temperature is the trickiest part, but once it’s ready, you can roll those curls in a flash! 🙂
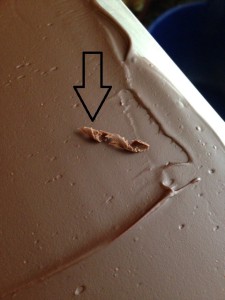
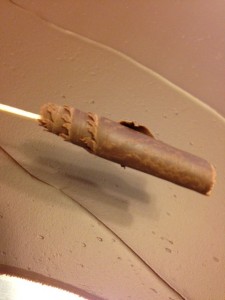
When I’m first starting to test the chocolate to see if it’s the right consistency for curling, I test just a teeny little corner of the “chocolate puddle” to see how the consistency is. I use a bench scraper, but any piece of smooth plastic will work (a repurposed plastic lid, cut straight across, works in a pinch). Use the scraper to scrape the chocolate on a diagonal. This curl, above, is a tester that shows me the chocolate is too hard– see how the curl is kind of fragmented and rough? When I saw that this chocolate was too cold, I let it sit at room temperature for a few minutes to soften a little more.
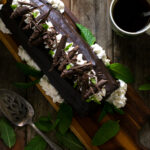
After a few minutes at room temperature, this is what kind of chocolate curls I was getting. They’re getting there– but still a little fragmented. So I let the chocolate warm a few more minutes. BTW– if you are looking for chocolate “bark” for, say, tree cakes (think “Where the Wild Things Are”), this is the exact consistency you want to roll your chocolate curls. The curls will fragment into strips that can be placed on icing to make the “bark” look.
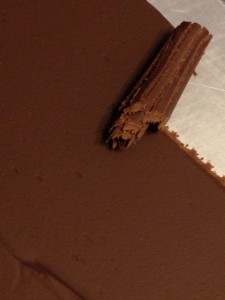
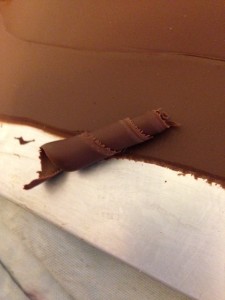
Now THIS is starting to look like a chocolate curl. This chocolate was a few minutes warmer than the previous picture– and the chocolate is rolling much more smoothly. There’s nothing wrong with this curl, but see how the chocolate on the edges is kind of fragmented? If you don’t mind that look, then go ahead and roll the rest of your curls. If you want the curls to be silky smooth, then this chocolate needs to warm for another minute or so. Sometimes I sit the cookie sheet on my lap for about 15 seconds, and the heat from your body will warm the metal cookie sheet just enough that the chocolate is perfect.
This, to me, is a perfect chocolate curl. If you scrape your curls on a diagonal, you will get those pretty multi-leveled sides. If you scrape the curls straight, they will be flat on the sides. Just try different things and see which types of chocolate curls you like best. When you finish a curl, use a toothpick to pick it up, so that the heat from your fingers doesn’t melt all that chocolate loveliness that you worked so hard to create.
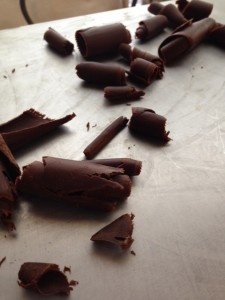
And this is a whole bunch of finished chocolate curls. Some of them are layered, and some are straight. I have all different sizes. Man . . . it’s easy and fun. Just stick this whole thing back into the fridge for 10 minutes or so, to really get them to set and hold their shape. Then, if you want, you can place them gently into a little container and put them into the freezer. Then you’ll have chocolate curls ready for adorning anything you want, anytime you want. Yes. It’s totally OK to adorn your Easy Mac. 😉 I won’t judge.

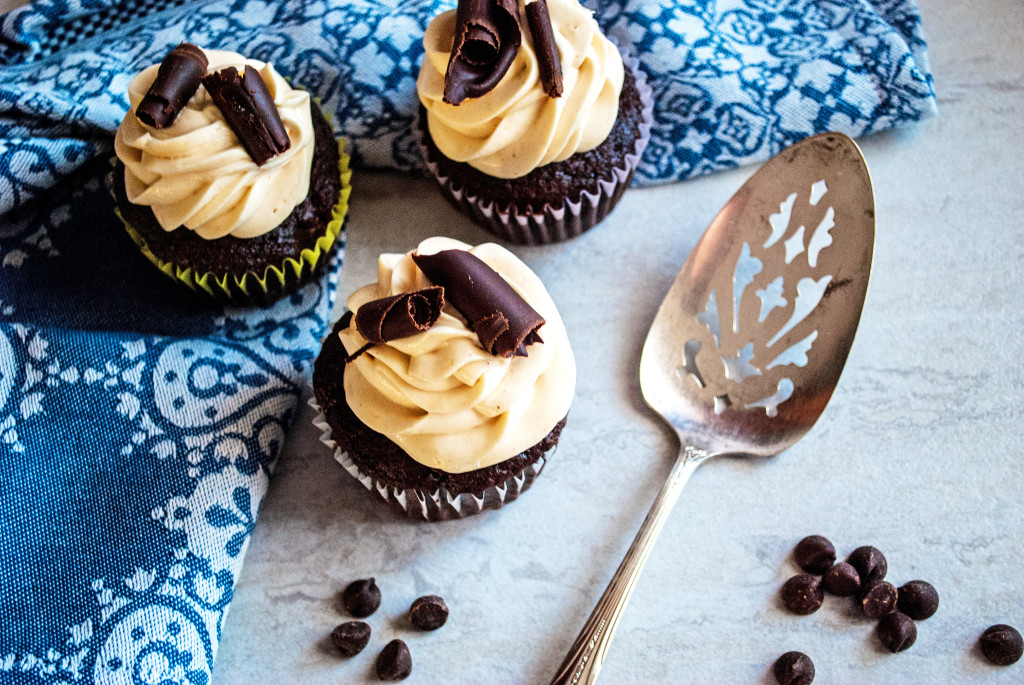
Of course, you can also use them right away, like if you’re making Perfect Peanut Butter Icing. It will be awesome to have a container of chocolate curls all ready, in your freezer, for those 10:00 PM “Mom, I need 2 dozen cupcakes for school tomorrow. Goodnight!” conversations. You can whip these babies out, adorn all over the place, and do it like a boss. Each curl is a little bit different, and each one is beautiful, in its own way. There’s a life lesson there, somewhere.
You did it. And I’m just so proud of you.

Disclosure: This post may contain affiliate links, which just means that we get a few pennies if you purchase through our link. I never recommend products that I don't personally use and love. Thanks!


Pingback: White Chocolate Mousse – Cookies for England
Pingback: Lemon Meringue Mousse – Cookies for England