
There is something very classy about Lemon Meringue Pie. It’s the favorite of many people because it evokes memories of a lazy Sunday afternoon at Grandma’s house, sitting on the front porch with a slight breeze whispering around your face, and Mom handing out slices of this light, golden jewel. Oh yes. It’s hard not to love bright, citrusy Lemon Meringue Pie. But what if you have a small family, and you only need 2-3 servings? What if you love the taste of Lemon Meringue, but you are petrified of making pie crust? What if you want a dessert that you can easily throw together, ahead of time, and pop in the fridge for dinner later? What if MY ENTIRE LIFE IS A LIE!!!! WAHHHHHHHHHHHHHHH!!!!
Sorry. Things got a little dramatic there, for a moment.
But anyway, the answer to (almost) all of the above questions is a simple one: Lemon Meringue Mousse. This mousse is light and airy, with a kiss of sweetness swirled with a delicious pucker of tart. I created this mousse to showcase the snap of citrus and the warm, velvety flavor of white chocolate. And you know what? I think you’re gonna’ love it.
What are we waiting for? Let’s do this!
Lemon Meringue Mousse
(Original to me– feel free to change it up and share, but please link back here so no one steals my work 🙂
Lemon Meringue Layer Ingredients:
1/2 cup white sugar
1 tbsp. butter or margarine
1/2 cup water
Juice and zest of 1 lemon
1/2 tsp. lemon extract
1 egg yolk (save the egg white for the mousse)
Yellow food coloring, optional
2 1/2 tbsp. cornstarch + 1-2 tbsp. water to make it liquid
White Chocolate Mousse Ingredients:
1/2 cup white chocolate chips, melted
1 egg white (leftover from the meringue)
Pinch cream of tartar
1 tsp. white sugar
Whipped Cream Ingredients:
1 cup heavy cream
1 tbsp. powdered sugar
Splash vanilla
Directions:
To make the Lemon Meringue layer, combine butter, water, lemon juice and zest, sugar, lemon extract, and yellow food coloring, if you want the mixture to be nice and yellow, and bring everything to a low boil. When the mixture boils, add in the cornstarch/water mixture and stir until mixture thickens. Remove from heat and gradually add in beaten egg yolk, stirring the entire time you are drizzling the yolk in. Allow mixture to come to room temperature and then refrigerate until ready to use.
To make White Chocolate Mousse layer, start by making your meringue. With the whisk attachment of your mixer, whisk the egg white, pinch cream of tartar, and white sugar together until mixture forms stiff peaks. While the egg white is whipping, melt chocolate chips in the microwave in 30 second increments, stirring well after each addition just until melted and smooth. When the egg white has formed stiff peaks, gently stir/fold the egg white into the chocolate mixture (it helps to stir a few tbsp. of egg whites into the chocolate before you start folding, to lighten the mixture). When the egg white has been combined into the chocolate, set this mixture aside and make your whipped cream. To make the whipped cream, use your whisk to beat heavy cream, powdered sugar, and a little vanilla in the bowl of your stand mixer until it forms a soft peak when the whisk is removed. Carefully fold whipped cream into egg white/chocolate mixture and refrigerate until ready to use.
When you are ready to serve, layer the mousse and lemon meringue layers alternatively in clear glass serving glasses or cups, topping with extra whipped cream and a white chocolate curl or garnish, if desired.
Whew. This sounds difficult, but it’s really not– it’s just a lot of steps. Don’t worry. I’ll go through every step with you. 🙂 Let’s take a look at the process in pictures. And please remember to follow me on Facebook and Pinterest for more great recipes! ?
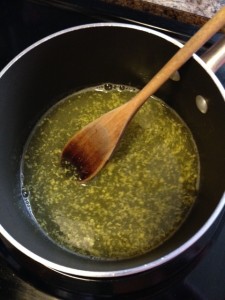
The great part about this recipe is that you can make the lemon layer and the mousse layers, ahead of time. That way, these cute little desserts will be a snap to whip up when you need them. Let’s start by making the lemon layer. In a medium saucepan, combine your butter, water, lemon juice and zest, sugar, lemon extract, and yellow food coloring, if you’re using it (I used a small dab of yellow gel food coloring) and bring the mixture to a low boil.
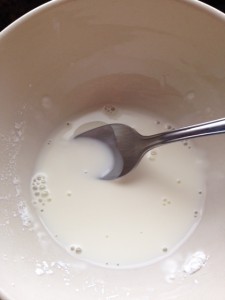
Now it’s time for one of my least favorite ingredients– cornstarch. If you’ve been on Cookies for England for any length of time, you know that I have a love/hate relationship with this stuff. On one hand, it’s a wonderful, gluten free way to thicken up anything, like delicious Potato soup. It’s also a key player in random awesome crafts, like the homemade Bath Bombs we made the other day. Yes, it’s a very useful tool. However, it is also one of the messiest, grouchiest kitchen staples I have. It hates to mix with water, and the second you put it into a soup or gravy, it tries to wiggle out of your grasp and settle to the bottom. But don’t let it! Mix the water and cornstarch together until they are the consistency of milk. Then, quickly, stirring the entire time, add the cornstarch to the hot lemon mixture. Keep stirring, because the meal old cornstarch will try to settle out to the bottom. Oooh, it’s just awful! But we need its power, so we put up with the mean. It’s like paying income taxes to live in America. Sometimes you just do what you ‘gotta do.
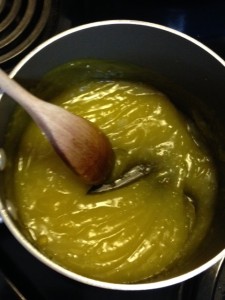
Once the cornstarch is added, stir until the mixture thickens. This should only take a minute or two– just keep stirring and getting the spoon into the edges so no cornstarch can hide out. When it’s thick enough, you can “draw” a line through it with your spoon, and the mixture will be thick enough that it won’t cover the line you made. When you see your sauce “holding the line,” it’s ready. Turn off the heat and move the pan to a cold burner to start cooling down.
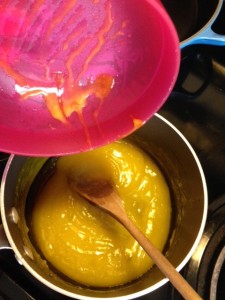
Next, we want to add our beaten egg yolk– but before you do it, I need to tell you something about egg yolks. If you add your egg to the hot liquid too quickly, you will end up with lemony scrambled eggs. Eeeewwww. Instead, we want to stir constantly, while at the same time drizzling the beaten egg yolk into the hot mixture. This gradual adding and constant stirring keeps the egg from getting “shocked” as it’s added. So stir, drizzle, and avoid the “scramblies.” 😉 Go ahead and put the lemon mixture aside to cool. When it’s room temperature, you can go ahead and stick it in the fridge, covered with plastic wrap, until you’re ready to use it.
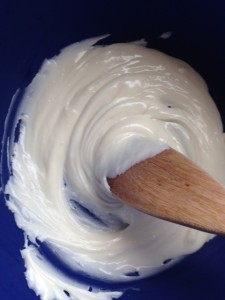
Now it’s time for the best part . . . the CHOCOLATE! Well, I guess, technically, white chocolate isn’t really chocolate, but it’s still good 🙂 Melt your chocolate chips (either chips or morsels will work fine) in the microwave in 30 second increments, stirring well after each heat. You want the chocolate to be nice and smooth. Ahh . . . if only I could stir myself into being totally nice and smooth. haha.
You also want to start your egg white, cream of tartar, and white sugar whipping with the whisk attachment of your mixer. We want the egg whites to be whipped to stiff peaks (when you lift the whisk out of the mixture, the egg will stand straight up and not bend over). So start melting, start whipping, and start salivating . . . because this dessert is gonna’ be delish! 🙂
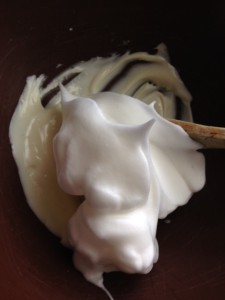
When your egg whites have whipped up to stiff peaks, add them to the melted chocolate. It helps to stir in about 1/4 cup or so of egg whites so that the mixture will be thin enough to fold in the rest. Try to fold, rather than stir the mixture, to keep the egg whites from deflating.
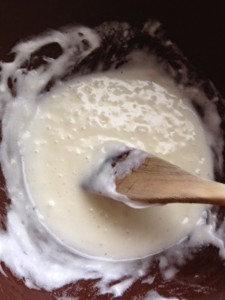
Here is our chocolate/egg white mixture, all nice and happy and mixed. Go ahead and put that mixture aside, for a minute. It’s time for the cream! YUM. Any sentence that begins with “it’s time for the cream” has the hint of promise, in my book! 🙂
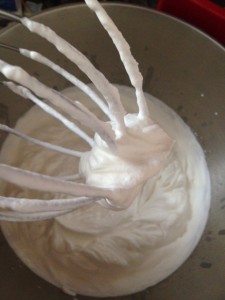
Have you ever made homemade whipped cream? Ooohh . . . you haven’t lived until you’ve tried it! Mix your heavy cream, powdered sugar, and vanilla with the whisk attachment of your mixer until it gets nice and thick– the whisk will hold a soft peak when you pull it out of the cream. YUM.
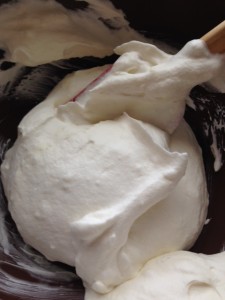
Use your spatula to fold the whipped cream into your egg white/white chocolate mixture. Make sure you are “folding” (basically giving the mixture a “comb-over.” haha.) the mixture so you don’t deflate all that beautiful fluffiness you worked so hard to create. Cover this mixture and put it in the fridge until you’re ready to assemble the dessert cups.
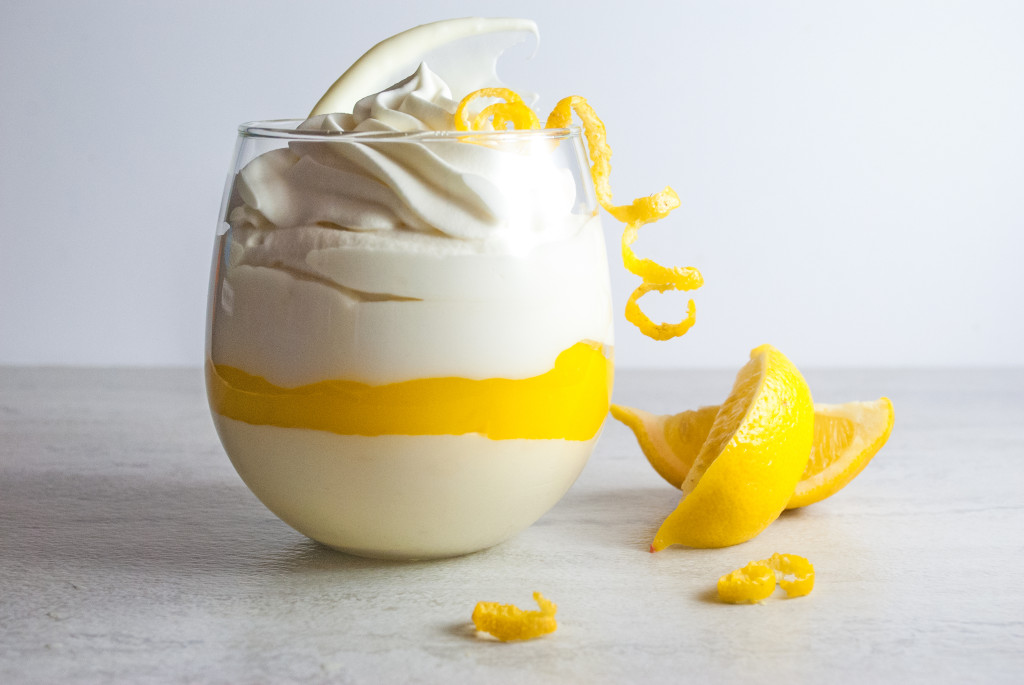
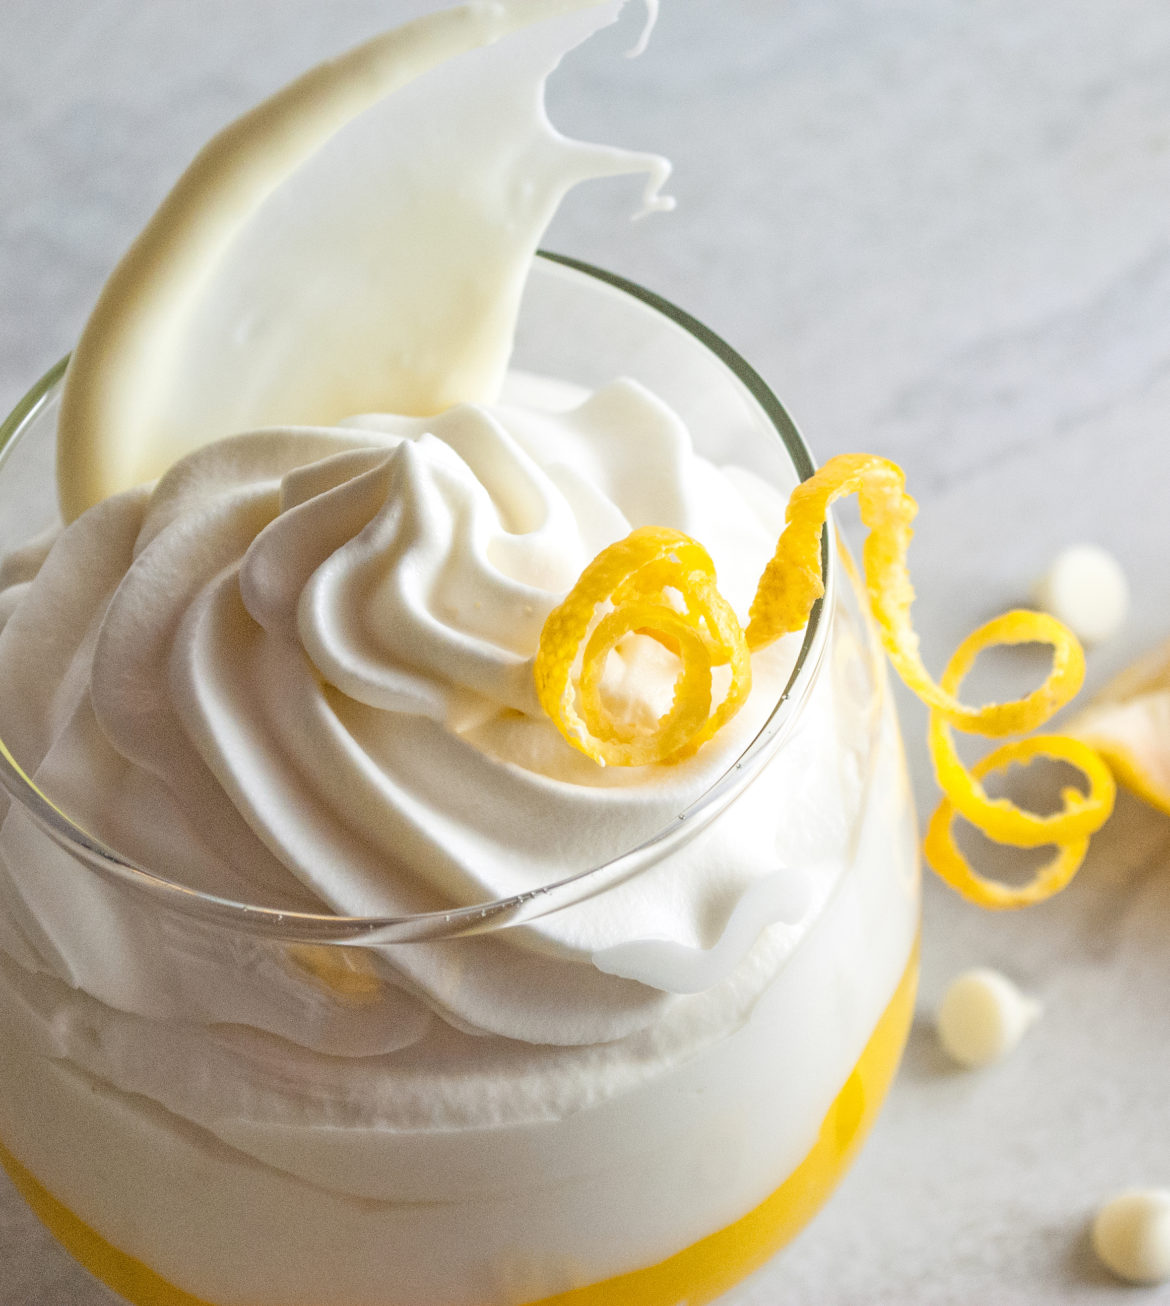
When you’re ready, layer the mousse and lemon mixture in pretty glass jars. Garnish them with white chocolate curls (more on how to make chocolate curls here) or slices of lemon. On a few of them, I put a “lemon twist,” which is an adorable little curl of lemon peel. You can get one of the neat little tools that makes these citrus curls here for about 7 bucks, and suddenly you’ll find yourself “twisting” everything in sight, just because it’s so fun. Orange Cream? Let’s have an orange twist! Spaghetti? Let’s have it with a lemon twist! haha. Those cute little citrus rinds are addicting to make! And the channel knife is only about $7, so if you’re a lover of citrus, this is an inexpensive little splurge to treat yourself, without breaking the bank.
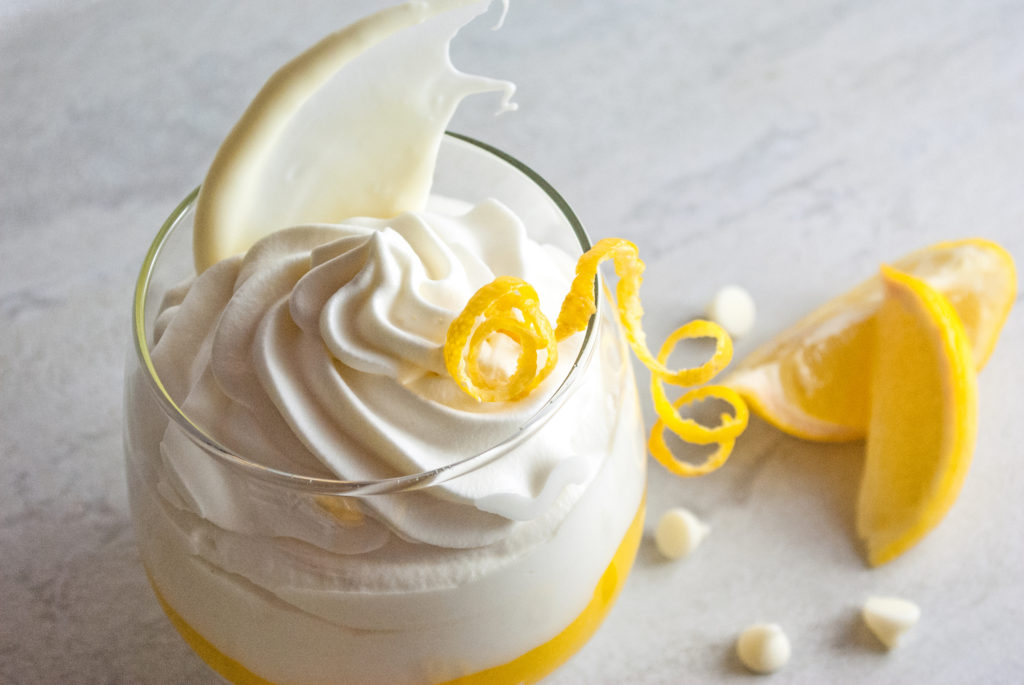
Stick these little beauties in the fridge until you’re ready to serve them. And when you do . . . when you plunge your spoon into the layers of creamy white chocolate mousse and luscious, lemon loveliness . . . don’t be surprised if you close your eyes and find yourself transported back in time. It’s a gorgeous, summer evening, with a burning sun just settling down into the horizon, bathing the entire sky in melted gold. The breeze is soft and beautiful, and you’re there with someone you love. These are the beautiful moments from which life is made.
You did it. And I’m just so proud of you.

Disclosure: This post may contain affiliate links, which just means that we get a few pennies if you purchase through our link. I never recommend products that I don't personally use and love. Thanks!





This looks delicious but I’m confused about what you called ‘lemon meringue’; why is there no egg white?
Hi Polly– there is egg white in the white chocolate mousse. 🙂 Hope this helps. — Emilie
so this recipe should make about 2-3 servings?
also how long ahead can I prepare the lemon meringue and mousse before assembling it in individual jars?
I have a group of 15people coming for dinner on Sunday early afternoon.
wondered about preparing it today and then assembling it tomorrow and just stick it in the fridge for the next day.
would that work or is there any worry it could go watery….?!?
would appreciate your quick reply ?
Hi there Pamela– it depends on the size of your cups. I got about 4 servings from this, but it never hurts to have extra. Yes you can assemble a day ahead– I have never had it go watery on me, as it is not meringue (which would), but mousse, which is stabilized by cream. Good luck and I hope the dinner goes fabulously! 🙂 — Emilie
add some yellow food coloring to the cream for the topping, gives it the extra drama and looks great too:):):)
Great idea Pamela! 🙂
The amount of sugar needed for the lemon part is not listed.
Well whaddya know, Alex! You’re right. 🙂 That would have been some VERY sour lemon mousse. 😉 I have corrected it– thanks so much for letting me know! 🙂 People everywhere not puckering in horror thank you. 😉
have you ever put the lemon and chocolate mousse into a pie shell instead of into glasses? I was wondering if that would hold up – not sure how far ahead you could make it.
You know what, Adele, I never have . . . but I don’t see why it wouldn’t work, as long as the pie was refrigerated! 🙂 I would probably put the lemon layer on the bottom and white chocolate mousse on top, so that the mousse doesn’t deflate. It would also look more like classic lemon meringue pie. Great idea! 🙂 I would think you could make it a day or two ahead of time, with no problems. But I think if it were going to sit for several days I would brush the crust with egg white before baking, to create kind of a “moister barrier” to keep the crust from getting soggy while it sits. If you try it, let me know how it turns out! Thanks for stopping by.
this mousse looks perfect! so light, aerated and delicious. beautiful photos too.
Thanks Thalia! The funny thing was, I started this as a way to use up some extra ingredients, and I just kept going and adding things . . . and I loved how it turned out! I guess sometimes mistakes are worth making– especially when they’re edible. 😉 Thanks for stopping by.
Mmm these look delicious! ?
They were delicious AND easy! My favorite combo 🙂 Thanks for stopping by, Lucy!
That looks delicious. I love lemon meringue pie so I’ll have to put mine in a smaller glass so I won’t feel guilty when I eat one glass and eat another glass an hour later?
Haha!