Yum
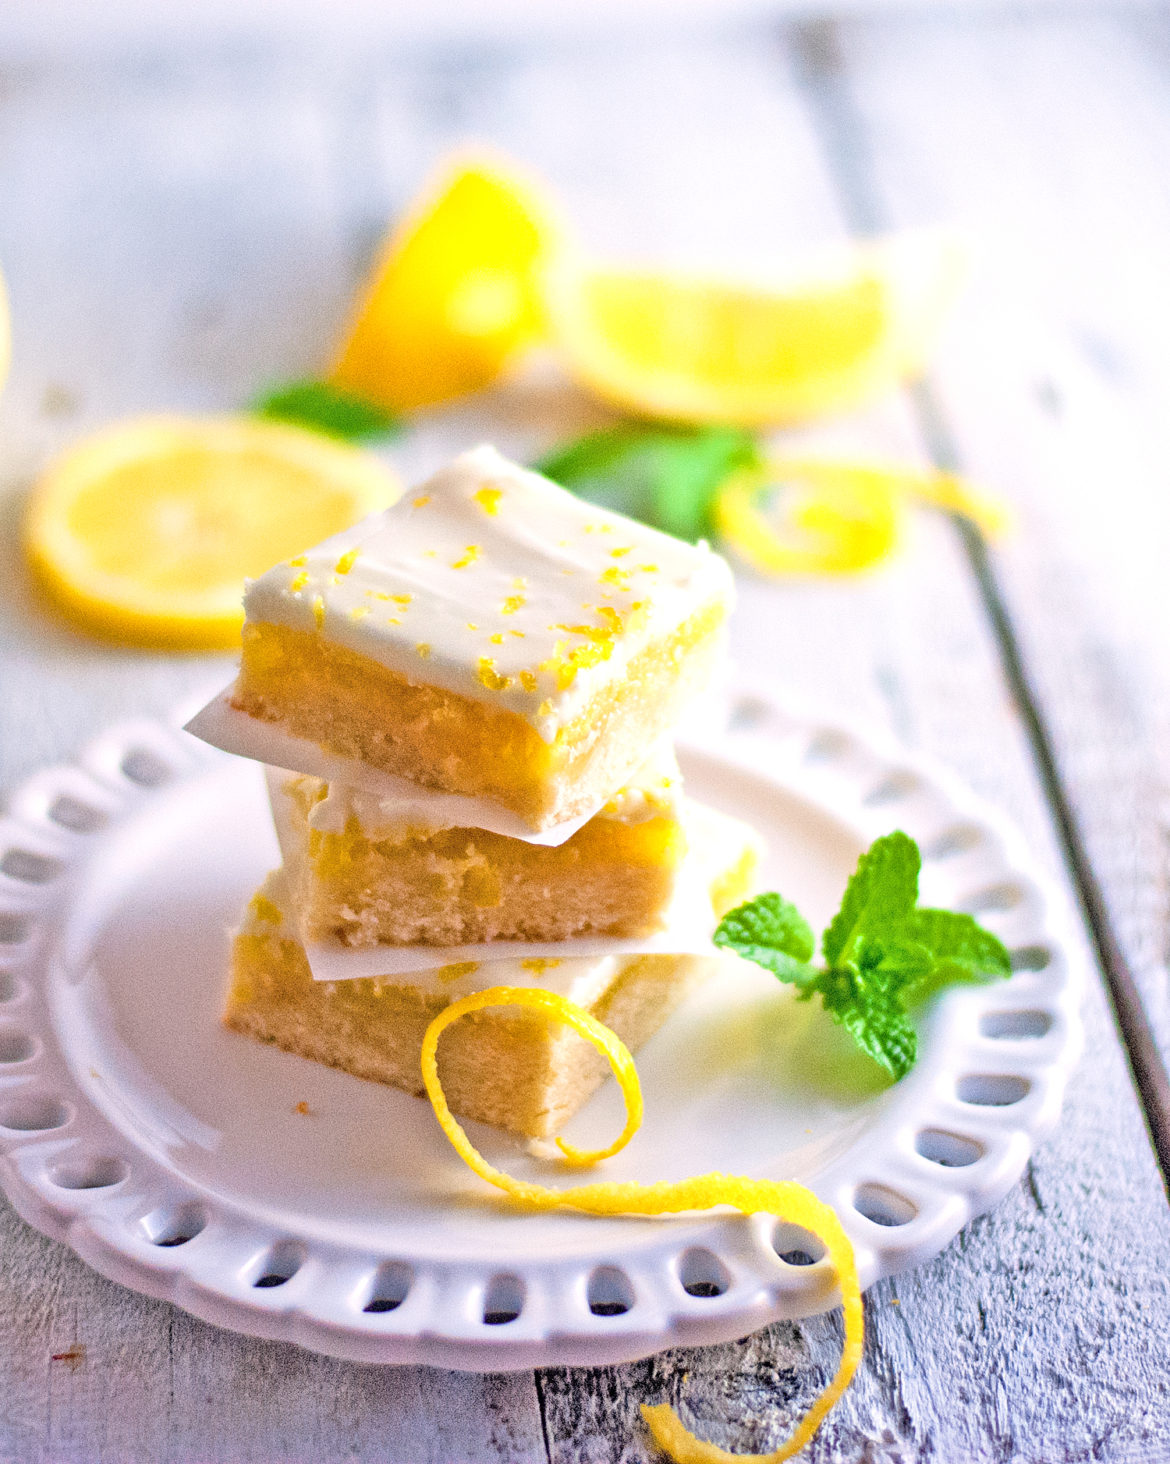
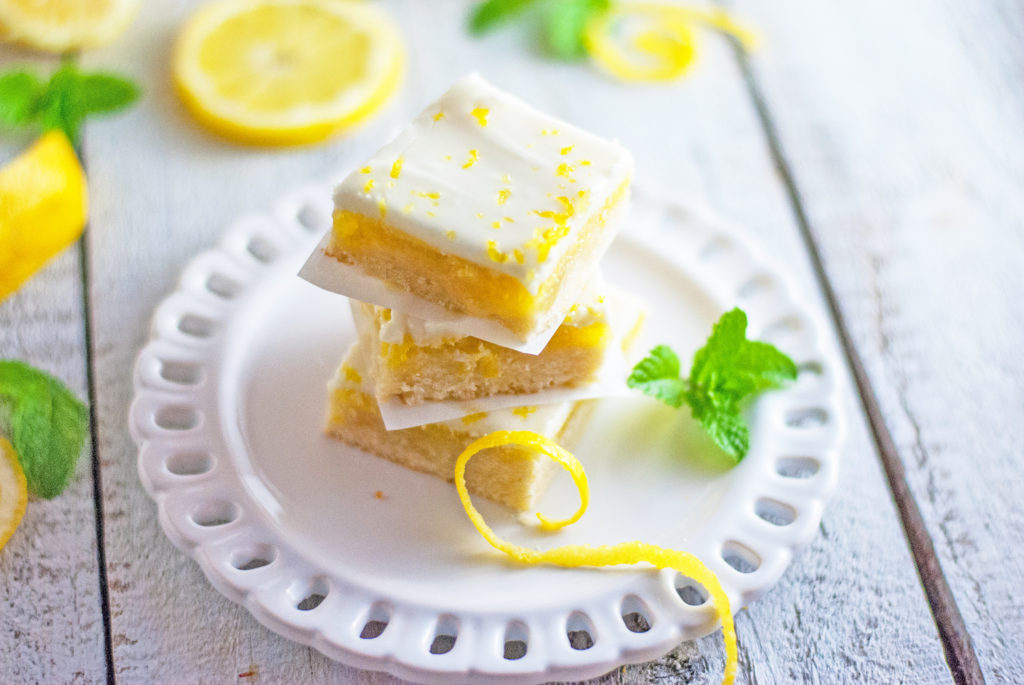
Nothing quite says “summer” to me like the sweet/sour pucker of lemon. With its bright, sunny yellow color and its pop of flavor, lemon can make even the hottest, stickiest summer day into something cool and delicious. These lemon bars are a little different from the traditional lemon bars because they have an icing layer . . . but that just makes them all the more decadent and delicious.
So make a batch of these for your Memorial day picnic. And when you take that first, refreshing bite, you may try to find excuses to have picnics all year round. 😉
What are we waiting for? Let’s do this!
Lemon Cream Bars
(Adapted from Your Homebased Mom)
Crust Ingredients:
1/2 cup butter or margarine, softened
1/4 cup white sugar
1 cup all purpose flour
Lemon Layer Ingredients:
3/4 cup white sugar
2 tbsp. flour
2 eggs
2 lemons, both zest and juice
1/4 tsp. lemon extract
Lemon Cream Icing Ingredients:
2 tbsp. softened butter or margarine
1 1/4 cup powdered sugar
1 lemon (juice for icing; reserve zest for topping)
1/2 tsp. lemon extract
Directions:
To make the crust, cream butter and sugar together with a mixer until light and fluffy. Add in flour until combined. Spread evenly in the bottom of a greased 8×8 inch pan (mixture will be spread thin). Bake the crust at 350 degrees for 15-18 minutes, just until it starts to brown around the edges. While the crust is par-baking, mix the lemon layer ingredients together until well combined. Pour the lemon mixture onto the just-browned crust and bake for an additional 15-18 minutes, until the lemon layer is set (it will not be brown). Allow the lemon bars to cool before frosting. To make the icing, mix all ingredients together in the bowl of a stand mixer, until combined. Spread over cooled lemon bars and top with reserved zest. Refrigerate for easiest cutting.
Now, in pictures! 🙂
To make a great cookie, you must first start with a great foundation . . . a fabulous crust! These bars have a delicious, flaky shortbread crust, and the basis of any good shortbread is . . . buttah!!! You can use either butter or margarine, but make sure that it’s softened. Basically, just get the butter out of the fridge about 1/2 hour before you’re going to use it, and you’re golden! 🙂 (Well, OK . . . you can be silver instead of gold, if you want to. I’m a “winter,” too, and I appreciate a good silver 😉
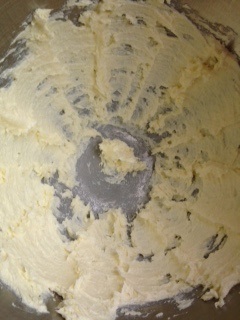
In the bowl of your stand mixer, cream the butter and sugar– this just means to beat the softened butter and sugar until it becomes light and fluffy (and almost white), and looks like those little cups of whipped butter they bring you at nice restaurants, with your baked potato. Yessss . . .
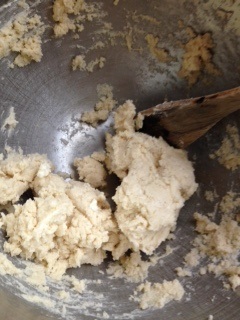
Next, add in your flour. Start the mixer on the lowest setting so you don’t get “baptized” with flour. 😉 Don’t ask me how I know this (*innocent face*).

Next, we are going to press our shortbread dough into a greased 8×8 inch pan. Here’s a little secret: if you line the pan with foil, first, and then grease the foil, it makes cleanup a snap. It’s also super easy to cut the bars into perfect squares, because when they’re cool you can lift the whole ‘shebang out of the pan and cut it on a flat surface, instead of trying to pry lemon bars out of the bare pan.
I used an offset spatula (like this one here) to make my crust nice and perfectly smooth. Offset spatulas are one of those things that make you think, “Eh . . . I don’t need that. I’ve been spreading icing just fine for years. I don’t need another gadget cluttering up my kitchen.” And then you get one. And you can suddenly make perfect crust (like for these Key Lime Pecan Shortbread Bars), perfectly swirled icing on a cake like this devilishly delicious Classic Chocolate Cake, and, of course, awesome, smooth sugar cookie icing like on these Festive Winter Mitten Sugar Cookies. So . . . all in all, after much thought, I figured it was worth the 5 bucks, and I’ve never looked back 😉
Pop this “naked crust” (*Naked??? SHRIEK!!!!) into the oven at 350 degrees for 15-18 minutes, just until it starts to get a little brown on the edges. It won’t be baked, completely– just starting to get brown on the edges. The center will still be pale. At that point, pour the lemon layer on top of the crust.

Wait . . . what lemon layer? Awww– I’m so glad you asked. 🙂 To make the lemon mixture, just take all the lemon layer ingredients and whirl them around with the mixer, until everything is combined. Easy peasy.
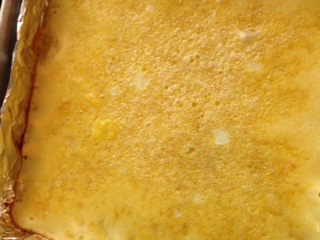
Pour the lemon layer on top of the parbaked crust and bake for another 18-20 minutes, until the lemon layer is “set.” That just means that it isn’t liquidy, anymore– if you gently shake the pan it may jiggle a little, in the center, but no liquid will run or pour. It won’t be brown, though, so keep a close eye on it, and when it’s firm (a little jiggle is OK), pull it out of the oven and let it start to cool.
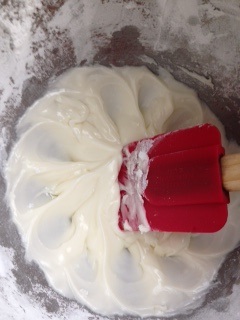
Next, let’s work on our frosting. This part is pretty easy– just mix your icing ingredients together and beat them with the mixer until they are combined, with no lumps. Don’t you wish you could whisk yourself and get all the lumps out– especially on Monday mornings? Yeah. Me, too 😉
Wait until the bars are cool, and then you can ice them. Again, your handy dandy offset spatula works great for this– you can get totally smooth, even lines. Take your baked goods from “Oh . . . thanks, Kathy. These are great– did your toddler make them? Oh . . . (awkward silence) YOU made them. Sorry.” to the envy of the school bake sale, with everyone asking you how in the world you do it. 😉 Yes. You deserve this in your life.
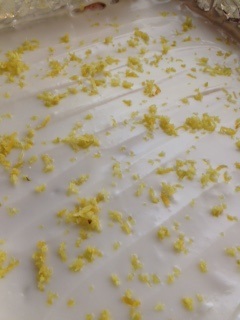
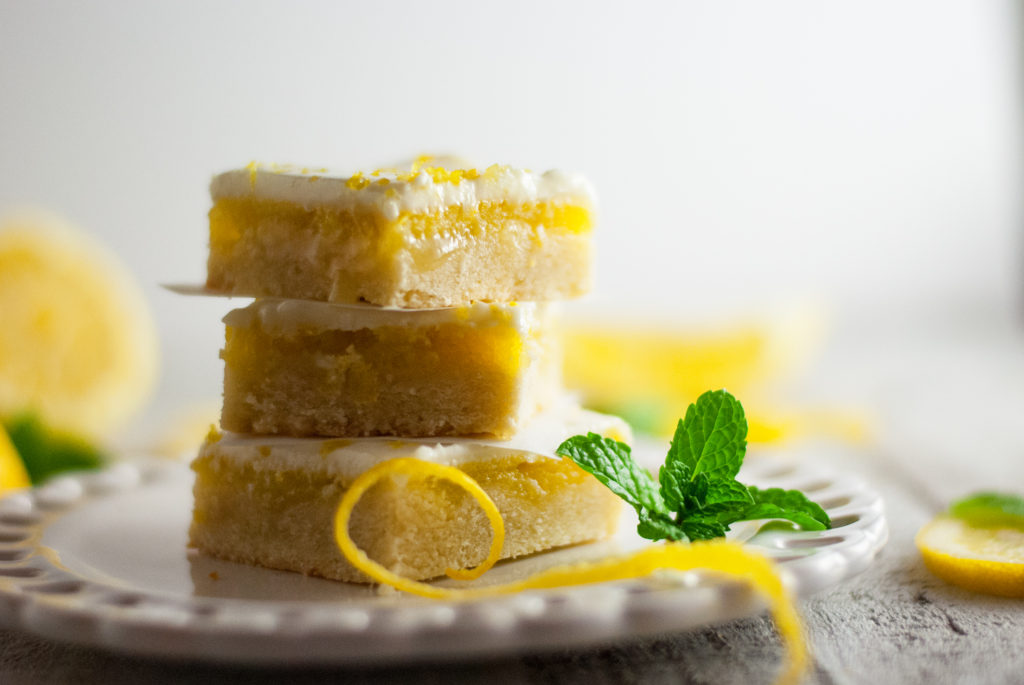
Top the iced bars with the reserved lemon zest– this adds a little pop of color and a nice little pucker of citrusy lemon flavor.
When the lemon bars are deliciously frosted, pop them in the fridge for a while to get nice and firm. I have found through experience that they are easier to cut when they’re chilled. And remember that handy dandy foil trick? Yep– just pull the whole ‘shebang out of the pan and cut them as easy as pie . . . er, bars.
I generally refrigerate these bars, after cutting, because they are so refreshing that way. But, honestly, they may not be around long enough to mess with all that. At least at my house, these little beauties have a way of . . . growing legs and walking off into the lemon sunset. It’s not hard to see why. Who doesn’t love a fresh, citrusy treat on a hot summer day? These might even win over grouchy Uncle Milton, who swears every year that it’s “insane to eat outside with all the bugs and the heat, when we have perfectly good houses with air conditioning.”
You’re welcome.
You did it. And I’m just so proud of you.

Disclosure: This post may contain affiliate links, which just means that we get a few pennies if you purchase through our link. I never recommend products that I don't personally use and love. Thanks!