Yum
Western Pennsylvania is an awesome place to grow up. You learn to drive on dirt or gravel roads, with your Dad pointing out the safest way to pass an Amish buggy on the curvy, snaking back roads (if you’ve ever wondered if there is a straight, level road in the state, let me steady your mind . . . there isn’t.). The first day of deer season is a school holiday (I’m serious), and most people have at least some kind of wild game in their freezers. Teenagers learn how to drive in the snow before they learn almost any other driving skill. Everyone has a garden.
And there are Whoopie Pies.
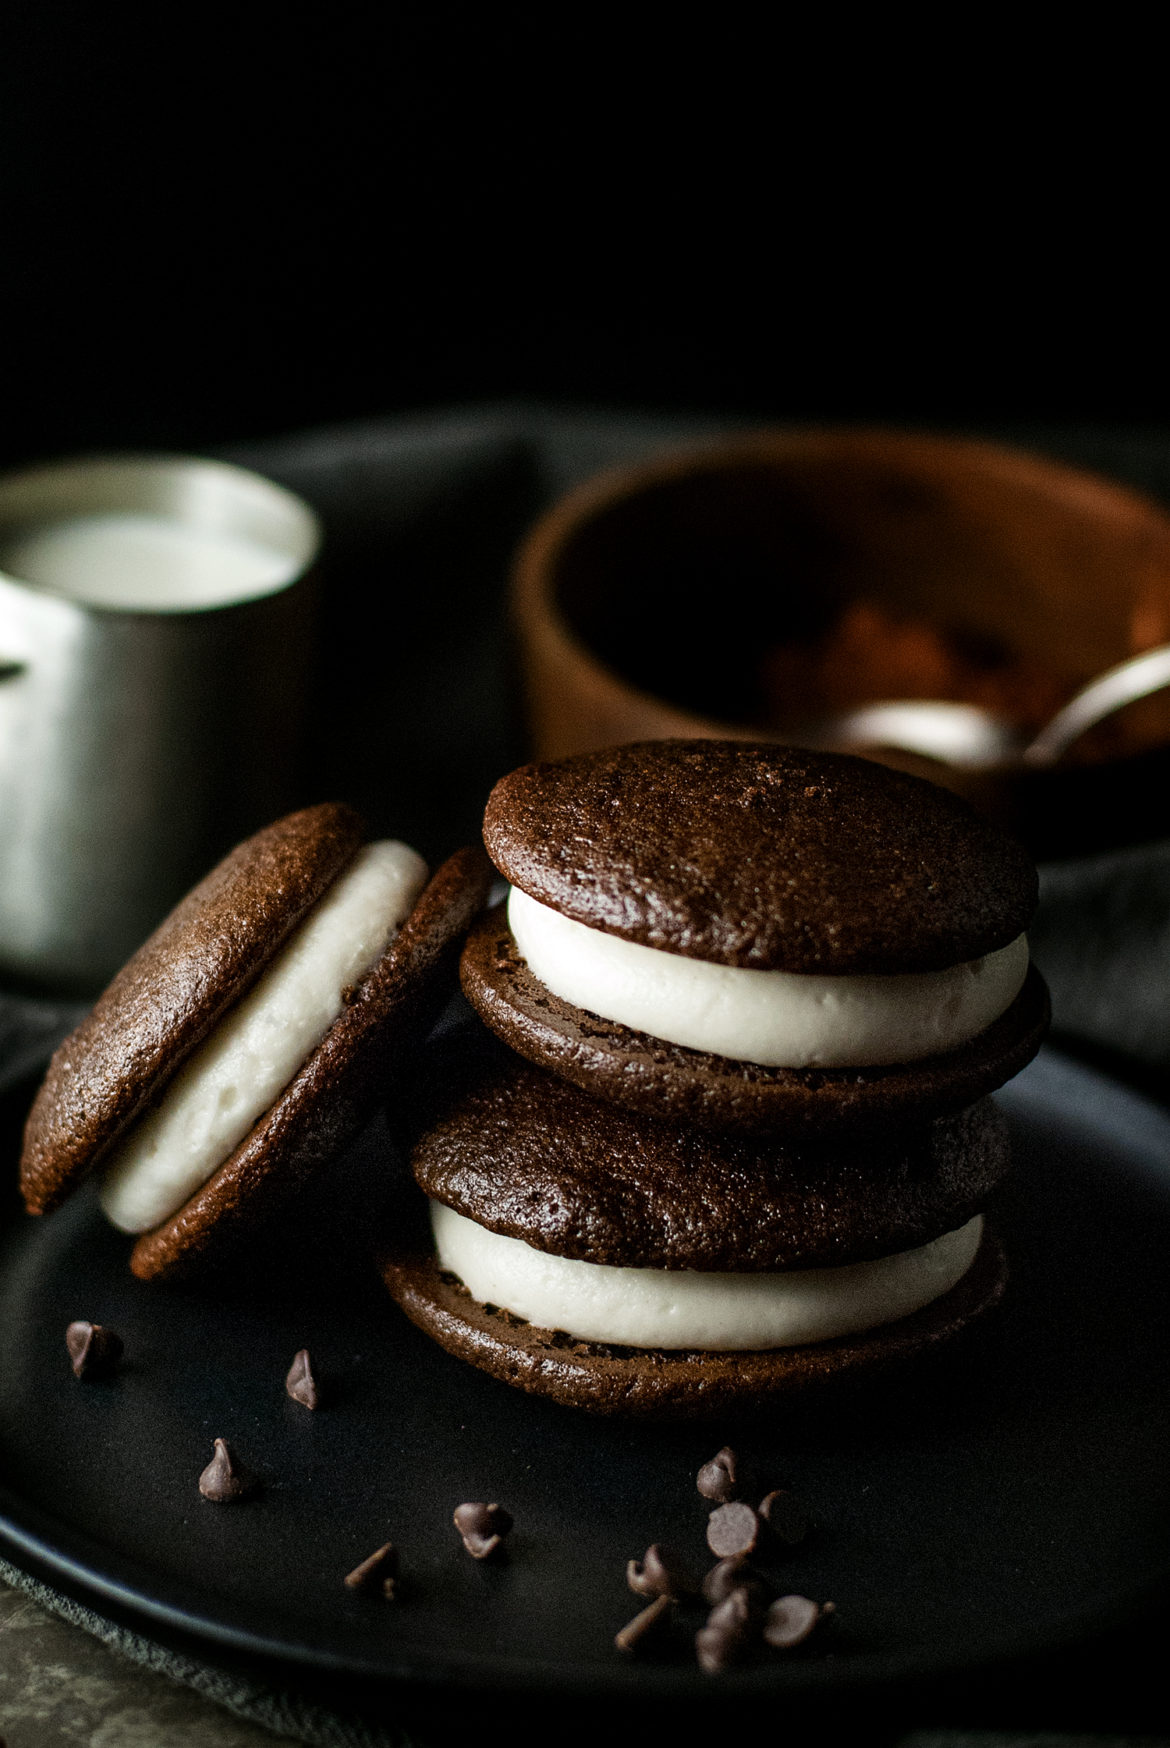
Actually, I grew up calling them “Gobs,” but whatever you call them– they are amazing– kind of like a soft Oreo with a soft, shiny cookie and an icing that is kind of hard to describe, that perfectly complements them. Legend has it that the Pennsylvania Amish invented these cookies to use up leftover cake batter, and that the kids loved them so much that they would shout “Whoopie!” when they saw these little beauties in their lunch boxes. Biting into one of these classic cookies takes me right back to my childhood– bare feet, skinned knees, and all. So give ’em a try. I’m pretty sure I can hear you shouting “whoopie!” from here 😉
What are we waiting for? Let’s do this!
Classic Amish Whoopie Pies
(My own adaptation based on many recipes that I tested and many cooking trials/tribulations that I endured)
Cookie Ingredients:
1 cup vegetable oil
2 cups brown sugar
4 eggs
3 cups all purpose flour
1 tsp. salt
2 tsp. baking soda
1 cup cocoa
1 cup milk
2 tsp. vanilla
Filling Ingredients:
2 egg whites
1/4 tsp. cream of tartar
4 tbsp. flour
4 tbsp. milk
1 1/2 cups vegetable shortening
4 cups powdered sugar
Directions:
To make the cookies, mix oil, brown sugar, and eggs together until combined. Add in rest of ingredients and mix, slowly at first, and then beat for 1 minute at high speed. Allow batter to sit for 15 minutes before placing 1 tsp. spoonfuls on a silpat-lined baking sheet and baking at 350 degrees for 8 minutes, just until set. Allow cookies to sit on cookie sheets for several minutes after baking before removing to cooling sheets.
For filling, beat egg whites and cream of tartar until stiff peaks form. Add milk and flour and allow mixer to slowly combine. Add everything else and beat with the whisk attachment until filling is light and fluffy. Pipe filling into the centers of cooled cookies and top with an extra cookie.
Wrap in plastic wrap and freeze for a midnight snack (or two 😉
Now, in pictures!

To start with, let’s talk Whoopie Pies. I think it’s very important when someone says “The best X recipe,” or “My favorite X recipe,” to find out what she considers her “favorite.” I find it much more helpful when someone gives specifics than when he just says “I love this.” So here’s what I was looking for on my quest for the Perfect Amish Whoopie Pies from my childhood . . . (1) A smooth, crack-free cookie that had a shiny top, and (2) an icing that was stiff enough not to ooze out (until you take a bite), but not oily or sticky. I tried many, many, many recipes. Some used shortening, and some used butter. Some used eggs, and some didn’t. Some used a little cocoa, and some used a lot. Some refrigerated, stored, or whipped the batter. In Maine, they make their whoopie pie filling with marshmallow cream. In PA, they never used marshmallow cream.
It’s a confusing world out there, when all you want is a simple whoopie pie.
But for you, lovely readers, I did it. I spent the day churning out enough chocolate cookies to feed a small army, and scribbling almost illegible notes on papers, napkins, the backs of grocery lists . . . anything I could find, to remember what I was doing. And, finally, I got a whoopie pie exactly the way I wanted it– with a smooth, shiny cookie with zero cracks, and a smooth, light, yet sweet/not oily frosting that had the unique taste I was looking for in my memory. So here we go . . . let’s walk through the process. 🙂
To begin with, we are going to whip some egg whites for our filling. The cream of tartar just helps to stabilize the egg white so that it doesn’t deflate before you’re ready. You can use either fresh egg whites or egg whites from a carton, which is what I used since that’s what I had on hand.

Use the whisk attachment of your mixer and whip those whites until they form a stiff peak when you remove the whisk. FYI– egg whites are kind of “allergic” to oil of any kind (even one speck of egg yolk will do it), so be sure to have a clean bowl and whisk before you start, or the egg whites won’t whip.

Next, add in your flour and milk, and pulse a few times just to get everything mixed in with your whisk attachment. Add in the shortening and powdered sugar. Starting slowly (so you don’t start singing “White Christmas” right there, in your kitchen when the sugar cascades majestically all over you), mix the ingredients. Increase your speed as the sugar is incorporated, and whip for about a minute on high speed, until your frosting is light and fluffy. Congrats. You did that like a boss. Put the frosting in an airtight container (I put mine in the fridge, but technically you wouldn’t have to) until your cookies are ready to frost.

Now let’s make the cookies! (All I can hear is Cookie Monster saying “COOOOOKIEEEEEEE!!!!” Haha.) Wash your mixer bowl and switch out your whisk for the beater. Place your oil, brown sugar, and eggs into the mixer and whirl those babies together.

Add in everything else and, starting slowly so you don’t get “baptized,” mix it all together. When everything is mixed, mix on high speed for about a minute, until the batter loses its lumpiness. Yesssss . . . actually I DO wish I could mix myself with chocolate and get rid of all the lumps and bumps, that easily 😉 Let the batter sit right there, in the bowl, for about 15 minutes (perfect– you can heat your oven and just start when it’s ready). I found that the batter was kind of runny, but it got thicker the longer it sat there, so a little “rest” helped the cookies to spread less, which was nice.

Now let’s talk about how big you want these cookies to be. Foolishly, I started with my 2 tbsp. scoop, which is what I normally use for cookies. This size works perfectly for Perfect Chocolate Chip Cookies, but WOWZA . . . this batter SPREADSSSSS, baby. This batter spreads faster than Southern panic at the sign of a snowflake . . . faster than Uncle Sam snatches his share out of your paycheck. Faster than the old man (who has been going 25 mph for 10 minutes) speeds up in the right lane when you try to pass him.
So after the first batch of “Sumo cookies,” I decided to try a teaspoon cookie scoop. Yes. Not a tablespoon– a TEASPOON. Those teensy weensy bits of batter looked so pitiful on the silpat, but through the baking they channeled their inner superman and became perfectly round, 2″ cookies, which was just what I wanted. If you don’t have a cookie scoop, oh man . . . you need to get one. For the longest time I glared at those scoops, thinking, “My two spoons work just FINE, thank you very much. I don’t NEED to waste money and try to find a place to store those things.”
And then I got one. And that cookie scoop changed my baking life. I now have them in all sizes, and I don’t ever make cookies, muffins, cupcakes, scones . . . so many things . . . without them. They will turn your baked goods from “How sweet! Your toddler helped you with these cookies!” (Awkward silence) “Oooh . . . you don’t have a toddler, and YOU made them? How . . . sweet . . .” to the envy of the church potluck and school bake sale. Check out all the sizes of cookie scoops here. I use the blue (muffins and cupcakes), black (most cookies), and orange (the teeny teaspoon one I used today) the most. Also, if you’re looking for a sweet gift for yourself or the baker in your life, I’d invest in a couple silpats. These babies are used every single day in my kitchen, for everything from keeping cookies from sticking to kneading bread dough and making oozy, messy oven spills a snap to clean up. Nothing sticks to them, and the toughest spills wipe right off with a wet paper towel. Get those little beauties here
. Come on. You stay up late watching Tom and Jerry with sick kiddos and spending your life in the car rider lane at school. You live on the crusts of peanut butter and jelly sandwiches your kids don’t want, and you reheat your coffee so many times it evaporates, because you can never find a second to drink it. You deserve something nice for yourself.
Bake the cookies at 350 degrees for 8-10 minutes, just until they are “set” and spring back a little bit when you touch them. They are small, and it doesn’t take long, so keep an eye on them so they don’t overbake. When they’re finished baking, let them sit on the baking sheet for a few minutes before moving them to a cooling rack to finish cooling.

I wanted to point out, while I’m on this subject . . . that the other whoopie pie recipes I tried, while tasty, used either shortening or butter, rather than oil, in the cake part. And the result was a taller, but more dry, cake-like cookie. It was tasty, but it wasn’t that silky, moist, delicious cookie I was looking for. This is a picture of one of the “tall and bland” cookies that took either shortening or butter– I’m not sure which, since they were both basically the same.

These are the “real deal” cookies. They are thinner, but they are super moist and a lot more dense and chocolatey than the shortening based ones I tried. Mmmm . . . Gimme Dat!

When the cookies are cool, use a cupcake decorating tip (you can get a whole set for about 3 bucks here) to swirl a nice little kiss of frosting into the center of a cookie (see how to fill and frost with piping bags, mess free, on my tutorial here). Top with a second cookie, and WHOOPIE!! We have whoopie pies! 🙂
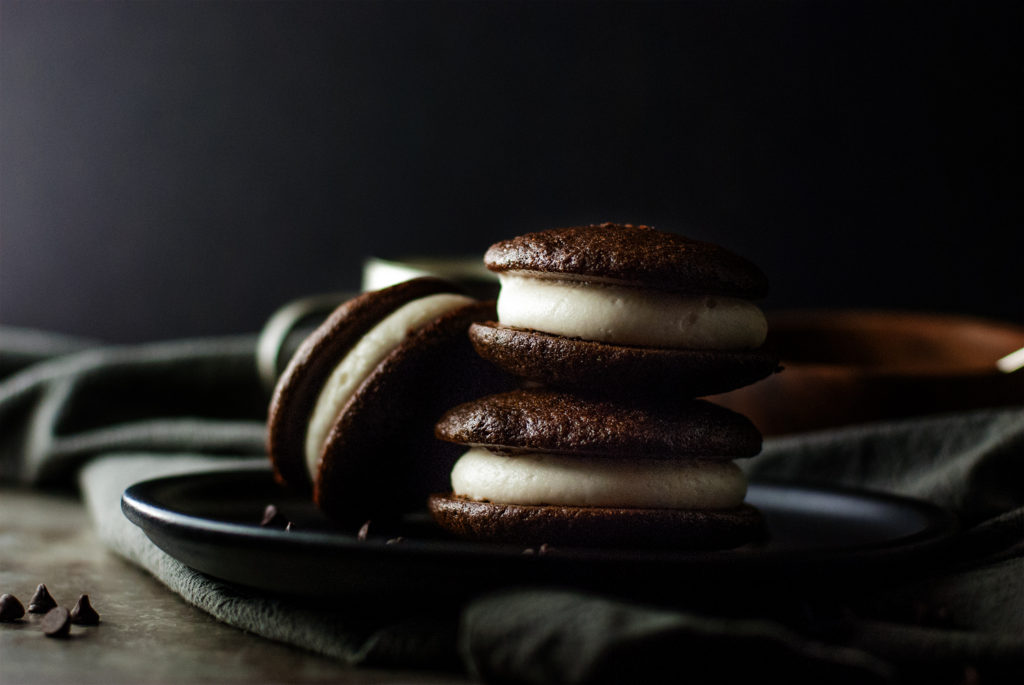
Wrap these little beauties in plastic wrap and freeze them until you hear the call. You know which call . . .
That quiet voice in the middle of the night that wakes you up with a rumbling tummy . . .
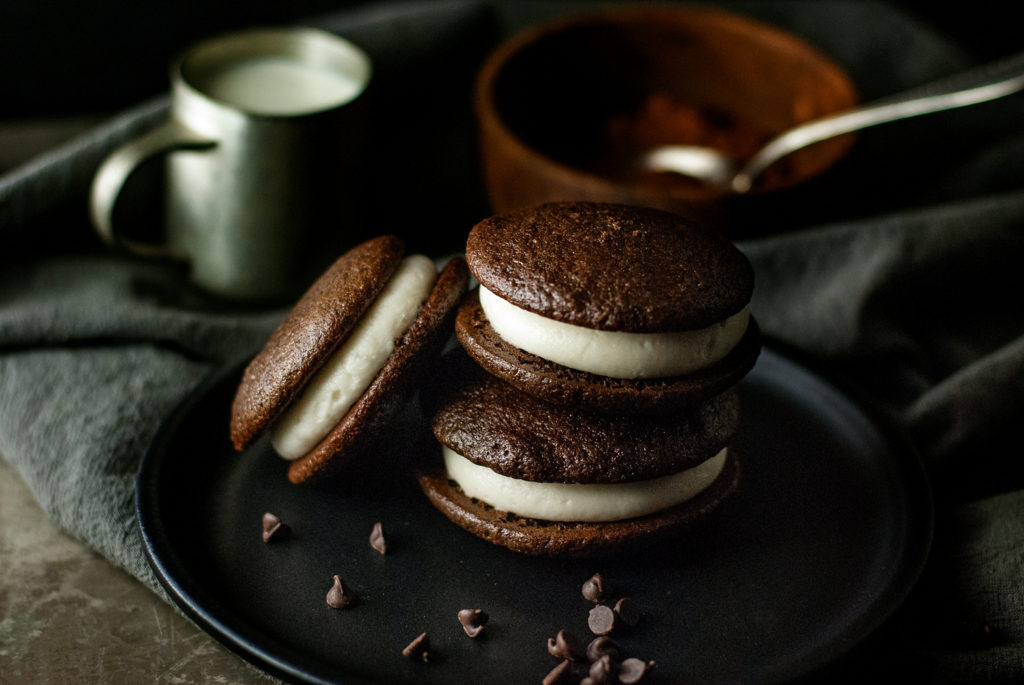
“Darling? It’s me . . . Chocolate. Meet me tonight. I’ve missed you so . . .”
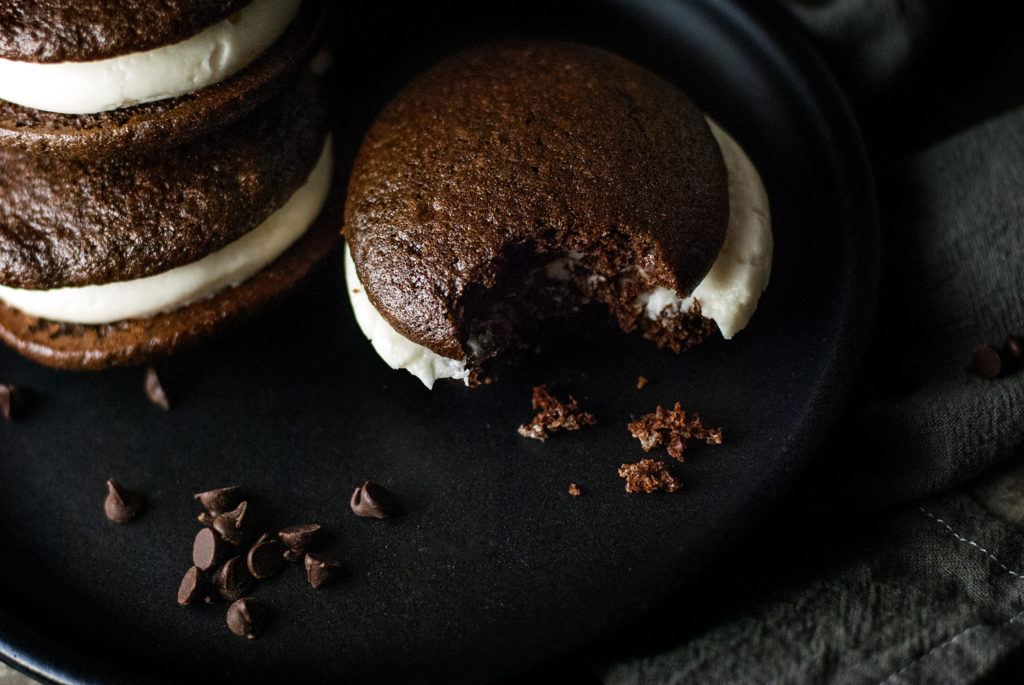
And trust me . . . a date with chocolate is one you don’t want to miss.
Take a big, sumptuous bite. Revel in the beauty . . . the richness . . . the memories.
You did it. And I’m just so proud of you.

Disclosure: This post may contain affiliate links, which just means that we get a few pennies if you purchase through our link. I never recommend products that I don't personally use and love. Thanks!




Thanks For Sharing this amazing recipe. My family loved it. I will be sharing this recipe with my friends. Hope the will like it.
I’m glad you liked it 🙂
Thanks for sharing this recipe — I have been searching for a Lancaster Co. whoopie pie recipe (no marshmallow fluff!). What do you recommend for these ingredients — whole milk or buttermilk? unsweetened cocoa or dutch-processed?
Hi there Megan! I have searched and tweaked for years for a recipe like I remember from Pennsylvania where I grew up– and this is it! 🙂 I used whole milk and regular unsweetened cocoa from aldi. 🙂 Hope this helps. Hope you love them! 🙂
I have tried so many whoopie pie recipes and being from Lancaster, PA, I was always left disappointed. I just want to say that this recipe is right on! Finally found the perfect whoopie pie recipe. Thank you for sharing!!
Yyyyeeeessssss! That’s what I love to hear! I am from PA as well, and like you, I tried so many recipes, looking for that shiny, velvety cake that comes off on your fingers when you hold it in your hands. So glad you like it! Thanks for stopping by!
If using egg whites from a carton, what measurement = 1 egg white? (I haven’t bought any yet; I guess it will say on the carton, but just to be sure…)
Also, which size egg do you recommend for your recipes?
Thanks!
Hi there Becky– generally 2 tbsp. of egg white from a carton equals 1 egg white, but there should be a conversion chart on the carton of the specific type you are using. I use large eggs for all my recipes. Great questions! 🙂 Hope you enjoy your whoopie pies! 😀 Thanks for stopping by! 🙂