“Don’t wreck a sublime chocolate experience by feeling guilty.” — Brody
Ahh . . . diets. Everyone has been on one at some point or another. The wretched things suck the joy out of every day. Would you like chips with your sandwich? NOOOOOO. You get carrot sticks. In fact, you can’t have a sandwich, either– you can wrap a few measly ingredients in a lettuce leaf. Eat your lettuce and be sad.
Haha. Now, there’s nothing wrong with being healthy. And there’s nothing wrong with going on a diet, occasionally, to lose those few extra pounds gained during the holidays or vacations. Personally, I go on a diet every few months, and I pay my dues and eat my sad little salads. I work out and skip dessert and tell myself it’s all worth it. It’s a fun little game I play. But, eventually, you have to live again. You have to wake up excited about what the day will bring. And let’s face it . . . you just can’t do that, when there’s nothing but lettuce to look forward to . . . unless your name is Bugs Bunny.
There comes a time when you have to eat something chocolate. And if you’re going to splurge . . . make it something so deliciously decadent and rich that the memory of it stays with you, no matter how many salads you crunch through, dreaming of the next taste of freedom. And there just isn’t anything better to create the stuff from which chocolate dreams are made than classic French Silk Pie. Just one taste will echo dreams of longing down the corridors of your heart forevermore. If you’re a chocolate lover, you definitely owe it to yourself to try this little baby. Life is for living. You’ve been on a diet long enough.
What are we waiting for? Let’s do this!
Sinful French Silk Pie
(Adapted from the Food Network)
Ingredients:
1 cup butter or margarine, softened
1 1/2 cup white sugar
4 oz. (roughly 2/3 cup) semi-sweet chocolate chips, melted and slightly cooled, but still pourable
1 tsp. vanilla extract
1 tbsp. cocoa
1 tsp. espresso powder
4 eggs
1 single pie crust, baked and cooled
Whipped Cream Ingredients:
2 cups heavy cream
1 tsp. vanilla
4 tbsp. powdered sugar (can add 1-2 more tbsp. if you like it sweeter)
Directions:
Cream softened butter and sugar until light and fluffy. Add in melted and slightly cooled chocolate and mix well. Scrape sides with a spatula and add vanilla, cocoa, espresso powder, and 1 egg. Whip for 4 minutes, until mixture is lighter in color. Add remaining eggs, beating for 4 minutes between each egg’s addition. Pour mixture into baked pie shell and refrigerate, covered, until set (at least a few hours). Top with whipped cream (just whip the cream ingredients with the whisk attachment of your mixer until soft peaks form) and decorate with chocolate curls (if desired) just before serving.
Now, in pictures! 🙂

Oooohhhh . . . glorious French Silk pie. This one’s a labor of love, because it takes so much fussing.
But then again, your kids take a lot of fussing, and you still love them.
But even though this recipe fusses like a toddler in a toy store . . . it’s worth it, in the end. 🙂 The first thing you need for this pie is a single, baked pie shell. You can use any crust recipe that you like– or even buy your pie crust. Ain’t no shame in the pie game. The end result (scrumptious) is all that matters. I am far from a pie crust master– and as such, I have to use a little “cheat” to make my crust. This handy dandy little crust bag costs about 5 bucks, and you can suddenly roll your pie crusts, perfectly, inside the plastic circle. Nothing sticks, nothing bunches up, and nothing tears. And when you’re done, you just unzip the circle and plop it out onto your pie plate. Easy peasy. You can pick up one of these little wonders here, if you’re interested. I can’t roll pie crust without one. But don’t tell the pie crust police. 😉 Eh . . . I do what works. As far as recipes go, I just use the basic Crisco pie crust recipe here.

So roll, roll, roll your crust . . . gently down the stream . . . er, bag.

Plop that crust onto your waiting pie plate (I am using a 9.5″ deep Pyrex baking dish, which is my fave for pies of all kinds, and Cinnamon Rolls, too). Blind bake your pie crust (more on this here). Blind baking basically just means you fill the crust with parchment and pie weights or beans, and bake the crust naked (NAKED??? Shriek!!!!) until it’s lightly golden brown. For no bake pies, like this one, we have to pre-bake the crust, so everything can plop into it when we’re ready. When the crust is done baking, take it from the oven and let it cool while you work your magic on the filling.

To start the filling, cream your softened butter and sugar until light and fluffy. Now, don’t tell the butter police, but I have used margarine in this pie, too, with great results. So use whatever you have– just make sure you get the butter/margarine sticks out of the fridge about 1/2 hour before you need them, so they will soften a bit to room temperature.

Next, I melted my chocolate chips in the microwave in 30 second increments, stirring after each heating period. When the chocolate was liquid (but still fairly cool– definitely not hot), I added that into the creamed butter and sugar and mixed everything together. Next, scrape the sides of your mixer bowl with a spatula and add in the vanilla, cocoa, espresso powder, and 1 egg.
Espresso wha?????
Espresso powder is basically espresso that is dehydrated into a powder. Yesss . . . this means that you can eat chocolate pie and call it your morning caffeine fix. 😉 hehe. Of course, you don’t have to use espresso powder, but let me tell you this . . . espresso powder is one of those ingredients that slips under the radar . . . until you try it. You say, “I’ve made delicious brownies for years. I don’t need to mess with something that’s already good.” And then you add 1/2 tsp. of espresso powder to your recipe. And then . . . suddenly, everyone is oohing and aaahing and asking you for the recipe to those AHHHHMMMMMAAAAAZING brownies.
*But I don’t like coffee. Eeeewwww. I don’t want my brownies to taste like coffee.*
Don’t worry. You won’t taste the coffee, with such a small amount of espresso powder added (although, personally, I don’t think mocha brownies would be such a bad thing 😉 But for some reason, adding this little beauty just takes the chocolate flavor up a notch– from plain delicious to everything that is amazing, heavenly, and sublime. You can get espresso powder here— and I like to keep it in the freezer (to keep it from clumping up after opening) and add 1/2-1 tsp. to just about everything chocolate that I make– like those deliriously chocolate Good and Evil Cookies we made the other day. Try it once . . . and take all your chocolate desserts to the next level of decadent deliciousness. I bet you’ll never want to go back.
Now the next part is kind of a pain. Add an egg and beat for 4 minutes. Then add another egg, and beat for another 4 minutes. You get the idea. This pie takes a long time, and it makes your mixer want to sign up for an early retirement pension . . . but it’s worth it. When your filling is nice and light and whipped, pour it into your prepared (baked) pie shell. Cover the pie with plastic wrap and refrigerate the pie for at least a few hours, until it gets nice and set.
*Note: Because I am a rebel at heart, and because I don’t have 16 minutes to waste beating eggs, I tried this pie a second time, beating 4 minutes after the first egg, and then just adding all the other eggs and beating for 2 more minutes, total. And just between us, I think it was just as good. 😉 So go your own way on that one. Next time I’m going to try adding all the eggs and just beating for 4 minutes. And when I do, I’ll let you know how it goes 😉
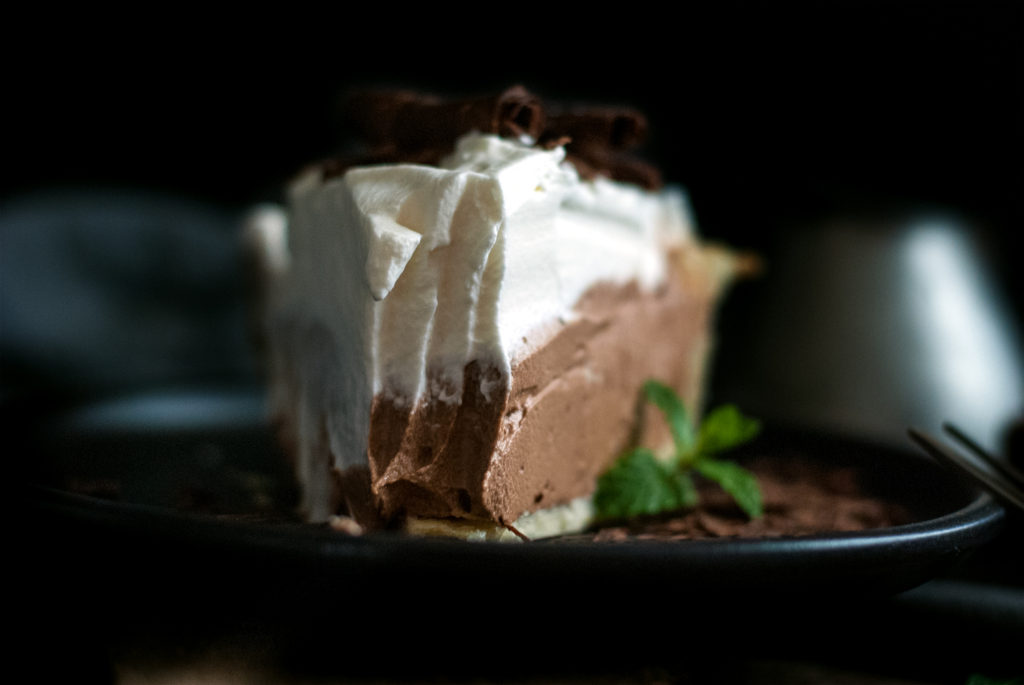
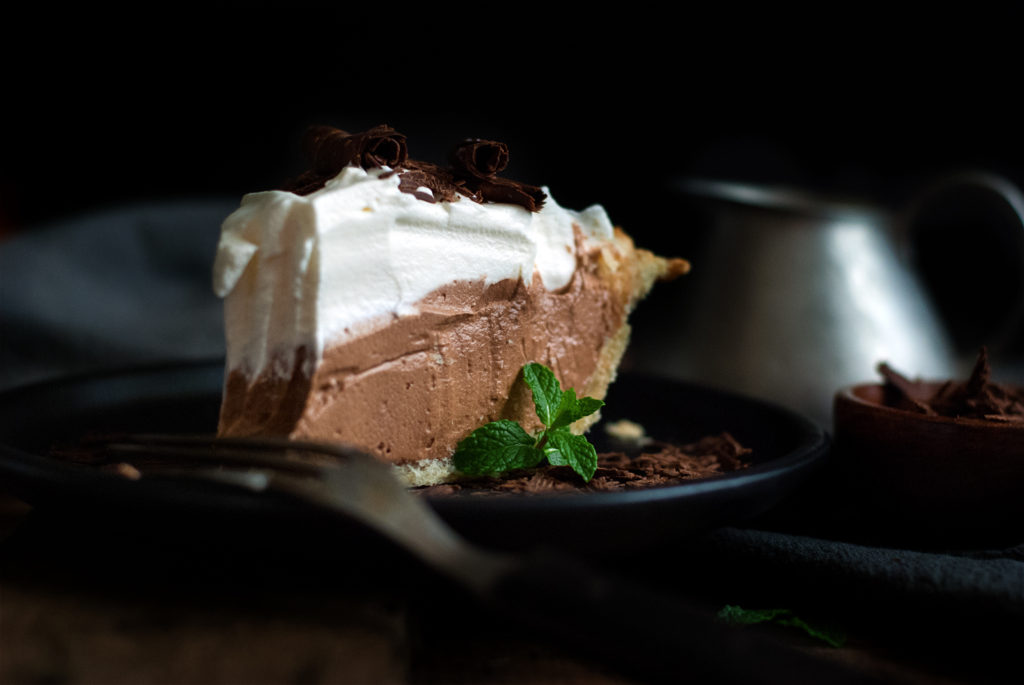
When your pie has been in the fridge for a few hours (or preferably overnight), it will be nice and rich and set. I like to top mine with mounds of fresh whipped cream just before serving (just mix all the whipped cream ingredients together with the whisk attachment of your stand mixer until the mixture forms soft peaks), and garnish with chocolate curls (see how to make these here). And I tell you what, folks . . . “she just don’t get any better than that.”
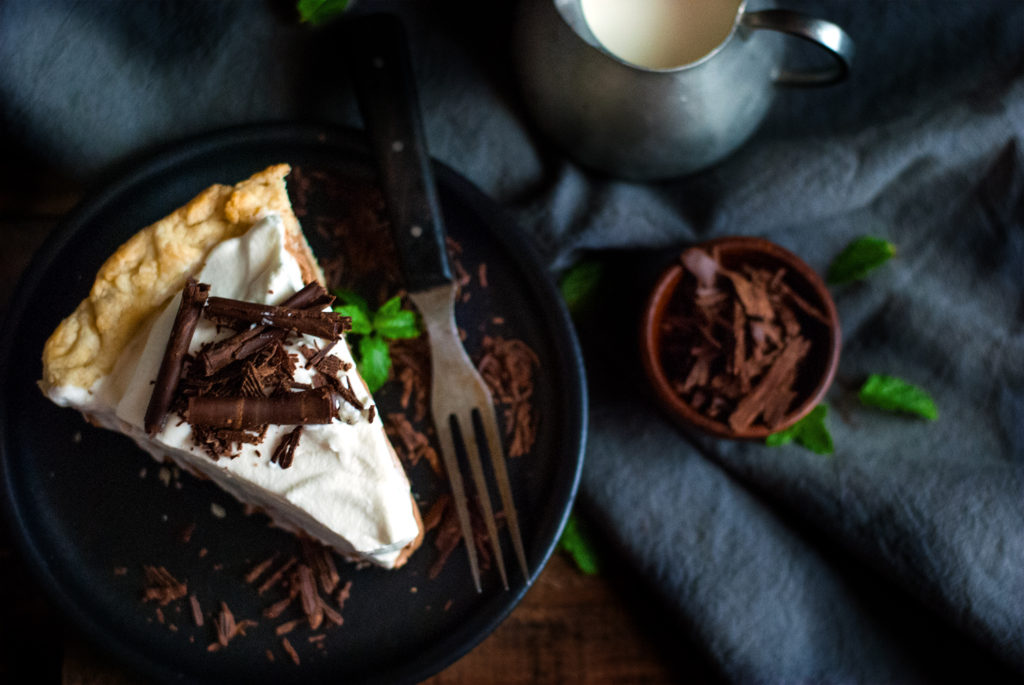
So make this pie ahead of time (it keeps for several days in the fridge. Score). Stick it in the fridge and whip it out as a surprise ending to the meal . . . or save it for you and your sweetie after the kiddos go to bed. Pour cups of steaming coffee, turn down the lights, and sit in front of a cozy fire (OK, OK . . . turn on fireplace from Netflix– it comes with crackling logs and everything. 😉 Take a sip of coffee, and then a cool bite of perfect, divine chocolate richness.
And then have another bite. Bliss, isn’t it?
You did it. And I’m just so proud of you.

Disclosure: This post may contain affiliate links, which just means that we get a few pennies if you purchase through our link. I never recommend products that I don't personally use and love. Thanks!





Just read this recipe and I can’t wait to get started. It is a hot humid day here in PA so baking a one crust pie will fit in nicely and the cool silky filling will fit nicely into the crust. I think your idea of a fireplace may have to wait for another day but I am betting when I pull this pie out of the refrigerator for dessert I will have so many happy faces that I won’t have to clean up the kitchen and dinner dishes! Thanks Em!
I think that’s an awesome idea– it will slide right down and cool everyone off 😉 Let me know what you think of it!