Yum
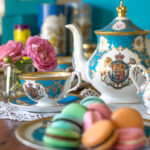
When I was a little girl, one of my favorite things to do was have a “tea party.” It didn’t really matter who was on the guest list, and it didn’t really matter if we had real teacups. In fact . . . oddly enough, I don’t think it even mattered if we had tea. 😉 My sister and I used to sip apple juice, pinkies aloft, in everything from orange Tupperware to recycled communion cups. We spent many a happy afternoon imagining ourselves in every starring role possible– from princesses to filthy rich socialites.
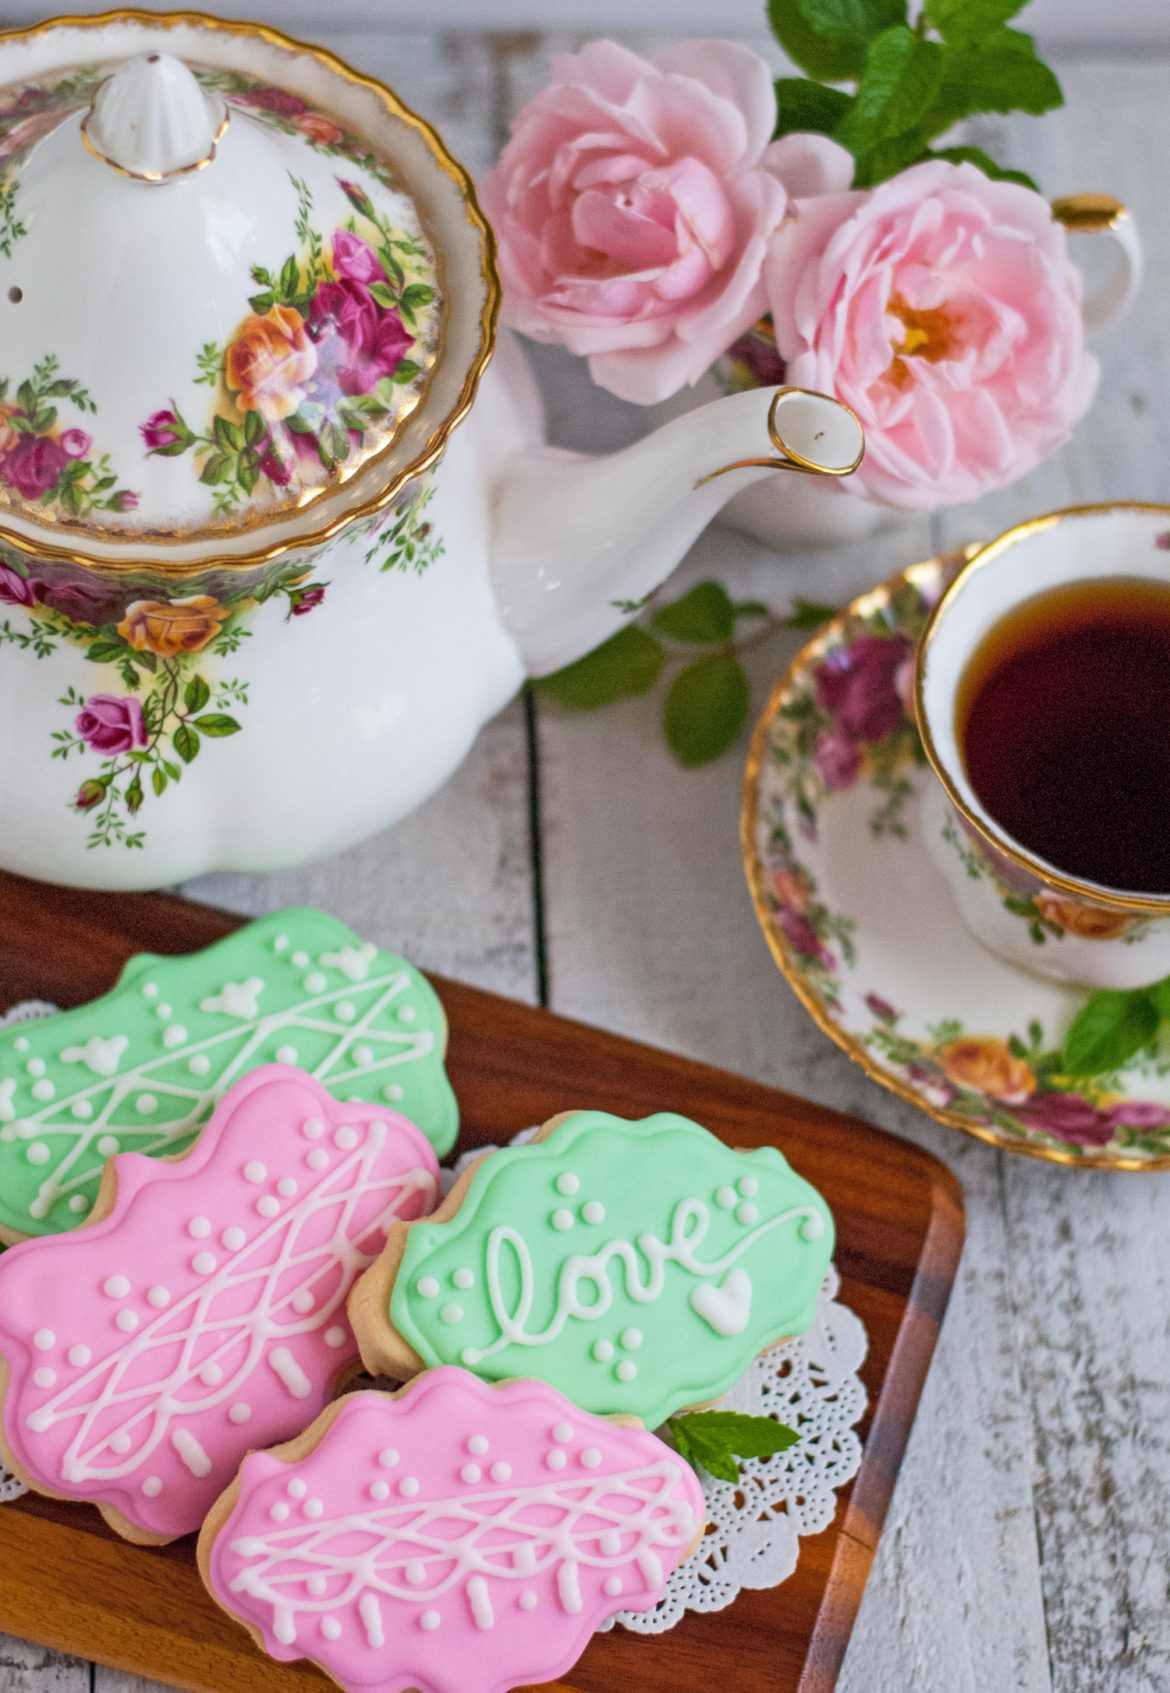
These cookies are perfect for a tea party, bridal shower, or baby shower. They are easy to make and stay soft for days. And who says that fancy cookies have to be reserved for a special occasion? Make a batch of these with your daughter and start a new tradition, today. Kiddos grow up way too fast. So get out there and make some memories– pinkie curling optional. 😉
What are we waiting for? Let’s do this!
Soft Tea Sugar Cookies
(Adapted from Sweet Sugarbelle)
Ingredients:
1 1/2 cups powdered sugar
2 sticks (1 cup) butter or margarine, room temperature
2 tsp. extract of your choice (I tend to use vanilla or almond)
1 egg (room temperature)
2 tsp. baking powder
1/2 tsp. salt
3(ish) cups flour
Directions:
Cream powdered sugar and butter until light and fluffy. Add extract and egg; beat well. Sprinkle baking powder and salt over mixture; mix well. Add flour, a little at a time, until it forms a stiff dough that does not stick to your fingers. Place on a floured surface and allow to rest for 15-20 minutes. Roll out dough to 1/4 inch thickness. Cut out shapes and “peel” dough scraps (more on this here). Bake at 375 for roughly 15 minutes until set and bottoms of cookies are lightly golden. Allow to cool on a baking rack before decorating with royal icing (more on how to make this here).
Now, in pictures! 🙂
I love this cookie dough because (1) you can’t mess it up, (2) you can use either butter or margarine, and (3) it’s ready immediately, without chilling in between, unlike many sugar cookie recipes. That’s right. You can now eat sugar cookies the SAME DAY that you make the dough. No more panic moments when your child comes downstairs at 10:00 at night and says, “Oh, Mom– I forgot to tell you that I need 2 dozen cookies for school, tomorow. Night.”
You’re welcome.
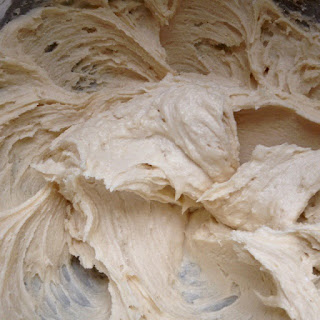
Start by creaming your softened butter or margarine together with the powdered sugar. Start out mixing slowly, so you don’t get “baptized” with the white stuff. Don’t ask me how I know this. O_O Serious face.
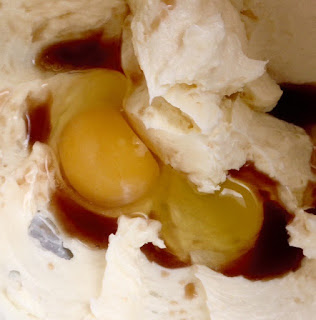
Next, add in your eggs and vanilla. The mixture will get nice and creamy. I like to scrape the sides of the bowl and beat one more time, to make sure that everything is mixed.
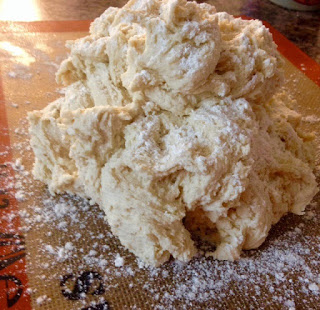
Next, add in your baking powder, salt, and enough flour to form a stiff dough. I don’t even measure the flour, anymore. When I can touch the dough with a (clean) finger, and no stickiness comes off onto my finger, it’s ready. Pour your stiff cookie dough onto a floured silpat and dust the top with flour. Silpats are awesome– I use mine every single day. They are kind of the magical, “I can do anything!” mat that you can put under pies to catch the drips (Even caked on spills wash off like “butta”), use again and again for cookies instead of parchment paper, and use in the oven or freezer to keep anything from sticking. They are a wonder, really. If you’re looking for a nifty gift for the baker in your life, you can’t go wrong with these babies (find them here, if you’re interested). Roll out the cookie dough and cut out your shapes. It’s easily to “peel away” the dough from the shapes, rather than trying to pull the shapes out of the dough. I have a whole post dedicated to making sugar cookies this way– check that out here for a lot more detail on how to “peel” the dough away and keep the shapes you want.
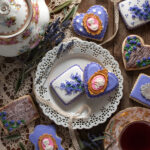
You can use whatever shape you want to cut out cookies. I used the plaque cookie cutters here. I use these cutters probably more than any other cutter set I have. They work great with everything and can be made into almost anything! In fact, when I have leftover cookie dough, I cut out these shapes and freeze them. That way, when I need cookies in a hurry, I have these all ready to go at a moment’s notice. Score.
Bake the cookies at 375 for 15-17 minutes until the bottoms are golden brown (the tops will still be pale). Let them cool . . . and then for the fun part . . . the decorating!
The basis of any “stackable” sugar cookie is royal icing. Royal icing dries hard, which means that you can stack away, and your dried cookies won’t smoosh. I have an entire post dedicated to royal icing, and how to make it, here. Of course, if you’d rather not use royal icing, you can substitute your favorite buttercream icing (or even use canned icing from the store). The cookies won’t be “stackable,” but they’ll still be PURDY. 🙂 And I suppose if you don’t have tea at your tea party, you don’t need royal icing, either. 😉 Now . . . let’s get to decorating!
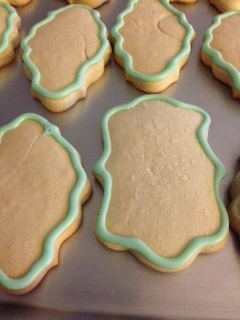
Start by outlining your cookies in whatever color you are using. This is a #5 tip, because I wanted to do these cookies quickly, and the larger the decorating tip, the more quickly you can get the icing to flow out onto the cookie.

Next, flood your cookies with the same color icing as you used to outline them. More on “flooding” and how to make sure your icing is the right consistency here. Now, this next part is hard, but you have to let the cookies dry. Yessss. Unfortunately, they need to dry for a minimum of several hours, and preferably overnight, uncovered.
The color will get a little lighter when the cookies dry, so make sure you take your shade a “twinge” darker than what you want, so it will dry the right color.
Letting the cookies dry, completely, just helps us to be able to pipe on the details without “falling through the ice” of a deceptively dry cookie (which is really just a stiff crust overtop of a liquid lake of icing).
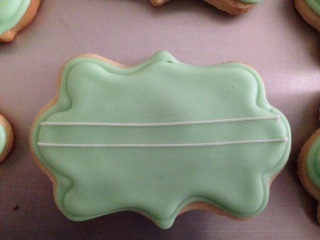
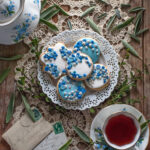
Now, obviously, you could decorate these cookies in many ways, but I’ll just show you a quick and easy way I do “teatime cookies.” I have found that anytime you want a “lacey” look on a cookie, you just do the same thing all the way across. And then, no matter what marks you are making, it will look uniform and pretty. Start with 2 lines across the center of the cookie.
See– I was so into the decorating that I didn’t even realize that I took photos with 2 different color cookies. :/ Oh, well. You get the idea– it’s still the same design. Just know your eyes aren’t playing tricks on you, and you don’t need new glasses 😉
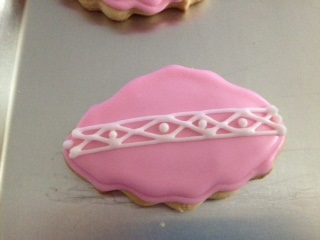
Next, I do the letter “X” all the way across the center of the lines. Put a dot of icing inside each middle space.
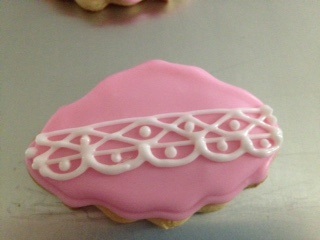
Now do some wide “U’s” and a dot in between each space, again. I told you . . . it doesn’t really matter what you do, as long as you do the same design all the way across.

Next I did a “lumpy line,” for lack of a better term, under each peak. Then I put dots in between. I’m making this up as I go, just putting in whatever I feel like, and doing the same pattern all the way across, and you totally can make your own pattern. There is no wrong way to do this. Just do what looks nice, to you.
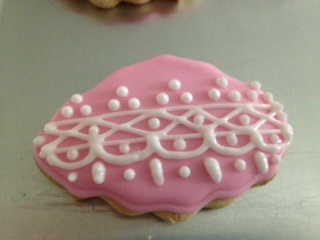
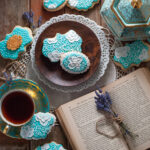
I finished up with sets of Swiss dots (kind of a “triangle of dots”) on top. PURDY! That looks like a nice, lacey tea party cookie, to me. Nice.

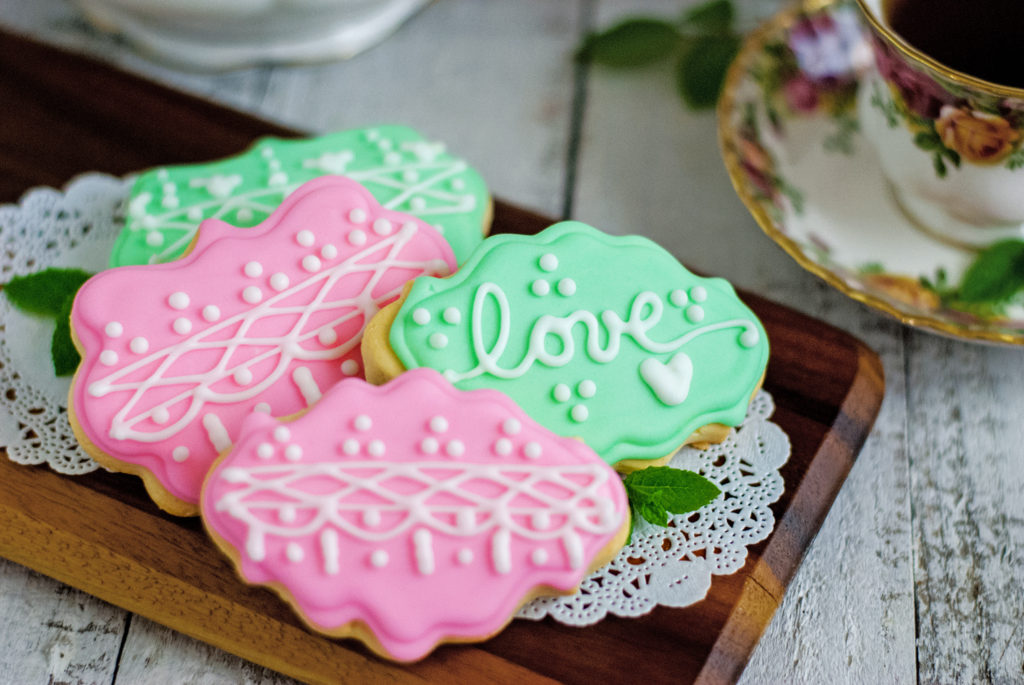
Since these cookies are for a bridal shower, I also did a few sappy “love” ones, with a simple heart and some Swiss dots. Easy, peasy. Oddly enough, my icing “writing” is neater than my real writing. There’s probably something wrong with that, somehow. 😉
Let the cookies dry, uncovered, overnight. Don’t worry about the cookies getting stale– the icing preserves them and keeps them fresh, almost as if they were covered. The cookies will still be nice and soft when you bite into them.
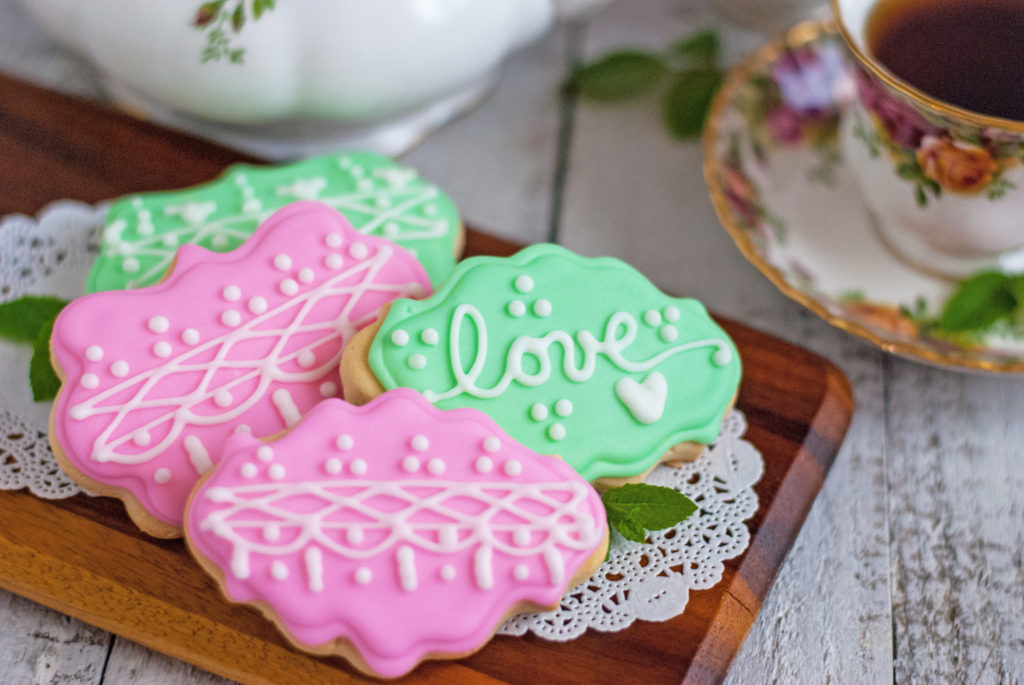
Make these little beauties for the next get together with the gals, or for a special tea party with your daughters. Or put together a beautiful assortment of tea cookies and throw a delicious brunch for your Mom for Mother’s Day. Speaking of which . . . have you checked out my new Brunch book, Sunny Days and Sweet Tea? Ooh . . . these cookies have sweet brunch tea party written all over them!
So take a little time for those you love. The dishes and vacuuming will keep. Bring out the good dishes, and let your daughter wear the prettiest dress she has. Sip tea and listen to her childish giggles. Have a fancy cookie. And enjoy her stories and dreams and laughter. Childhood goes too quickly. Savor every moment.
You did it. And I’m just so proud of you.

Disclosure: This post may contain affiliate links, which just means that we get a few pennies if you purchase through our link. I never recommend products that I don't personally use and love. Thanks!

These are sooooo pretty! <3
I wish I was as good at cookie decorating. I just don't have the patience!
I think you might like my Earl Grey Cupcakes on my blog if you like everything England and tea! 🙂
Why thanks, Lisa! I definitely want to check out your Earl Grey Cupcakes– they sound amazing! Yummmmm . . . thanks for stopping by! 🙂