
Figuring Out Shutter Speed
Welcome back to our food photography series! As always, I love hearing from you and learning what types of things you’d like to learn as you become food photography experts! Last week we started with the most basic concept of all: light. Read more about that here.
When I first started taking food photos, I literally started from scratch. I took all my photos with my iPhone in natural light. This meant that I was often making supper at 2:00 PM, before the sunlight went away. YEAHHHH . . . not so good. In the winter it gets dark at like . . . 4 PM. Ain’t no way natural light is ‘gonna work! In the weeks to come I will show you how I made myself a cheapie light studio to “look natural” even when it’s completely dark outside. But before you make a light studio, or buy tons of expensive equipment, or freak out wondering HOW IN THE WORLD I CAN FIGURE ALL THIS STUFF OUT, take a breath. Take a big, deep breath. We will get to all of that stuff in the weeks to come, but first, we have to start with the basics.
Get to know your camera.
It annoys me when the first question someone asks after seeing a great photo is “What kind of camera do you use?” It truly isn’t the camera you use, so much as how well you know how to use it. You could have the most expensive tennis racket in the world, and Serena Williams would still kick your tail around the tennis court with a stick. Because she knows what she’s doing. Equipment is nice to have, but what’s really important is knowing how to use what you have really well.
The three basic “relay runners” in the race of taking your photo are Shutter Speed, Aperture, and ISO. Just like in a real relay race, if one is slower, then another has to pick up the slack and be faster. In the next few lessons I’ll show you more about Aperture and ISO, but let’s start with the one I find myself adjusting the most . . . shutter speed.
Shutter speed is kind of like the “blinking eye” of the camera. The more quickly you blink, the less light you get into your eyes. If your shutter speed is low (like, say, the lens is open for 1 whole second before it “clicks”), you will get a very blurred photo that shows all the movement that took place during that second. Slow shutter speeds are often used for things like waterfall photos– to get that rushing “blur” of water that kind of looks like a white solid. Really fast shutter speeds (like 1/400) are used to capture action “mid-move.” A fast enough shutter speed can even freeze whirling helicopter blades, mid-spin. And once you figure out exactly how your shutter works, you can set up all kinds of awesome action photos, which really bring your delicious food to life.
OK, OK. So how do I DO IT?????
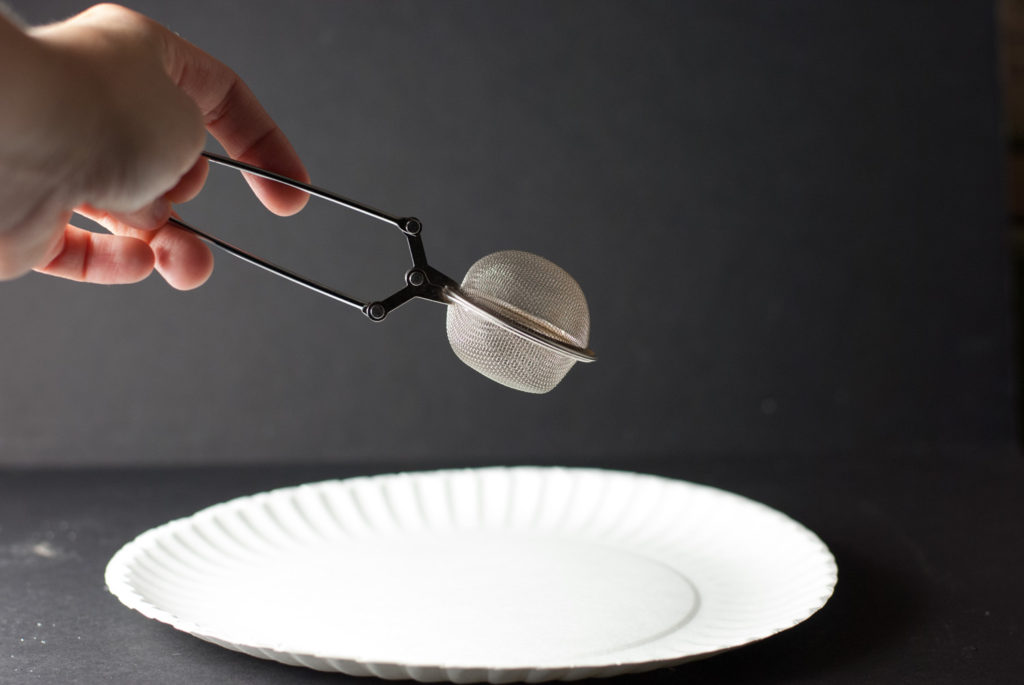
I’m so glad you asked. Let’s take a few experiment photos with changing shutter speed right now. When I want to do some “action” in my photos, the first thing I do is set up a blind test shot. This part is a wee bit tricky, but stay with me. Your camera is usually in auto focusing mode. This just means that when you click on a photo, the camera selects what it figures is the main part that you want to be the sharpest (usually the part of the food that is closest to your camera). But with action shots, it’s tricky because we want our “focus” to be somewhere that doesn’t exist yet– such as the space right above your glass where the splash *will* be. But don’t worry– we can get around that. All you need to do is hold something (a hand, a prop– whatever you want) in the exact “space” where your splash, cascading powdered sugar, whatever it may be . . . will be. Get your camera set on a tripod and focus it on your place filler object. The first tripod I ever had was this cheapie, here. You don’t have to spend a ton of money on these things. I have a better one now, but I still use this one and have had awesome luck with it.
After the camera has focused itself on the dummy object, flip the lens to manual focus. Manual focus just means that the camera won’t try to “figure out” where to focus, anymore. It will just stay riveted, right there where you have it “looking.” (“You have my UNDIVIDED attention, my darling.”) To turn your camera to manual focus, find the button (usually there is a button on the lens, itself, that says AF/M or something like that) and slide it from AF (auto focus) to M (manual). Now your camera is going to default focus on that space you just made, even if there isn’t anything there. That means it will perfectly and crisply capture whatever splash, sprinkle, or action you place in that space. Let’s review.
- Place an object in the space where your action will be.
- Position your camera on a tripod and use auto focus to get the object in focus.
- Slip the camera to manual focus. It is now focused on the space and ready to capture your action!
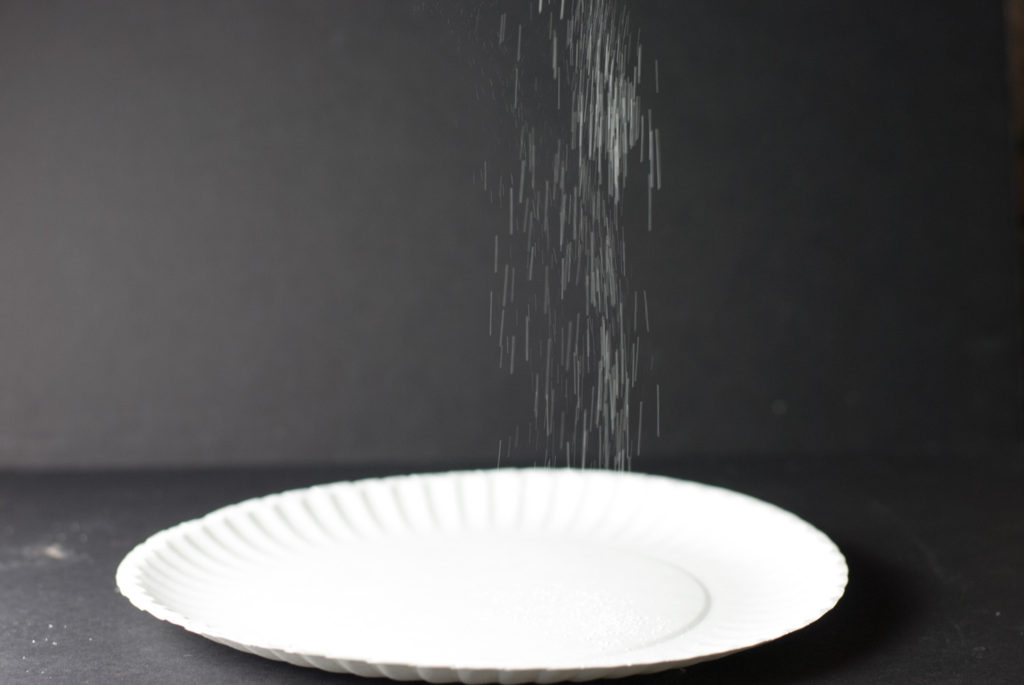
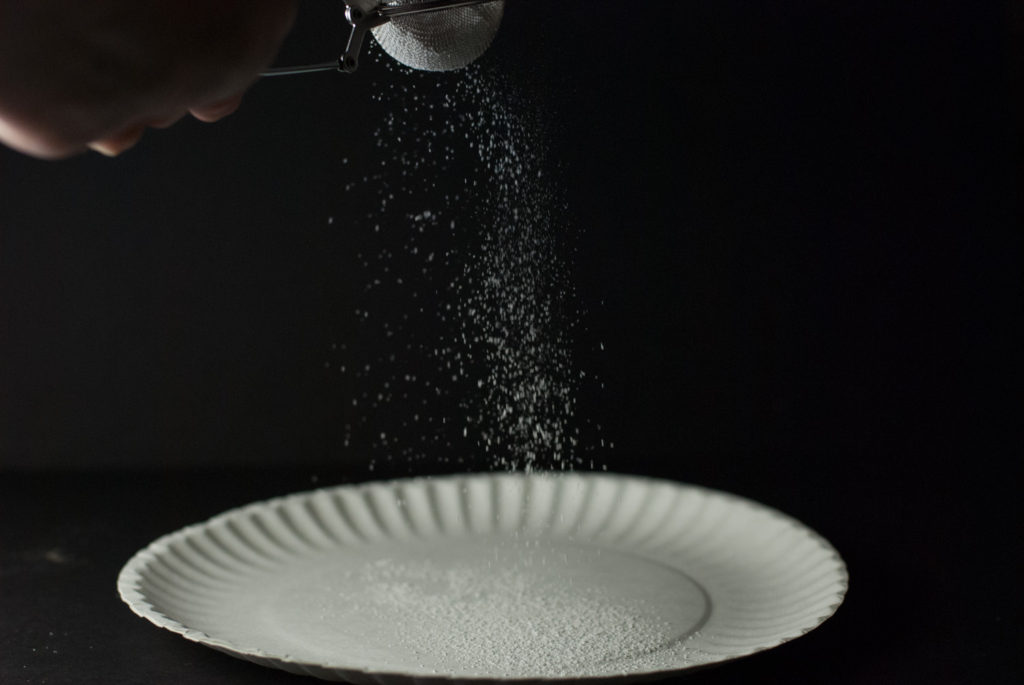
I have taken a few test photos for you– just to let you see how this whole process works. Obviously, if you want your photo to look really PURDY, you would have real food there. But for now I’m just using a cascade of powdered sugar over a cheapie paper plate. I just want you to see what changing the shutter speed will do. In this shot, my shutter speed is 1/50. That sounds fast, but it really isn’t. 1/50 is just about an average, run-of-the-mill camera speed. It kind of looks like this cascade of sugar isn’t in focus . . . because it’s blurry. But we know that it IS actually in focus, because we set the focus before we ever started this action sequence. So . . .
That means that the sugar is blurry because our shutter isn’t fast enough. The camera is recording every motion it sees while its “eye” is open. If a door is open for 10 seconds, you might see a person walk across the room. If it’s open for only 1 second, you will see a lot less action before the door closes. A camera is the same way. And since this shutter wasn’t fast enough, it caught too much movement, and we can actually see the particles falling, and their whole path is recorded in the picture, making this blurred effect.
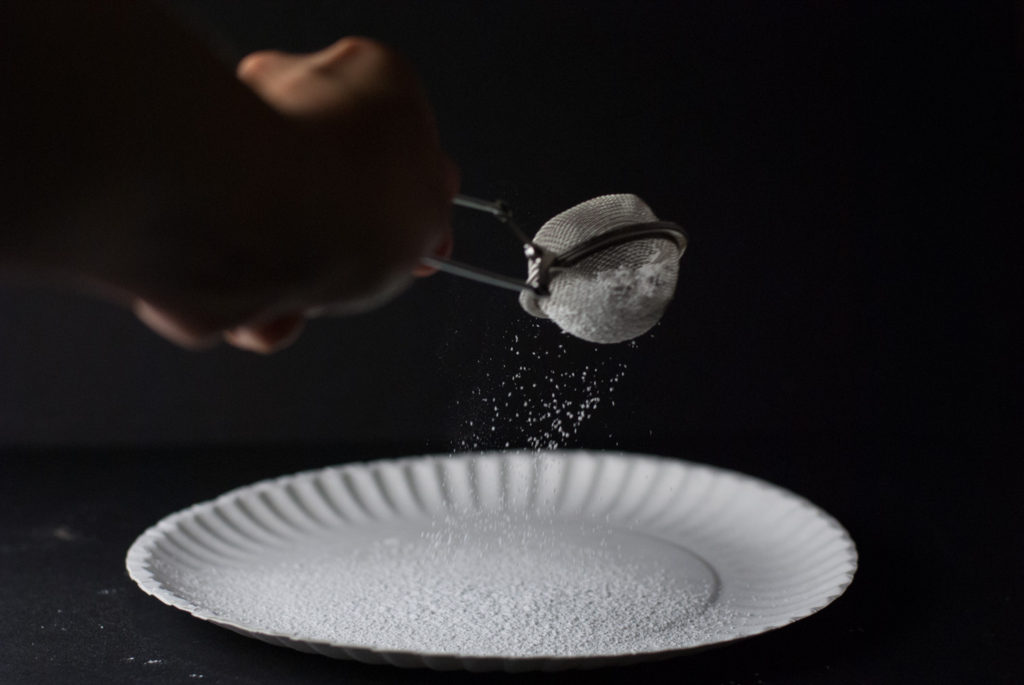
Let’s speed up our shutter a bit. This is the shutter speed turned up to 1/100. That’s decently fast, especially for a regular photo. But for this fast action shot, it just isn’t fast enough. See how our “lines” of sugar are shorter? The camera eye wasn’t open as long to catch their whole path, like in the first example, but it was still open too long, and we can’t see individual specks.
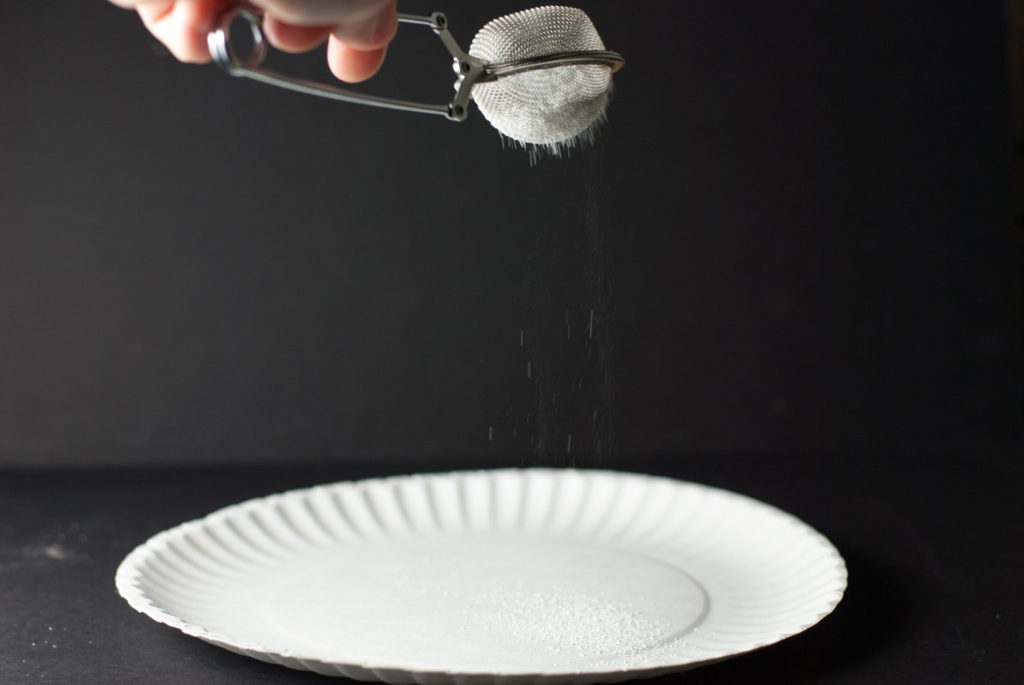
This is the sugar at 1/250 shutter speed. The dots are not quite 100% crisp, but they are starting to look really nice. In fact, lots of food photographers kind of like that “Milky Way Galaxy” look, and they would think this is an awesome capture of action. It’s really up to you whether you like this look, or whether you want your dots to be even crisper.
One thing I wanted to point out, too . . . see how as we turn up our shutter speed , the photo gets darker and darker? A faster “eye blink” of the camera means that less light gets in there, which makes the whole ‘shebang darker. Just like I mentioned, the 3 “relay runners” of any finished photo are shutter speed, aperture, and ISO. I left these numbers the same for our purposes, today, but in a real photo, one or both of the other two “runners” (aperture or ISO) would need to take up the slack if the shutter speed was rising. More on that in the next few lessons. Today we don’t want to overwhelm. One thing at a time.
Ahhh . . . now THAT is lovely. This is 1/400 shutter speed, which makes perfectly crisp, clear particles of powdered sugar. Isn’t that incredible? With this type of fast shutter speed you can do all kinds of things . . .
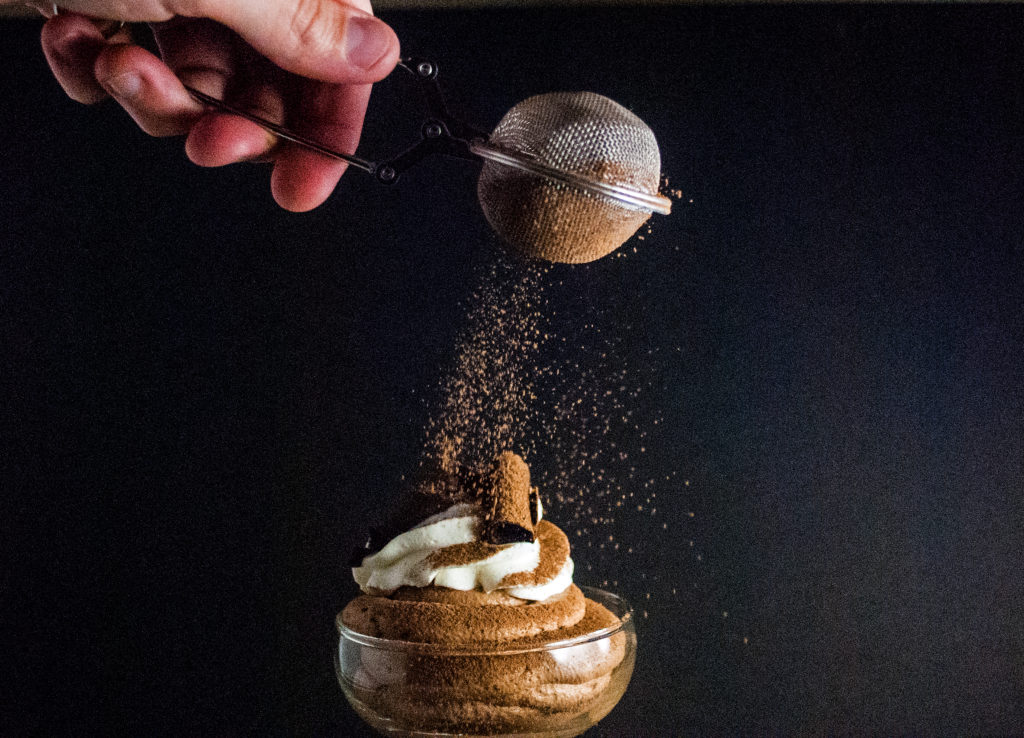
Cascading cocoa . . . (and there’s my same little sifter thing, again, that we just used in the powdered sugar tutorial! Wave hi everyone!) . . .
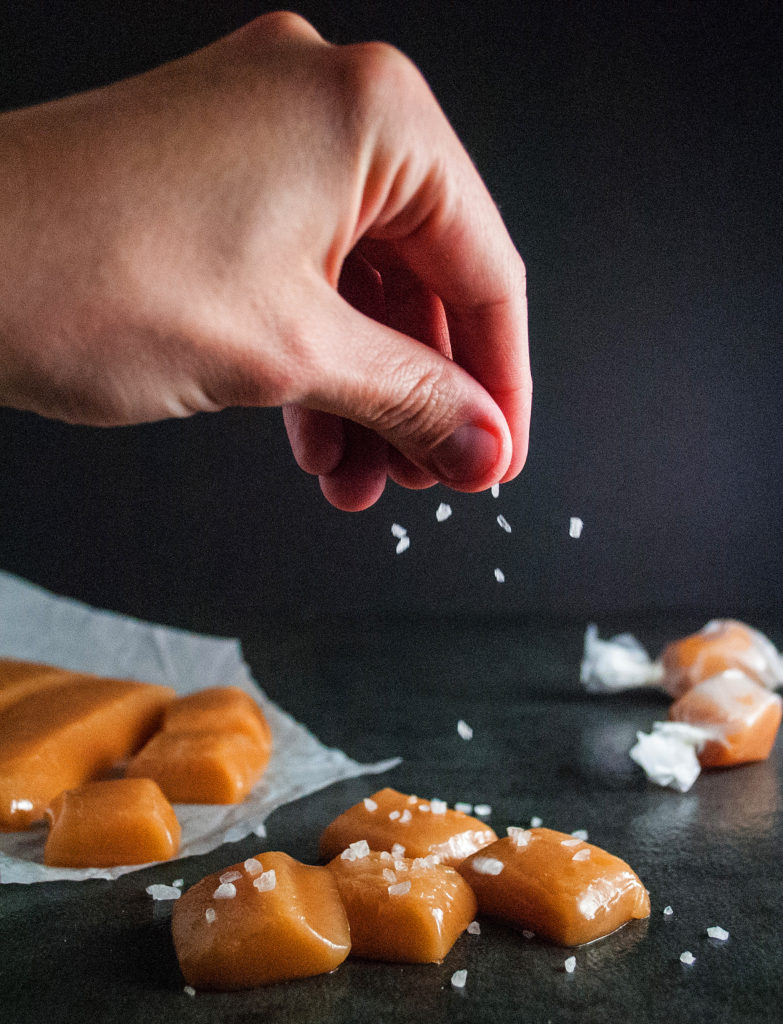
Falling grains of salt on Salted Caramels . . .
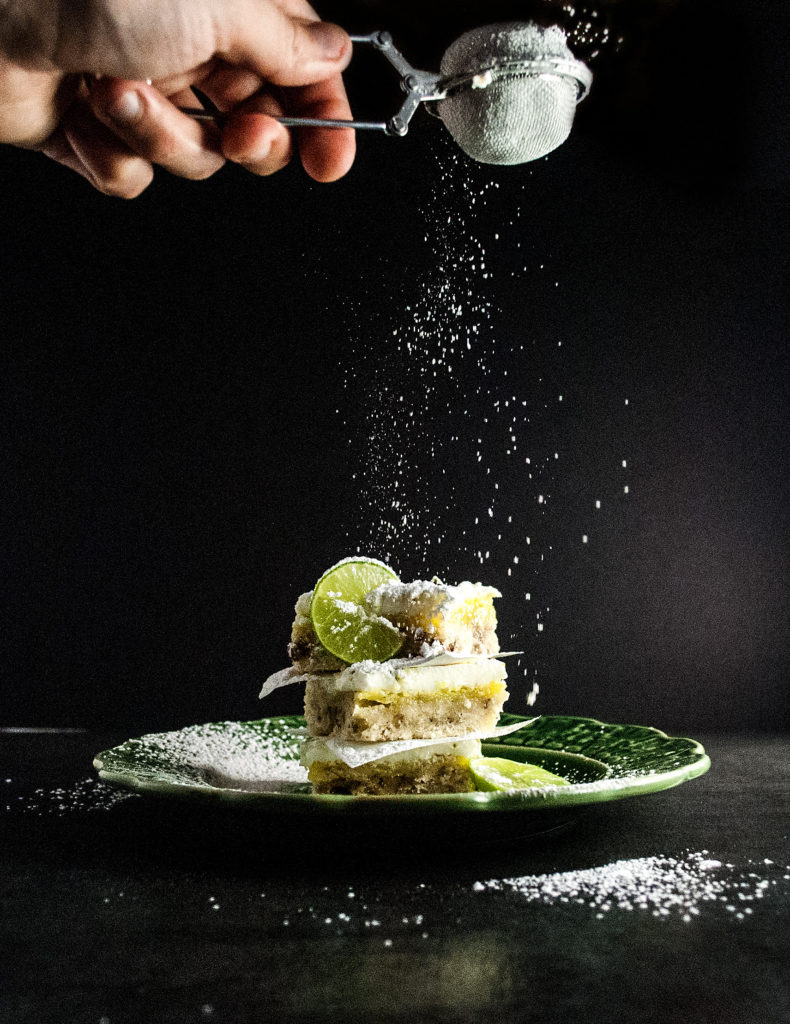
And, of course, delicious powdered sugar.
What are you waiting for? Get out some salt, powdered sugar, cocoa . . . whatever you have, and give it a try. It’s so much fun that you just may find yourself looking for excuses to put “action” into all of your shots! Happy snapping . . . and let me know if you have any questions! 🙂
You did it. And I’m just so proud of you.

Disclosure: This post may contain affiliate links, which just means that we get a few pennies if you purchase through our link. I never recommend products that I don't personally use and love. Thanks!


This post is soooo helpful! Thank you for putting the effort to really explain and show it!
Aww I’m so glad! Happy shuttering! 🙂
Pingback: Taking Christmas Photos – Cookies for England
Thanks for the tips cant wait to try this. You make it sound so simple.
Thanks so much, Jacqui! That makes me so happy to know that you find this helpful and SIMPLE! I’m trying hard to keep these “lessons” both of those! 🙂