Yum
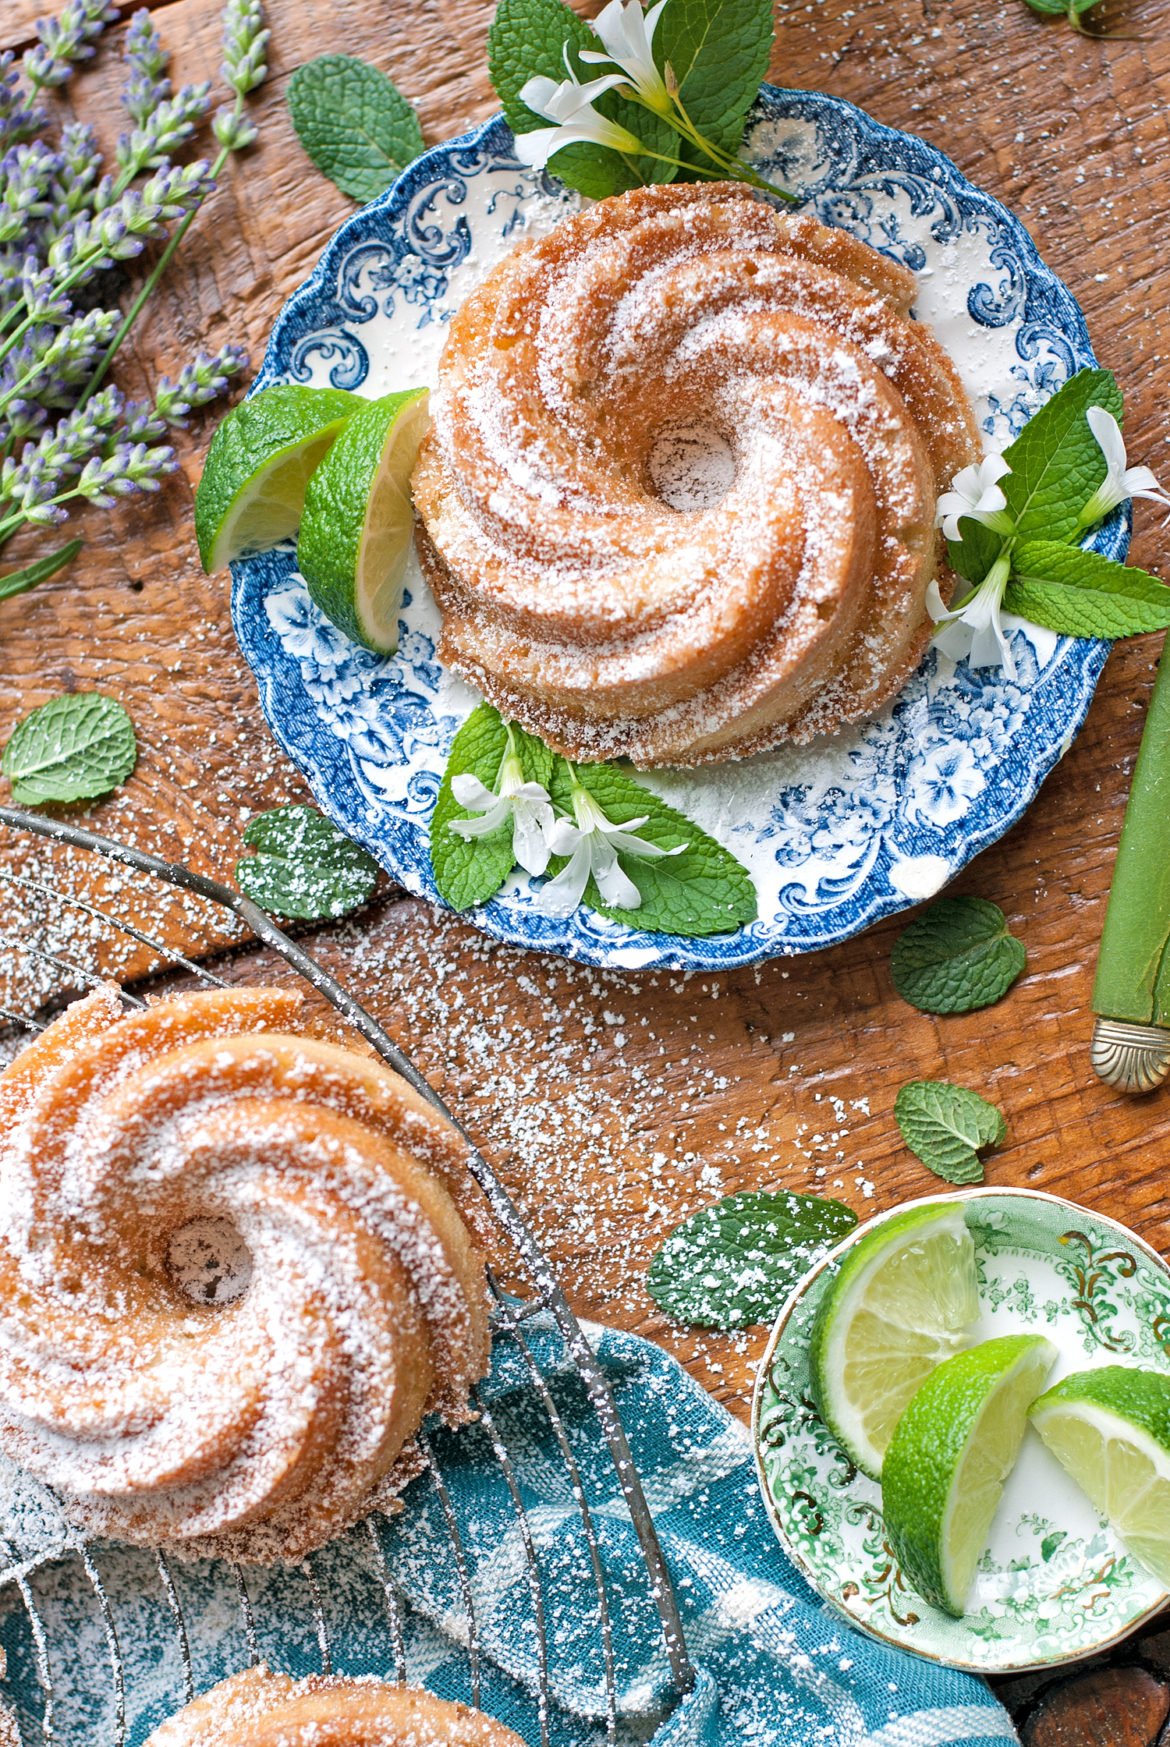
Nothing says summertime like Key Lime Pound Cake. With its kiss of citrus and fresh, key lime zest glaze, this little cake just might become a new summer favorite! 🙂
What are we waiting for? Let’s do this!
Key Lime Pound Cake
(Adapted from Allrecipes.com)
Ingredients:
1 cup butter, softened
3 cups white sugar
6 eggs, room temperature
1/4 tsp. baking soda
1/2 tsp. salt
1 1/2 tsp. cardamom
3 cups all purpose flour
1 cup buttermilk, room temperature
1 tbsp. vanilla bean paste
Juice and zest from 2 key limes
Glaze ingredients:
1 cup powdered sugar (possibly a squidge more, depending on how juicy your limes are)
Juice and zest from 2 key limes
Directions:
Cream softened butter and sugar together in the bowl of your stand mixer until creamy– this process takes 4-5 minutes. Once the crumbs have come together into a creamy mixture, add the room temperature eggs, one by one, beating after each egg. Yes, this is a pain. Yes, you need to do it. Once all the eggs are added, mix in the baking soda, salt, and cardamom. This next part is a pain, too, but you really need to do it– add in a little flour (I do about 1/3 of it) and mix slowly. Add in a little buttermilk (about 1/3) and mix slowly. Keep alternating flour and buttermilk, mixing just until combined after each addition. Add in vanilla bean paste, lime juice and zest, and just mix. Pour batter into 2 pan greased (equal parts flour, oil, shortening) mini bundt pans
and bake at 325 for roughly 25 minutes, until each cake is golden brown. If you are using different pans, you may have to adjust your baking time slightly. A toothpick inserted into the center can have moist crumbs, but there shouldn’t be any liquid batter. Invert finished cakes onto cooling racks to finish cooling. When cakes are cool, stir together glaze ingredients until mixture is the consistency of gravy and drizzle over loaves. Top with leftover lime zest, if desired. Allow glaze to dry before cutting and serving. You can freeze cakes if desired and glaze when you remove from freezer.
Now, in pictures! ?

Pound cake is one of those things that seems easy enough. But there is a little bit of tricky work to it. There are some annoying details where you will think “Nah. I don’t have to do that. I can skip that step.” NOPE. If you want dense, delicious pound cake, don’t skip any steps. Pound cake is like your particular old aunt. It likes it just so. In fact, maybe that’s why she made pound cake so often. And please don’t eat it anywhere but the kitchen. Crumbs, you know.
To start with, make sure all of your ingredients are at room temperature. Yes you need to do this. Cold ingredients don’t play as nicely together in baked goods as ingredients that have been sitting at room temperature for about 1/2 hour before you use them. Second, when you first combine the sugar and room temperature butter, the creaming process will take about 5 minutes in the bowl of your stand mixer. Yes, this seems excessive. Yes, you need all 5 of those minutes to get the batter to come together light and fluffy. It will seem like crumbs at first, and then after about 5 minutes of beating it will come together like a soft, creamy batter.
Next, add in each room temperature egg, one by one, beating after each addition. “But do I really have to . . .”
Yes. Yes you do have to beat after each egg. Just trust me on this. When you have perfect, moist pound cakes, it will all be worth it.

Add in your dry spices and mix until combined. Now some more “Do I HAVEEE to” stuff. Put your flour in one bowl, and your room temperature buttermilk in another bowl. Add about 1/3 of the flour, and slowly mix. Then 1/3 of the buttermilk, and mix. Keep alternating ingredients like this, until you have everything combined. Do NOT combine everything together to save time. Do NOT. I know it’s tempting. But do not pass Go. Do not collect $200. You will have perfect pound cake at the end of this, and you’ll thank me.

After alternating ingredients like the good little student I knew you were, mix in your vanilla bean paste, lime juice and lime zest. Stir just until combined. Vanilla bean paste is like the champagne of the vanilla world. It adds such depth and richness to baked goods. I try to avoid using it unless I’m making a recipe where vanilla really shines, such as in a pound cake, which has such a delicate flavor. I splurge on a bottle of vanilla bean paste for myself every Christmas, and I ration it out all year. 😉

Next, take your mini bundt pans (and mini loaves if you don’t have enough mini bundt pans, as I didn’t) and grease them with pan grease (equal parts oil, shortening, and flour– I keep a mixture of this in the fridge at all times. It’s more slippery than the IRS and nothing sticks to it) using a silicone pastry brush. Use a cookie scoop
to portion equal amounts of batter roughly 2/3 up the sides of the pans and bake at 325 degrees for roughly 25 minutes, until the cakes are golden brown and are just starting to pull away from the edges of the pans.
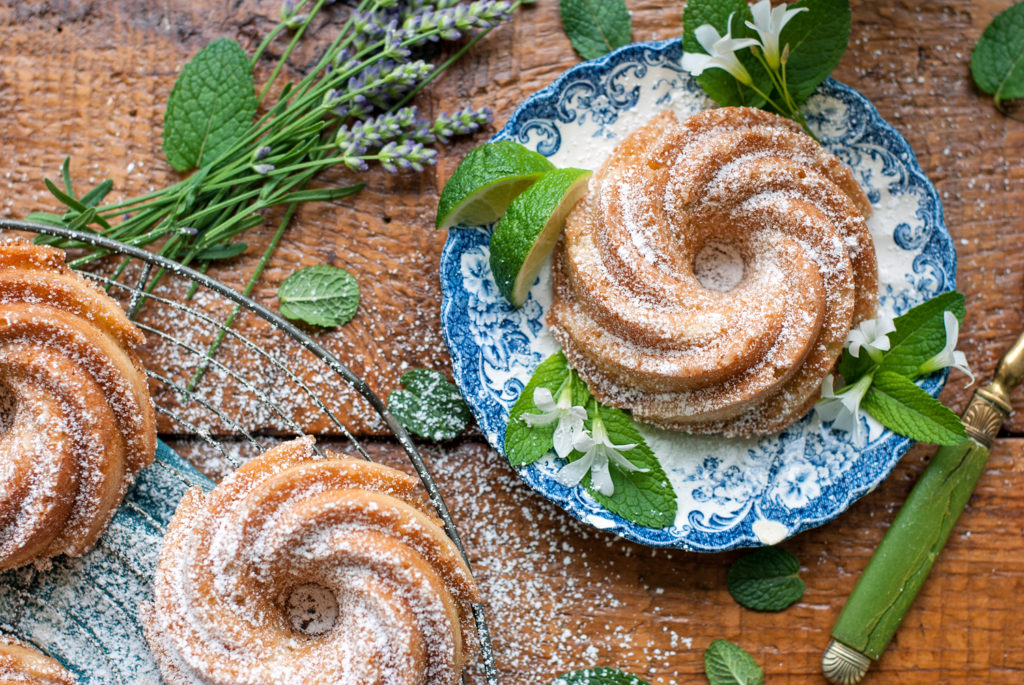
Now because you were good listeners and used the pan grease, your cakes plop right out of your adorable pans with zero sticking. Let them finish cooling on a cooling rack.
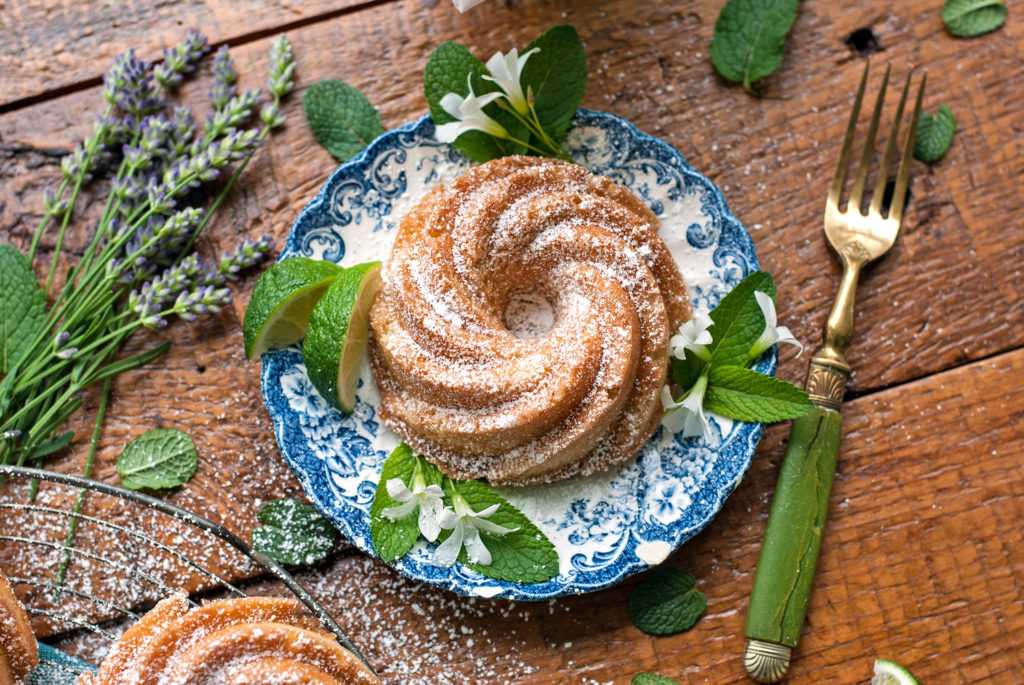
At this point you can drizzle the cakes with lime glaze if you like, or just give them a light dusting of powdered sugar. Either way, YUMMMM!
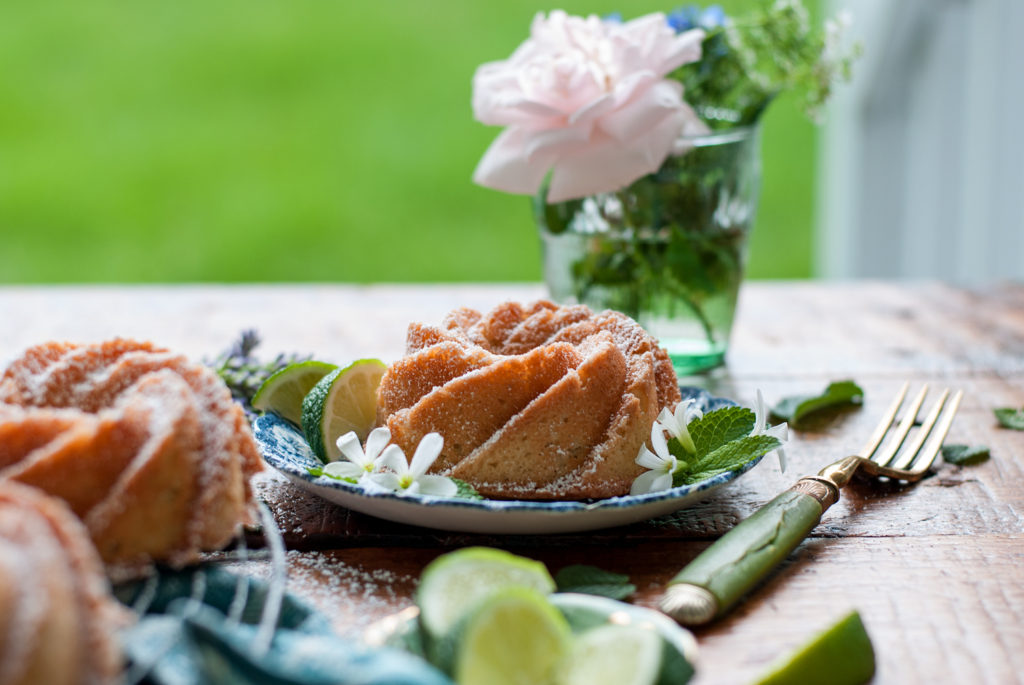
Serve these pretty little cakes on the porch with a cup of tea. Sit in your rocking chairs and taste the amazingly moist, delicious decadence you just created FROM NOTHING. Yeah. You own that. You suffered through all those picky little steps, and here is where you get to bask in the glory of your hard work. Accept all the compliments.
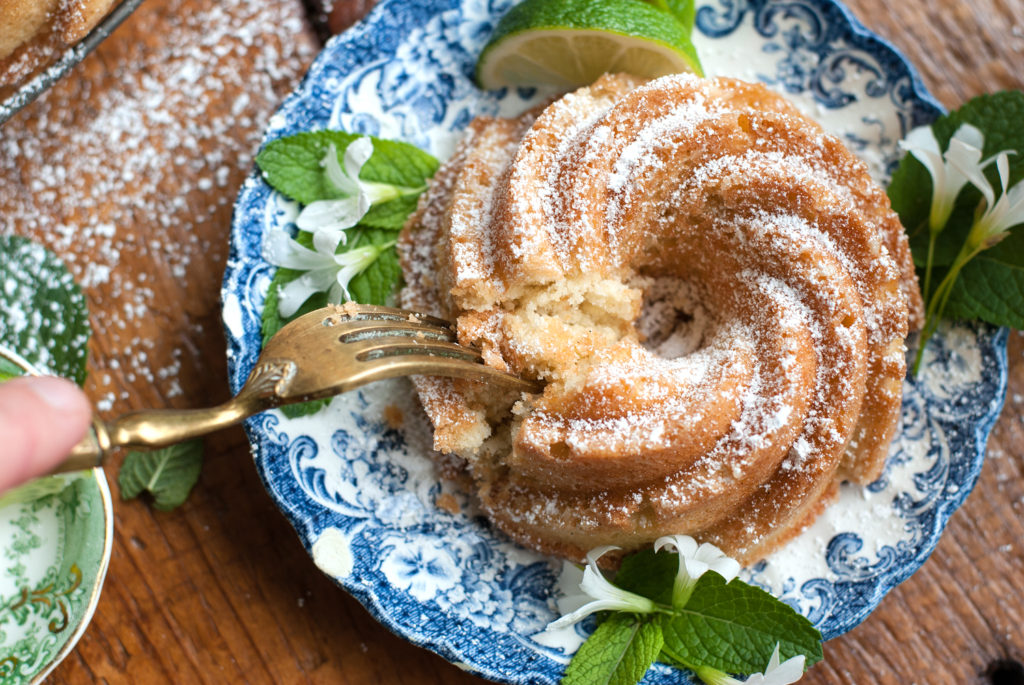
Summers were made for delicious food, good company, and great memories. Oh– and cake. We can’t forget cake. 😉
You did it. And I’m just so proud of you.

Disclosure: This post may contain affiliate links, which just means that we get a few pennies if you purchase through our link. I never recommend products that I don't personally use and love. Thanks!
